Always forgetting to water your plants? Here’s a self-watering dresser drawer planter you can easily build…
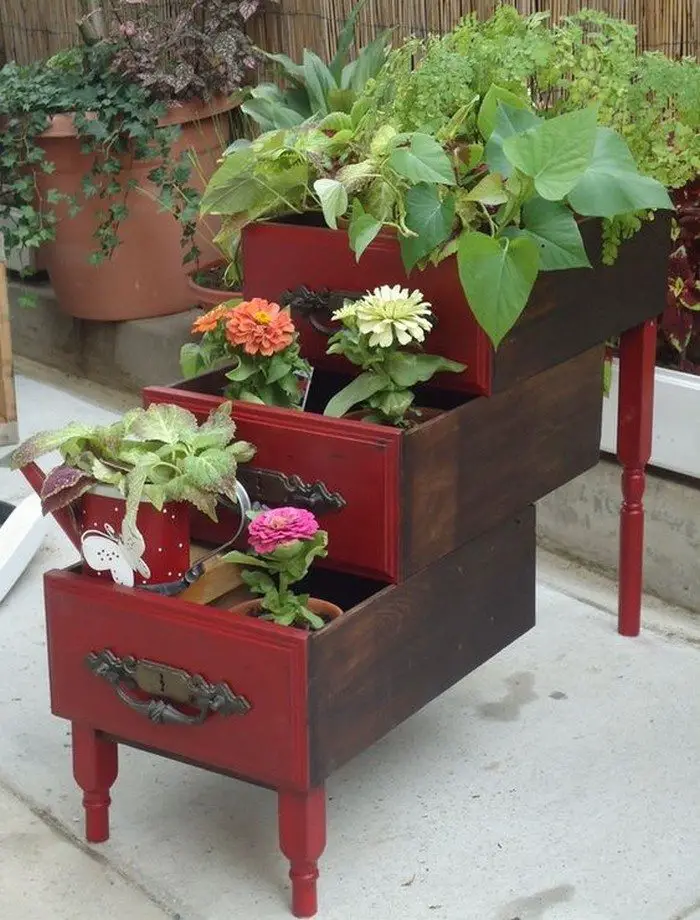
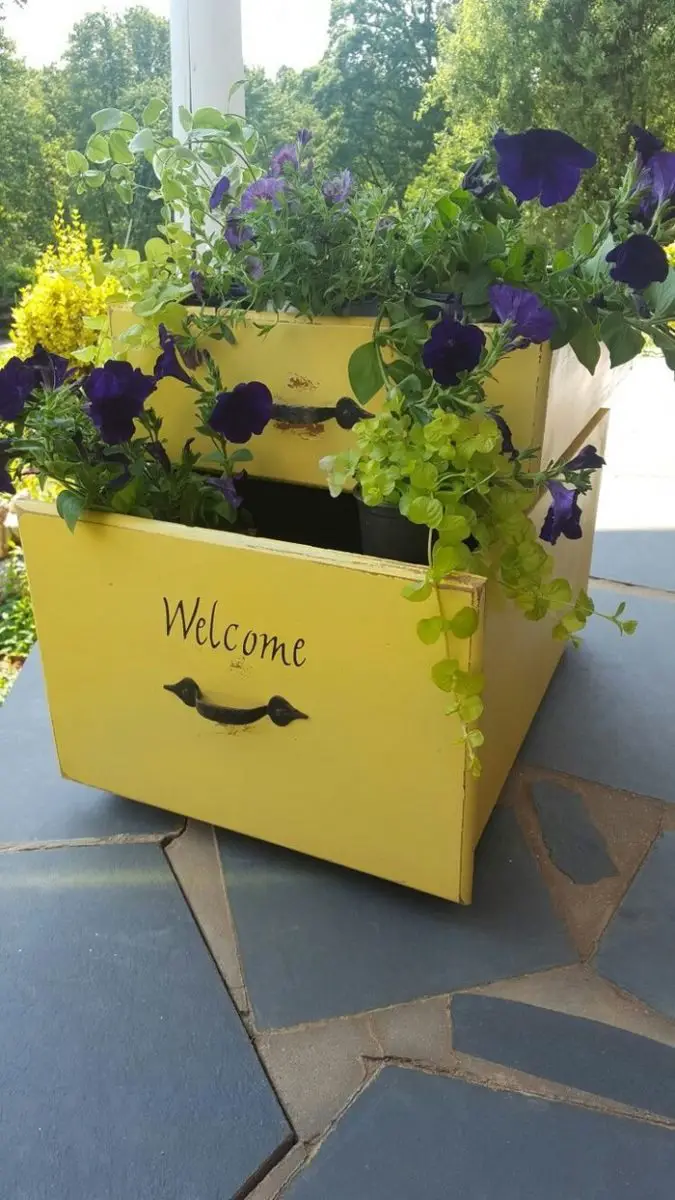
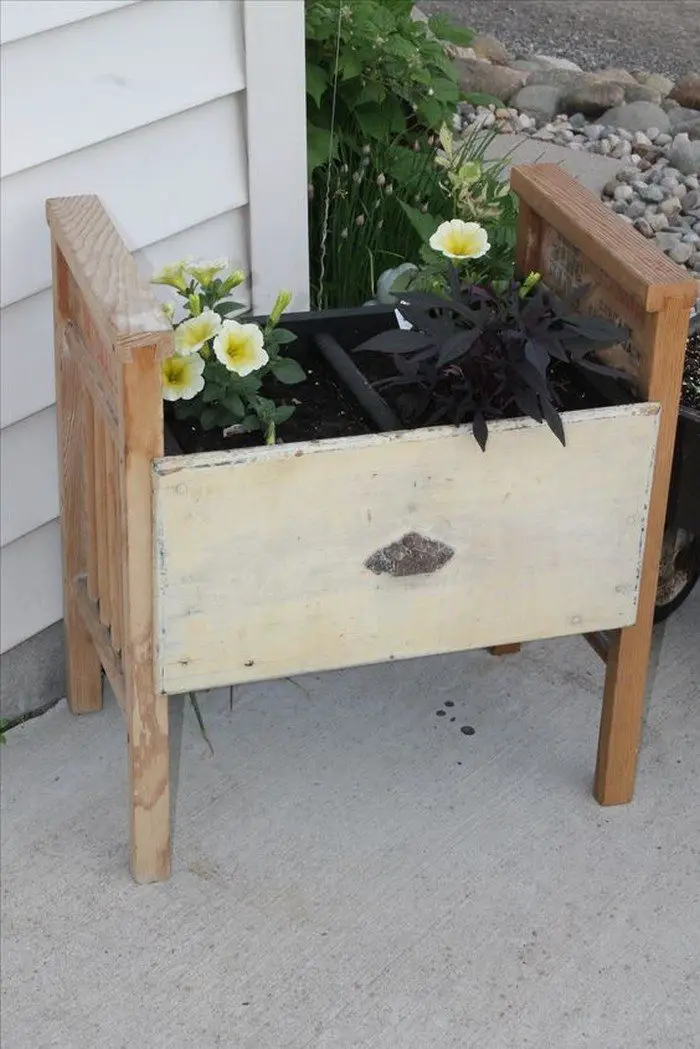
This DIY dresser drawer planter is a great repurposing project that doesn’t only solve your problem with watering plants regularly, but it is also a beautiful addition to your outdoor area!
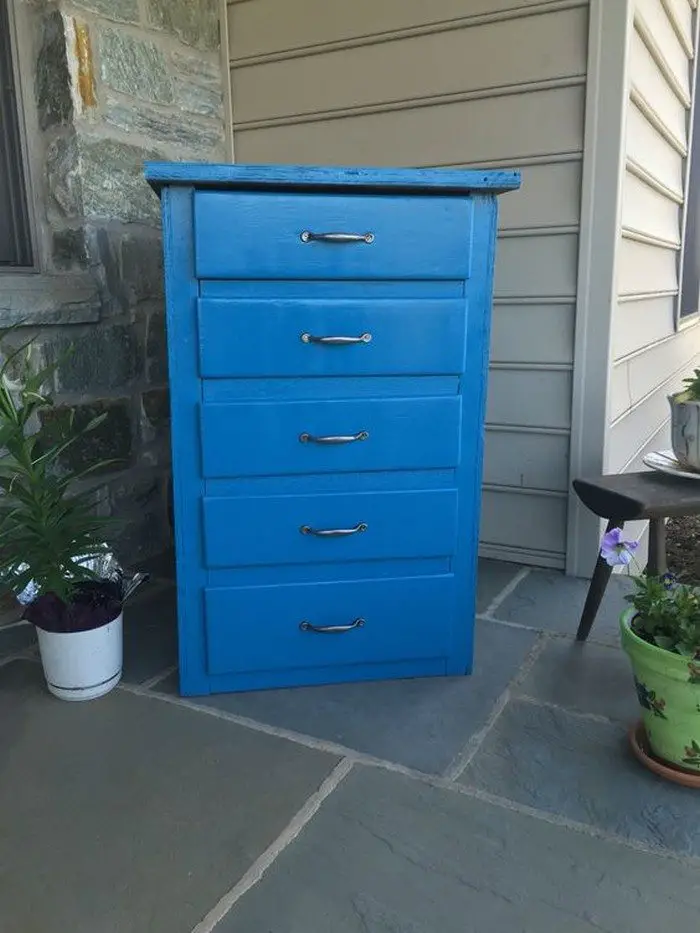
To make this dresser drawer planter, you will need to gather three drawers either from old furniture you own or from the thrift store. You will also need PVC and ABS pipes. Take note that you first have to know the overall dimensions of the three dresser drawers stacked together. This will determine the sizes of the pipes you will get.
Read on to learn how to make this amazing DIY dresser drawer planter, and tell us what you think.
Do you have any ideas for improving this self-watering dresser drawer planter?
Click on any image to start the lightbox display. Use your Esc key to close the lightbox.![]()

What you’ll need to build a self-watering dresser drawer planter…
You’ll need these materials:
- Dresser Drawers
- 1 pc – 2″ diameter PVC Pipe (length equivalent of total height of all drawers stacked)
- 3 pcs – 3″ diameter ABS Pipe (1/3 of total height)
- 2 pcs – Plastic Baskets (something stiff and porous enough to serve as non-toxic, water-proof, weight-bearing screen)
- Outdoor Stain & Sealant Combo Wood Finish
- Wood Glue
- Wire, String or Cable Ties
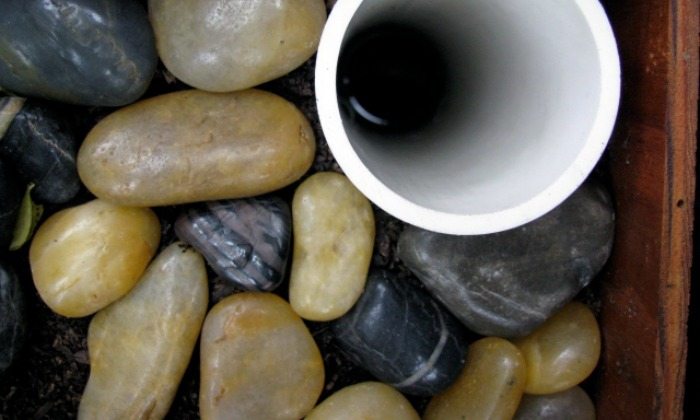
- Landscape Tarp, Opaque Plastic Bag or River Rocks
- Potting Mix
- Fertilizer
- Plants or Seeds
- Painter’s Tape
- Old Newspapers (for easy cleanup)
And these tools:
- Paintbrush
- Drill
- Utility Knife
- Garden Trowel
Steps:
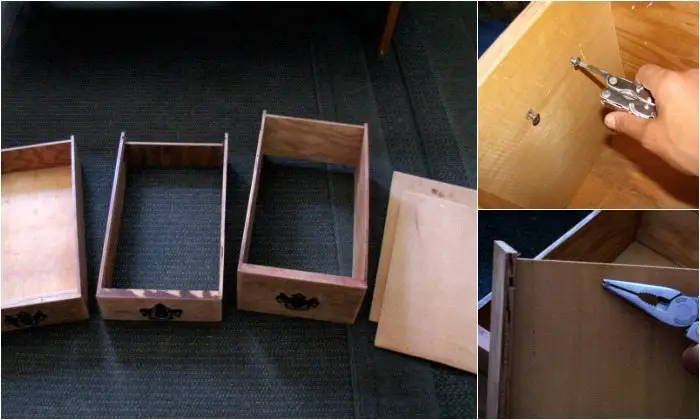
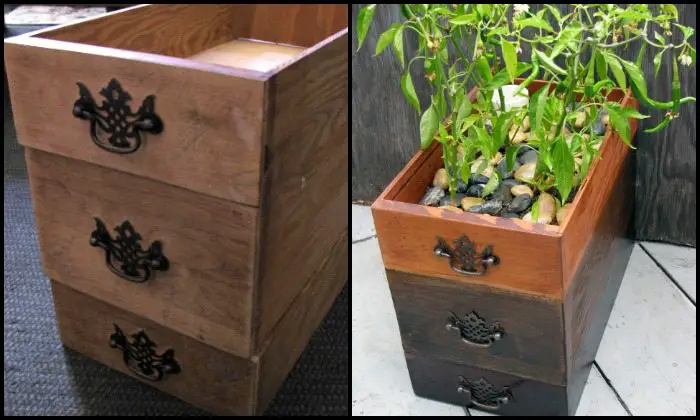
Remove hardware and bottoms: Remove hardware by unscrewing from the inside, and take out any nails that prevent the bottoms from sliding out.
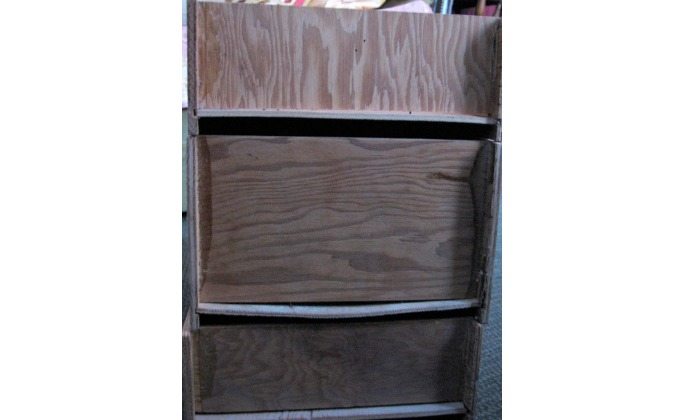
Pull out the bottoms from all but one drawer and set them aside for later.
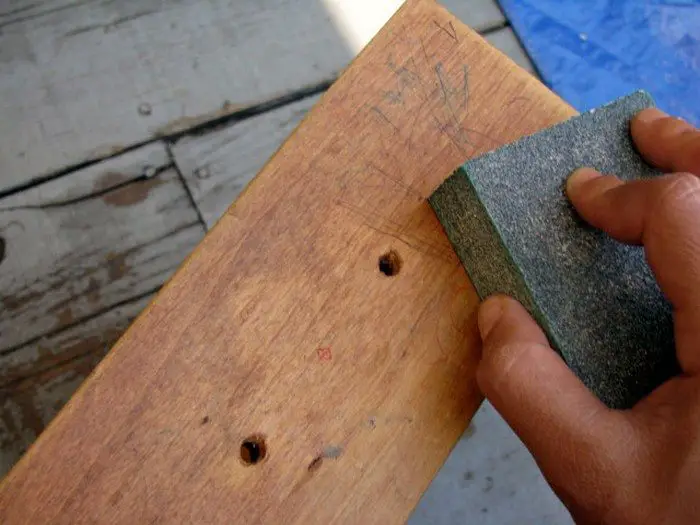
Stack, glue and sand: Sand the outside to get the surface ready for staining and end up with a clean, even coat. If you don’t mind marks, found drawers without them, or decided to use paint instead, feel free to skip this step.
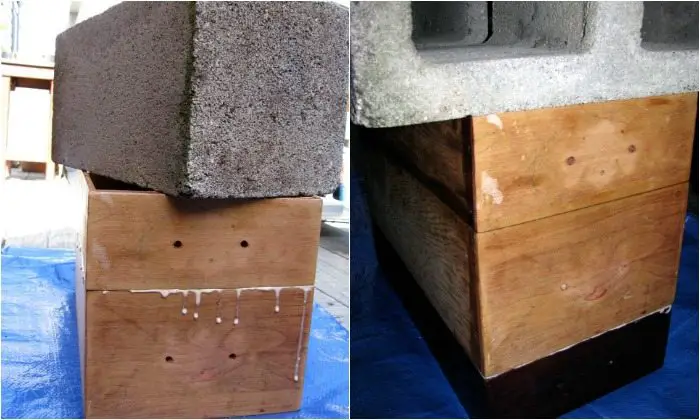
I used a cinderblock for weight while the glue set, since I didn’t have large enough clamps, but anything heavy with a flat base should work. Wipe off any excess wood glue before it dries.
The original plan was to stain each one separately to prevent dripping/bleeding, but the timing was such that I needed to take up less space, so I ended up assembled them first and just using painter’s tape instead.
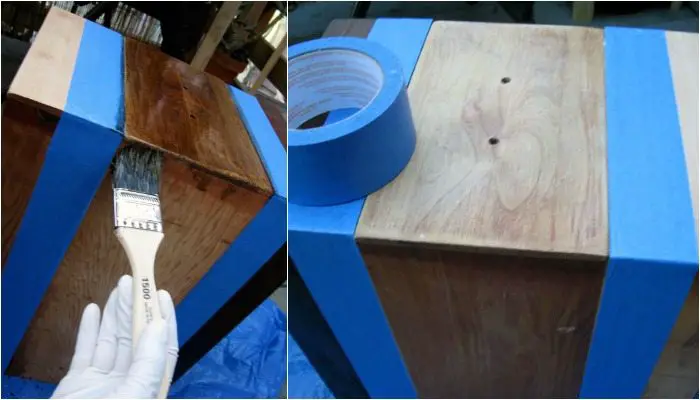
Stain and seal: Lay down a tarp or old newspaper. Use painter’s tape if you want different colors with clean lines between them, and brush along the grain until all areas are covered. Let the first coat to dry completely before applying another. While that’s drying, you can switch to the drilling and cutting.
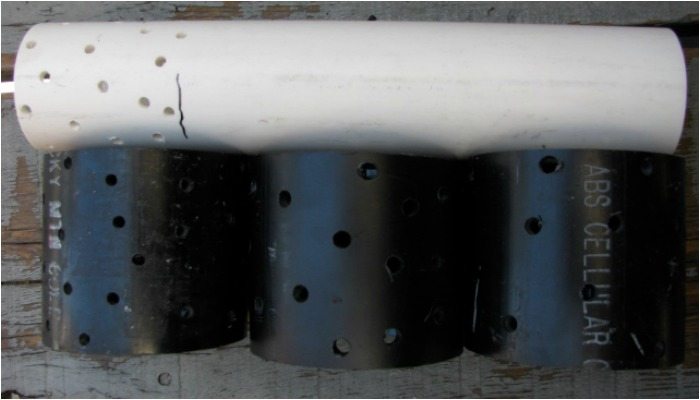
Drill holes and cut screen: Drill holes in all ABS pipes to allow the soil to pull water up from the reservoir without spilling into it.
I also used holes at the bottom of the fill tube instead of cutting it at an angle, only because the drill was out and it serves the same purpose of allowing water to flow into the reservoir.
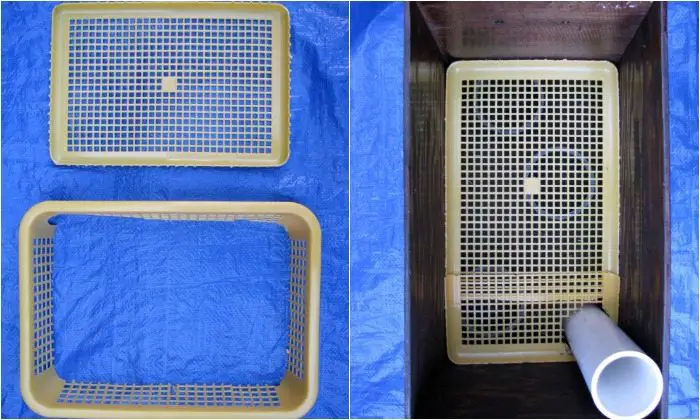
I needed two baskets to fill in the extra length of the drawer, so I did the same to both, cut down the edge, and laid one on top of the other. Yours may be a different length or from a different material, as long as it serves as a screen and ends up fitting snugly against all sides.
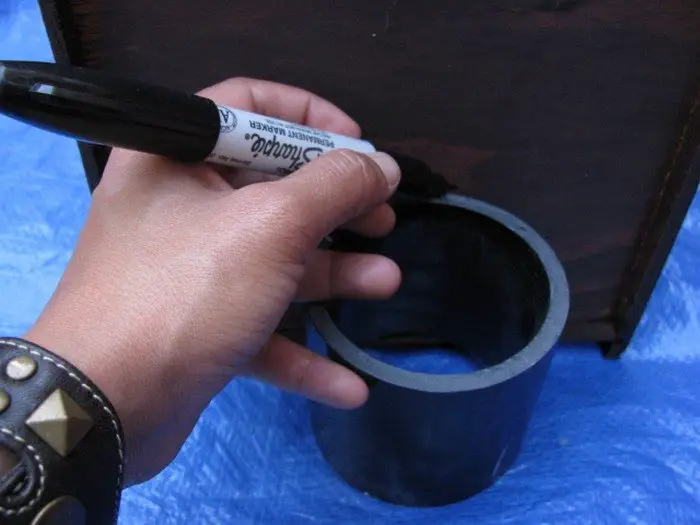
Use one of the ABS pipes to mark a spot for the overflow hole, then drill. This is to allow excess water to flow out, so your roots will never be water-logged.
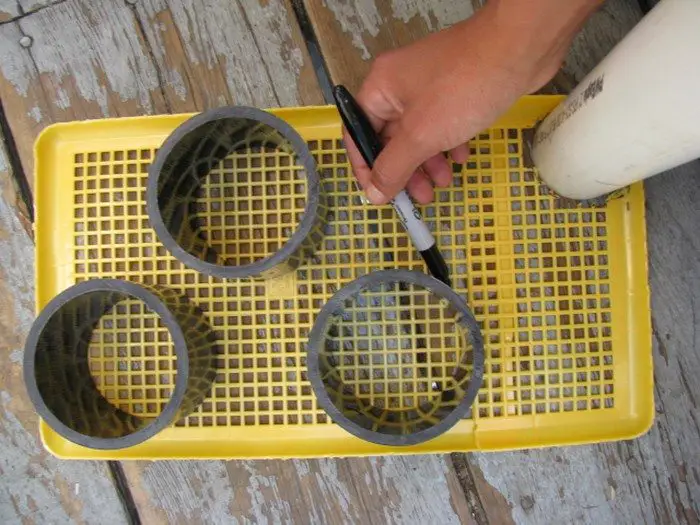
Cut, connect and attach the insides: Set all pipes on top of the screen/basket bottom and trace around them with a marker.
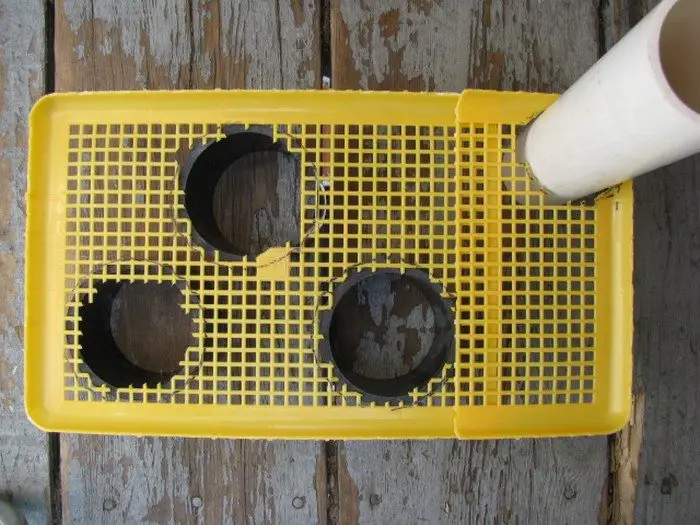
Cut inside the lines to allow some space to help support the weight of the soil. Some designs only use one pipe as the wicking chamber and the others as pure support (uncut at the top), but I decided to try using all 3.
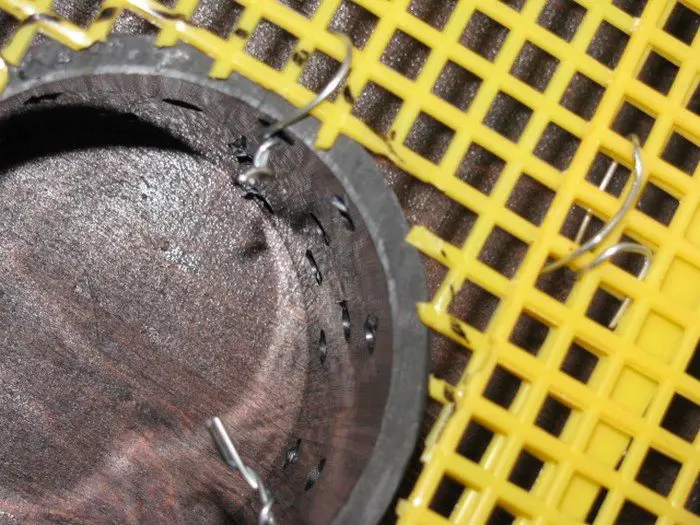
Use wire, string or cable ties to attach the wicking chambers and fill tube to the screen.
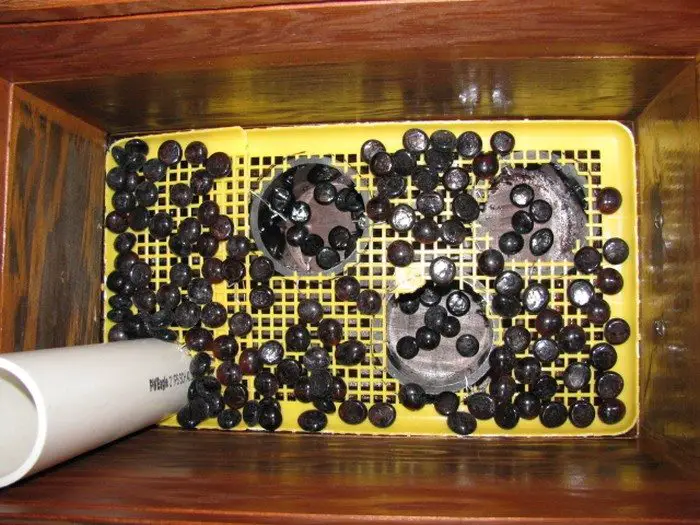
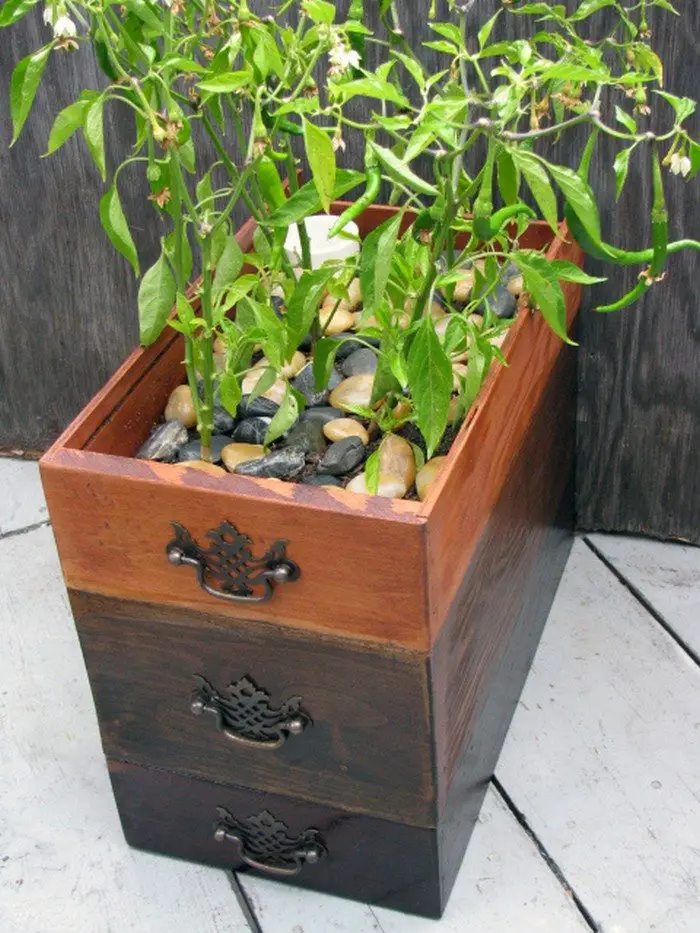
Once all drawers are completely dry and assembled, place the screen, wicking chambers and fill tube unit inside and layer with river stones or small rocks.
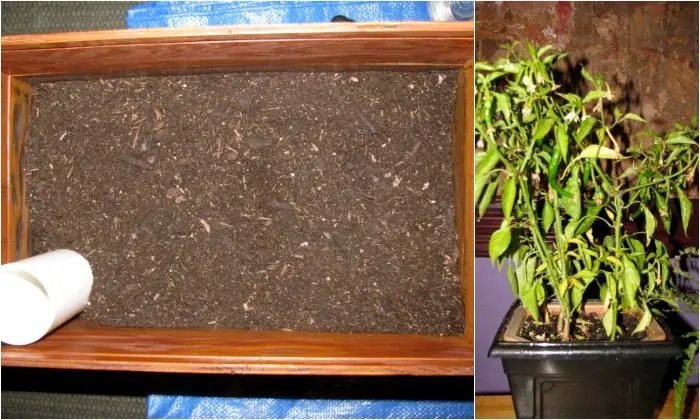
Add soil, plants and topsoil covering: Fill at least halfway with potting mix.
Transplant something you already have, or follow the directions on the seed packet(s) to start something new. I chose these peppers since they were the most in need of room to grow.
Add more soil and enough fertilizer for the size of your container. Leave at least an inch from the brim for the topsoil cover, which could be a piece of landscape tarp, opaque plastic bag, or more river rocks.

Soak it, sit back and watch it grow: Water your dresser drawer planter the way you normally would (from the surface, not the fill tube) to give the transplant roots a chance to mix with the new soil and the fertilizer a chance to seep in. Give it a nice thorough soak for the first one.
After that, all you have to do is use the fill tube maybe once a week, watering until some spills out the overflow hole, sit back and watch it grow!
Thanks to Chandra Nalaani for this great project!


