
Finishing the dome: The brick work of your dome is not complete but this isn’t the complete oven yet. The dome still has to be insulated, reinforced, and covered.
Firstly you will need to cover the dome with chicken wire. Then a half inch layer of refractory cement.
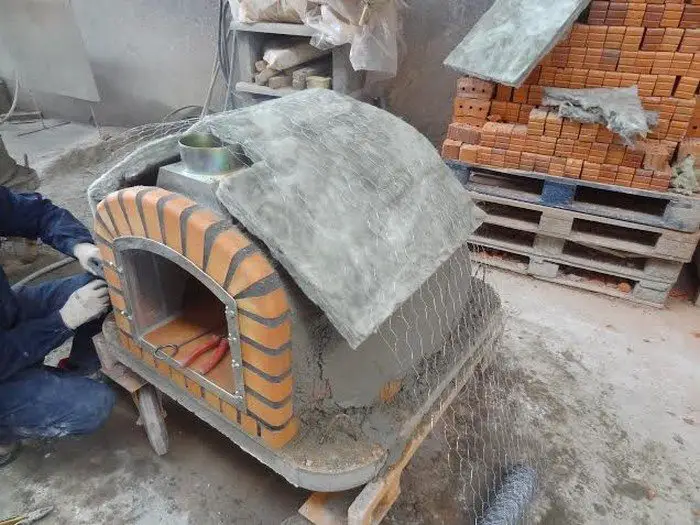
Now the main part — insulation. The best insulation out there is ceramic fiber blankets (Kaowool, Superwoold etc). You are using them use a 6 or 8 lb density. You will need a 3″ layer all around the dome. This usually means 3 x 1″ layers as they normally come in 1″ thickness.
Mineral wool will also insulate, if you are using it use 3″-5″.
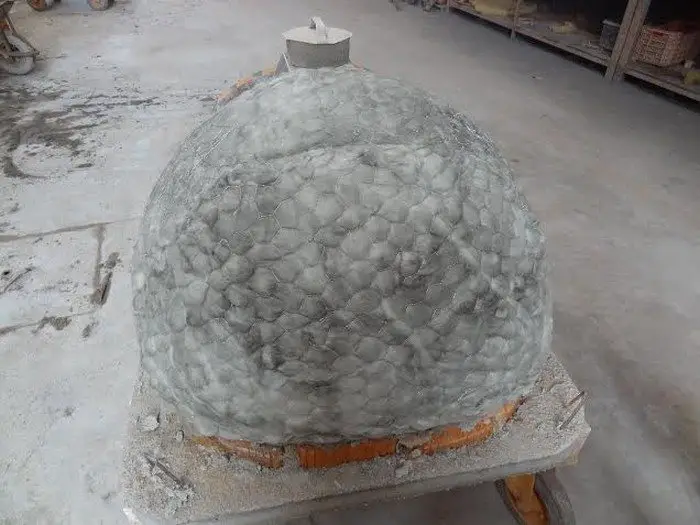
Once the insulation is applied use another layer of chicken wire to hold it together.
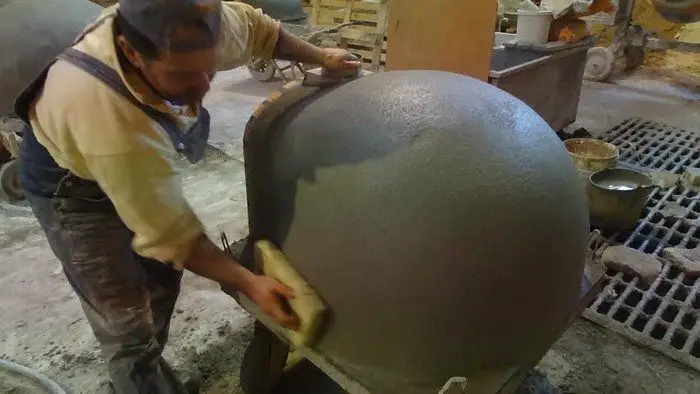
The final layer of refractory cement goes on top of the chicken wire.
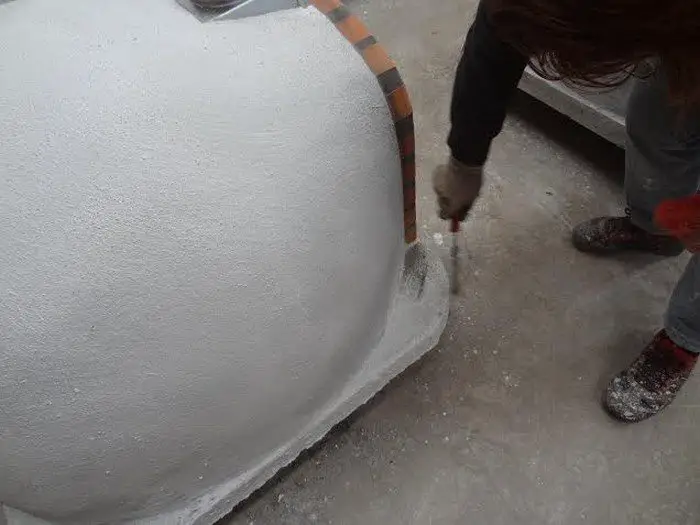
Wait for everything to harden – a few days. And then you can paint it with latex concrete paint.
We are now back to the arch which we basically left unfinished waiting for its chimney.
If your oven is going outdoor then you can use a clay pipe, it’s widely available and usually costs $10-15 depending on the length. You can use a 12″ high chimney, it will do just fine.
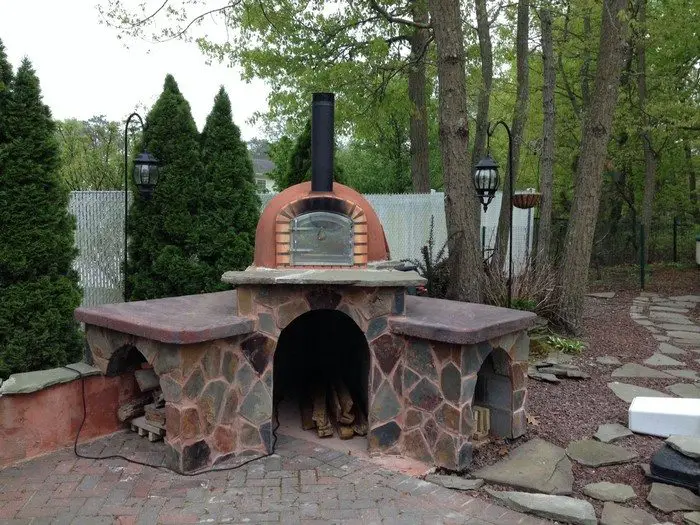
Of course you can also use stainless steel chimney or black stove pipe. You can use fireplace mortar to attach the chimney to the oven. If you are using a stainless steel pipe you might as well use the matching anchor plate. In this case you can just twist lock your chimney to the anchor plate.
The most common chimney diameter for an oven with under a 40″ cooking area diameter is 6″. Large than this you may want to go with 8″.
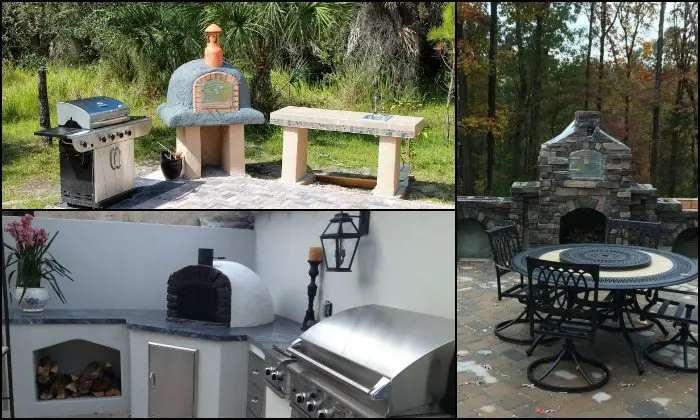
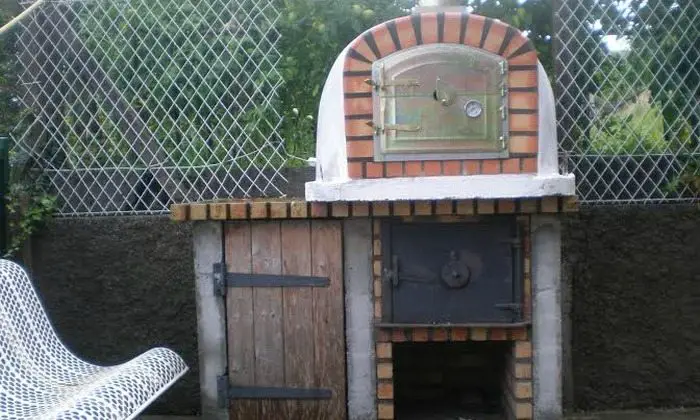
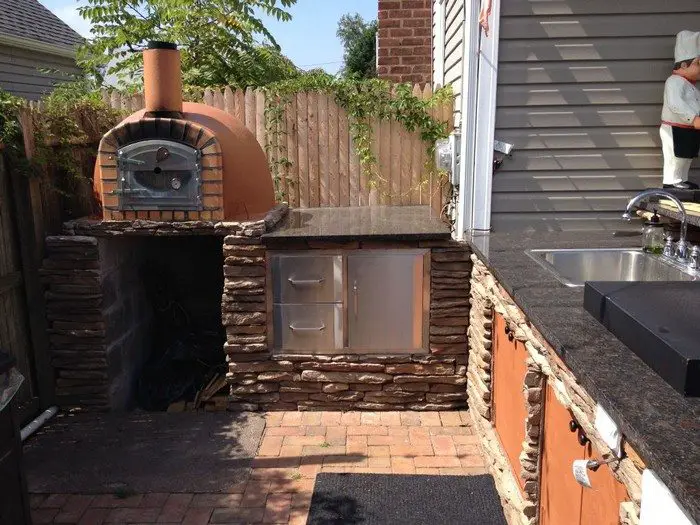
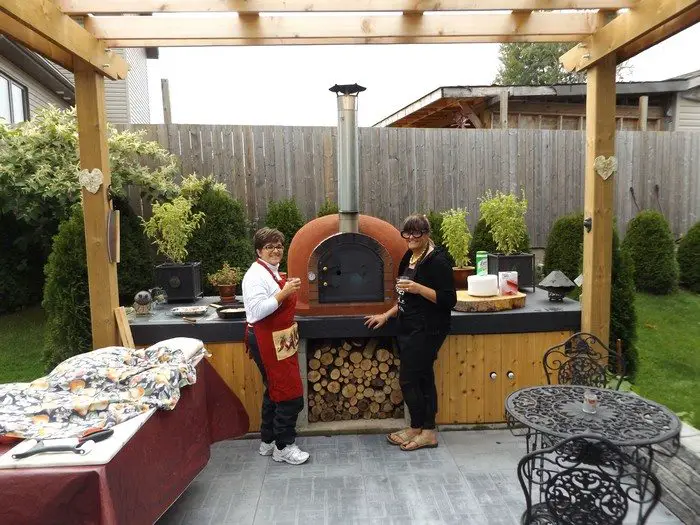
Making your oven pretty: Functionally your oven is finished – but what about the looks? Sky is the limit when it comes to this, you can cover your oven with tiles, stones, bricks, stucco, or even completely enclose it. Depending on the scope of your project (and budget) help from a professional stone mason may be required at this point.
That’s it! Now you’ll just have to cure the oven before your first baking session. We hope you enjoyed this tutorial.
Thanks to grillsnovensllc for this great project!


