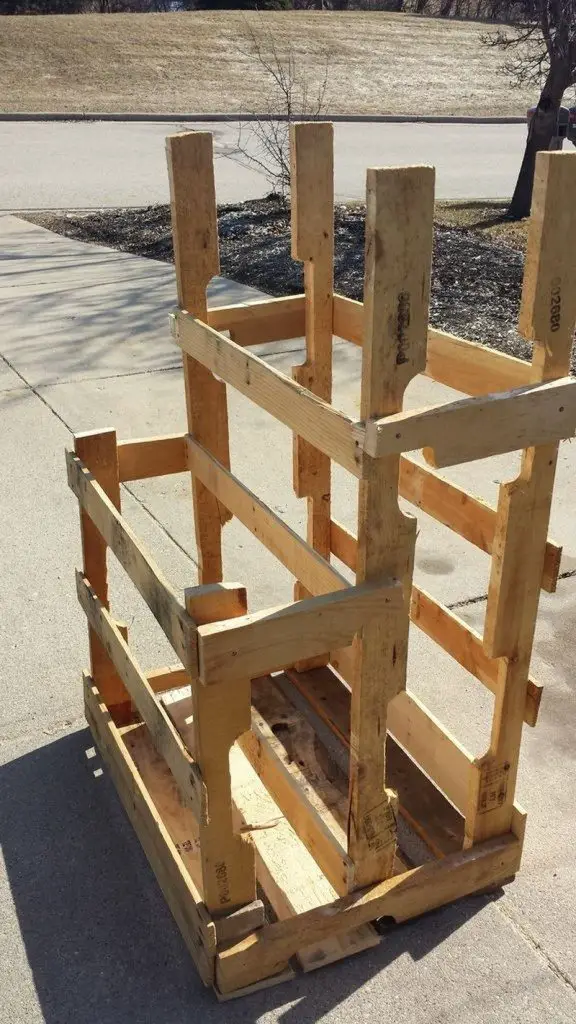
If you are running out of storage space or want to organize your scrap timber pile, this simple and inexpensive project might be the answer to your problem! It’s called the P.A.L.L.E.T. or the Pallet And Loose Lumber Enclosure Tower.
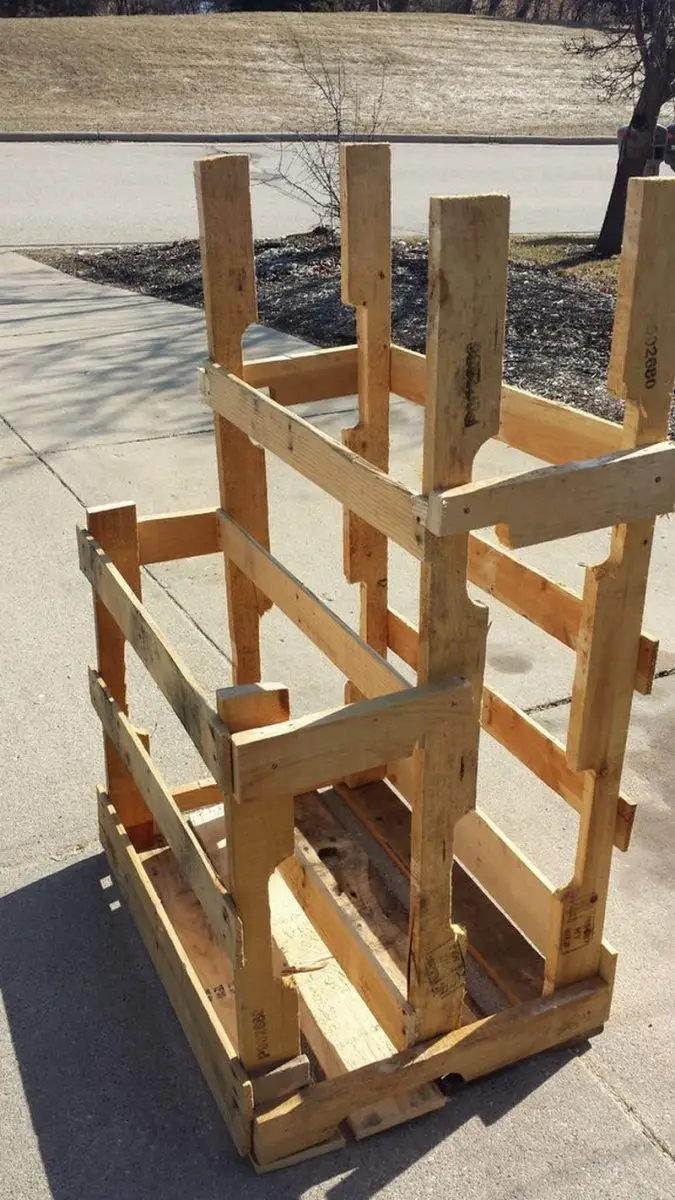
This clever storage for scrap timber will not cost you a fortune. In this case it’s made from free recycled pallets. You can also use salvaged timber to keep the cost low . Although the finish might look rough, this storage does the job pretty well. And when the time comes that you have the budget to build a better storage for your scrap timber, you can easily take it apart and reuse it for a new project!
Materials:
- Two and a Half Medium Sized Pallets
- 1-3/4″ Wood Screws
- Wood Glue (Optional)
Tools:
- Pencil
- Tape Measure
- Reciprocating Saw
- Jigsaw or Handsaw
- Power Drill w/ Bits
[adinserter block=”11″]
STEPS
Step 01:
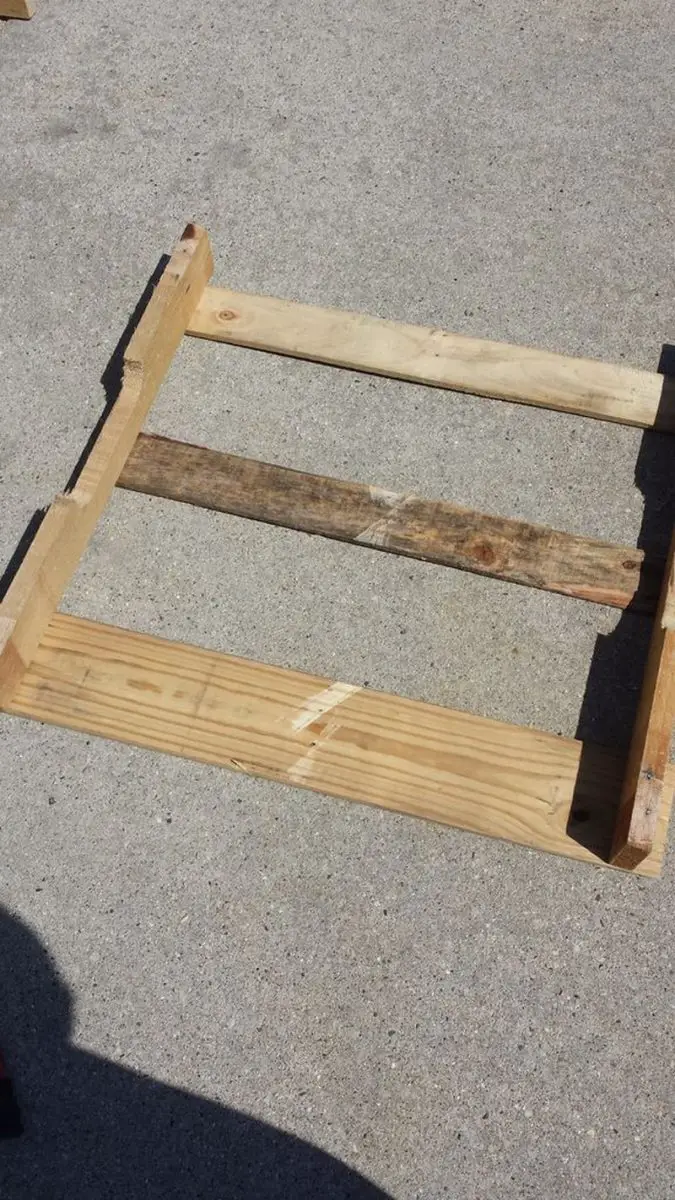
To start we will be cutting the bottom planks and inner beams off of two similar sized pallets, this will be done with a reciprocating saw. Once that is done, cut one plank off of what will be the top of the P.A.L.L.E.T.
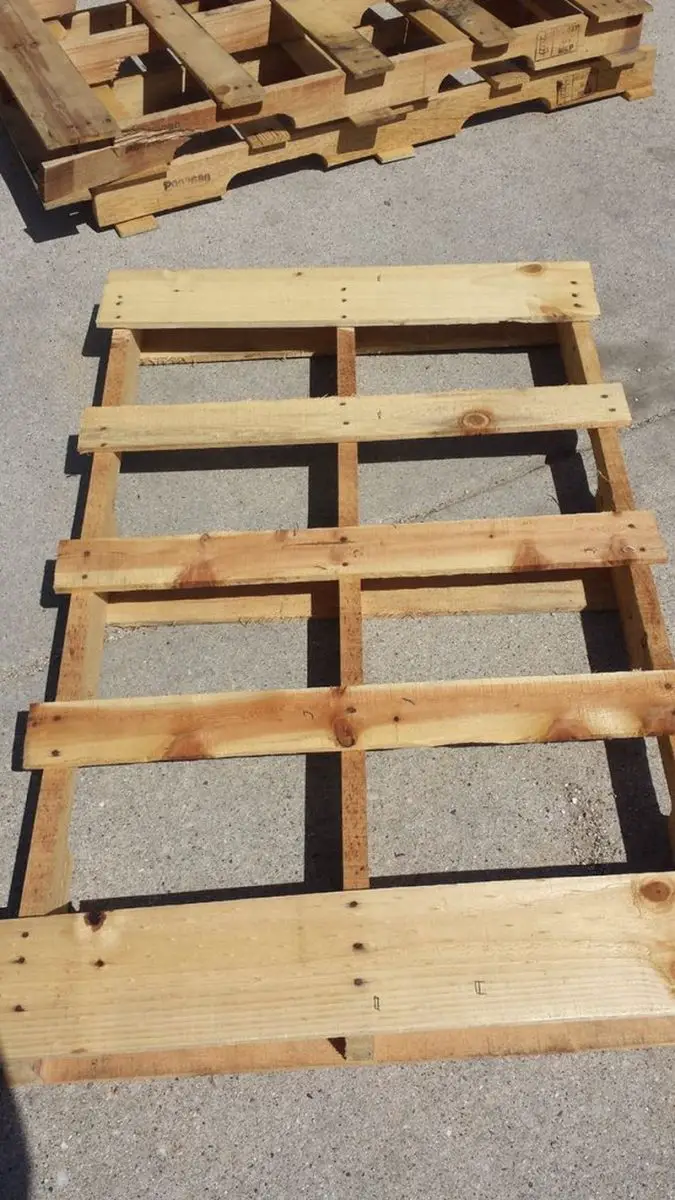
Next we will remove the bottom planks from another pallet and cut in half. Note we will only be using one of these halves.
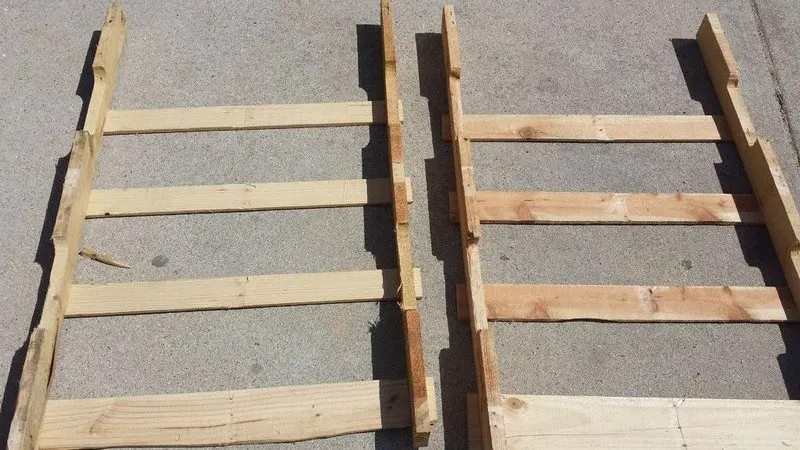
Step 02:
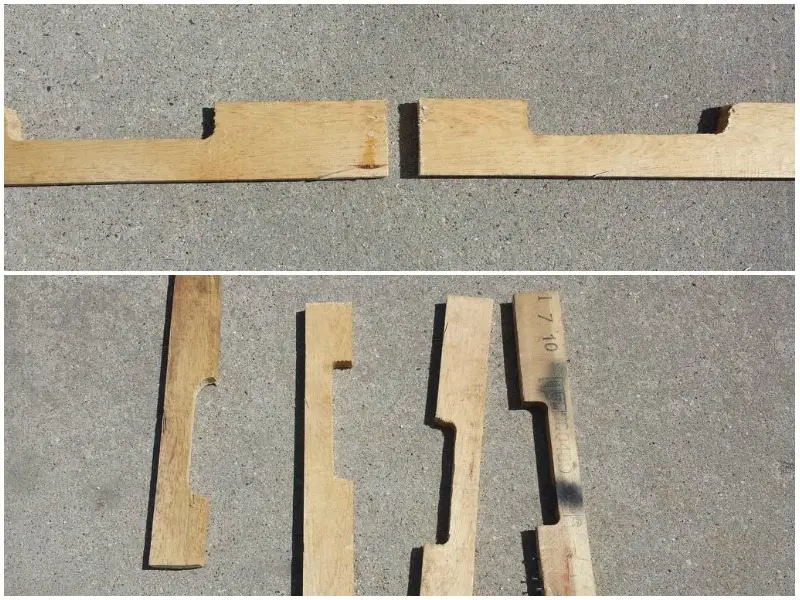
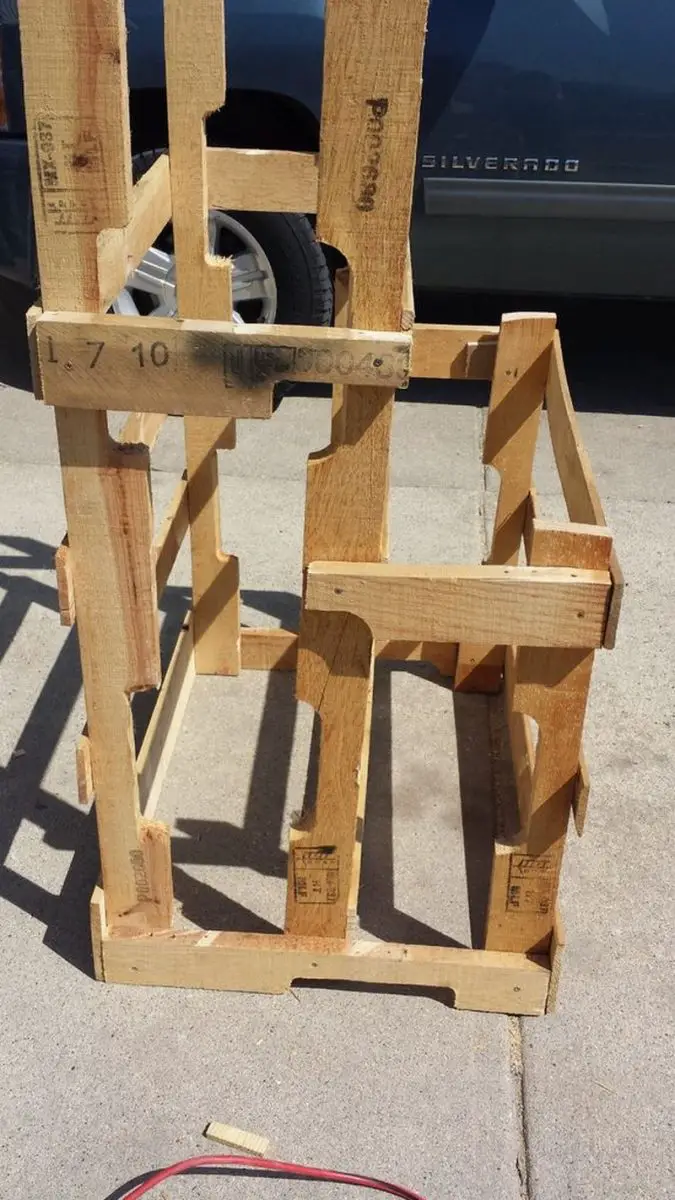
Our next step is to cut the sides which will secure our gutted pallets to one another. Remember the middle inner beam we cut from the first two pallets? We will be using this to make the sides.
I cut each beam into two pieces, making four final pieces, each 14″ long. You can make them as long or short as needed.
Step 03:
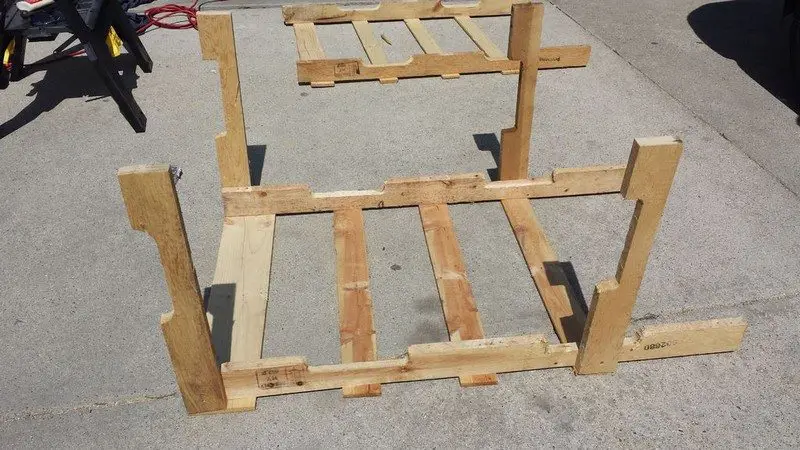
It is easiest to lay one pallet on the ground and attach the sides there. Match the sides with the planks of pallet wood for added stability and a somewhat cleaner look. You can use only one screw per end this way as the wood won’t move when flush against the planks. Wood glue or extra screws could be added for more stability.
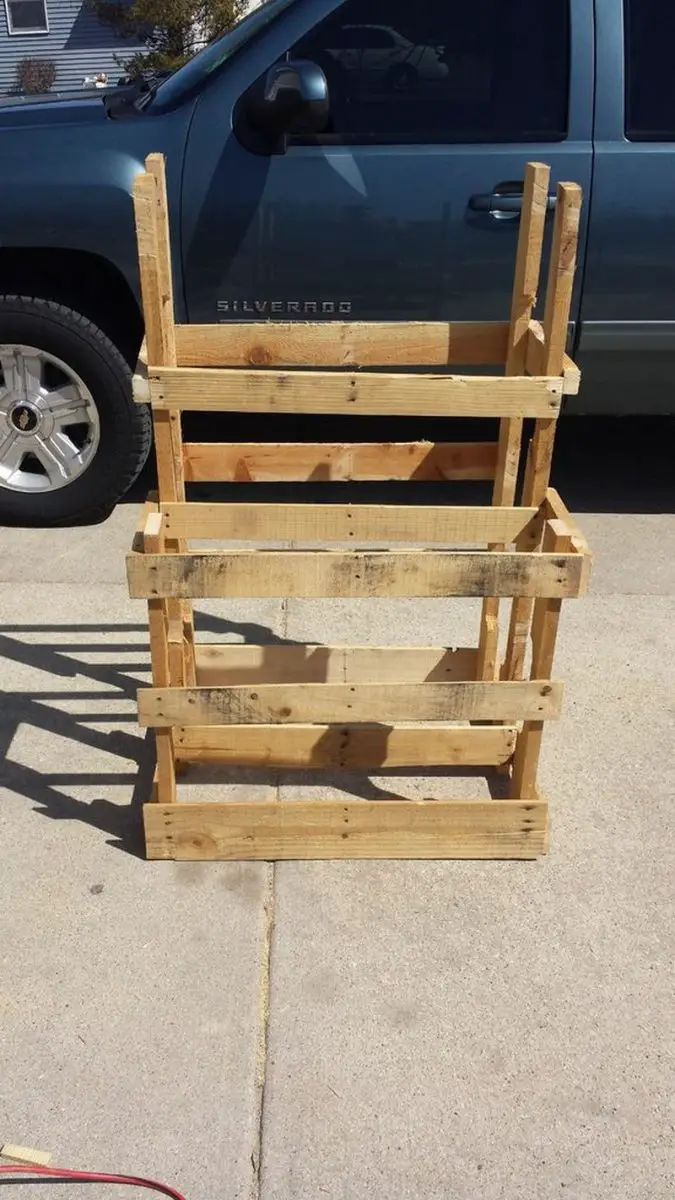
Step 04:
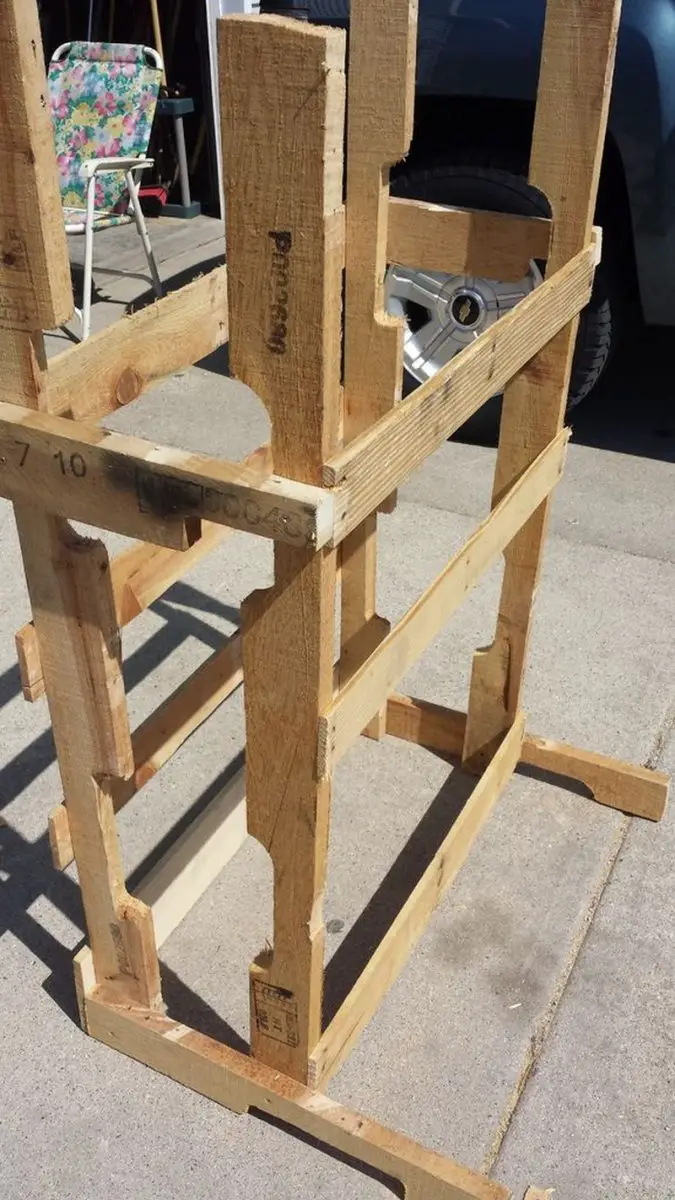
To finish up, trim the excess sides of the front planks so they would be flush with the side pieces. Also add a crude bottom by screwing extra boards to the bottom of the PALLET.

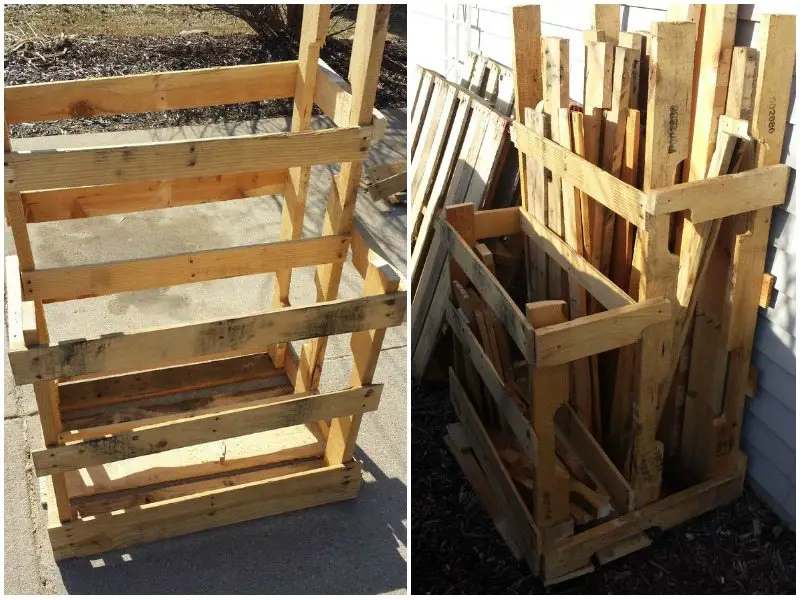
You can keep it outside, under a roof. And it will definitely hold several pallets worth of wood through a couple of seasons and will not show any signs of weakening.
Of course, you can always use this as an inspiration for building your own, better version of the PALLET! Could you use one in your workshop?
Thanks to AmateurHour for this great tutorial!


