Need to replace a faucet in your bathroom or kitchen? Don’t call a plumber yet. This simple guide will help you replace an old faucet yourself. Not only do you save money but you also learn something new.
Before you remove the old faucet from your sink, the replacement should be on hand and ready. Faucets usually come with pre-attached supply tubes which you can directly connect to the shutoff valves underneath the sink. If the pre-attached supply tubes of your newly bought faucet is of the right length, then it’s good. However in some cases extensions are needed to make the connections.
To save you from going back to the hardware store and buying extra hardware, check current supply lines if they’re in need of replacement.
Here is a list of things you need and the steps you need to follow when replacing an old faucet.
Materials:
- Plumber’s Putty
- Plumber’s Tape
- Spray Penetrating Oil
- New Faucet
[adinserter block=”11″]
Tools:
- Putty Knife
- Basin Wrench
- Water-pump Pliers
- Adjustable Wrenches
[embedit snippet=”adsense-728×15-inline-text-only-ad”]
Steps:
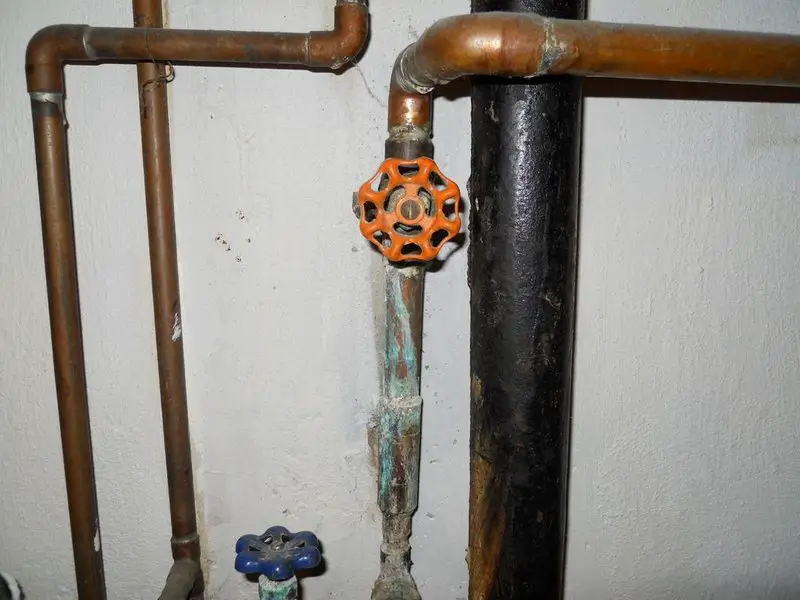
The very first step is to make sure that your water supply is closed.
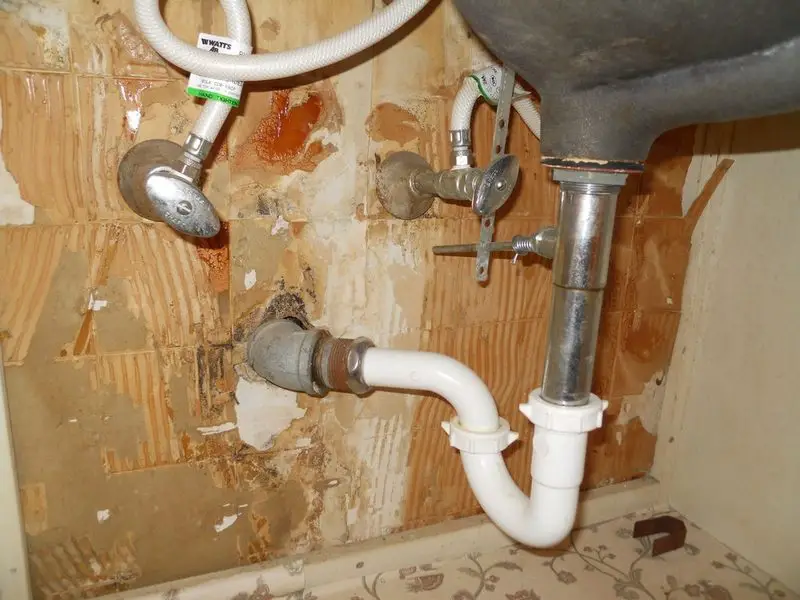
Apply penetrating oil to the tailpiece mounting nuts and supply-tube coupling nuts.

Let the oil sit for about 15 minutes to work, then remove coupling nuts using a basin wrench or water-pump pliers. If your supply valve needs to be replaced, too, you can remove them at this point — just make sure the house’s main water supply is turned off.
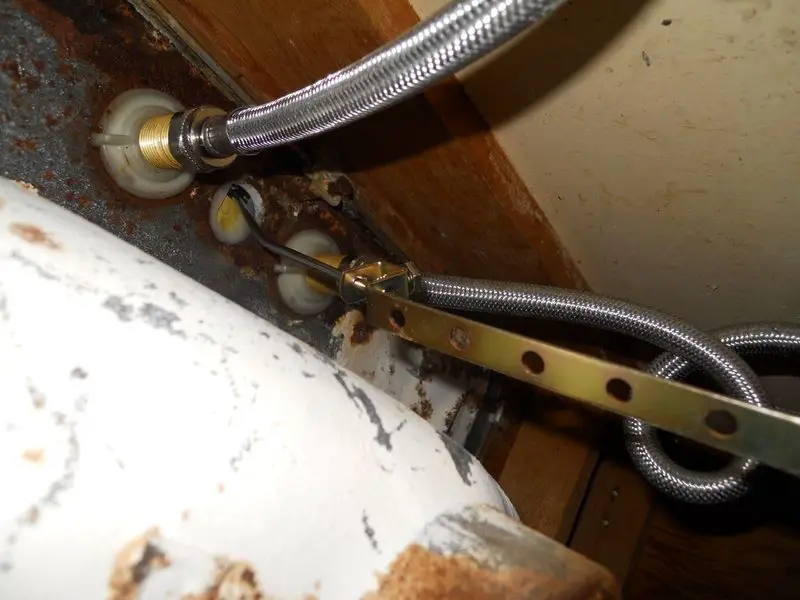
Remove the tailpiece mounting nuts, too.
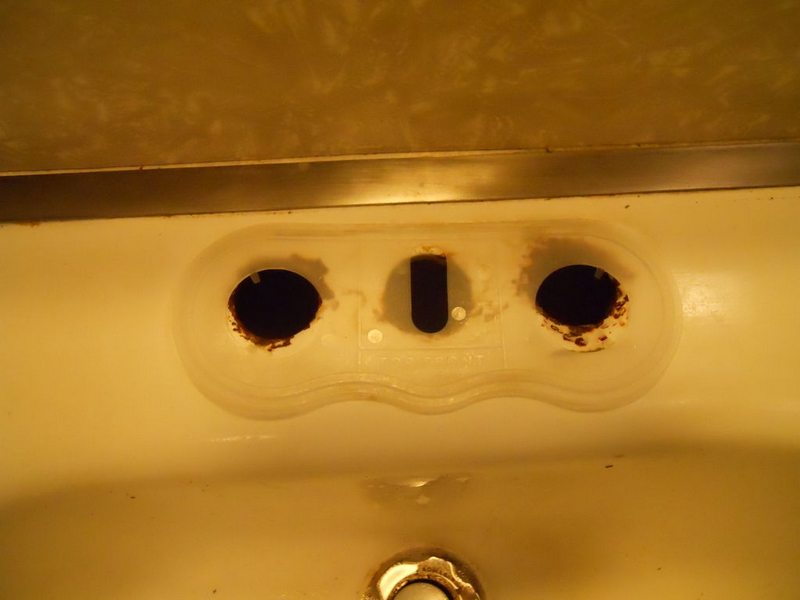
Now you can remove the faucet by pulling it straight up. If you are having a hard time in this step, you can loosen the faucet by inserting a putty knife’s tip.
Clean old putty, too, but be careful not to scratch your sink.
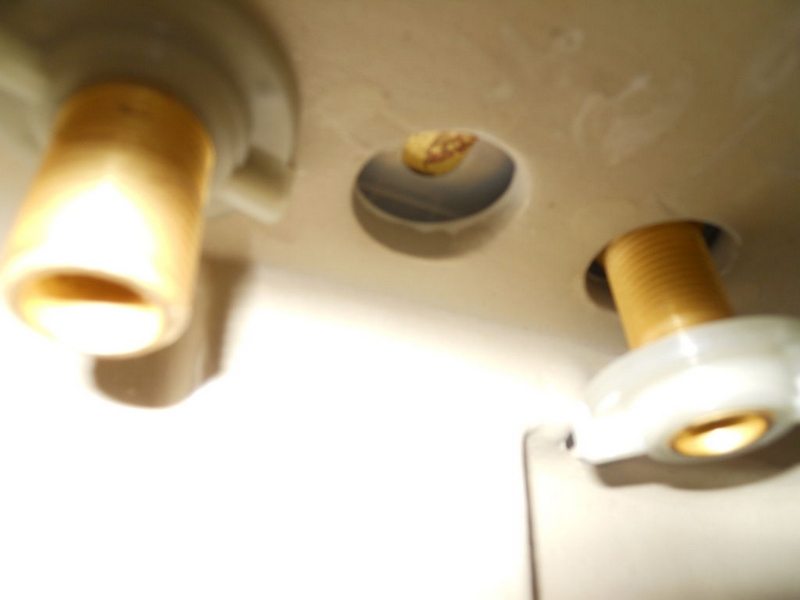
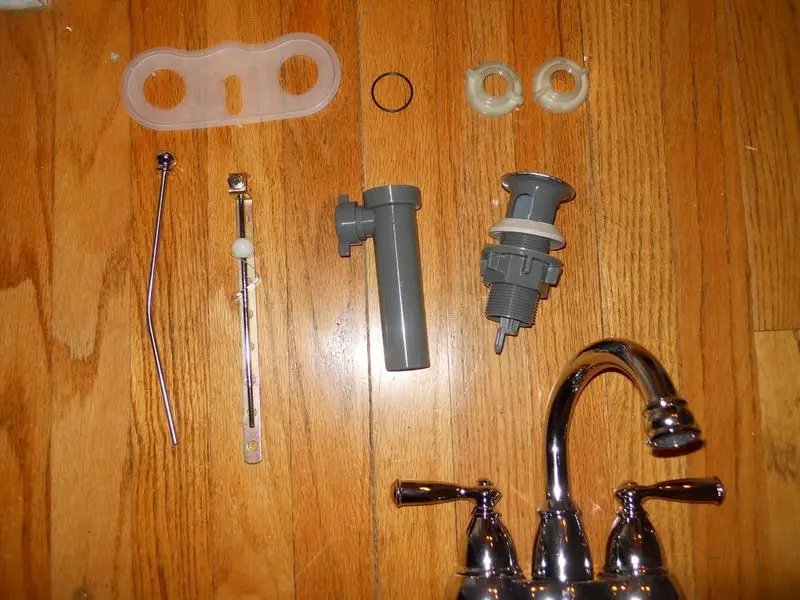
To attach the faucet to the sink, place the rubber gasket, retainer ring and locknut onto the threaded tailpiece. Use a basin wrench or water-pump pliers to tighten the locknut.
If your faucet comes with adecorative cover plate, you can secure it from below by screwing locknuts with washers onto the cover plate bolts.
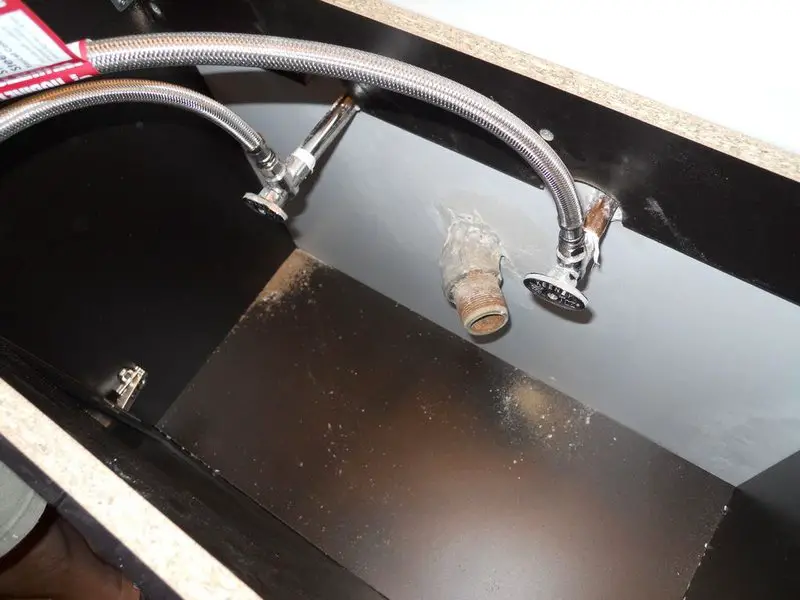
Now connect the pre-attached supply tubing to the shutoff valves using compression fittings. There are instances where plumber’s tape is needed at the threads, but new parts shouldn’t require this.
Make sure that the tubes are installed appropriately — the red-labelled tube should be connected to the hot water supply line and the blue-labelled tube should be connected to the cold water supply line.
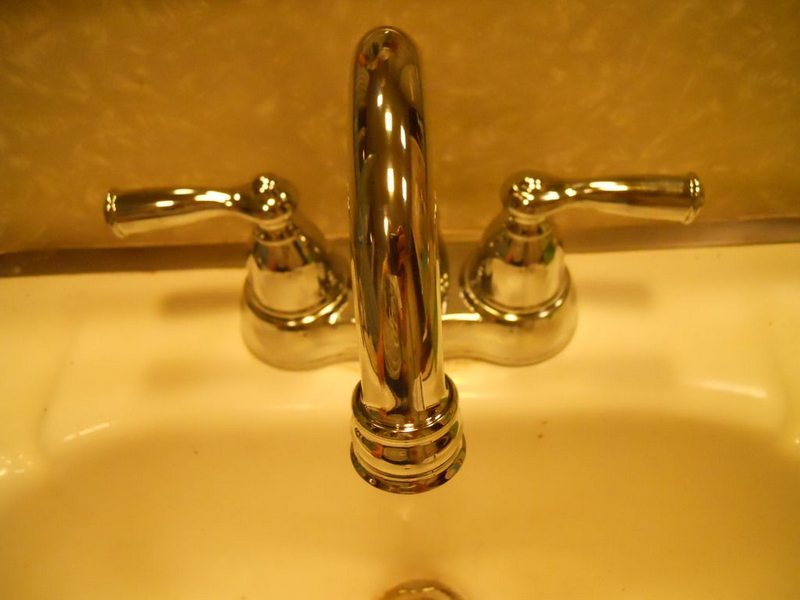
Now you can open your water supply to test your new faucet. Do a final check to make sure there are no leaks. :)
Source: Plumbing Depot
Images: PaleoPunk
[embedit snippet=”media-net-inline-ad-728×90″]
NOTE: In some jurisdictions, plumbing work must be performed by a licensed contractor. This usually only applies to new work or changes to existing supply lines. Maintenance such as changing a faucet/tap fitting is allowed.


