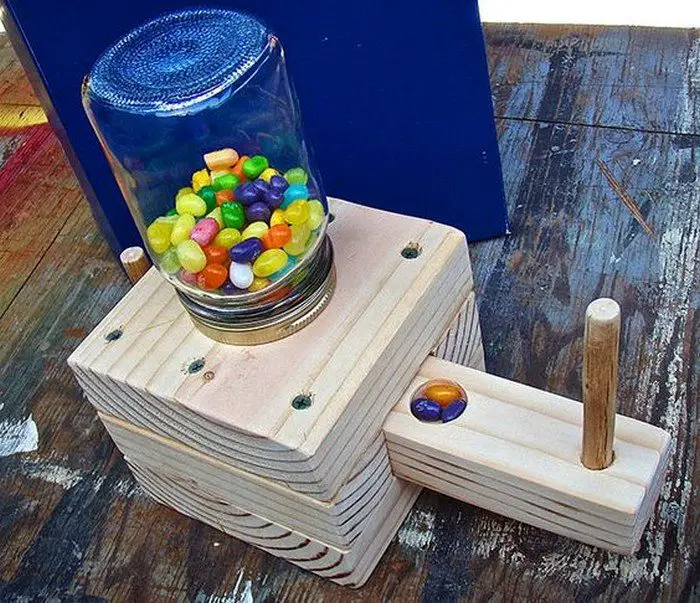
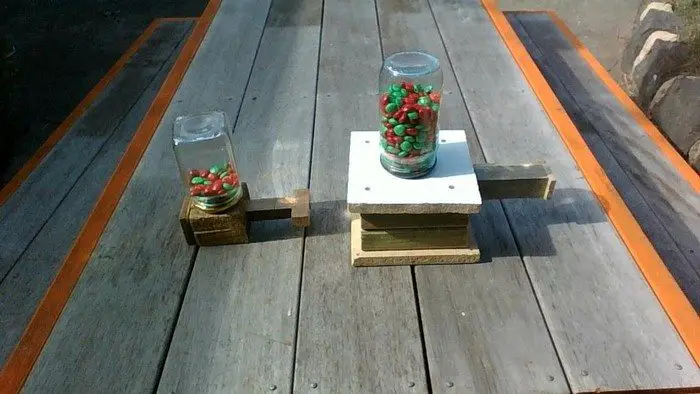
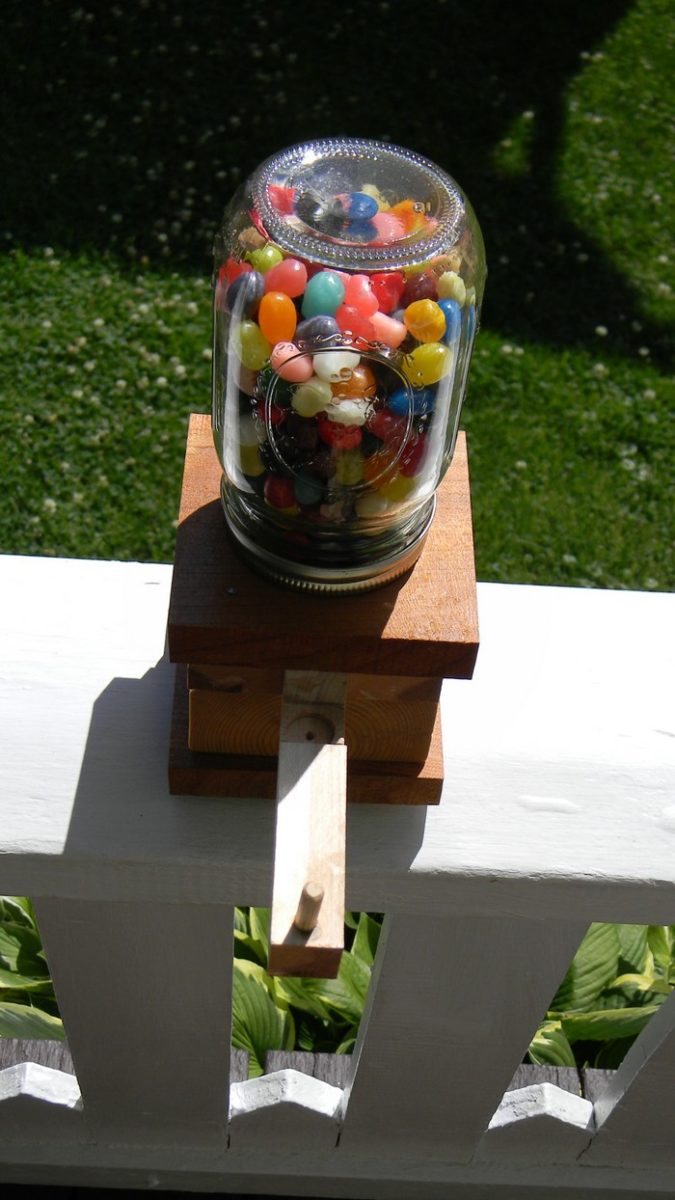
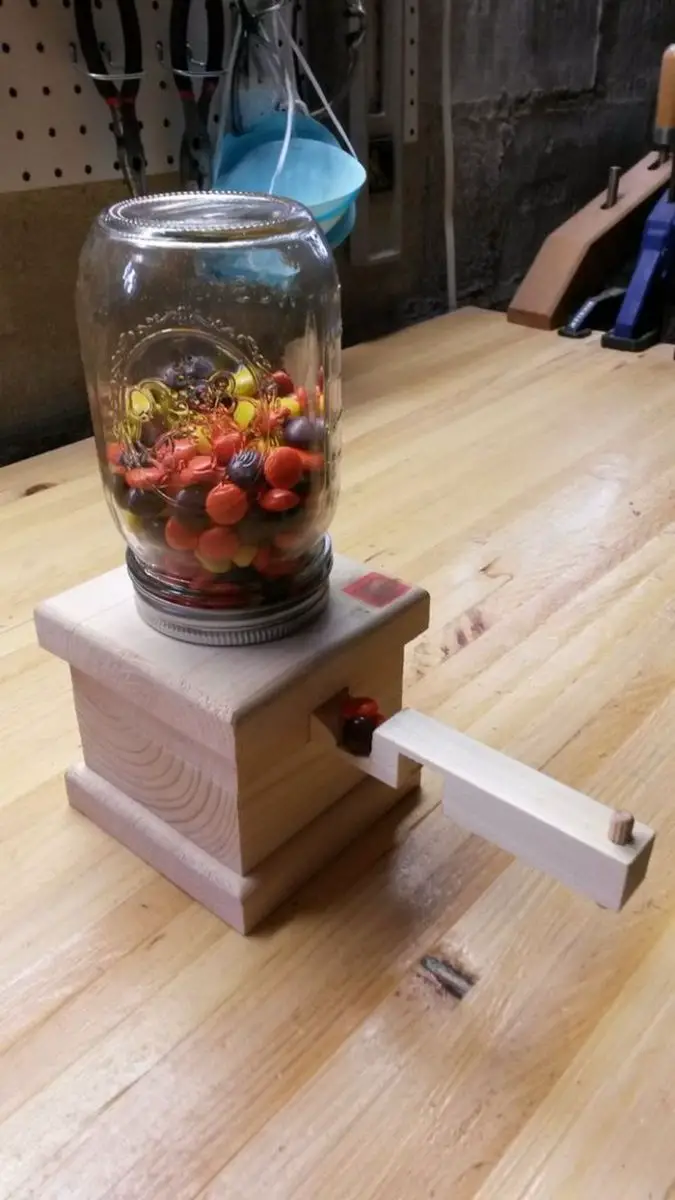
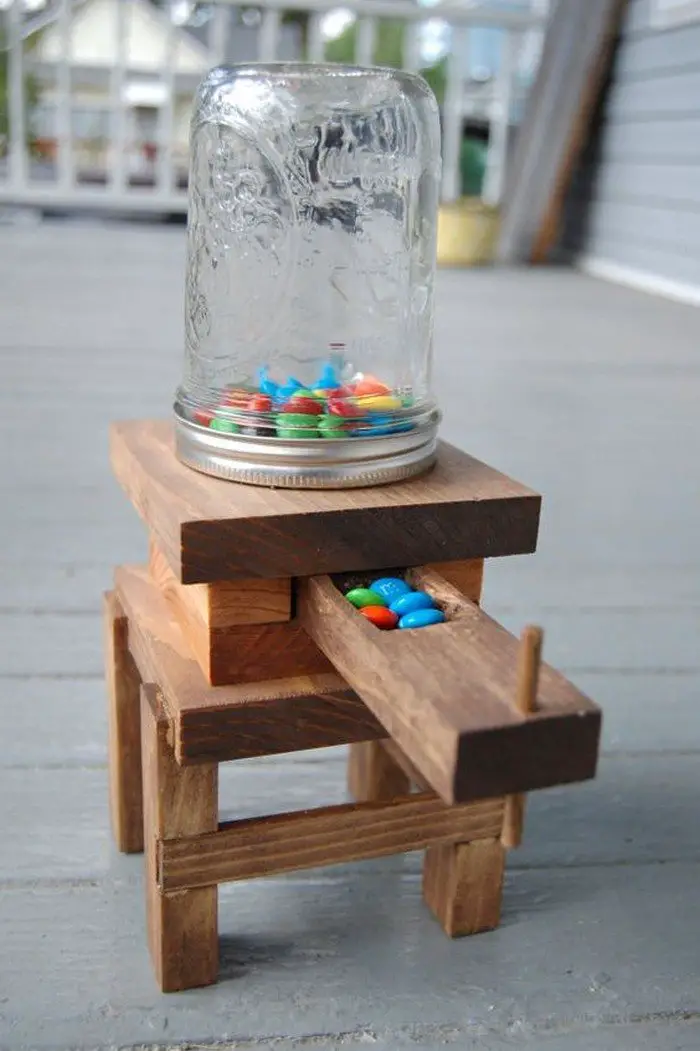
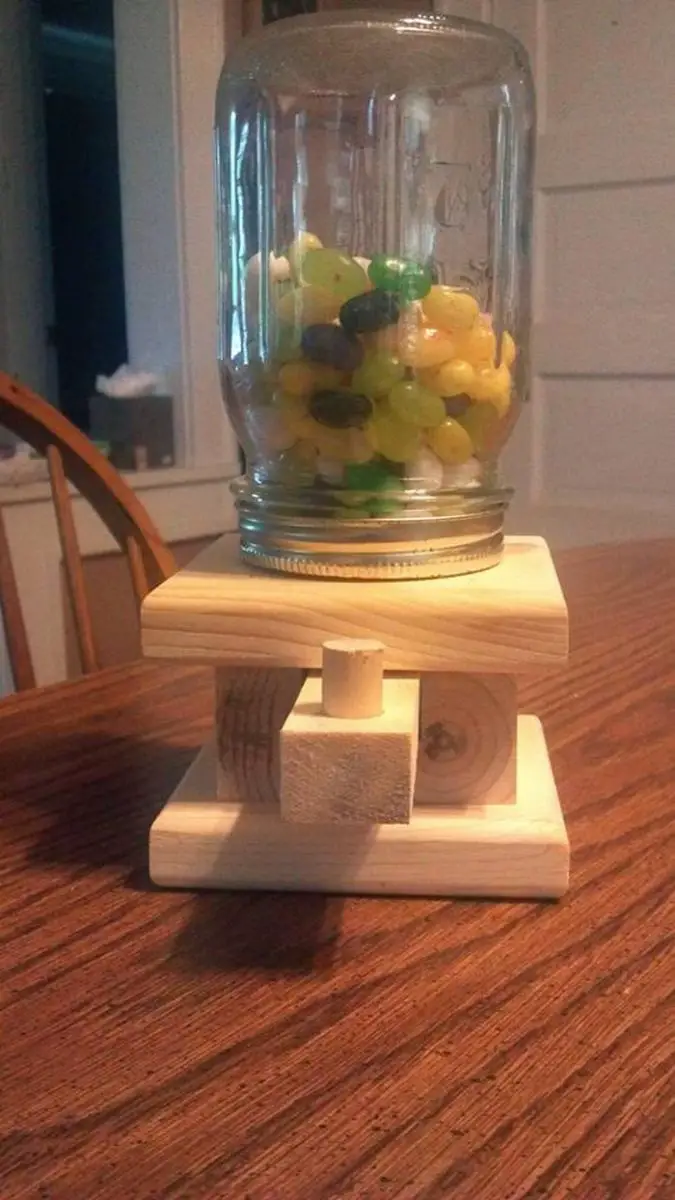
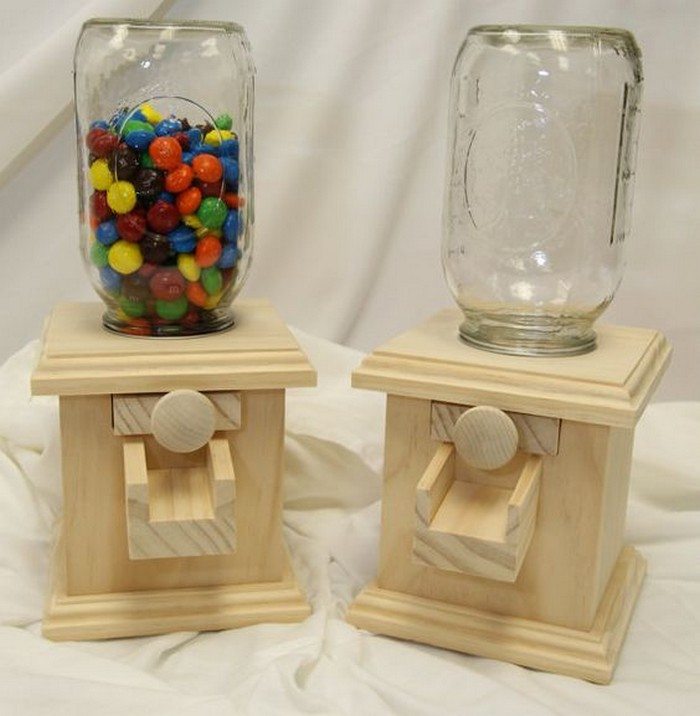
OK, so here’s a fun project you can make with your kids… a fun and cute jelly bean dispenser!
It’s a great DIY project that you can do with your scrap timber and finish in just a couple of hours. If you have the right tools, you can definitely do it in one hour. ;)
A DIY jelly bean dispenser is something your kids will surely enjoy. And it’s definitely a nice way to get some control over candy intake!
It’s also a great way to serve some treats if you love hosting weekend get-togethers. Or perhaps you’re looking for some easy DIY gifts for friends and family?
This DIY jelly bean dispenser works for M&M’s and other similarly sized hard candies, too!
Is this going to be your next quick project? :)
Materials:
- 2 pcs of 4 x 4 x 7/8″ Timber
- 1 pc of 3-1/2 x 3-1/2 Timber (1-1/2″ thick)
- 1 pc of 3-1/2 x 3-1/2 Timber (1″ thick)
- 1 pc of 10 x 1 Timber (1″ thick)
- 1/4″ Dowel
- Thin piece of Wood (1-1/2″ long, exactly 1″ wide)
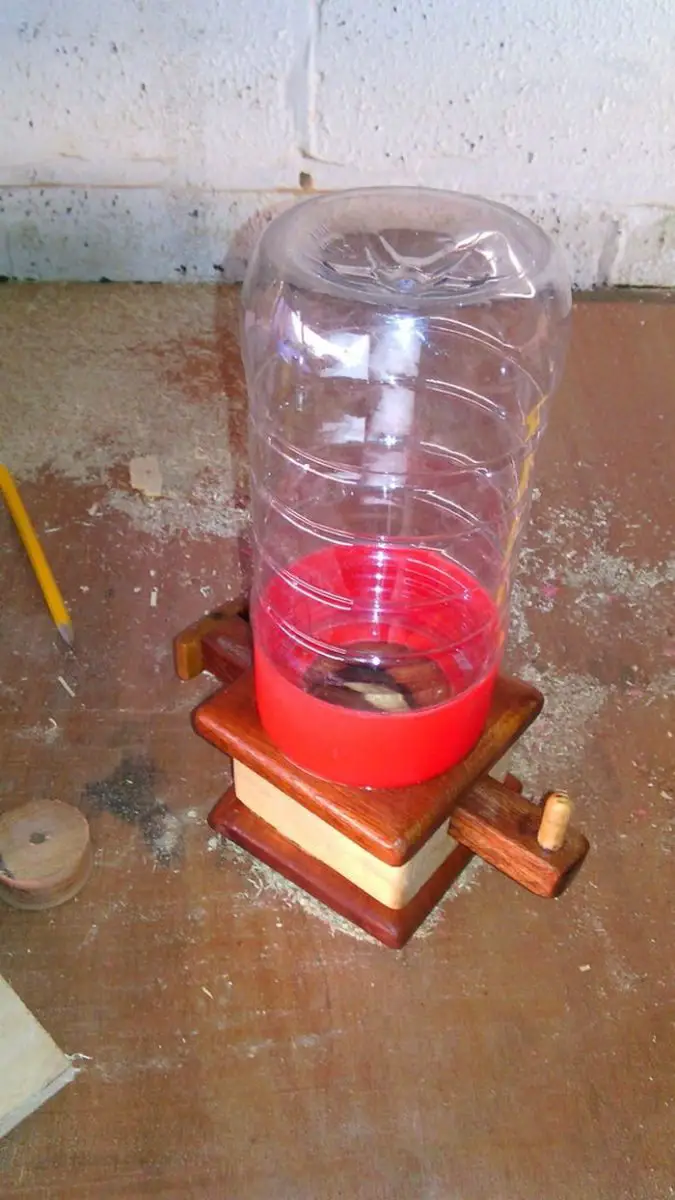
- Mason Jar with Screw-on Cover
- Wood Glue
- Small Nails
- Varnish, Paint or Polyurethane
- Mineral oil or Beeswax Finish (for wood parts that would be in contact with your candies)
Tools:
- Measuring Tape
- Miter Saw
- Drill with various Bits
- Band Saw
- Square
- Hammer
- Punch
- Needle Nose Pliers
Click on any image to start lightbox display. Use your Esc key to close the lightbox.![]()


Steps:
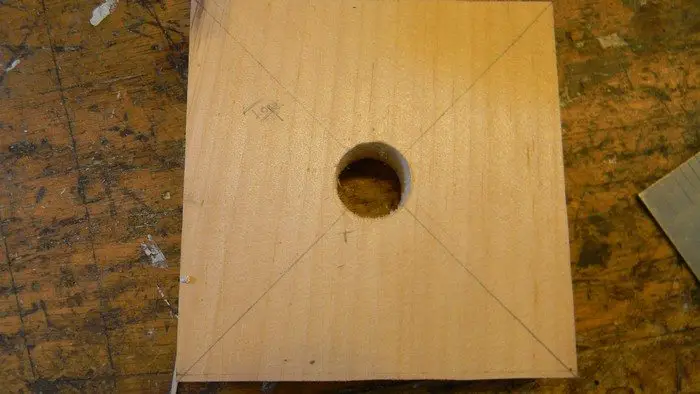
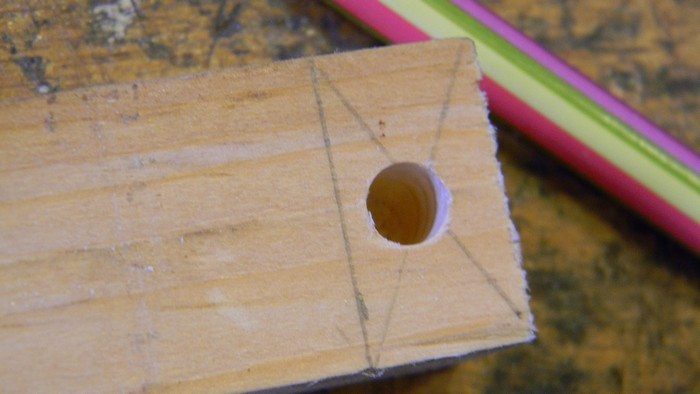
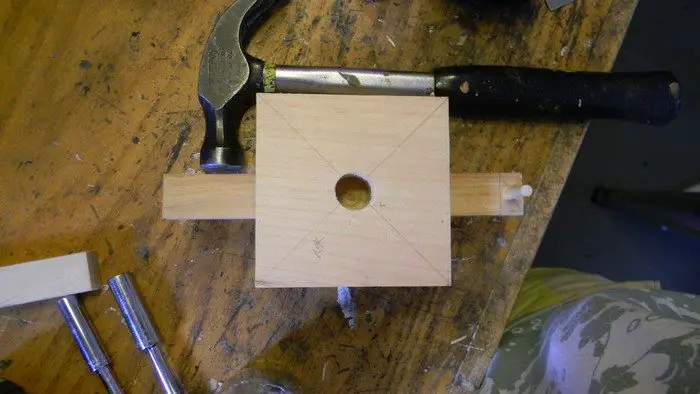
Cut and drill: Cut all your wood down to size, and then mark the two 4×4” top and bottom. Find the middle of the top block and drill a hole in it with the 3/4” or 15/16” drill bit. Set both pieces aside.

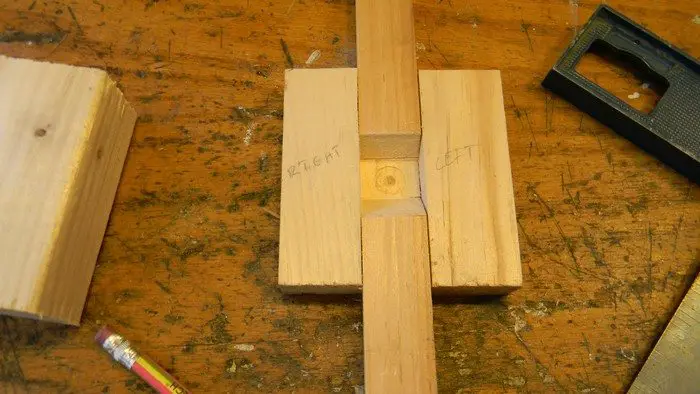
Take the thin 3-1/2” x 3-1/2” piece, and the long piece of wood of the same width. (1”) Put the top 4×4” piece and place it atop the thin 3-1/2”x3-1/2”. Using a pencil, put a dot into the 3-1/2” piece through the hole, so you know where to place your long piece. Center the long piece of wood over the dot, and mark where it is with a pencil. Make the lines you just made about 1/16” bigger, and cut out on any saw, just make sure it is even.
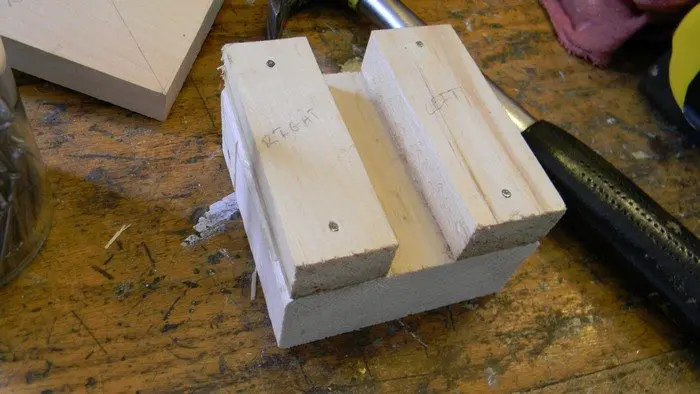
After this, carefully glue and nail down the wood you cut onto the thicker 3-1/2″ x 3-1/2” piece.
More cutting, drilling and gluing: Take the long piece of wood, and make a line 1/2” down. Find the middle of this new, smaller section, and with the 1/4” bit, drill a hole in the center. Do not drill through the wood, but go far down.
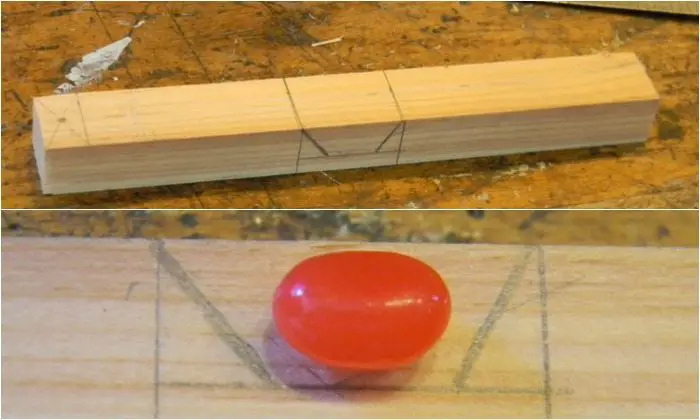
About 3” down from the hole you just made, mark a 11/4” space. Turning it on its side, mark a line that is 1/6” above the bottom. From there, make two 30 degree angles that go down to just a bit more than the length of a regular m&m or jelly belly jelly bean.
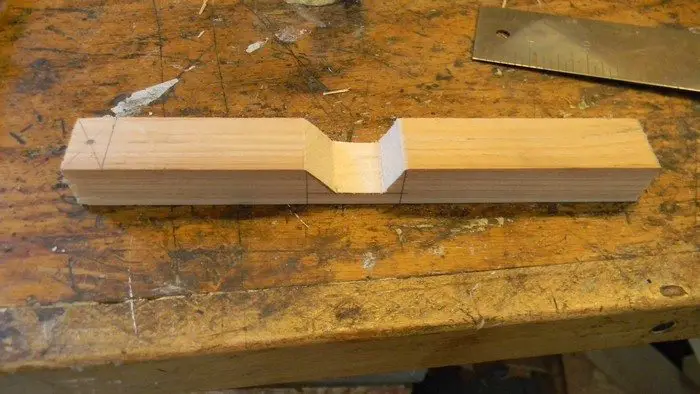
Cut out this space.
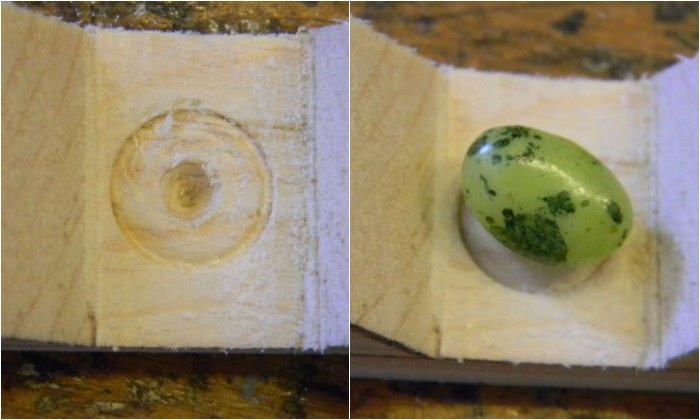
Take the 1/2” drill bit, and drill a small circle into the slot you just made. this will make it so the jelly bean will not fall out of the slot as easily.
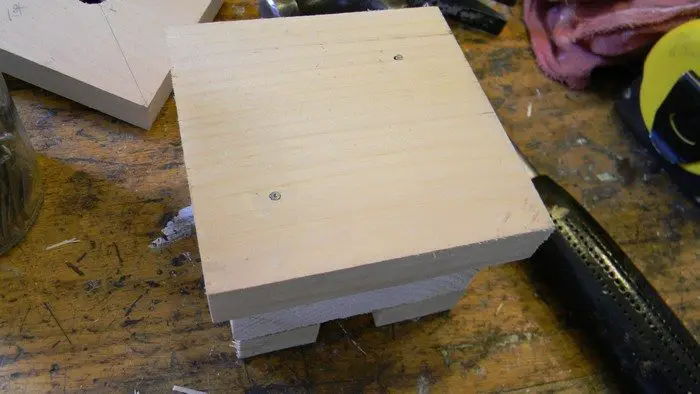
Putting it all together: Take the 3-1/2” blocks that you put together, and center, glue, and nail the top and bottom 4×4” pieces to it. Make sure the hole in the top piece is directly above the opening in the pieces of wood (smaller 3-1/2” that were cut earlier).
Once this is done, take the long piece of wood and place it inside the opening. It should fit snuggly, but slide easily. If it does not, sand or cut out more from the sides.
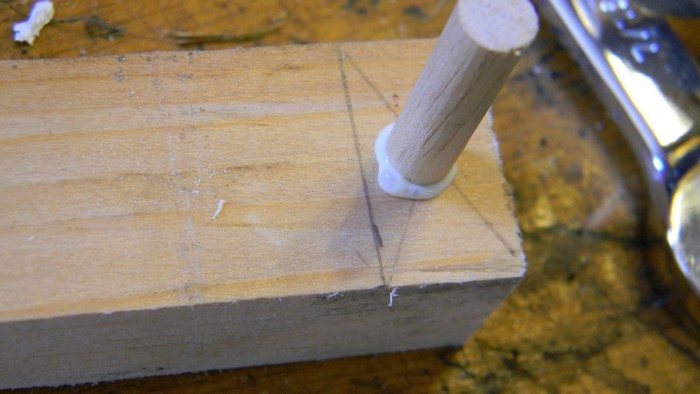
Once you do this, get the 1/4” dowel, and put it in the small hole in the mechanism. (long piece of wood) mark the dowel so just a small bit goes above the top 4×4” piece. Cut and glue inside the hole.
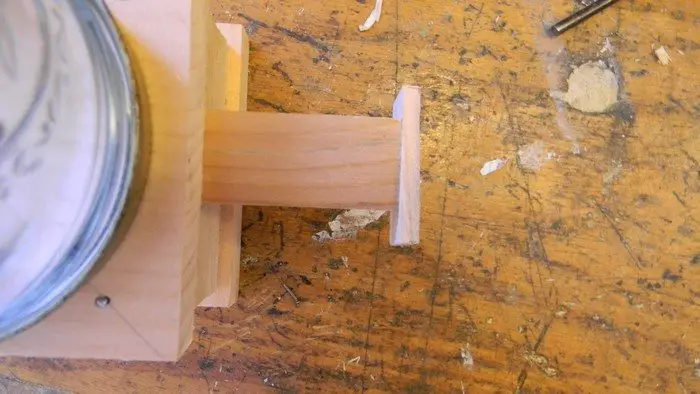
Now take the thin scrap wood and cut a piece that is about 1/2” bigger than the back of the mechanism. Making sure the wood is inside the opening, glue to the back, and add a small nail if you wish.
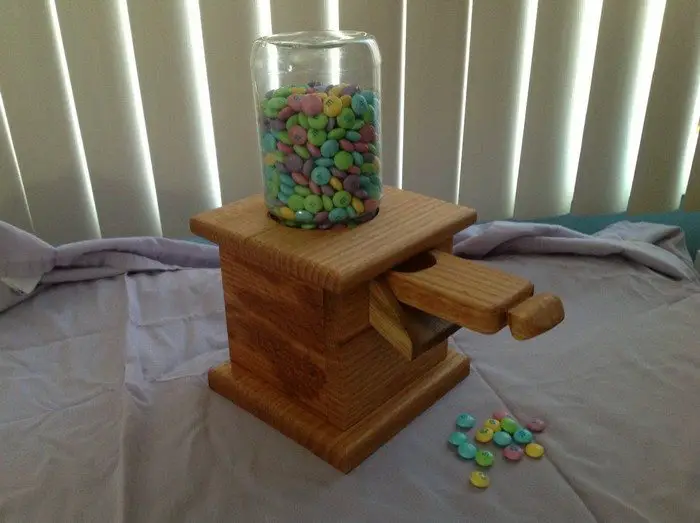
You should now have a working dispenser, with out the jar on top.
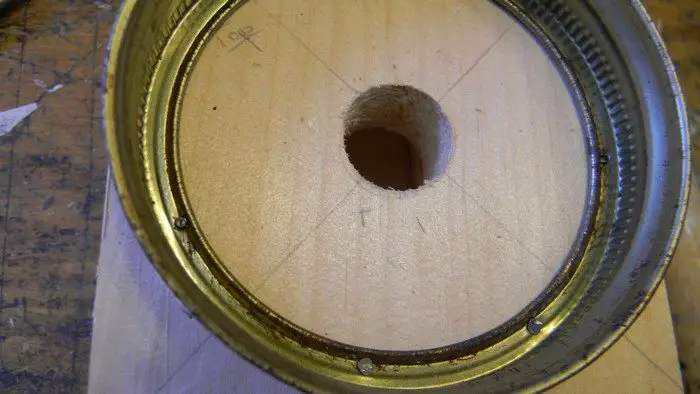
The jar: Take the lid to your jar. Make sure it has a hole in it bigger than the hole in the top piece of the wood…
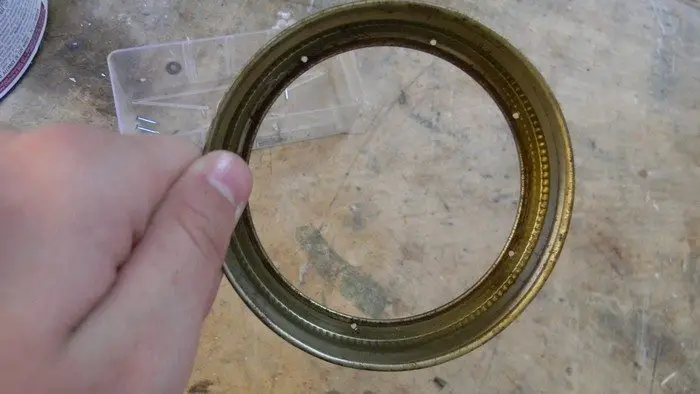
and carefully drill about six holes in it that are the size of your very small nails.
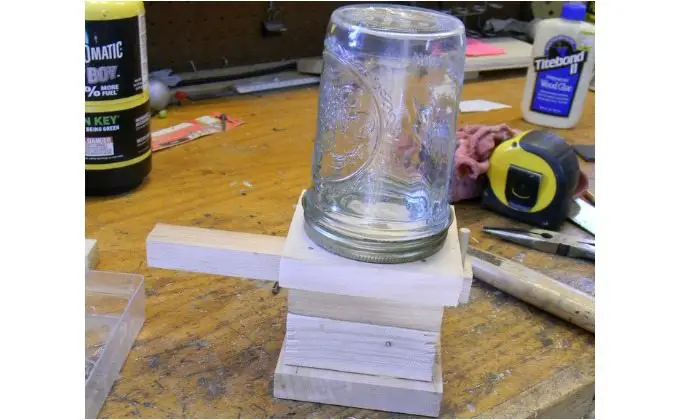
Center the lid on the top of the dispenser, and using a hammer and punch, carefully nail it in place. put on the jar, and voila, you have an almost finished jelly bean dispenser!

Erase any pencil marks, add a coat of varnish, paint, or polyurethane, and you have a finished jelly bean dispenser! For a cooler design, you could try using an old lightbulb for the jar, or even a tree stump instead of the wood!
Thanks to OutdoorGirl16196 for this great project.


