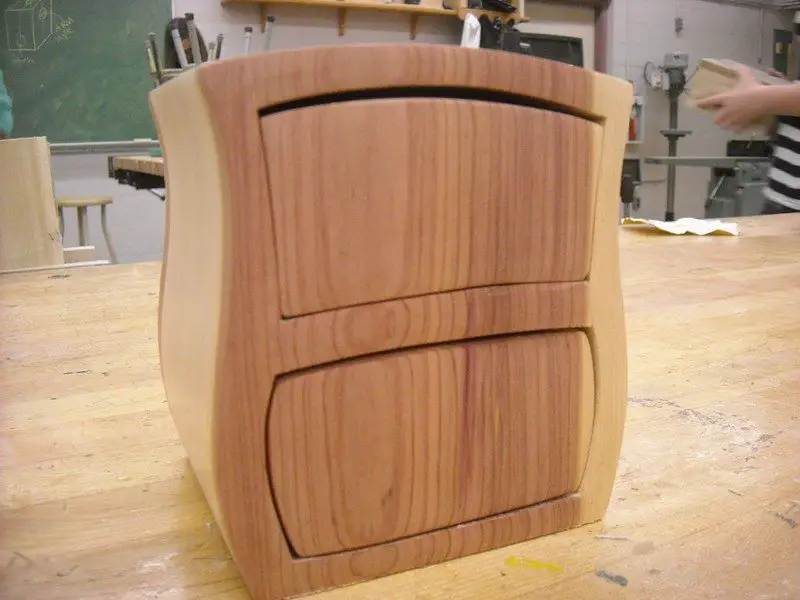
After the kids have transferred the design to the contrasting front piece of wood and glued it onto the big block you can demo the bandsaw. I like the “5” rule which is:
-Keep the guide 5mm above the workpiece
-Keep fingers 5cm from the blade
-keep 5 digits on each hand. (if you say 5 fingers some wise cracker will correct you saying you only have 4 fingers on each hand)
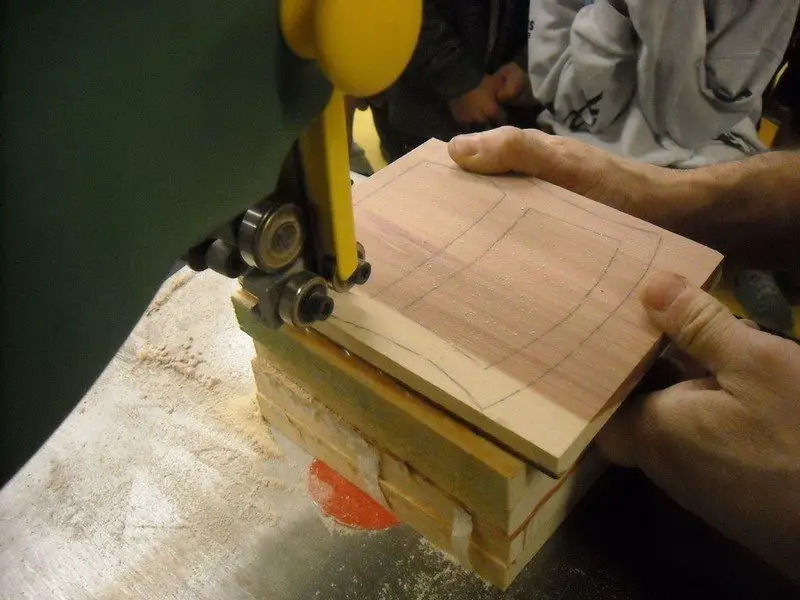
Before you start cutting its a good idea to mark all the lines where you’ll have cuts or label things so it goes back together…
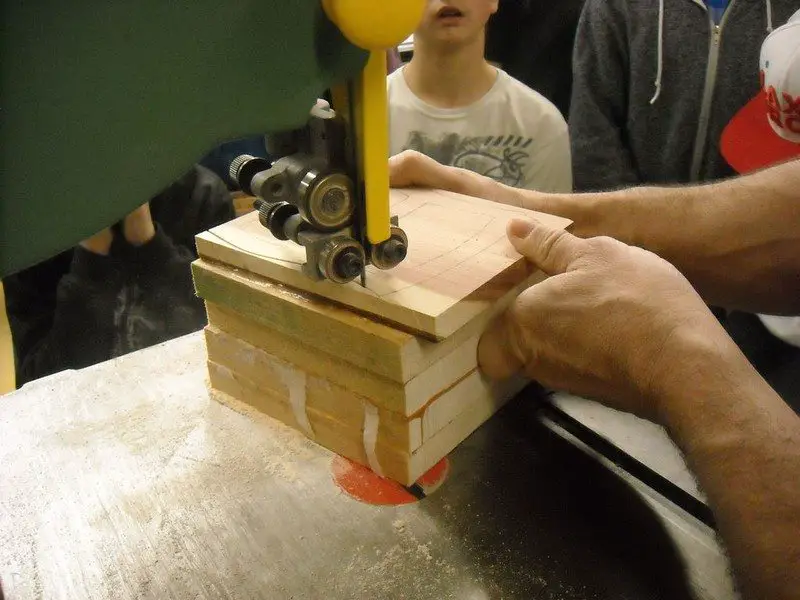
I’ve included all sorts of pictures here so you can follow along. The cutting sequence I like is:
Cut out the outside lines first. If a kid wants to make a really crazy design with lots of curves or angles it is often better to leave this step to last. It makes it easier to clamp.

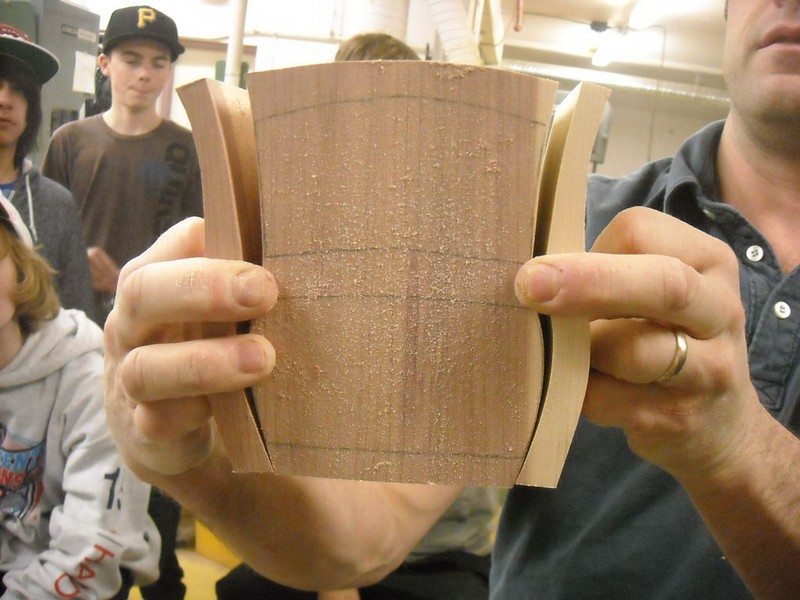
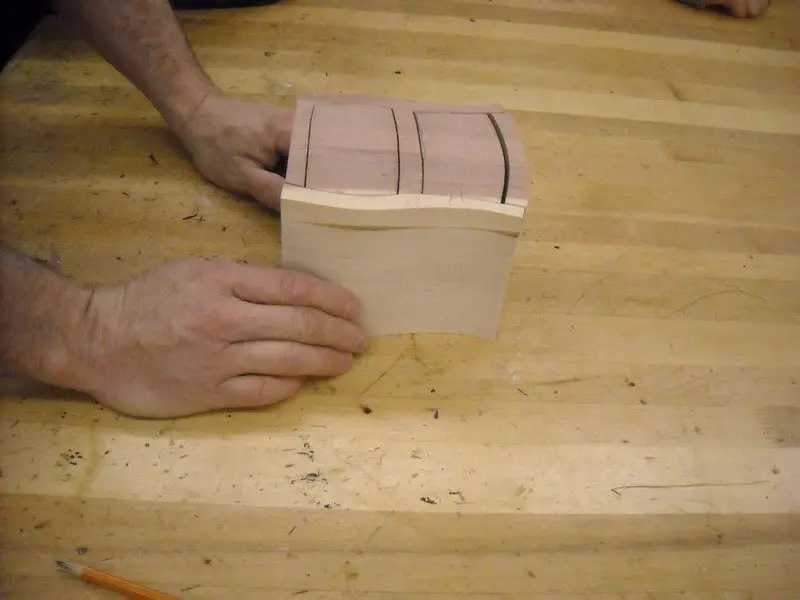
Cut the lengths next. Keep a smooth line that curves with the sides of the drawers. SAVE the pieces.
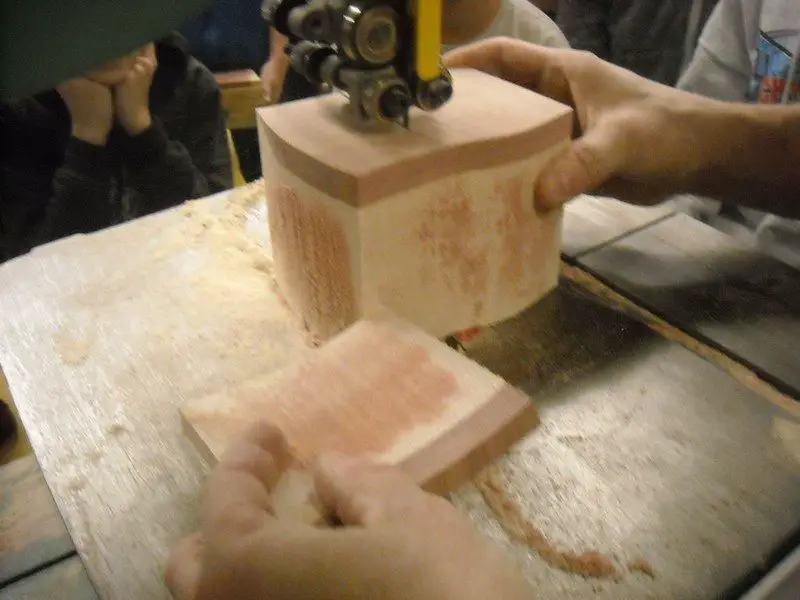
Cut across the piece from side to side… Follow the drawer tops and bottoms starting at one end and moving to the last. If some drawers are small cut them first so that you have something left to hold onto at the end. Use a push stick if fingers are getting close.
Be sure to remind kids about “pop-thru” which is where the pushing resistance is high until the very end… when all of a sudden the blade pops through the wood and cuts off something vital — like a finger.

This is where things can get a bit weird. If you have group of unruly beasts now is the time to rein them in and make sure they stop and think what they’re doing. I explain that this is the “make or break” point. If they slow down, take a breath and do each step carefully the project will be great. If not… well…
Each person will need at least 3 clamps. I like Jorgensen clamps as well as those cheapie kinds that slide and open way up. Some masking tape is also pretty handy, too.
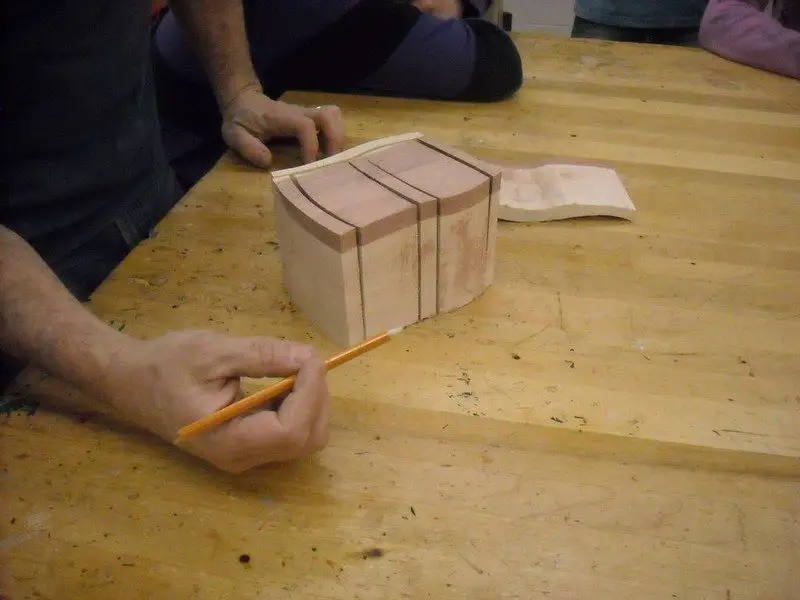
Make sure the students all blow off the dust and carefully dry fit everything first.

Get them to clamp it all together before putting on glue. Once they are ready to glue emphasize that they cannot get glue on the drawers. A very thin line of wood glue that is well spread out with your finger on each joint is good. Sometimes if the glue is soaked up you can add a bit more but be careful… it often seeps under and glues in the drawers.
Why glue with the drawers IN you may ask… I’ve tried it with the drawers outbefore but what i’ve found is that it is really tough to line everything up so that the drawers can move in and out. Try both and see what works for you.
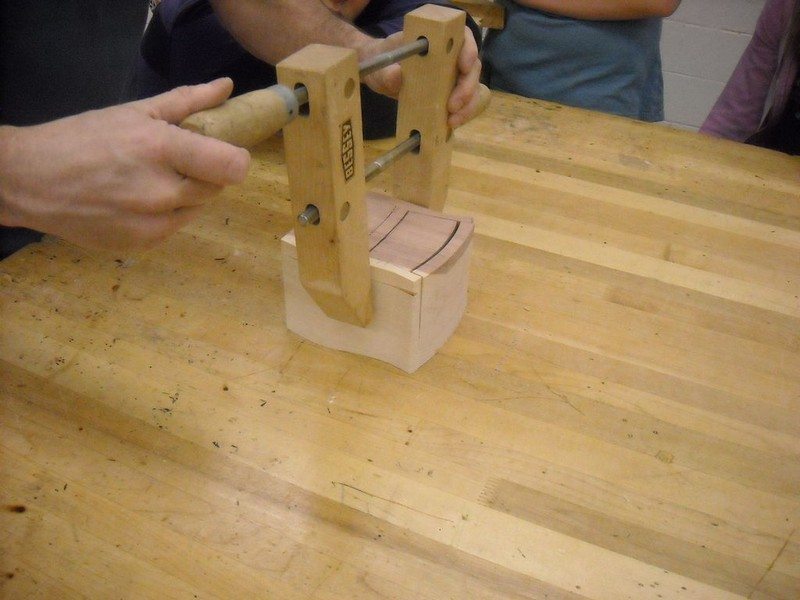
Apply a ton of clamps. Sometimes it is easier to use masking tape to hold the joints tight and in line before clamping. Its up to you. I wouldn’t suggest just giving the tape out. I once had a group of kids tape a buddy to the underside of a table. It took a really short amount of time. Make sure that the edges are absolutely in line and perfect… if they are out a very small amount it can make the drawers really sticky. Sometimes after clamping you can gently tap out the drawers without the whole thing falling apart. Try and if you can, go for it.
Continued Page 3…


