Mortar the three main parts: Once the end tiles fit correctly, you can mortar them together.
Note: You must use a minimum of mortar on the inside edge to ensure a strong bond. The outer surface is less critical and can be filled with mortar once you have completed the initial construction steps.
Soak all the tile pieces in water for 30 minutes to ensure they are thoroughly wet. If the tiles strips are dry, it will instantly dry up the mortar as you apply it and the bond will not be strong.
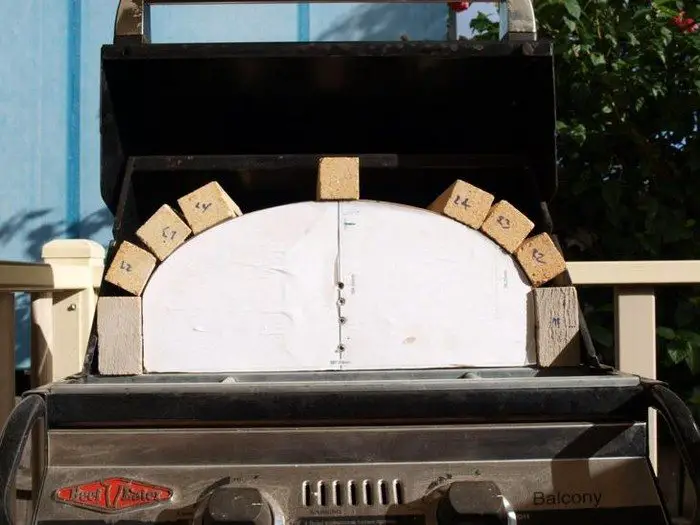
I made my dome in 3 main sections, the left hand side (5 pieces), the right hand side (5 pieces) and the top dome (5 pieces).
If you construct the dome in this way you can move the pieces easily and it allows you to fine tune their placement in the BBQ.
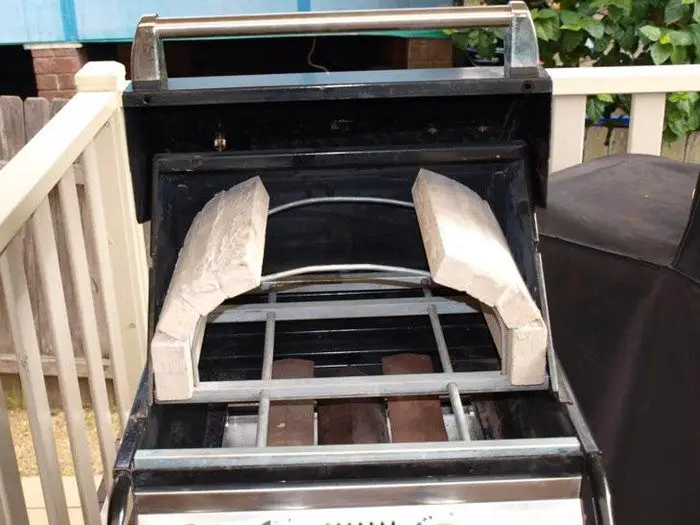
The metal dome supports: I decided that I might need to reuse the ply templates should the whole dome collapse or I decide to build a second dome.
I made up two metal dome supports to help during the final rendering and firing processes, and it also saved me from having to move the whole dome to remove the wooden template.
I used 6 mm steel rod bent into the shape of the underside of the dome. The rod is fitted into holes drilled in each support section where the steel and the tile meet.
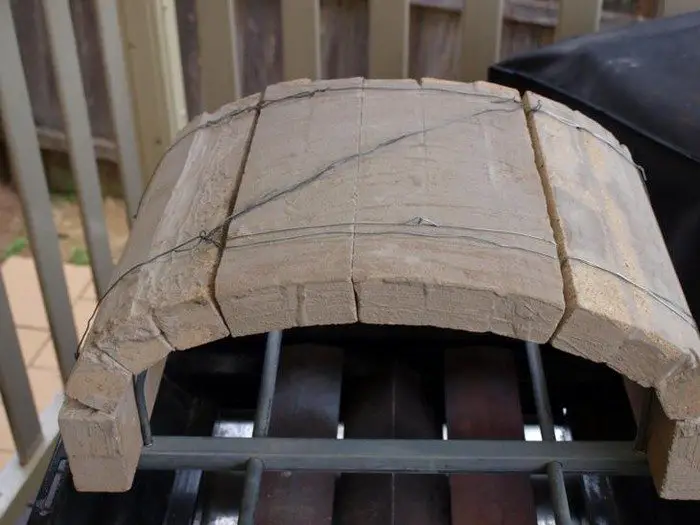
Wire up and mesh the dome: Tie the steel supports and tiles together to help support the 3 major sections.
If at this point you want to test the dome (like I did) you can fire up the BBQ and take it on a test drive.
Leave the BBQ on medium heat for 2 hours to heat through and remove any oil or reside which might taint the pizza.
When you are happy with the performance of the oven, you can move to the final steps.
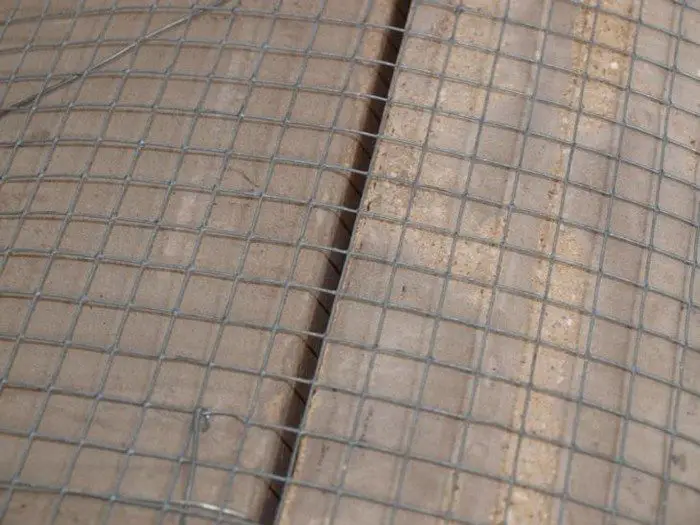
Once the BBQ is cold. Apply the mesh to the outside of the dome using the steel rod as a tie-down.
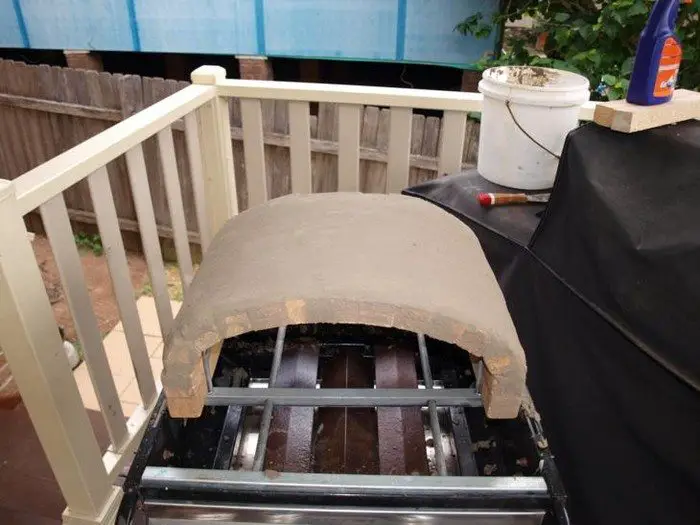
Render the dome: Apply mortar to the joints of the 3 segments and apply the finish coat of mortar to the outside of the dome ensuring that no mesh is visible.
Keep a spray bottle with water handy to keep the mortar wet while you are applying and smoothing.

The mortar has a grey finish which is a bit boring, I decided to add a final render coat with some oxide as a colouring agent.
Curing and firing: Once completely dry you should fire up the BBQ and slowly heat it.
Leave the BBQ on medium heat for 1 hour and then check the dome for cracks and splits.
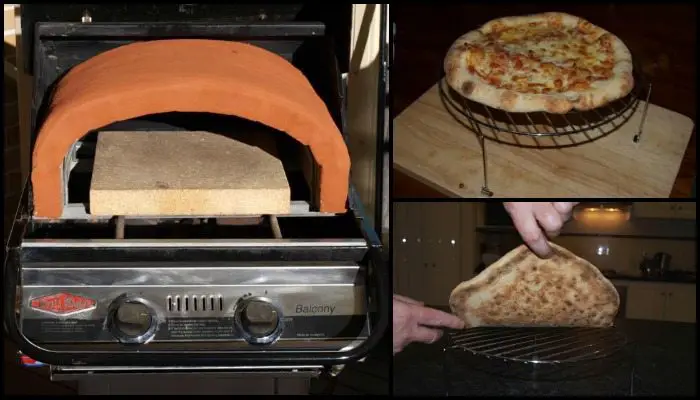
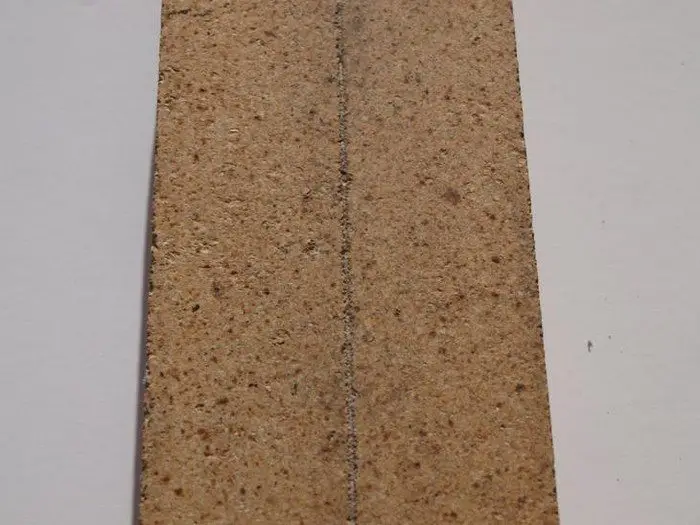
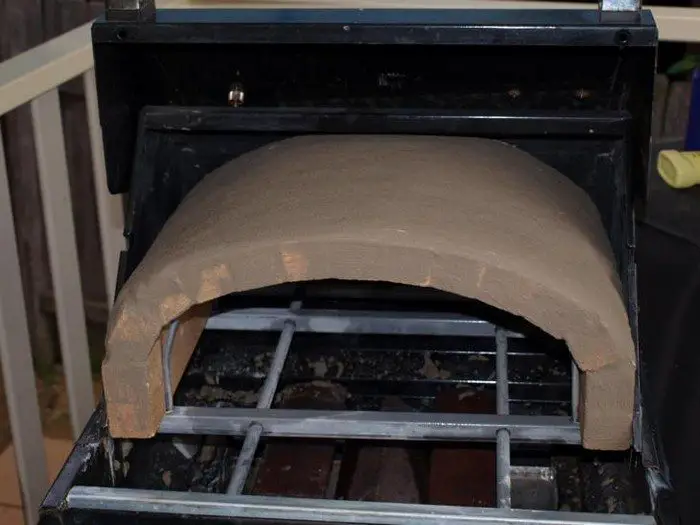
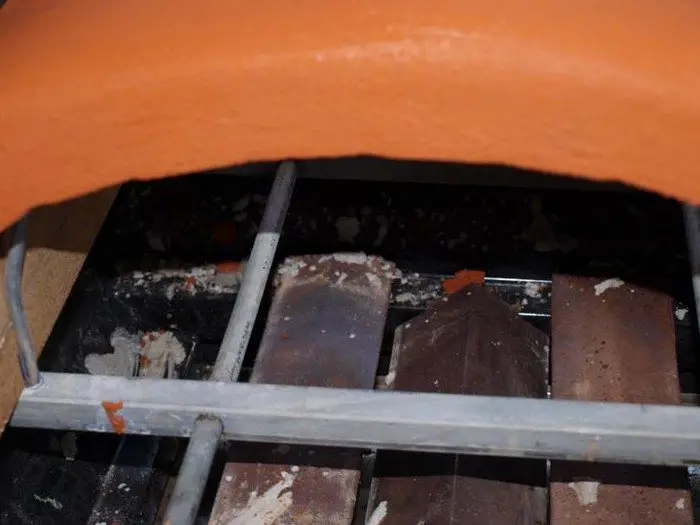
The one remaining refractory tile should be placed on the supports under the dome, this is used to cook the pizza on.
Now you are ready to cook pizza: You may need to experiment with the stone height placement to ensure that the bottom stone is not too hot compared with the inner dome temperature.
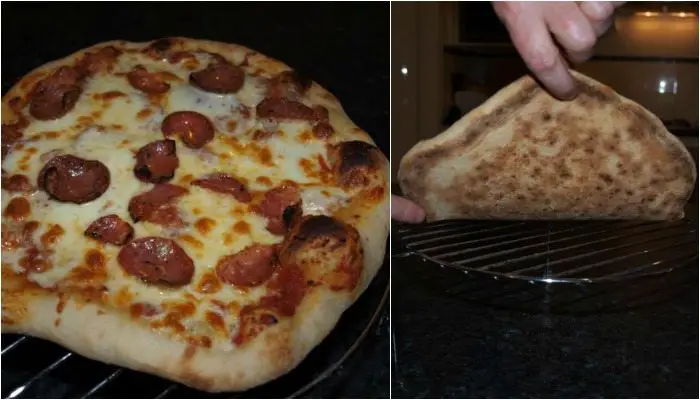
The ideal temperature for me seems to be around 360 degrees Celsius which cooks a pizza between 3 and 4 minutes depending on the toppings and the dough hydration.
I always cook with the hood closed, I check every 45 seconds and turn the pizza around halfway through the cooking about 2 minutes.
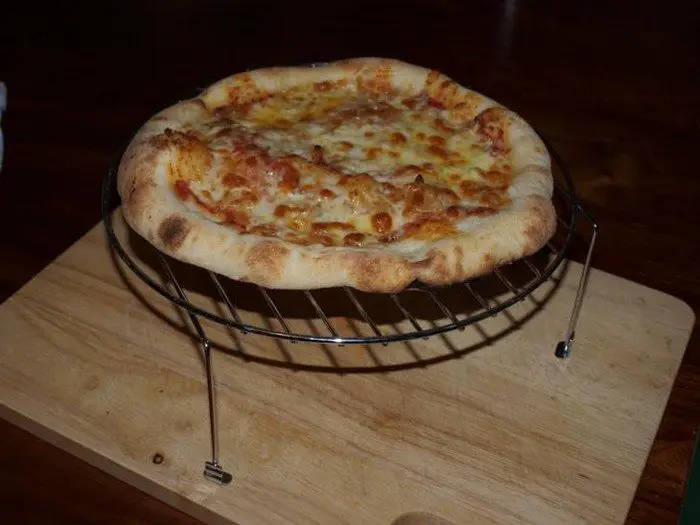
Here are my first pizzas from the dome, cooling before serving.
Cooking with the dome is a definite improvement, I now have to re-learn how to cook them to get the best results.
Thanks to mdub for this great project!
Here’s a quick video…


