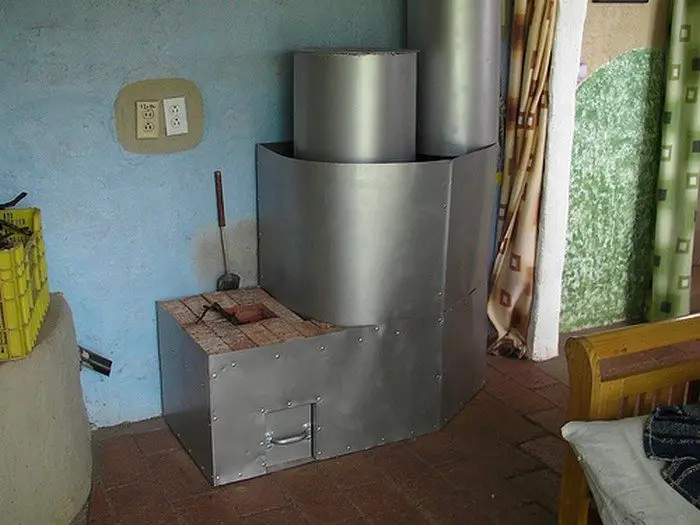
At this point, you want to cut out a section of the sheet metal for the ashtray, along the bottom edge. At 6 ¼” from the front, left corner, cut out a rectangle, 7 ½” tall and 6 ½” wide. Then pull the sheet metal over to the next upright and screw it in.
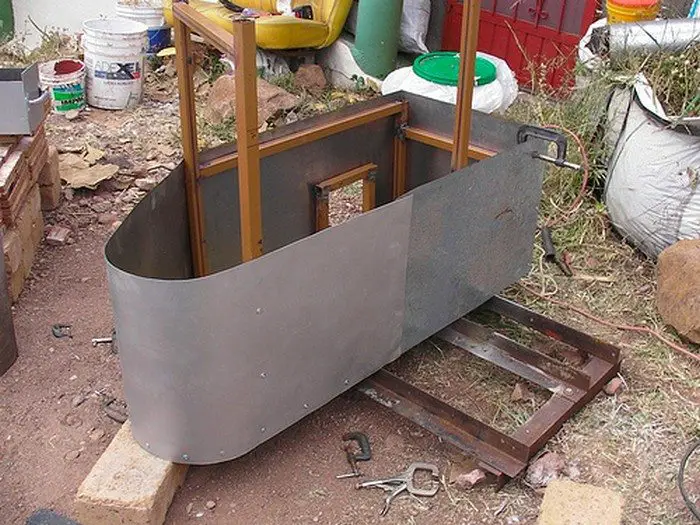
Bend the metal around the curve (follow the pattern of the base piece) to the next upright, and then along the back to the upright at which you started.
Screw its end and the starting 1” flap to the back of the first upright.
Now screw the bottom of the sheet metal into the base, all the way around, apart 4” apart.
Place the small, ashtray frame on the inside of the unit around the hole and screw the sheet metal to it.
Run a bead of high temperature silicon around the base and over any seams.

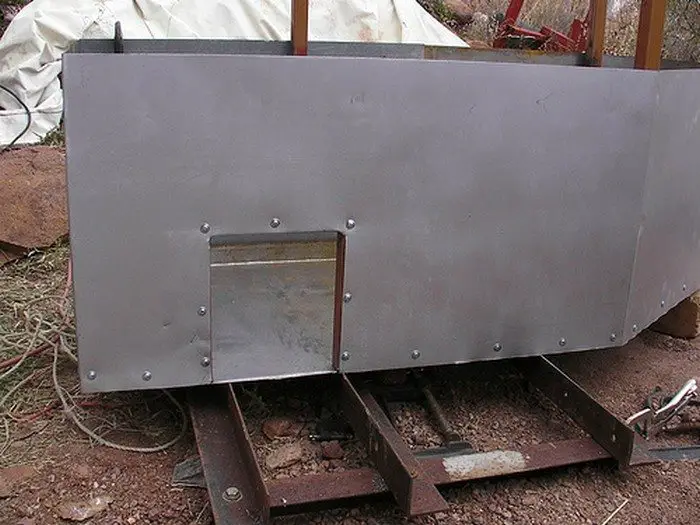
2nd layer material: Cut a piece of sheet metal, 20” wide (tall) and 89” long. You’ll be screwing this one into the tall uprights, but going in the opposite direction from the bottom piece.
Clamp one end of it in between two pieces of square tubing, with 1” hanging over the edge. Hammer that 1” flap until it is at right angles to the rest.
Place this 1” flap on the left side of the back, left, tall upright, with the rest of the metal running right along the back. Screw in the back side, but not the 1” flap.
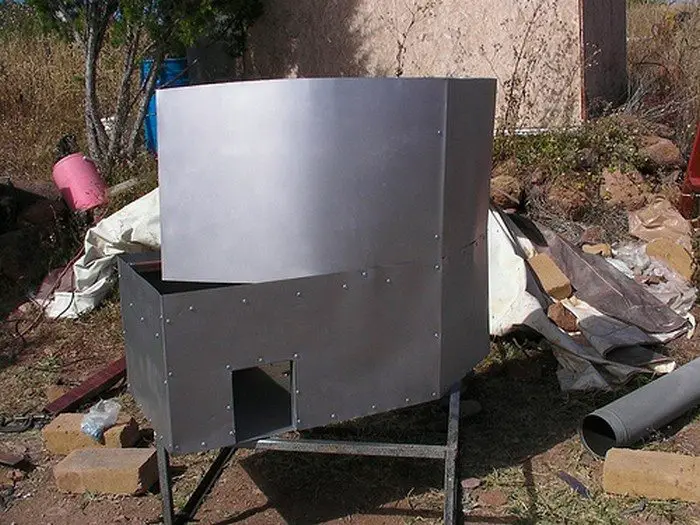
Screw it into the next upright on the right. Then follow the shape of the first layer of sheet metal, around the corner. Screw it into the third upright, but do not take it back to the first upright of this level. Instead, leave it loose for now.
Connect the two layers together with sheet metal screws every couple of inches.
Paint the outside with a paint that can withstand high temperatures.
Put the unit into its place and line it up with the stovepipe or hole.
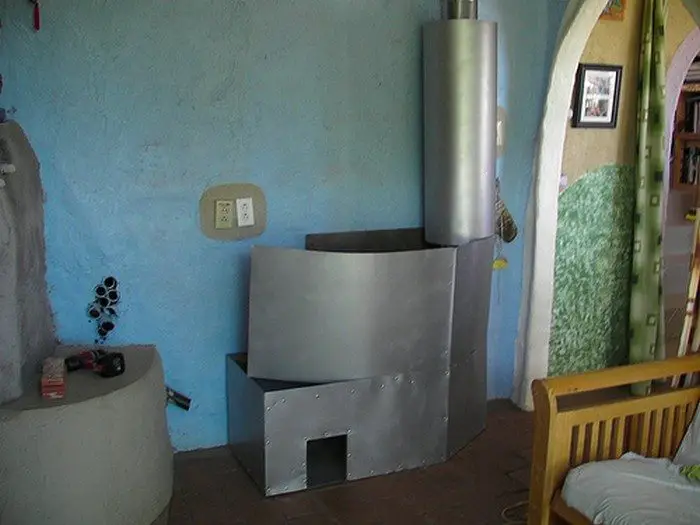
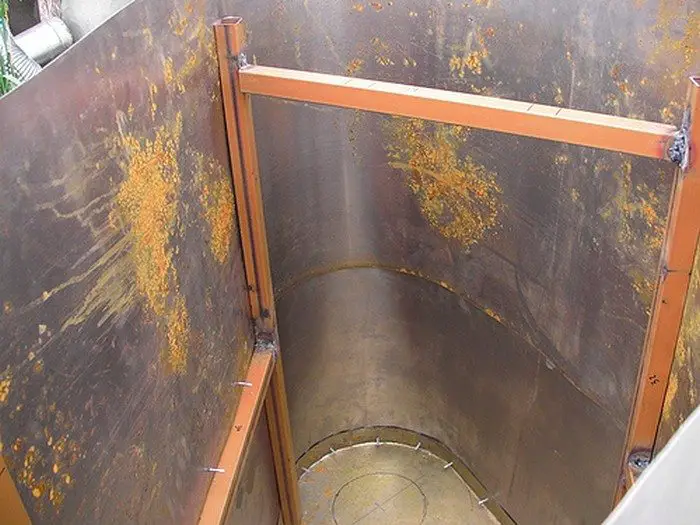
Stovepipe: Connect pieces of stovepipe together so that they go from the exit hole in the wall all the way down to the ground inside the unit you’ve made. At the very bottom it needs to end in an elbow, which should point towards the left.
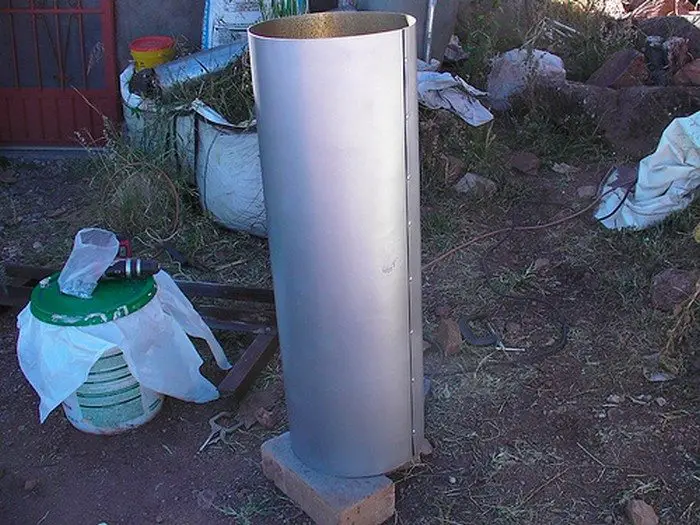
Cut a piece of 26 gauge sheet metal, 41” x 36” tall. You can take this all the way to the top of the stovepipe if you wish to cover it up. We wanted to leave a little exposed without thermal mass around it, for some fast, direct heat.
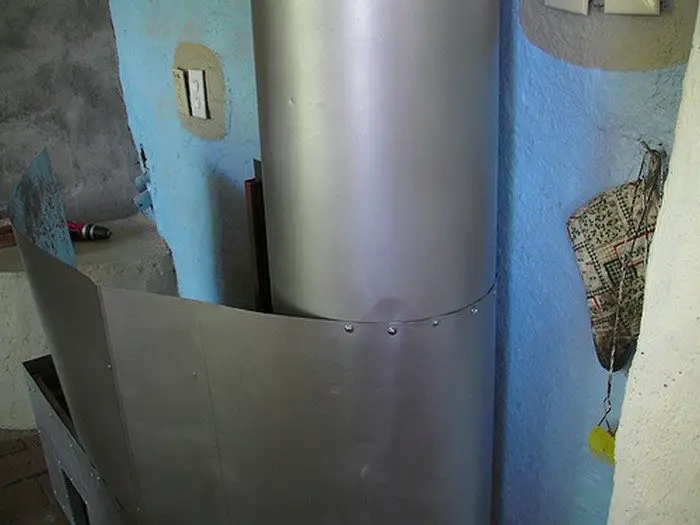
Paint the outside of the metal with a high temp paint and then wrap it around the stovepipe and connect it to itself (1” overlap) and also to the level below where you can.
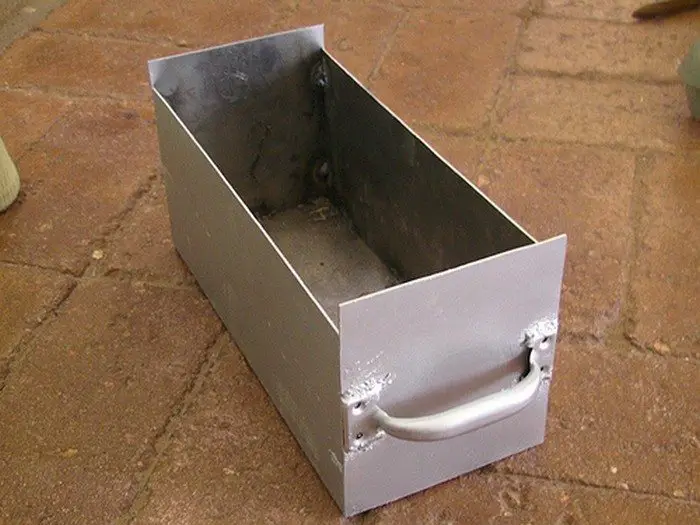
Ash box: For this design, we made the ash box to the following dimensions: 6” wide, 14” deep and 7” tall.
Out of 16 gauge metal, you’ll need three pieces of 14” x 6” (for the bottom and sides, which are an inch shorter than the front and back pieces), and two that are 6” x 7”.
Weld the pieces together to form a box and then weld a handle to the front.
Once everything has cooled, paint it with a high temp paint.
Put it in its place, just inside the opening.
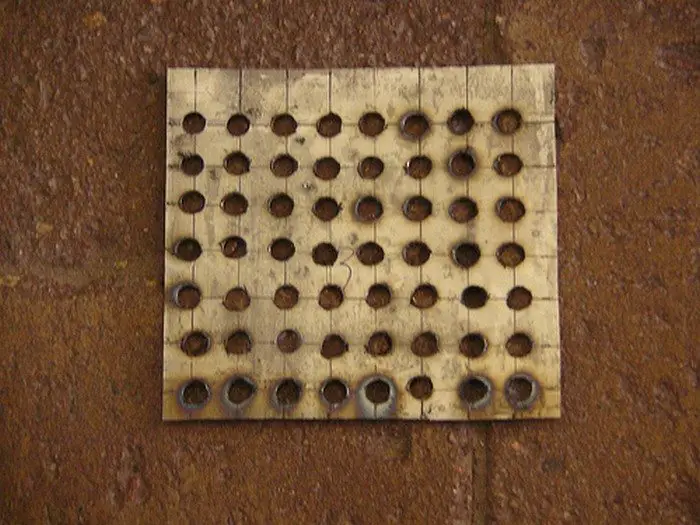
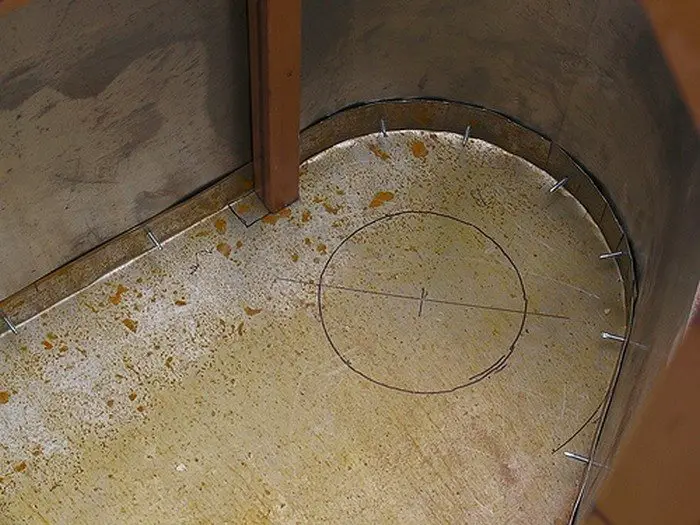
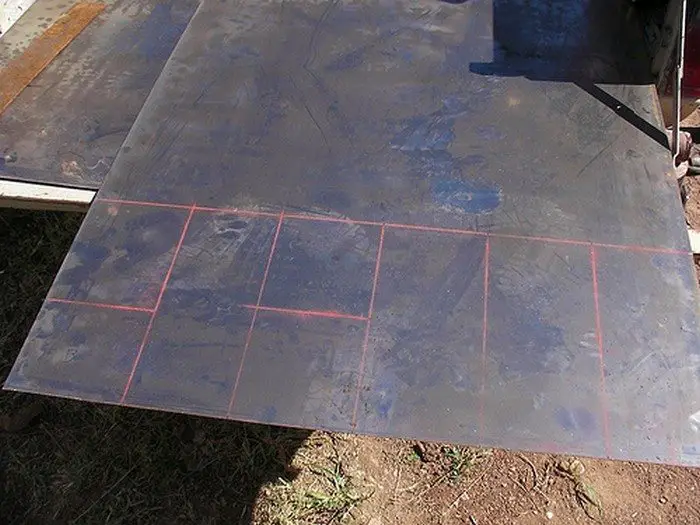
Cut a 7” x 7” piece of 16 gauge or thicker metal.
Mark a grid on the metal, with lines going horizontally and vertically.
Drill a ¼” hole at each intersection.
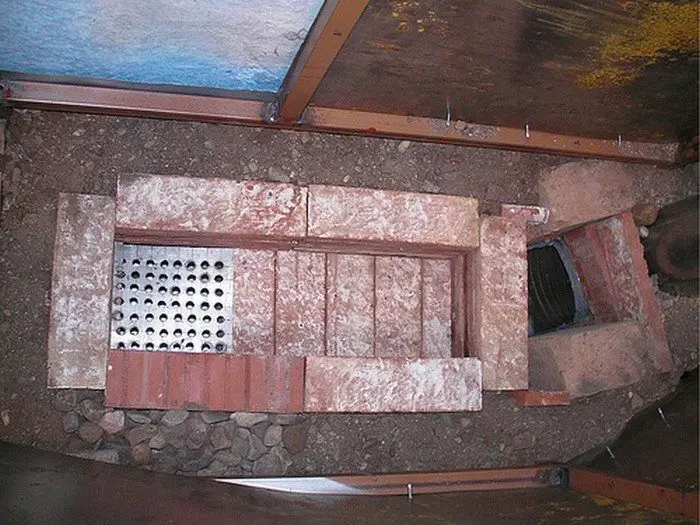
Bricks: Here’s where it gets really tricky to explain, so look closely at the photos.
This next part, which basically involves stacking bricks, has two main functions. The first is to create a path for the smoke, which will travel from the firebox, along and up into the riser, down again to the stove pipe elbow you just put in, and up through the stove pipe to the chimney or exit. The second purpose of the bricks is to retain the sand.
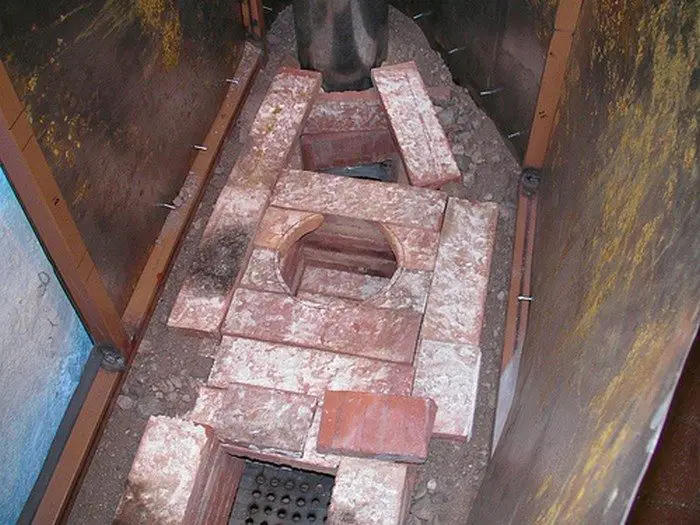
We wanted to make this whole unit capable of being disassembled, so we did it all mortar free. If you don’t plan on ever having to move it, you can mortar in the bricks. Of course, be sure to use bricks and mortar /concrete that are made for high heat. Any places that will not be in touch with high heat (like around the ash box or stove pipe, but not the firebox or riser), can have regular bricks (we used CEBs for those places).
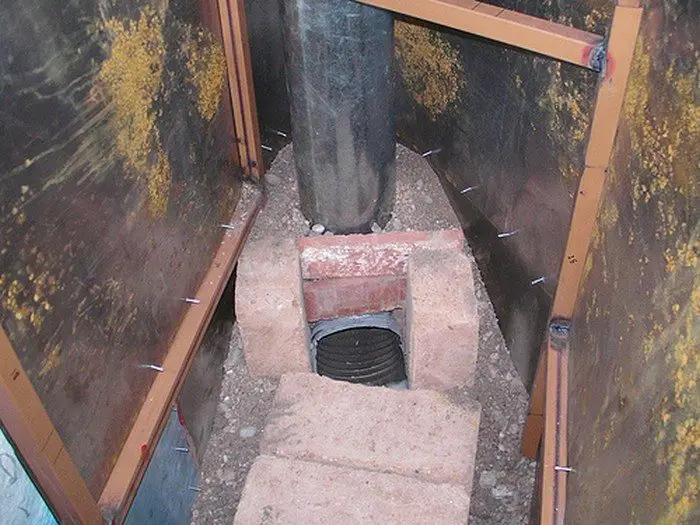
Start off by stacking bricks on either side of the stovepipe’s elbow, and on top of it. The end of the elbow wants to be exposed, but the bricks need to be able to retain the sand that will surround the stovepipe as it rises. Position bricks in a way that does not allow them to shift with weight behind them.
Put some sand in the back corner, around the stovepipe and behind the bricks.
Continued Page 3…


