Secure the Floor and Walls: You will most likely have to use some of those Cedar shim’s since the stringers will most likely be a little thinner than the 2×4 treated lumber already there.
Put one 3″ Screw directly through the floor panel stringers and shims into each of the 4×4’s.
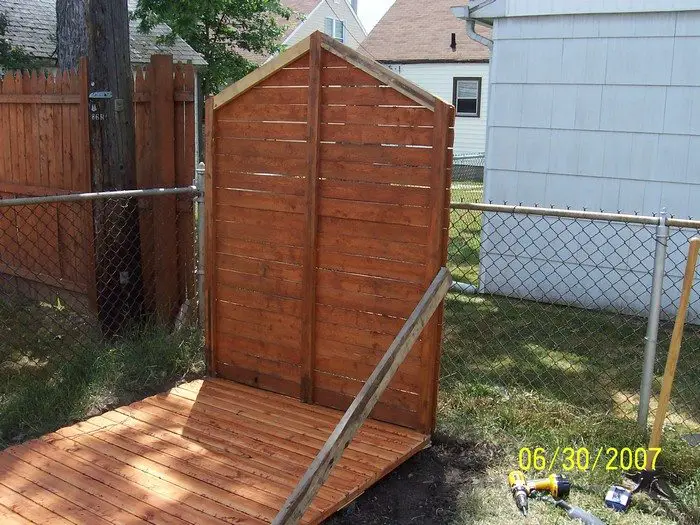 Set the first wall. Screw one of the 2×4’s into the side of the floor and part way into the other end of the 2×4.
Lean the back wall up and secure it with the 2×4. Make sure the back panel is perfectly positioned since all other walls will key off this one. Screw the back panel to the floor with 3″ screws by screwing at an angle through the bottom edge of each stringer “two screws each, pre-drilling through the stringers will make this easier”.
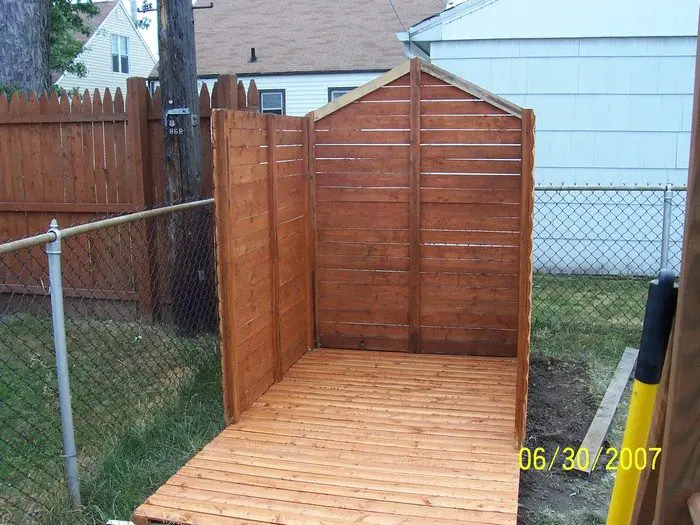 Now just lean the side wall opposite the 2×4 support up, kick it so it is firmly against the back panel and screw it into place through the pack panel into both stringers. Secure the bottom of the side wall in the same manner as the back. Remove the 2×4 support and add the other side wall.
Now cut the remainder of the door out and screw it into place from the front.
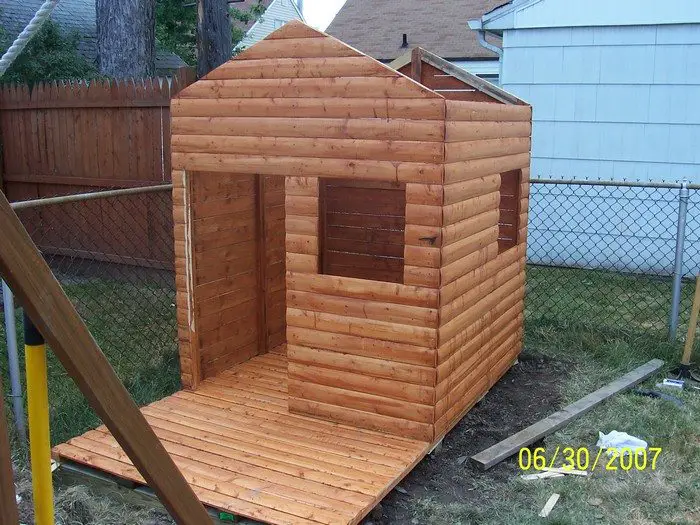
Put up the roof: Lift the first roof panel up and onto the playhouse. Make sure you have your drill and a few screws very handy because this won’t stay up there on it’s own while you go get one.
 Screw down through the roof stringers into the stringers of the front, back and sides with 3 inch screws.
Door and Trim Pieces: Now to cut the door, shutters and fascia boards.
I’m not going to give you measurements for this because they will most likely vary per playhouse.
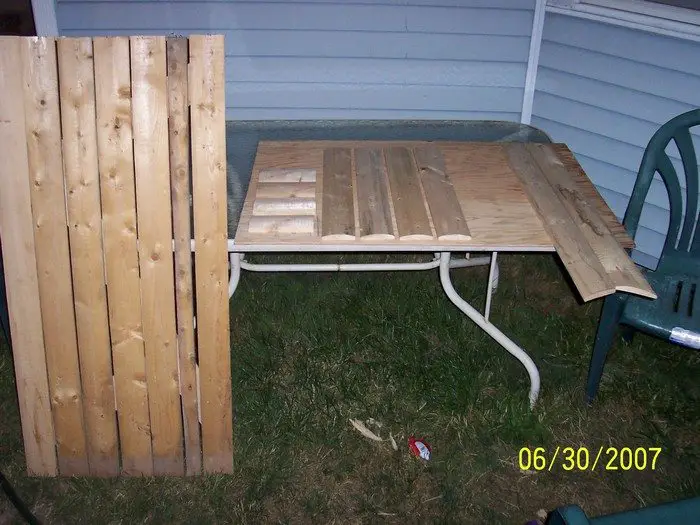
Plus you should measure prior to cutting out so you know you have the exact spaces.
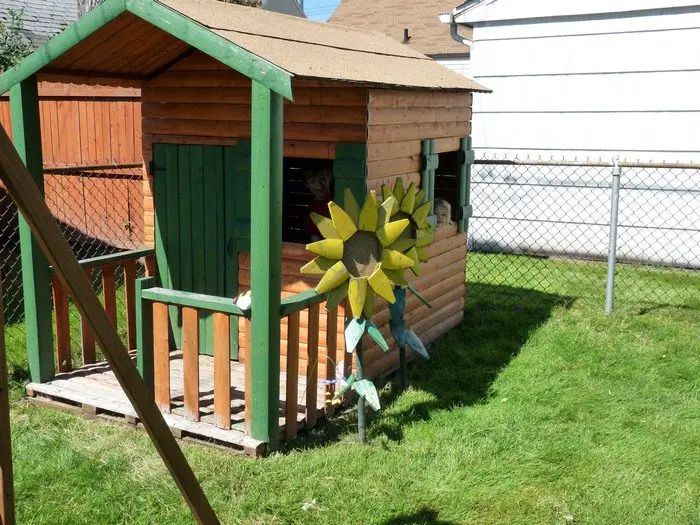
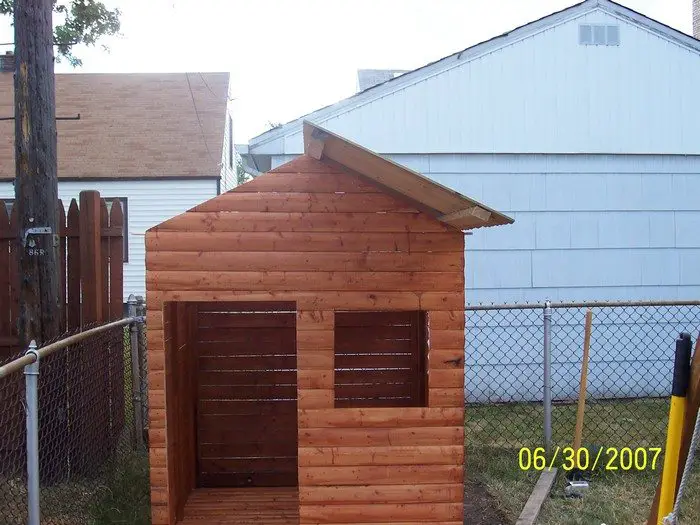
Front Porch: The front porch and railing will support the roof overhang and also keep adults from walking off the side of the front porch, remember, the side of the front porch roof is only five feet high… remember that!!!
This is a lot of work but it really makes the playhouse.
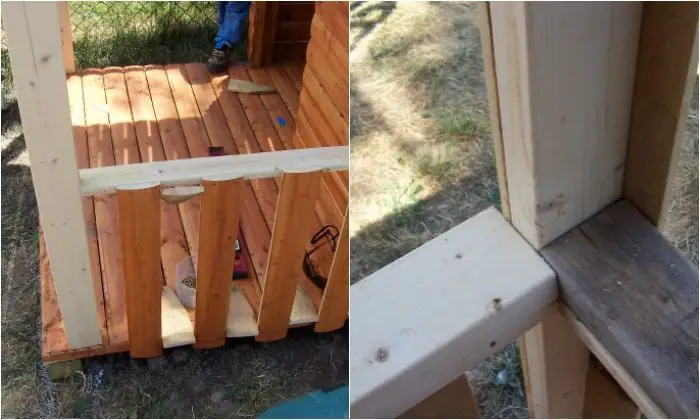
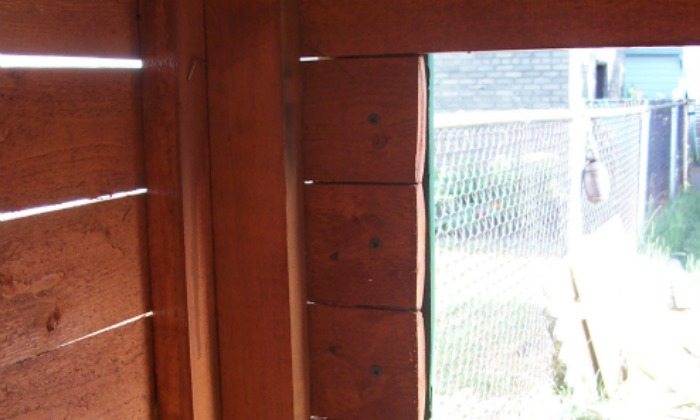
I decided later on that I would apply slats to the two outside edges of each 2×4 post because I didn’t like the looks of the generic 2×4 posts.
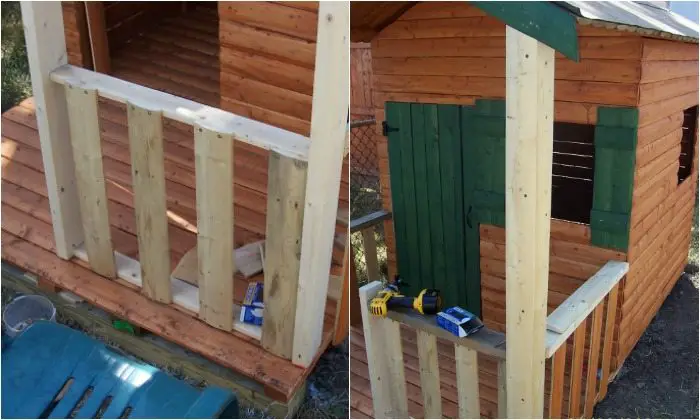 I think it looks a little chunky now but better than before.
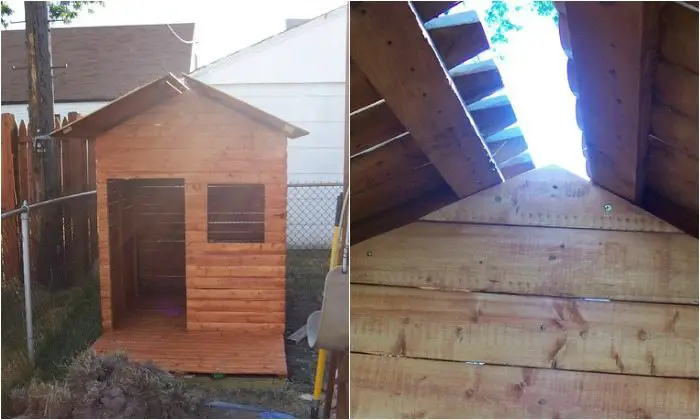
Installing the roof: Now to cover that gap at the peak in the roof with a fence slat.
 Install (for lack of a better word) cleat inside the front fascia, and also apply one to the center stringers on the front and back wall. The cleats should be flush with the top of the roof peak.
 Now cut one fence slat that will go from the cleat on the front fascia to just past center of the front wall cleat. You need to make this cut at a 45 degree angle. Then cut another slat from the back wall cleat flush with the back of the roof, ending at the front wall cleat, again making a 45 degree cut so the two piece of the ridge cap will sit perfectly flush.
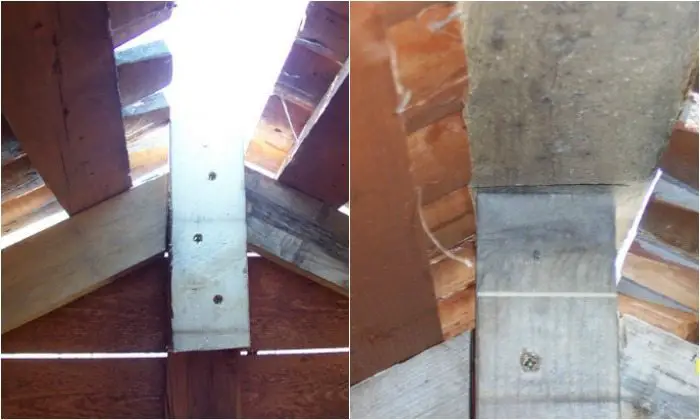
Now just screw the pieces of the ridge cap on and you have a nice rounded top to the peak of your roof.

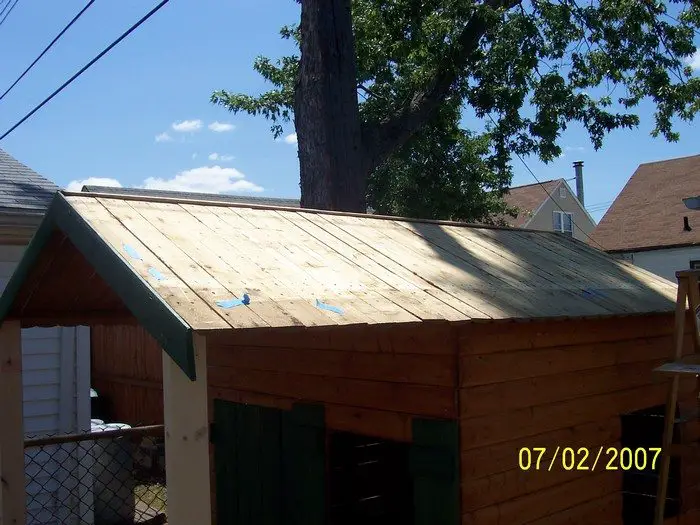
I precut all the sections of roll roofing to 8 feet 1 inch. I then slid them into place doing the side panels first. I nailed every 4 slats about 8 inches from the edge leaving any overhang on the back of the playhouse. Once both sides were up and nailed on, I rolled on the center roofing and nailed that down about 2 inches from the peak and then about 4 inches from the edge again every 4 slats.
I was told that after the first couple hot days the roll roofing will flatten itself out.
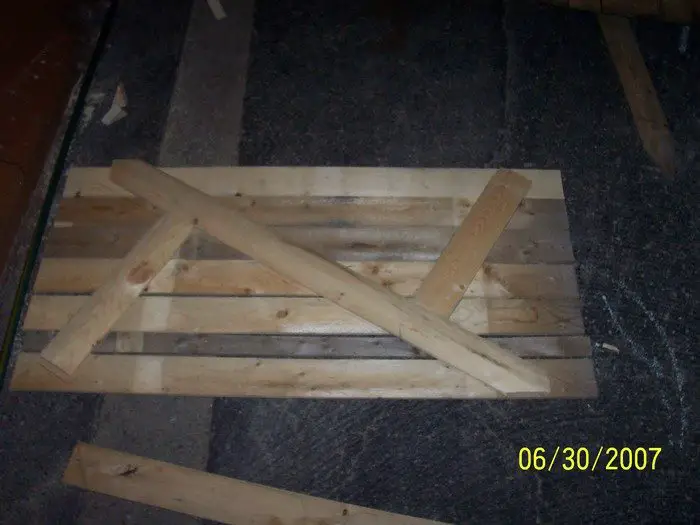
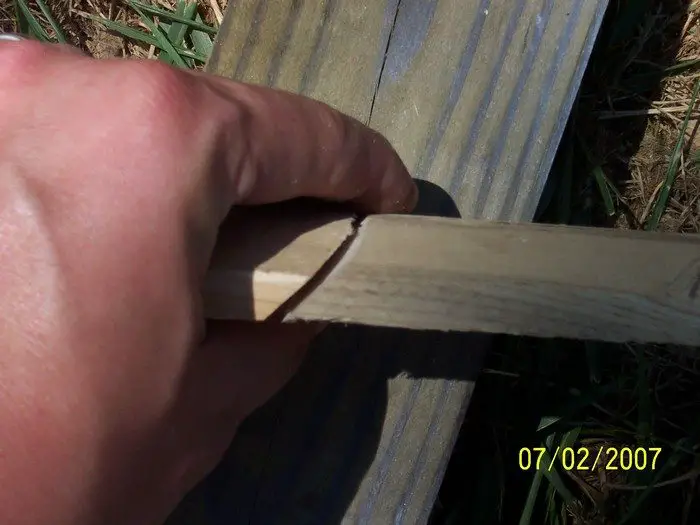
The Shutters: The shutters are for more than just looks. They actually secure all of the little pieces of siding that are left when cutting out the windows.
Each shutter is made from six individual pieces. Four that are 24″ long and Two that are 8″ long. Again, stain all sides of these pieces prior to installing.
 Clamp the first long piece along the edge of the window ensuring it will overlap top and bottom onto full length siding slats. Now, go inside. You need to pre-drill all of the small slats since they WILL split if you don’t. Then just secure the first part of the shutter from the inside through each slat.
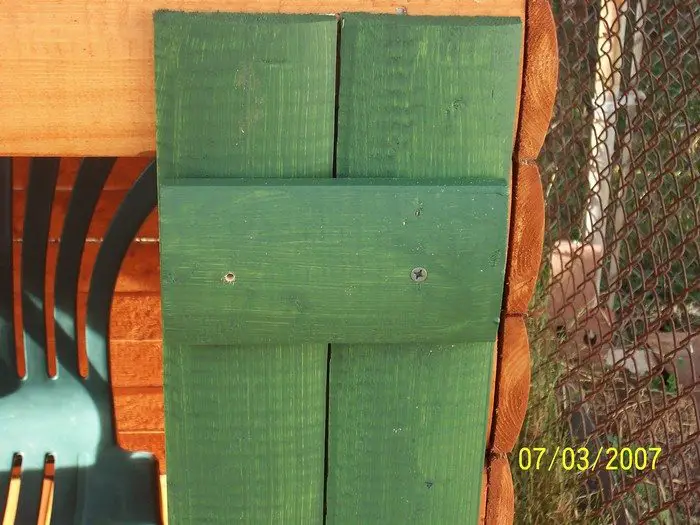
Now, the second long piece of shutter is just for looks, and it is usually over one of the stringers so you won’t be able to screw it on from the inside. Just secure the piece with two screws.
Pre-drill them and locate them under where the shutter cross pieces will go. Then pre-drill and screw in place the cross pieces from the front.
Thanks to MikeO for this great project!


