Everybody dreams of one day owning a perfect home. That special yearning is such a part of human nature that even children understand its significance.
And if adults have a dream house, kids dream of their own playhouse, too! Now, if they have been constantly asking for a playhouse or if you simply want to give them one, building one yourself is a great idea.
What’s even better is that you can make one at $300, or less if you already have the materials for it! Plastic store-bought playhouses usually cost anywhere up to $1000.
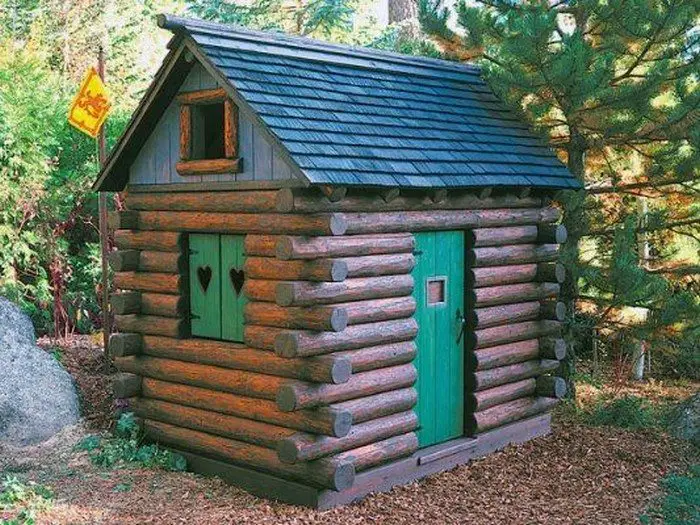
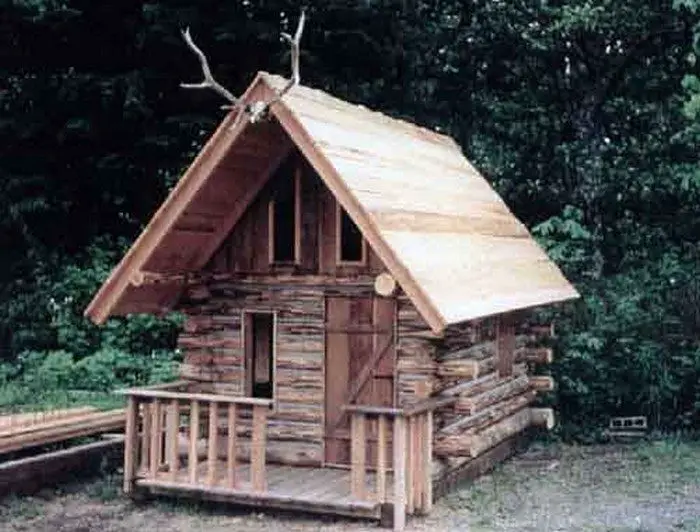
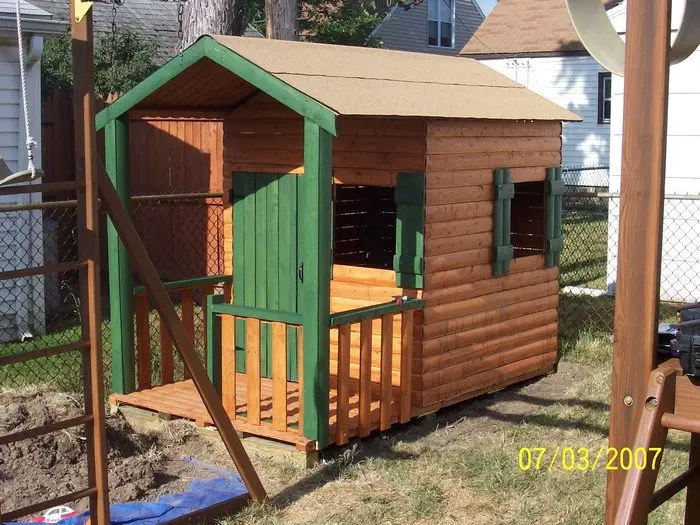
A DIY playhouse is also better since you can make it more durable and sturdy. This featured playhouse was used almost everyday from the time it was built and it has never caused any injuries. As long as you build it well, your kids are safe in this DIY log cabin playhouse.
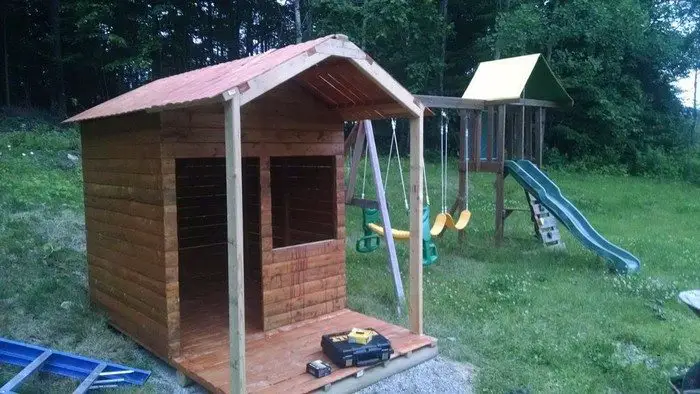
Do you want to make this realistic log cabin playhouse for your kids? Then start this DIY project by following the step-by-step tutorial from DIY-er Mike below!
Click on any image to start lightbox display. Use your Esc key to close the lightbox. 8-)
Materials:
- 6 – 6′ x 8′ Stockade Fence with 2×3 Supports
- 4 – 4 x 4 x 6′ Treated Timbers
- 2 – 2 x 4 x 8′ Treated Lumber
- 2 – 2 x 4 x 8′ Lumber
- 1 – 2 x 3 x 8′ Lumber
- 1 – 1 x 3 x 8′ Lumber
- 1 Roll Roofing
- 2 – 1lb Box of 1 1/4″ Deck Screws
- 1lb Box of 3″ Deck Screws
- 1lb Box of 7/8 Roofing Nails
- 3 Gallon of Deck Stain (2 light cedar, 1 dark green)
- 2 Packages of Cedar Shims
Tools:
- Shovel
- Tamper
- 4′ Spirit Level
- Hammer
- Drill/Driver
- Circular Saw
- Chalk line
- Paintbrush
- Utility Knife
Steps:
Foundation: If you are willing to spend some more money and time, I would suggest that you dig out and lay down some crushed stone under the 4×4 supports. I didn’t have any extra of either so I just made the dirt level and tamped it down as much as I could.
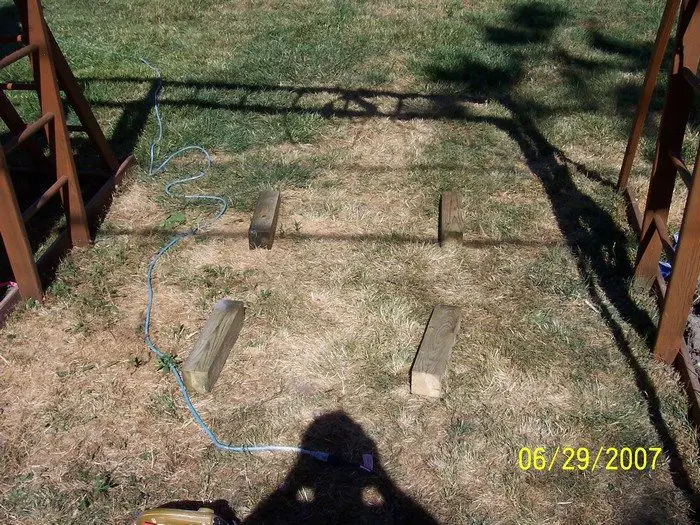
Pick the location for your playhouse. It should have enough room around it that it does not get in the way of other things like a swing set or kiddie pool. My back yard is freaking tiny so the only location I had available was either behind the garage where no one can see it, or in the back corner where a raised flower bed once was. My wife and I decided on the back corner. This made my life a little more complicated because I had a LOT of leveling to do and I will have to move the swing set back about two feet for safety.
Cut the 4×4 supports to length. Measure the outside distance of the two outermost stringers on your stockade fence panels. Mine were 56 1/4″ so that is how long I cut my 4×4’s.
Position. You need to position the 4×4 floor supports so they will fall directly under the stringers in the wall panels. Using the 2x3x8′ lumber that you purchased set it along one of the Fence panels and mark where each of the support piece are. This will then be used to position and level the 4×4 floor supports.
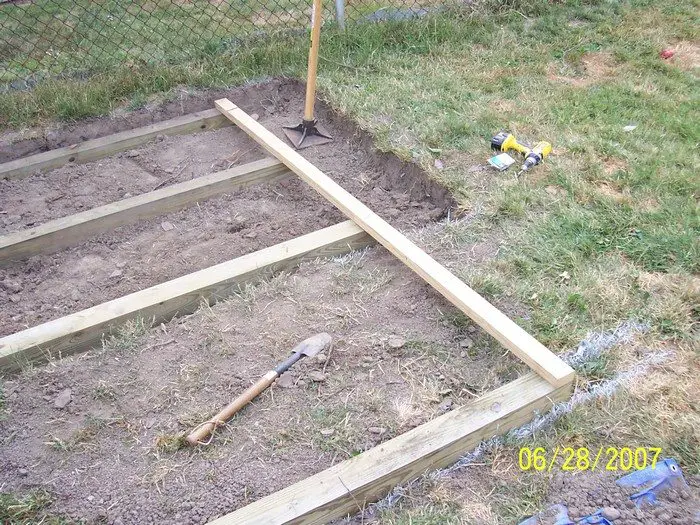
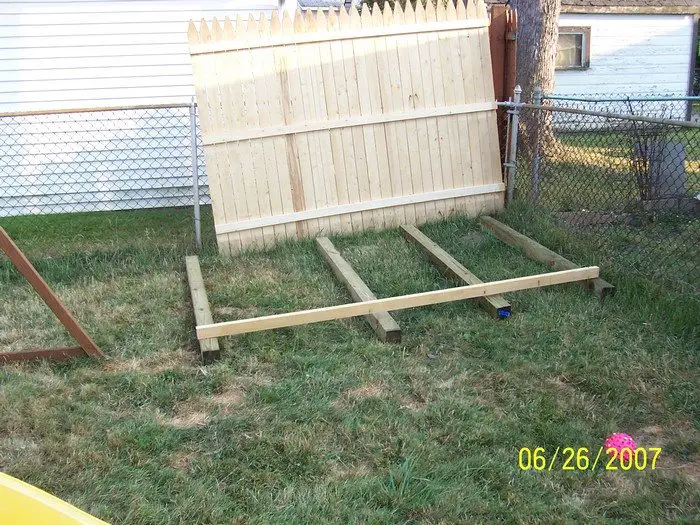
Level, Level, Level, Level. Take a look at your location and determine the lowest point. You will need to start from there. Tamp that ground down as much as you can then place and level the first 4×4. This was the front for meI found it easiest to then place the 4×4 for the back and level that. Once you have leveled the Front and Back supports you can then start to level the center two.
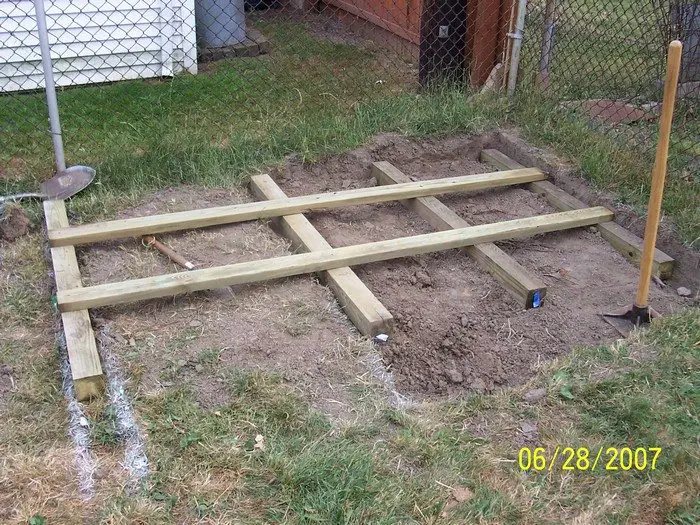
Stabilize the base. Position the two 2x4x8′ pressure treated lumber on the 4×4 supports so they fall in between where the supports from the fence panel will fall. Screw the 2×4’s to the 4×4 supports to prevent them from moving while backfilling. Fill in with any extra dirt to stabilize the 4×4 floor supports. Leave 1 to 2 inches of the 4×4’s above ground level to allow air movement under the playhouse to prevent rotting.
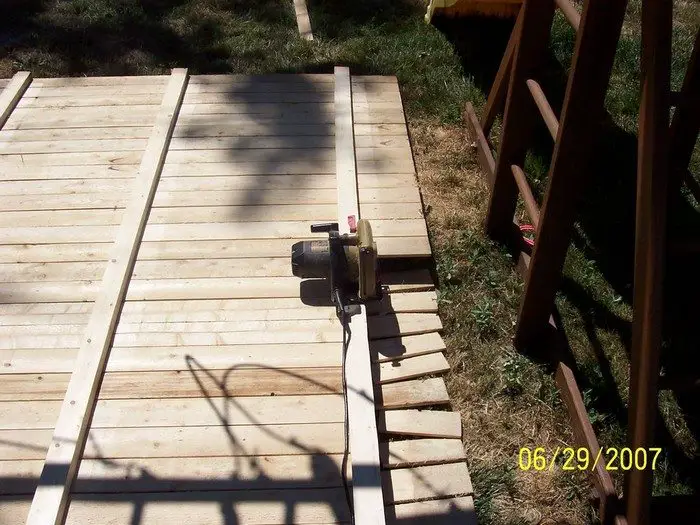
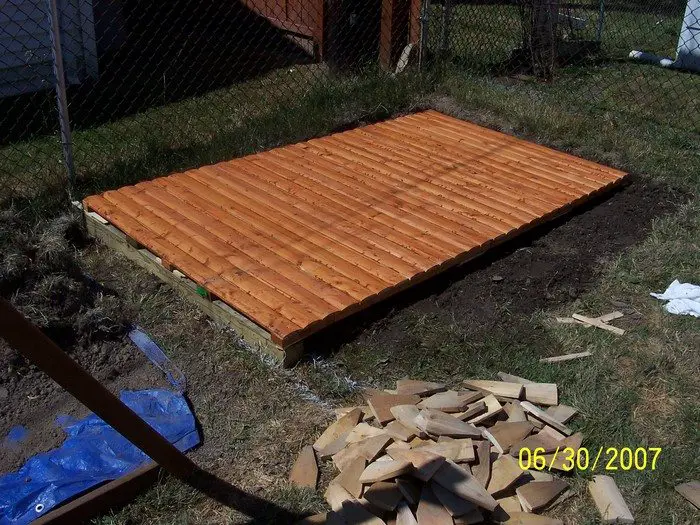
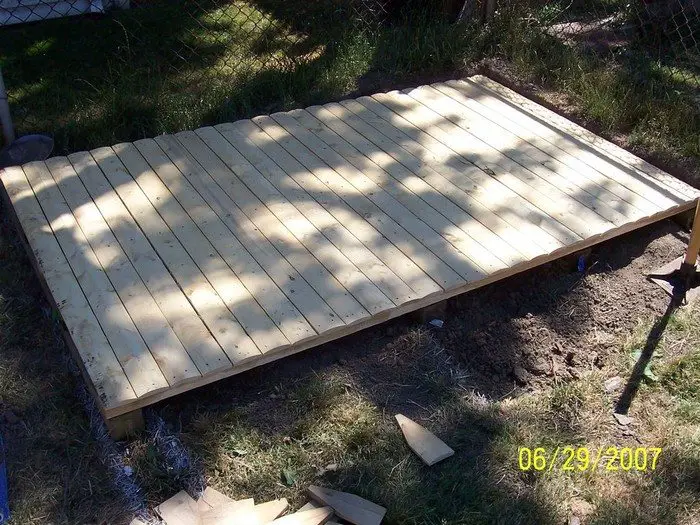 Cutting the Panels: Select the nicest fence panel you have to use for the floor. Remember, your kid will be crawling, rolling, and laying on this floor.
Support the fence panel up off the ground using the cut off pieces of 4×4. Make sure you have the stringers facing up, and that the 4×4’s are inside the outermost stringers.
Using your circular saw cut along the outside edge of each outermost stringer.
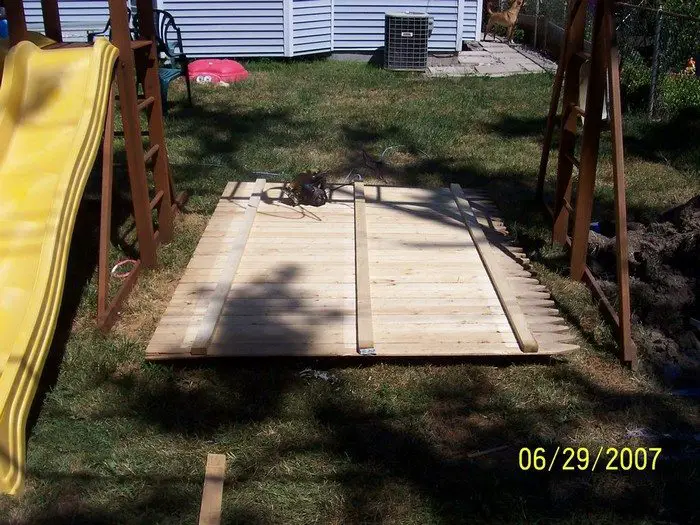 Fit the floor but don’t secure yet. Lay the newly cut floor panel onto the 4×4 floor supports and adjust the 4×4’s to exactly fit the floor panel.
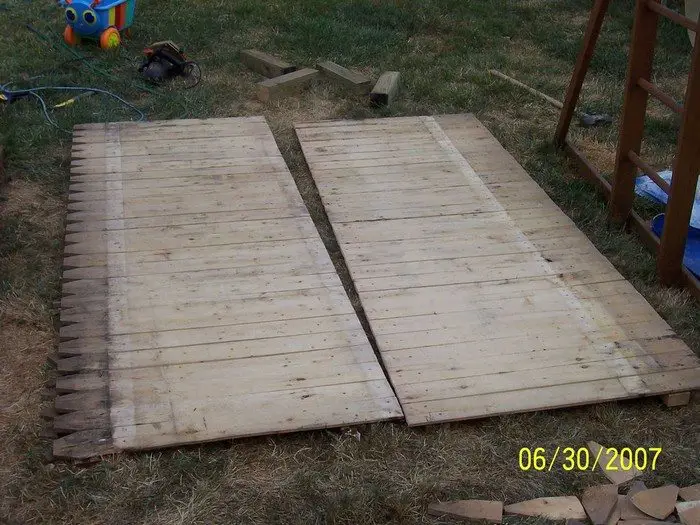
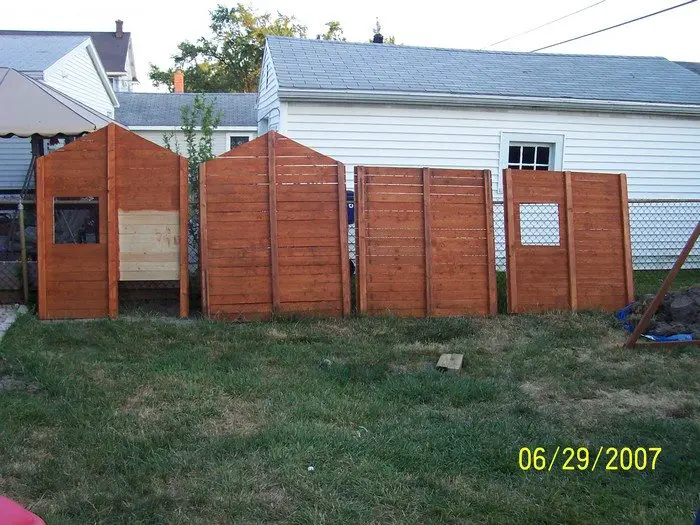
Cut the front and back wall panels to size. Measure the front and back wall panels so they will be six feet high. You can deviate from this slightly so you end with a full width slat.
Snap a chalk line and make the cut. You must now cut the front and back to the proper width. You only want to have a slight overhang past the outside stringers to cover the slats on the side panels. From the back of the panels, measure out the thickness of the slats (3/4 for me) from the outside edge of the outer stringers and snap a chalk line.
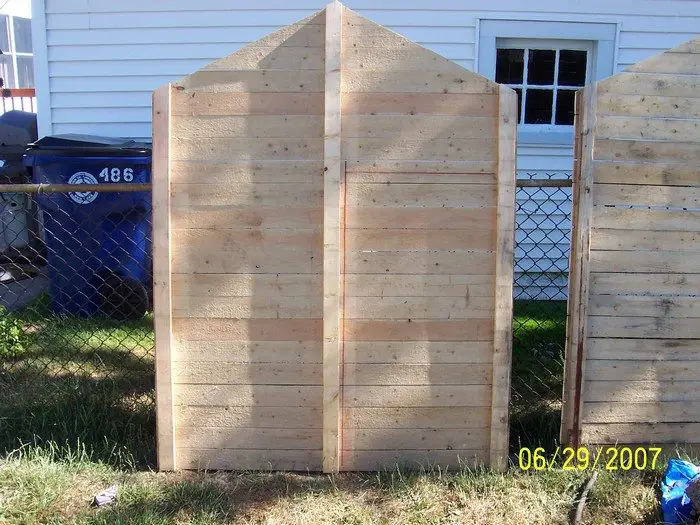
Cut along that line from the inside of the panel to reduce splintering. Measure and mark the top center of the front and back panel. Measure and mark five feet from the outside bottom edges of the Front and back panels. Connect those three points with a chalk line and snap your mark. Cut along that mark to set the roof pitch.
Cut the side walls to size. Mark the height of the side walls to the same height as the lowest point on the front and back walls, should be around five feet. Mark this height with a chalk line. The side wall panels must have a larger overhang than the front and back in order to cover the corner where you screw the end stringers together. For me this was an overhang of 2 1/4 inches. Mark that overhang on the edge of each panel with a chalk line and as always make the cut from the inside of the panel.
Cut the roof panels. This would have to be the most complicated and labor intensive part of this build. You will be removing each of the stringers on the last fence panel and screw them to the opposite side of the panels in the needed locations. On the front panel, measure the distance from the top point to the outside edge along the angle. Transfer that measurement to where one of the stringers must be on the roof panel. The other stringer should be two inches in from the top edge. This is to prevent the top stringers on the roof panels from binding with each other. Use the 2x3x8 board for the fourth stringer. (During layout, make sure you use the point top of the fence panel for the peak of the roof. This will allow you to use the most of the panel and hide the pointy parts with the ridge cap. Also, if you have any leftover material that you need to trim off, make sure you take if off the pointy end “about 1 inch for me”) Remove and reposition only one stringer at a time to keep the panel as straight as possible. Once all stringers are in the correct location, measure and mark the center of the fence panel with a chalk line. Cut the fence panel into the two roof sections.
Mark and Cut Windows and Door: You now need to select the locations of the windows and doors. For my setup I made a 24-inch wide by 48-inch high door since that fit almost perfectly between the stringers.
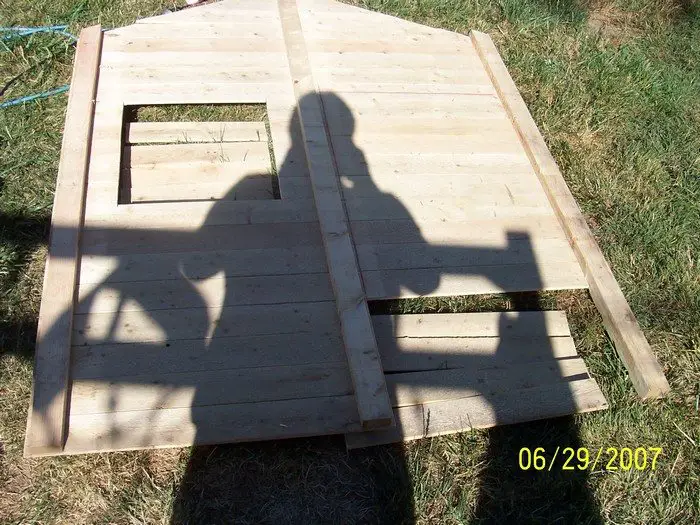
Cut the window out all the way but only cut out some of the door. If you cut out the whole door the front panel would be too unstable while you are moving it around.
Stain Everything: Now that the majority of your pieces have been cut you should stain and seal them prior to assembly so the playhouse will last as long as possible. Maybe even your grandchildren will use it. Or, you can use it as a shed at a later point. Make sure you seal the front and back of every piece including the floor panel.
Continued Page 2…


