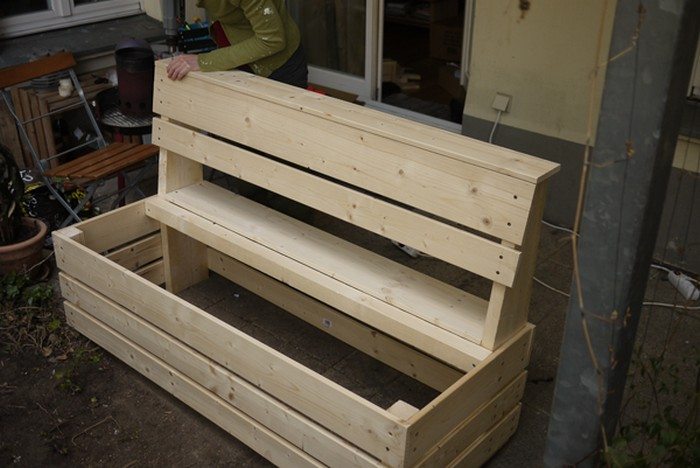
Put together the seat back. Screw the back shelf on: Sit the bench back upright, admire your handiwork for a second, and then set the 14-cm-wide shelf board across the top of the back legs. Screw it in.
Put together the seat lid. Attach the first seat board to the cleats: This part is a bit tricky. Too hard for a little kid to tackle, but still easier than an Ikea closet.
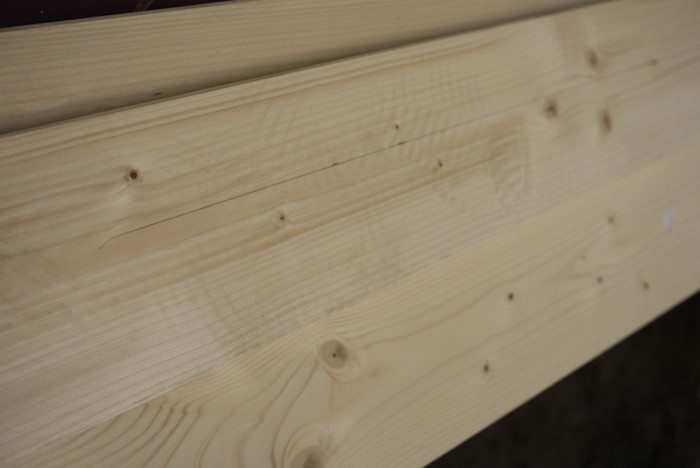
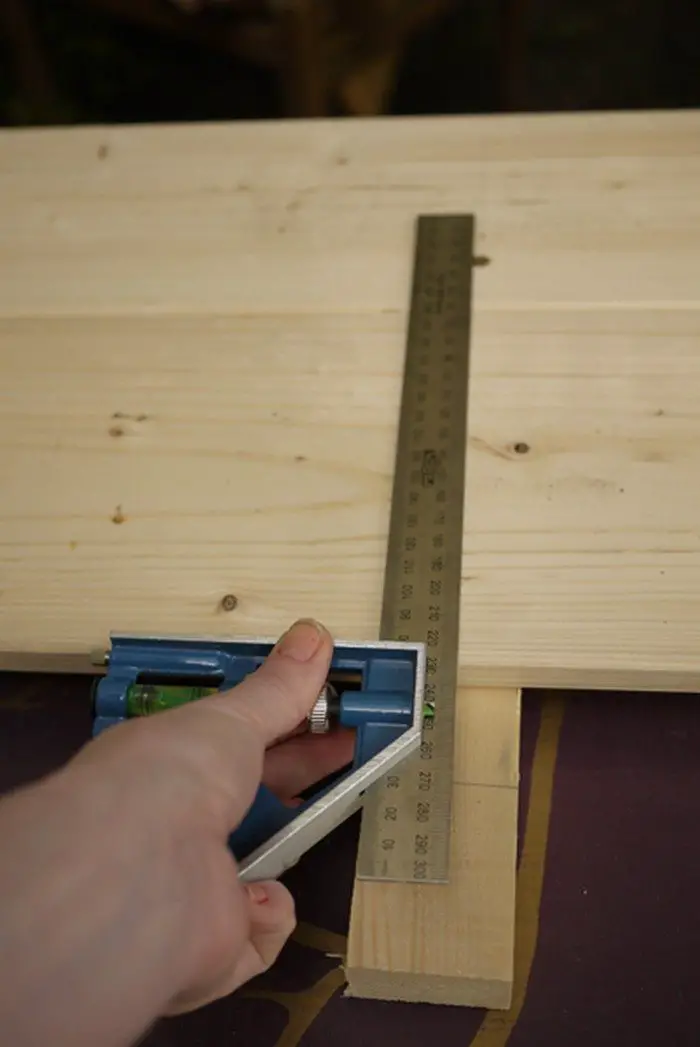
Take one of the 14-cm wide seat boards and lay it on a flat surface. Measure and draw a line parallel to the edge 5 centimeters from the edge. This is your guide for where the cleats are going to start.
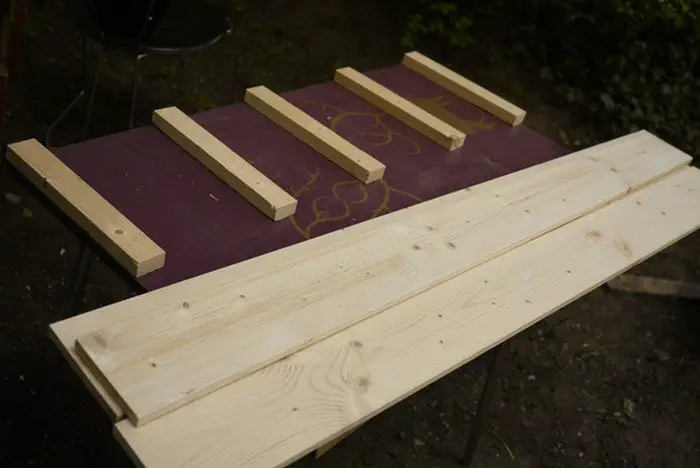
Take your cleats and lay them on a flat surface, their top edges all lined up. I used the table edge to line them up. Lay your board on top of the cleats. The line you drew will line up with the top edges of the cleats. Be patient. This is a little bit tricky.
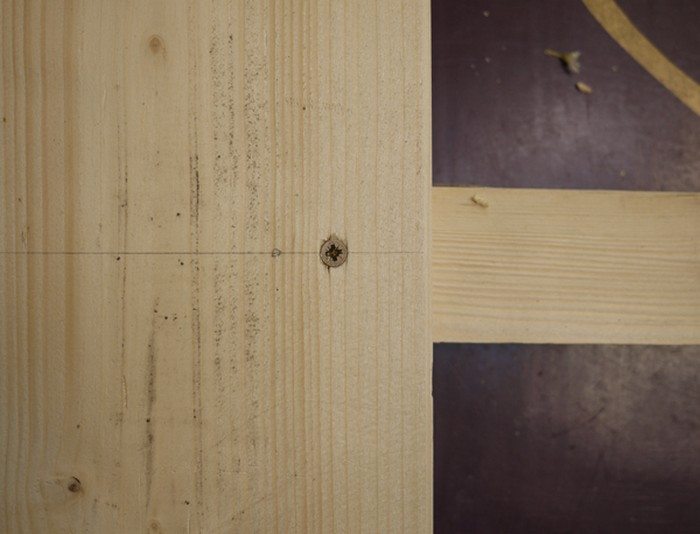
Take a ruler and draw a line on the board to use as a guide for where to put your screw marks. Estimate the center of the cleat and make a line up the board for each cleat. Now you can use your screw template to mark where the screw should sit.
Drill and screw in one screw for each cleat on this first board. Now the hard part is over.
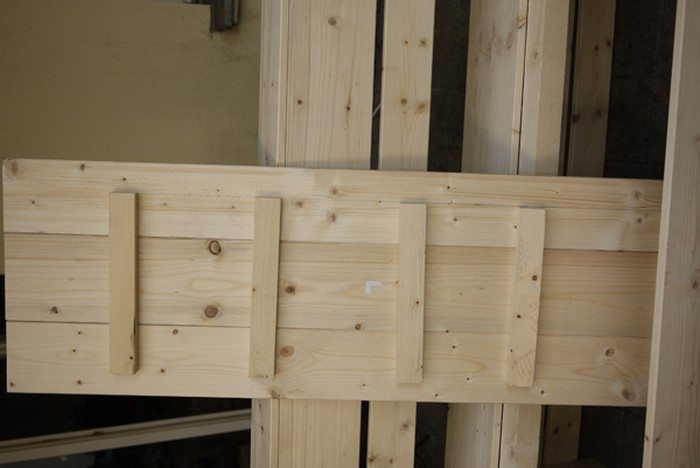
Put together the seat lid. Attach the other two seat boards to the cleats: Now it’s the easy part. Take the 17-cm wide board and line it up under the board you just attached.
Extend the line parallel to the center of each cleat which you used for screw placement. Use your template to mark where you will put the screws. Use the 14-cm hole.
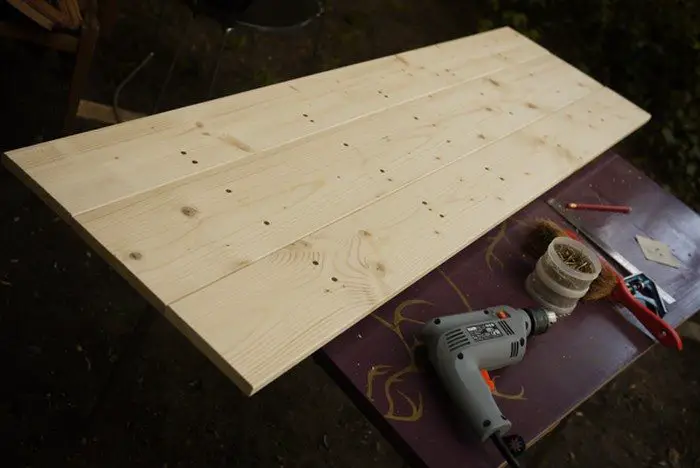
Drill your holes and then screw the second board to the cleats. Repeat for the last board.
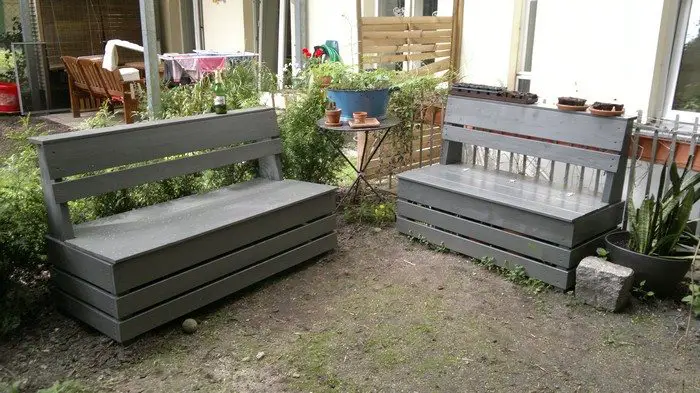
Lay the seat on the frame and be proud of yourself for a minute. This is a good time for a beer.
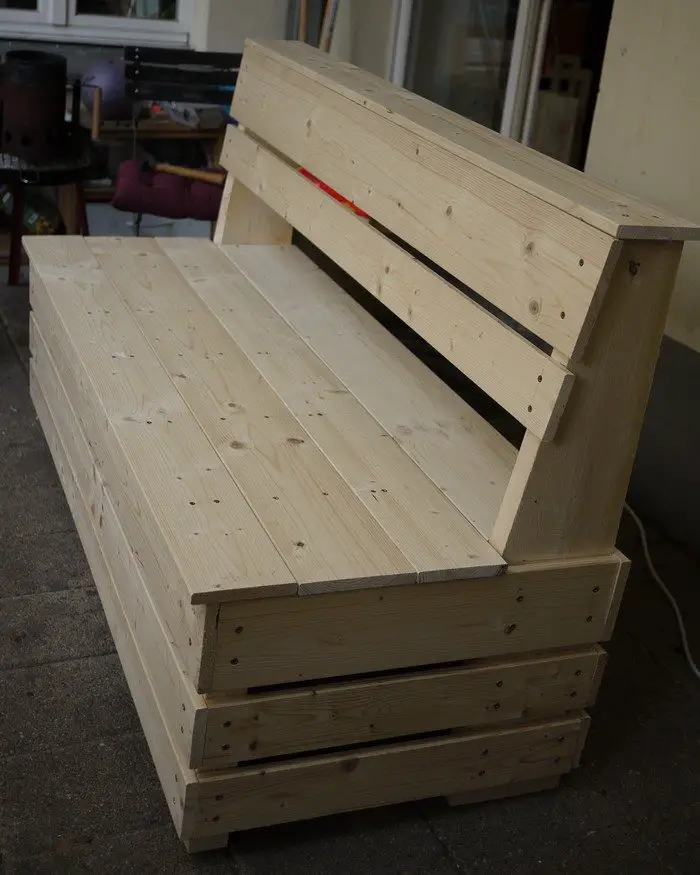
Finish to your taste: I used a two-in-one primer/outdoor wood finishing product, but you will know what is right for you.
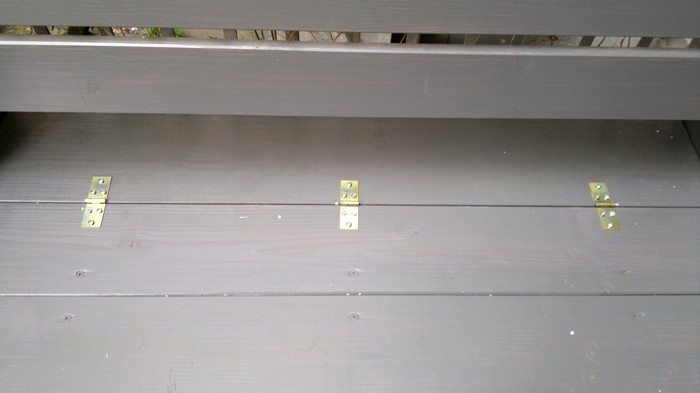
Attach the seat lid with hinges: Once the paint is all dry, just attach the seat with your hinges and you are DONE!
Thanks to tracy the astonishing for this great project!


