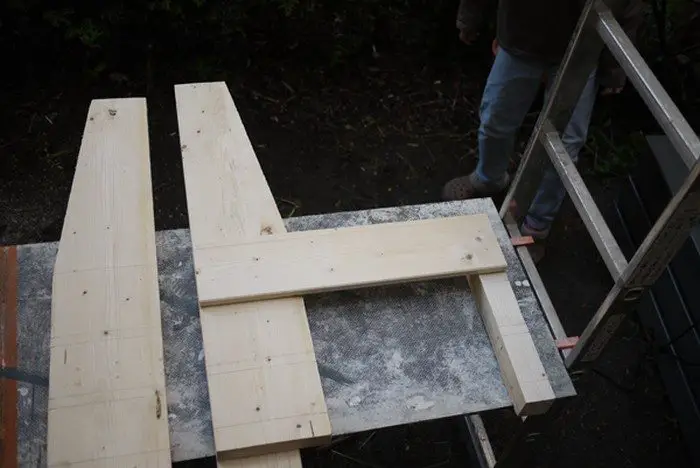
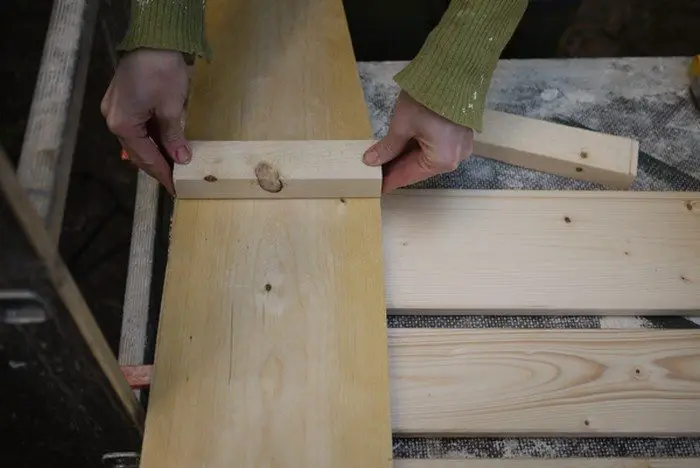
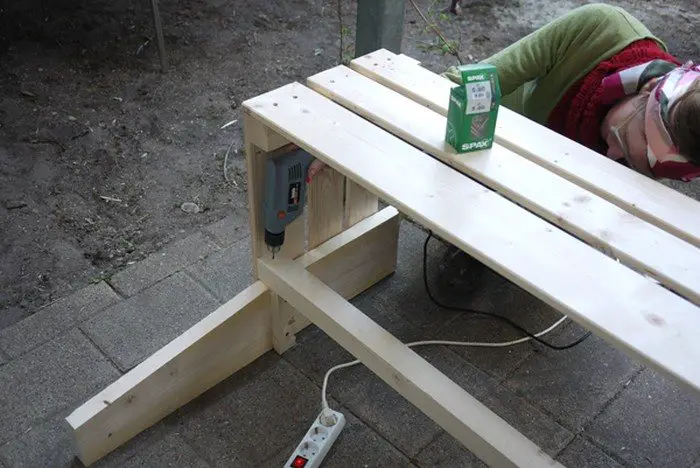
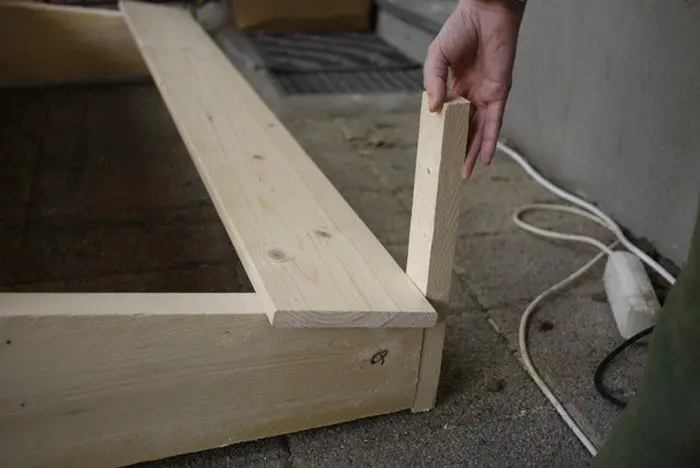
 Put the sides together. Screw the side slats onto the legs: Lay one front and one back leg on a flat work surface. Place the slats so that the edge of the slat is flush with the edge of the leg. You are going to put one screw in the top left corner of the slat and one screw in the bottom right corner of the slat first. That way you get each one nice and straight.
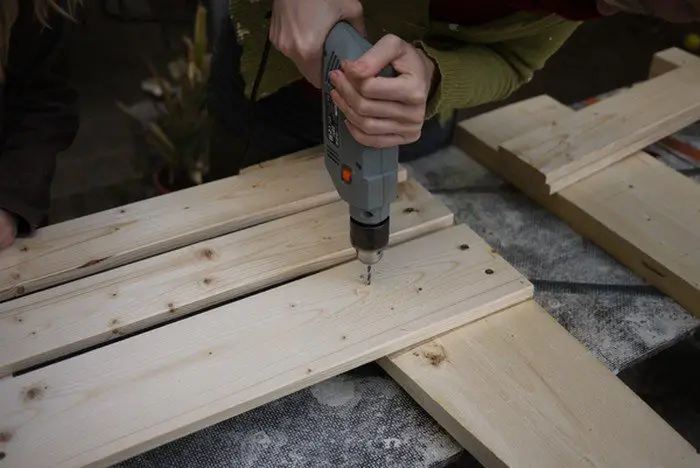
The wood I used was soft and fairly thin, so I had to drill the holes before turning in the screws, otherwise it would crack.
Once you have four screws in each slat, you will want to add two more screws to each one on the front edge of the back leg. (See drawing.) Use the same template to make the marks, considering the edge of the back leg as the side edge. Or, if you are the kind of person who likes to just eyeball it, do that.
Put the sides together. Attach the inside supports for the back of the seat: Attach one of the 20-cm long supports to the inside of the back leg. The top of the support should be at the 42-cm mark, just like the top edge of the first side slat.
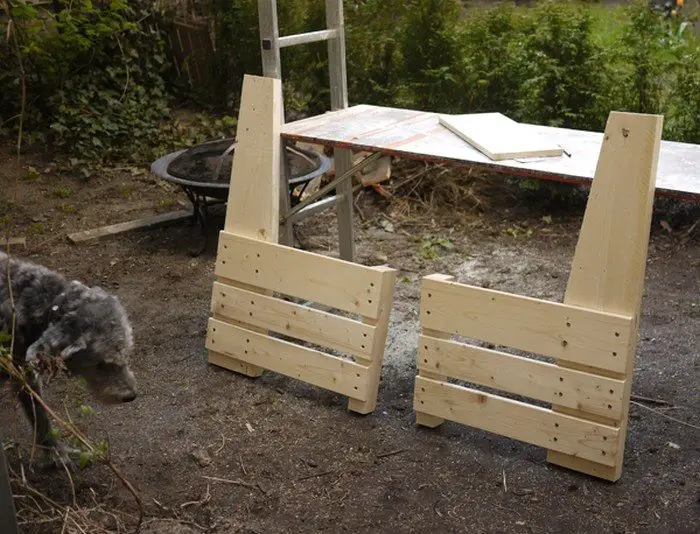
You now have two sides.
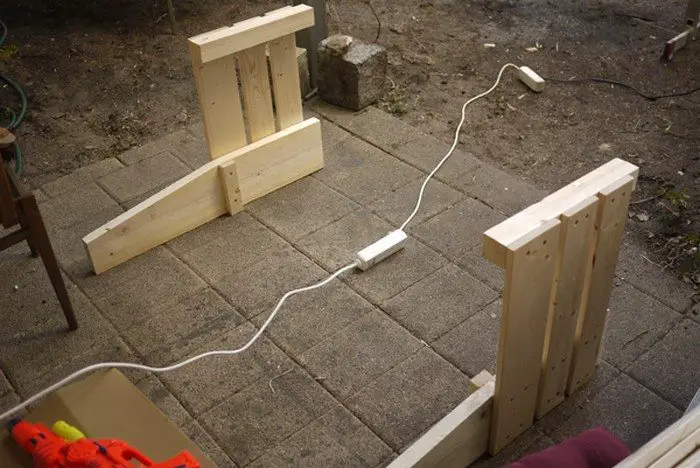
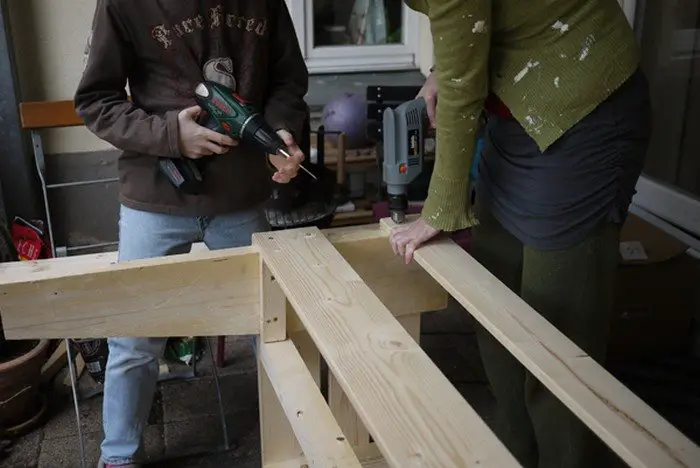
Attach the front slats to the sides:
Pick which slats will face out. Look at the front and back slats to figure out which side of each one should face out. The three nicest should be the front, the others the back.
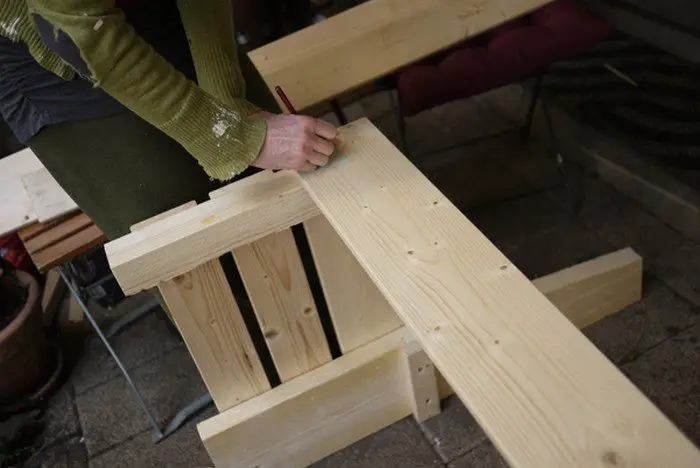
Mark your screw placements. Line up the edge of your screw placement templte not with the edge of the board, but with the edge of the leg behind it. You could make two more holes, but it’s not necessary.
On the sides that are facing out, mark your screw placements.
Attach the front slats. Place the sides with the back legs against the ground and the sides facing out left and right. (should be a level surface!) Line up the boards and screw them in. The front boards cover the outward-facing edges of the side slats.
Attach the back seat support: Take the 116.4-cm-long (2-seater) / 145 (3-seater) board and lay it along the back of the bench so that it sits on the front-facing edges of the back legs and on the inside support for the back of the seat. The top edge of this piece should be flush with the top edge of the side slats and the support. Screw it in. These screws don’t show, so who cares where they are exactly. This piece will support the back of the seat lid.
Attach the back slats: Now you will turn the base over to screw in the back slats. Lift both sides at the same time when you turn it. If you lift one side first without the other, you risk twisting the structure and causing your screws to loosen or worse.
Place the boards and screw them in. Don’t worry about the screw placement, just eyeball it. It won’t show.
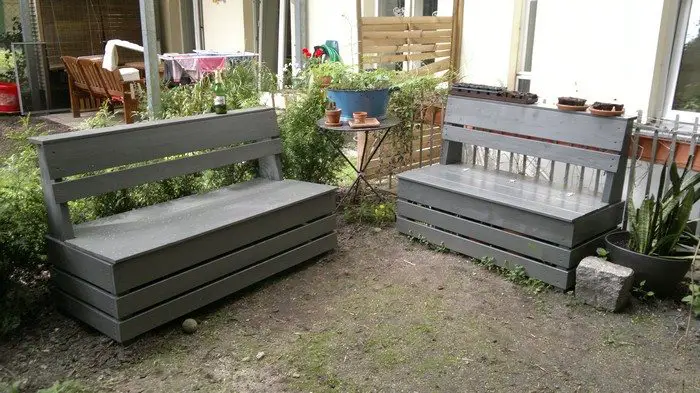
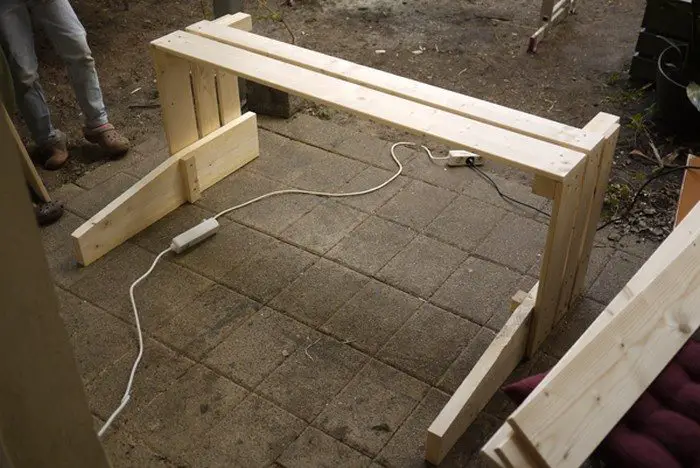
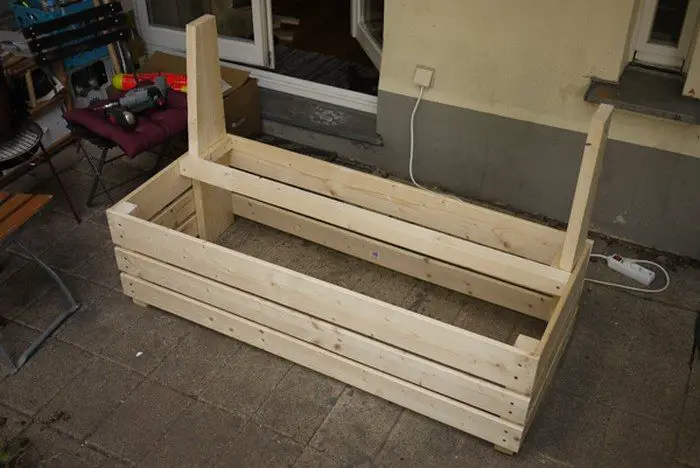 Now you can turn the bench upright. Holy cow! That’s starting to look like a thing!
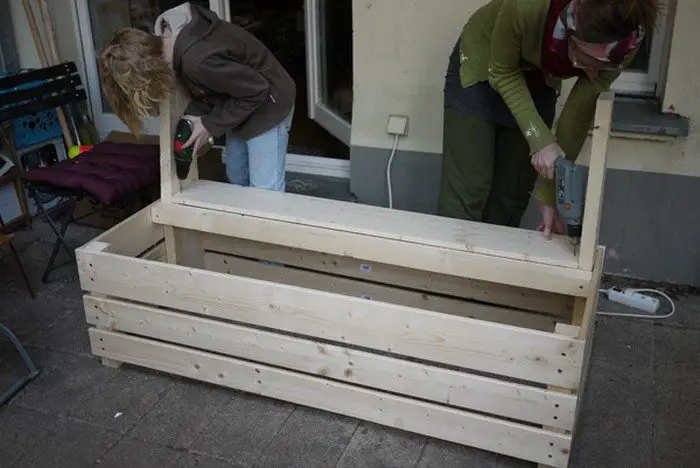
Put together the seat back. Attach the hinge board: Take the 20-cm-wide board and lay it on top of the inner supports on your frame. It should not extend farther than the front-facing edge of the back legs. Screw it into the supports.
This is the piece your seat lid attaches to, with hinges.

Put together the seat back. Screw the seat back slats in:
Mark and Measure. Now I’m going to ask you to measure again. Lay the bench down with the back of the bench on the floor. Take the 17-cm wide slat and lay it across the top edge of the back. If you were to screw the slat in flush with the top, your back shelf would be a little bit off kilter.
To avoid that, lay a ruler or a piece of scrap wood along the top edge of the leg to push the 17-cm slat down just a touch.
Draw a line on the front-facing edge of the back leg along the bottom of the slat. Do this on both sides. Now, from that line, measure two centimeters and draw a parallel line. That will be the line you will use to place the 10-cm slat.
The screw template doesn’t work for these because the back legs are narrower. Just estimate the center of the back leg edge and draw a ruler line over that on the seat back slats. Measure 4.5 cm from the top and bottom on the 17-cm-wide slat and 3 cm from the top and bottom for the 10-cm slat.
 Screw the seat back slats in. There should be a 1.8-cm overlap on each side. This is normal.
Continued Page 3…


