Research shows that being outdoors is good for you. Eating outdoors is even better. It lowers the heart rate and blood pressure and encourages much-needed relaxation. With that in mind, a brick barbecue is good for both your mental and physical health.
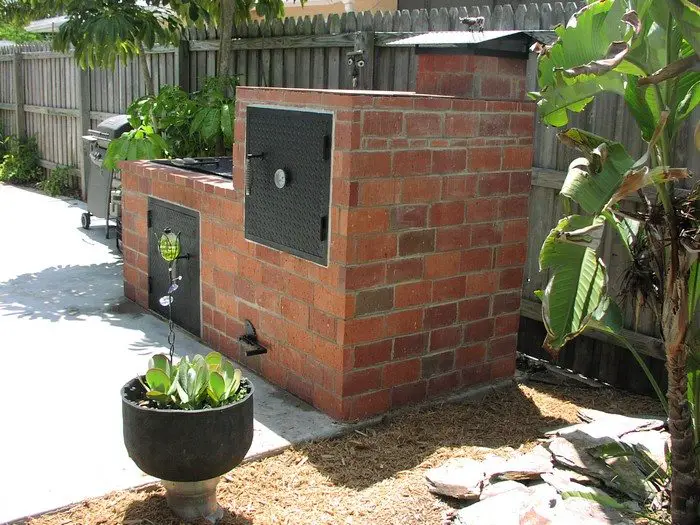
If you and your family enjoy outdoor gatherings, then this permanent barbecue setup might interest you!
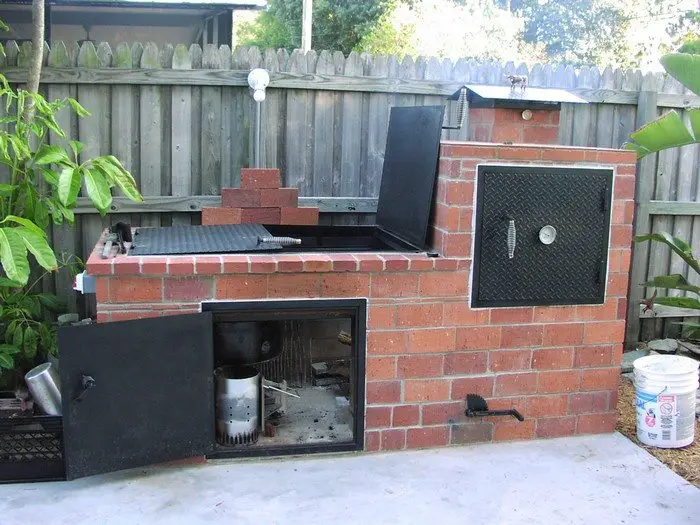
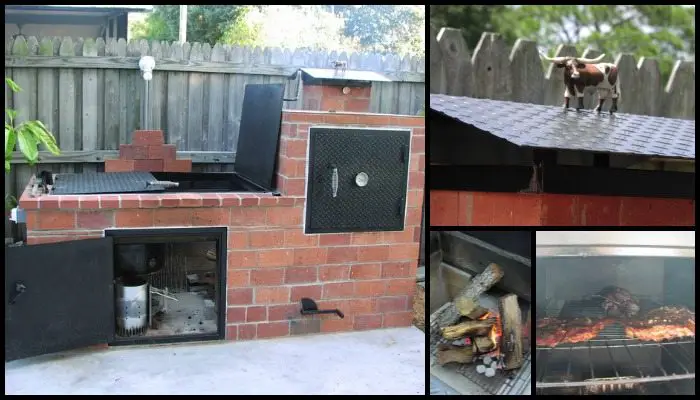
This brick barbecue consists of a grill and a smoker. The grill comes in two levels that you can both slide back and forth, which gives you more appropriate settings for cooking different kinds of food!
If you’re an experienced builder you can easily do this project. However, it requires some welding skills and a few not-so-common tools. If you don’t know anything about welding or lack the needed tools to build your brick barbecue, then it’s the perfect opportunity to ask for help and have fun building with friends!
Do you want to have a brick barbecue in your backyard?
Building a Brick Barbecue
Materials
- Concrete Mix
- Hydraulic Cement
- Cement Blocks
- Standard Size Firebricks (for the floor of the firepit)
- 1 1/4″ thick Firebricks (for walls)
- Solid Steel Plate (damper for the opening to the smoker)
- 3 lbs of Fire Clay
- 80 lbs bag of Premix Mortar
- Plywood
- 1/2″ Rebar
- Plastic Garbage Can
- Mixing Tub
- Wire Mesh
- Plastic Cover
- Smoker Door and Grill
- Stainless Steel Spring Handles
- Weld-on Hinges
- 2 pcs Car Scissor Jacks
- 1 55 gal Drum (used but clean)
- 3/4″ Square Tubing
- 1/8″ Steel Rod
- 1 1/4″ Black Pipe
- Oven Racks
- Temperature Gauge
Tools
- Welding Machine
- Wood Clamps
- Carpenter’s Level
- Shovel
- Wheelbarrow
- Reciprocating Saw
- Measuring Tape
Instructions
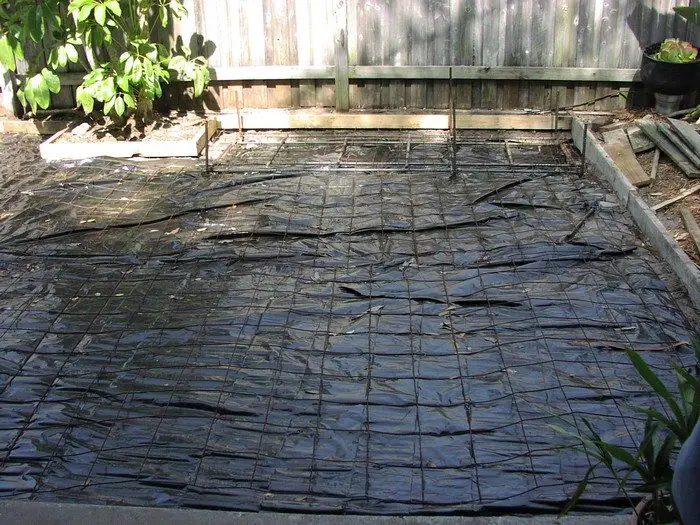
Pouring the Concrete Walk: Seeing how we wanted to pour some concrete for a new patio/walk, why not build a new brick barbecue? So we got to work and included some rebar where the BBQ would go.
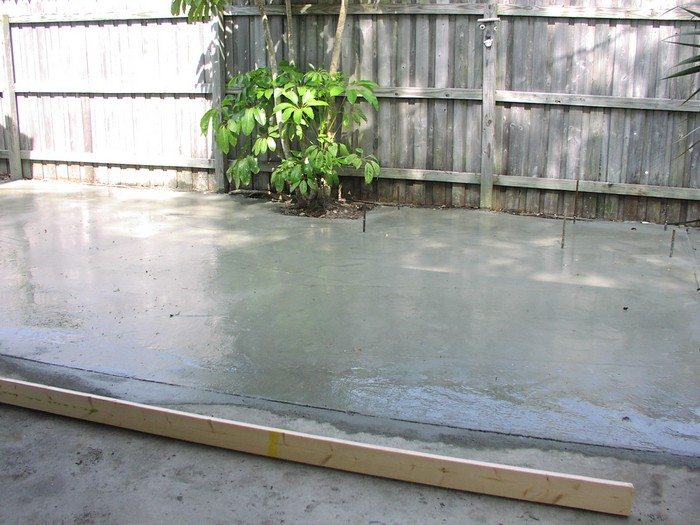
Concrete walk poured: Even though I measured the location of the rebar time and time again for my brick barbecue, I still got a little nervous, LOL. Too late now!

The next day after the pour: Showing again the locations of the rebar for my brick barbecue. I wanted to make sure I had reenforcement in certain areas.

First Course: Using 4″ partition block, I set the first course trying to keep things straight, plumb, and level as I could.
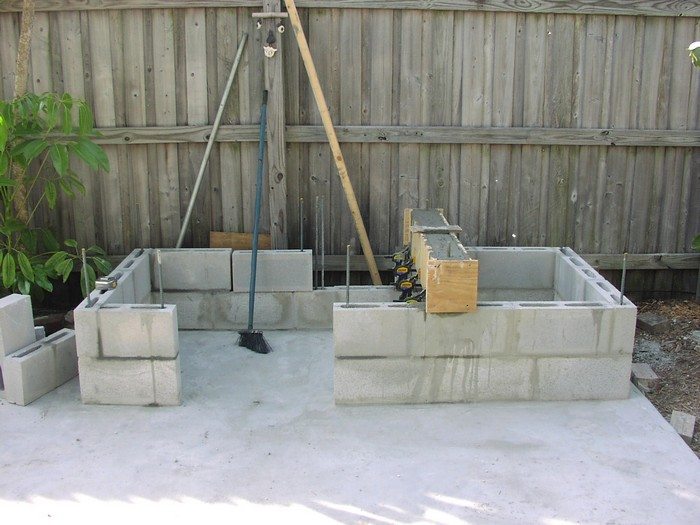
2nd Course: With the 2nd course of my brick barbecue almost finished and my son wanting to contribute to the project, we made up a form for the lentil. I constructed the lentil with two pieces of 1 1/2″ angle that supported and cradled firebrick. We then made the plywood form and hung 1/2″ rebar lengthwise and tied that into the vertical rebar. We then poured it using hydraulic cement until the cavities of the first and second courses were filled and the form as well, making sure all the air bubbles were out.
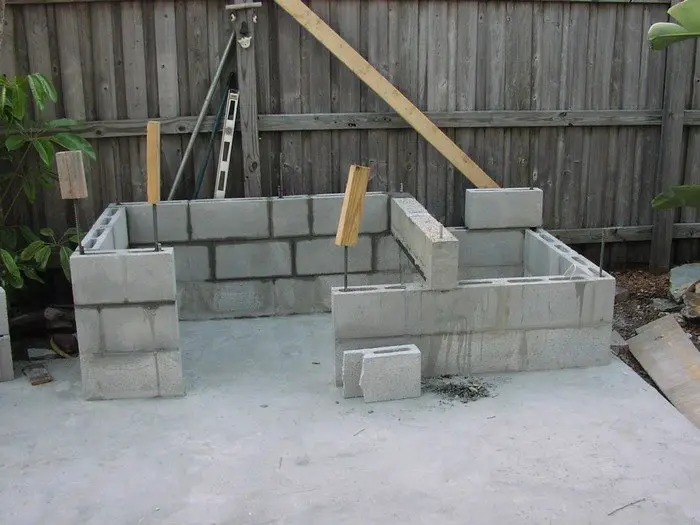
3rd Course: The lentil looked like it turned out fine, we ended up with a rock-solid structure that included the first and second course of block.
Note: All rebar locations of my brick barbecue were filled with hydraulic cement every second course.
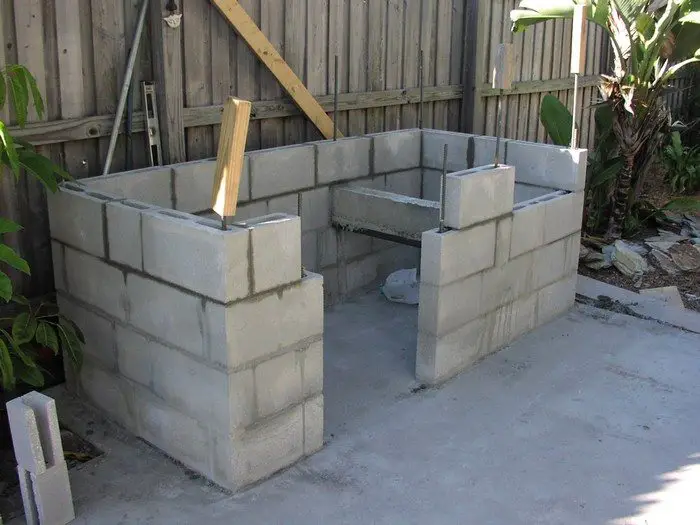
4th Course: 4th-course set, for the most part, still trying to keep things straight level and plumb.
Continued Page 2…


