Giving gifts has become very challenging nowadays. I have several friends with young kids and I stress myself out thinking about what to give them during special occasions. Naturally, I didn’t want to keep on giving the same gifts. My husband took pity on me and decided to help me out.
My best friend’s five-year-old son wanted a bike for his birthday. I thought, okay, that’s one less problem for me, I know what he wants. But it turns out, he still doesn’t know how to ride a bike. So instead of giving him a real bike, I thought I’d give him something to train on before he transitions to the real thing.
Fortunately, my gem of a husband came across a DIY balance bike. Our son had outgrown his bike and it has been sitting in our garage for ages. My husband used that one and converted it into a balance bike. Believe me, the results are exceptional!
Contents
Advantages of a DIY Balance Bike
Making a DIY balance bike offers several advantages:
1. Cost-Effective: Creating a DIY balance bike is typically more budget-friendly compared to purchasing a pre-made one. By using materials you already have or can acquire inexpensively, you can significantly reduce costs while still providing your child with a fun and effective way to learn to ride.
2. Customization: When you make your balance bike, you have complete control over the design and features. This means you can tailor the bike to your child’s specific preferences, such as favorite colors, patterns, or themes. Additionally, you can adjust the size and geometry of the bike to ensure a perfect fit for your child’s height and riding comfort.
3. Educational Experience: Involving your child in the process of building a balance bike can be a valuable learning opportunity. It teaches them about basic mechanics, problem-solving, and creativity. As they help assemble the bike, they’ll gain a deeper understanding of how things work and feel a sense of accomplishment in creating something with their own hands.
4. Sustainability: Repurposing materials to build a balance bike promotes sustainability by reducing waste and the need for new resources. Instead of discarding old bikes or materials, you’re giving them new life and purpose. This eco-friendly approach teaches children the importance of recycling and responsible consumption.
5. Bonding Time: Building a DIY balance bike can be a fun and bonding experience for you and your child. It provides an opportunity to spend quality time together, working on a shared project and creating lasting memories. Your child will appreciate the effort and love you put into making their special bike, fostering a stronger connection between you.
6. Physical development: Riding a balance bike is not only fun but also beneficial for your child’s physical development. It helps them develop essential skills such as balance, coordination, and motor skills, laying the foundation for future cycling proficiency. By starting with a balance bike, children can build confidence and familiarity with biking before transitioning to a traditional bicycle.
Tips to Make a Sturdy DIY Balance Bike
1. Choose appropriate materials: Select a sturdy and lightweight bike. Common material options include wood for the frame and PVC pipes for the wheels.
2. Measure carefully: Ensure the dimensions of the bike are suitable for your child’s height and age to provide a comfortable and safe riding experience.
3. Secure components properly: Use strong adhesives, screws, or bolts to secure the safety of the bike, especially at joints and connections.
4. Test for stability: Before letting your child ride the bike, test its stability and structural integrity to prevent accidents or injuries.
Here’s how to conduct a thorough stability test:
a. Visual Inspection: Begin by visually inspecting the entire bike, paying close attention to key components such as the frame, wheels, handlebars, and seat. Look for any signs of damage, wear, or loose parts that could compromise the bike’s stability.
b. Frame Stability: Check the frame for any cracks, dents, or bends that could weaken its structural integrity. Ensure that all welds or joints are secure and free from defects. A sturdy frame is essential for providing a stable platform for your child to ride on.
c. Wheel Alignment: Verify that the wheels are properly aligned and securely attached to the frame. Spin each wheel to check for smooth rotation and listen for any unusual noises that may indicate issues with the bearings or axles. Misaligned or wobbly wheels can affect the bike’s stability and handling.
d. Handlebar and Stem: Test the handlebars by gently applying pressure in different directions to assess their stability. Ensure that the stem is securely fastened to the frame and that the handlebars can be adjusted to a comfortable riding position without slipping or shifting unexpectedly.
e. Seat Stability: Check the seat post and saddle for any signs of looseness or instability. Adjust the seat height to the appropriate level for your child’s comfort and ensure that it remains securely locked in place during use.
f. Weight Distribution: Consider the weight distribution of the bike and make adjustments if necessary to achieve optimal balance. Ensure that the bike is not top-heavy or prone to tipping over when stationary or in motion.
g. Functional Test: Conduct a functional test by gently rocking the bike back and forth and side to side to simulate riding movements. Pay attention to how the bike responds and whether it feels stable and balanced under various conditions.
h. Final Inspection: Once you’ve completed the stability test, perform a final inspection to confirm that all components are secure and functioning properly. Address any issues or concerns before allowing your child to ride the bike.
By conducting a thorough stability test, you can identify and address any potential safety hazards before your child takes their first ride on the DIY balance bike. This proactive approach helps prevent accidents or injuries and ensures a safe and enjoyable riding experience for your little one.
i. Adjust as needed: As your child grows and gains confidence, you may need to adjust the seat height or handlebar position to accommodate their changing needs.
j. Supervise during use: Always supervise young children when they’re using the balance bike, especially in areas with potential hazards such as slopes or uneven terrain.
k. Encourage practice: Encourage your child to practice regularly to improve their balance and riding skills. Start on flat, smooth surfaces before progressing to more challenging terrain.
l. Have fun: Building and riding a DIY balance bike should be a fun and rewarding experience for both you and your child. Enjoy the process and celebrate their progress along the way!
How to Build Your DIY Balance Bike
Materials:
- An old kid’s bike
- Spray paint
Tools:
- Chain tool
- WD-40
- Dremel
- Metal cutting disc
- Drill with drill bits
- Wrenches
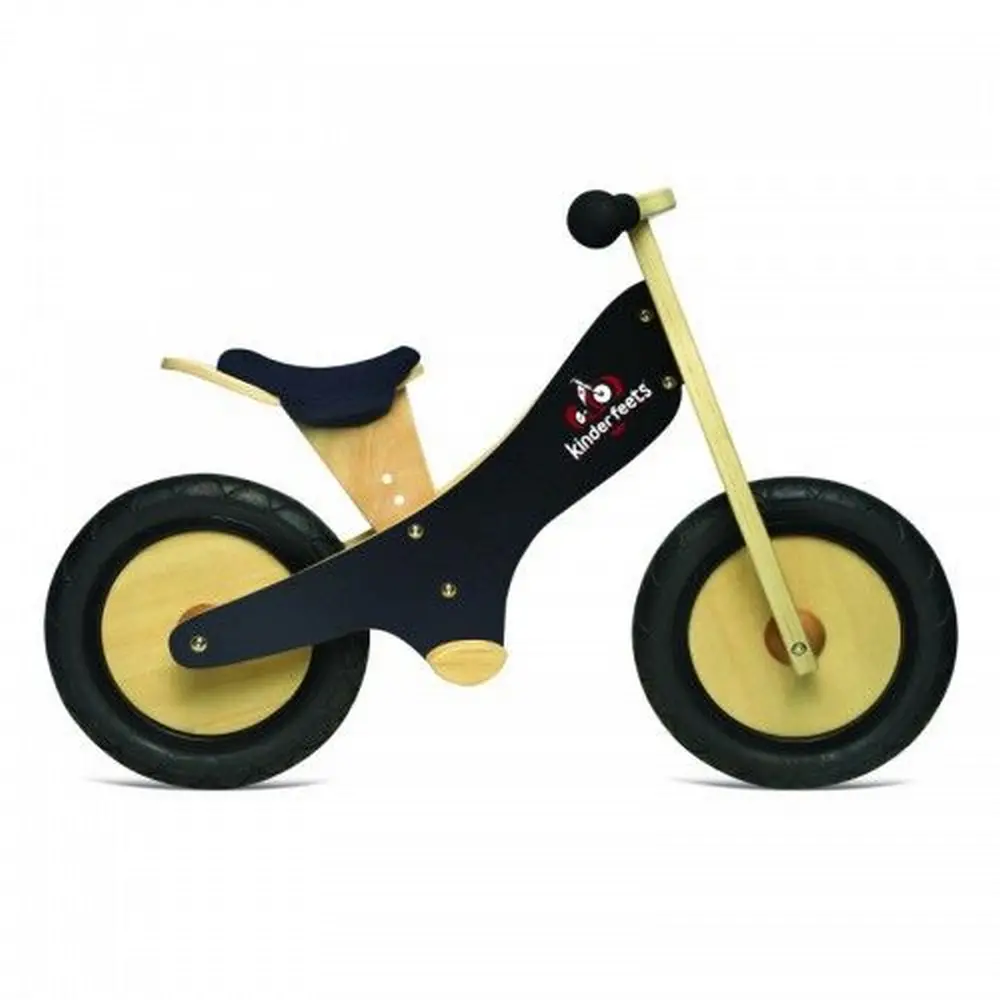
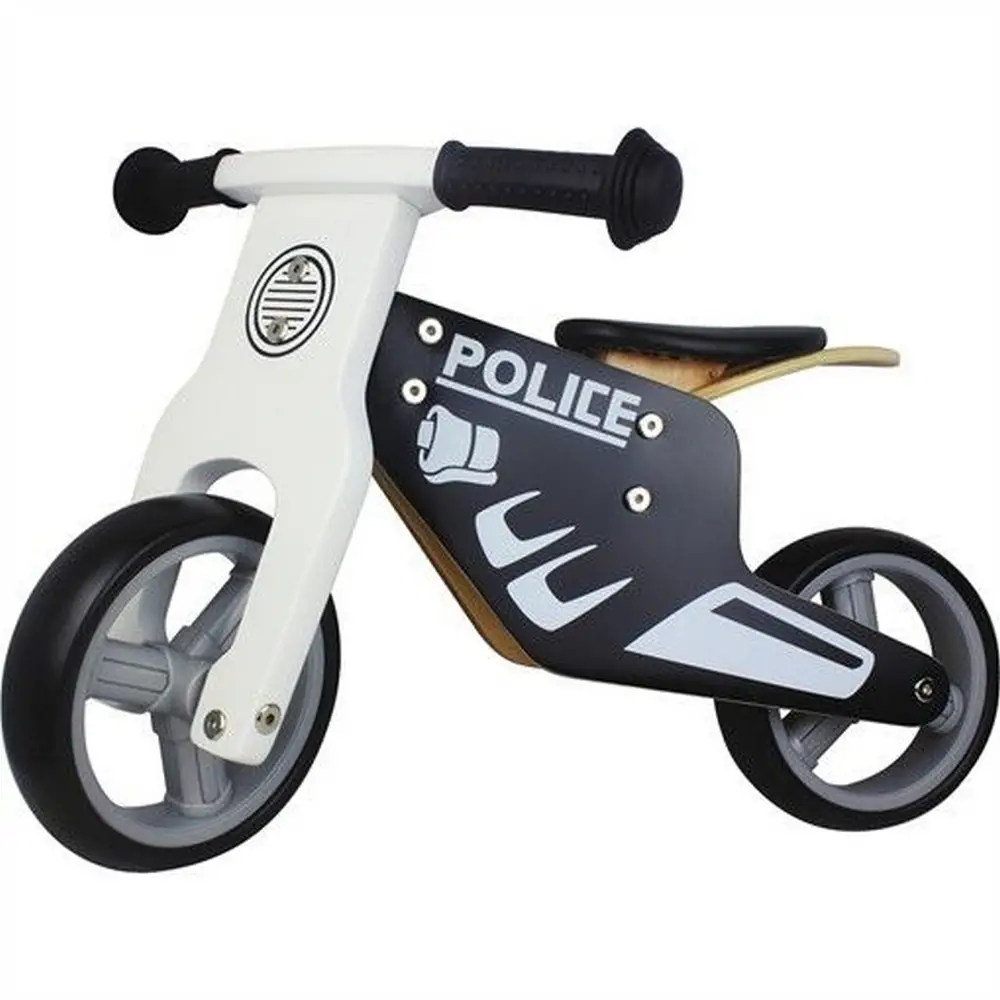
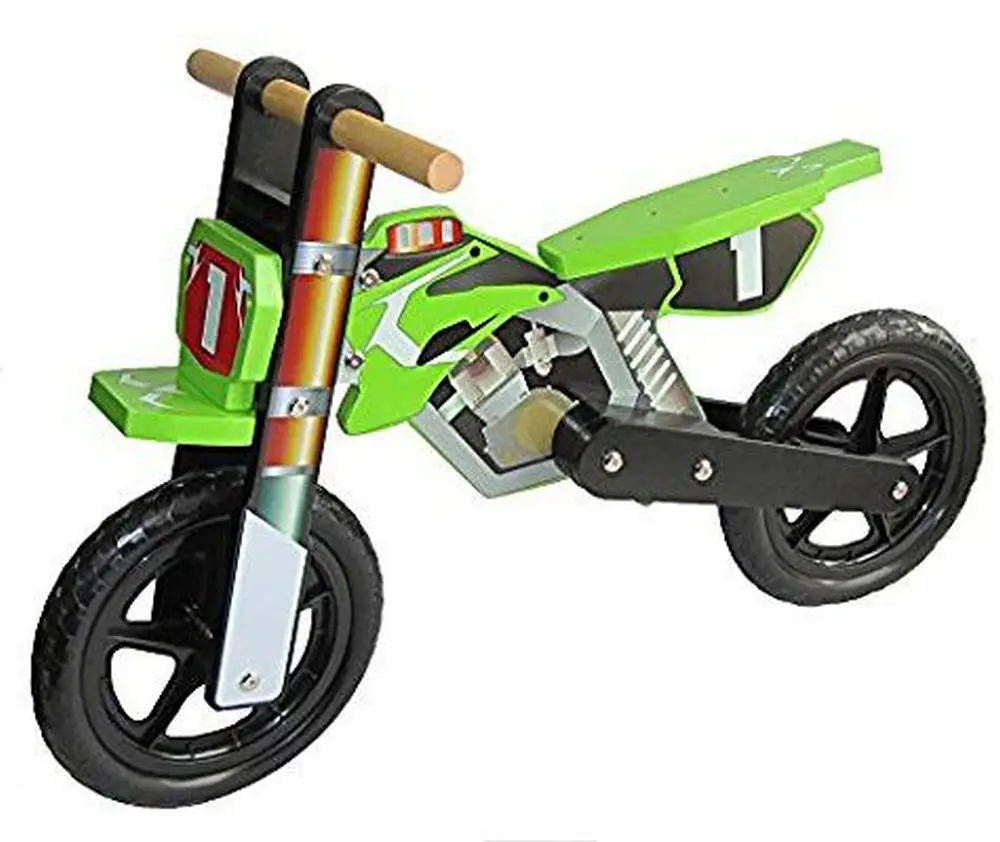
Click on any image to start the lightbox display. Use your Esc key to close the lightbox.


Build your balance bike today! Watch this tutorial video to learn how.
Maintaining Your DIY Balance Bike
Maintaining a DIY balance bike made with just two easy materials is relatively straightforward. Here are some maintenance tips to ensure the bike remains safe and functional:
1. Regular Cleaning: Keep the balance bike clean by wiping it down with a damp cloth or sponge regularly. Remove any dirt, mud, or debris from the frame, wheels, and other components. This helps prevent corrosion and extends the life of the materials.
2. Inspect for Damage: Regularly inspect the bike for any signs of wear, tear, or damage. Check for loose screws, bolts, or fittings, and tighten them as needed. Look for cracks, dents, or scratches in the frame or wheels, and repair them promptly to prevent further deterioration.
3. Check Stability: Test the stability and structural integrity of the bike periodically. Ensure that all connections are secure and that there are no loose or wobbly parts. Check the seat and handlebars for stability, and adjust them if necessary to ensure a snug fit.
4. Maintain Tires: If the balance bike has inflatable tires, check the tire pressure regularly and inflate them to the recommended PSI as needed. Inspect the tires for signs of wear or damage, such as punctures or cracks, and replace them if necessary.
5. Lubricate Moving Parts: Apply lubricant to any moving parts, such as the wheels, axles, and steering mechanism, to keep them operating smoothly. This helps reduce friction and wear, prolonging the life of the components.
6. Store Properly: When not in use, store the balance bike in a dry, sheltered area to protect it from the elements. Avoid leaving it exposed to rain, snow, or extreme temperatures, as this can cause damage to the materials.
7. Monitor Child’s Growth: Keep an eye on your child’s growth and adjust the bike accordingly. Raise the seat or handlebars as needed to accommodate their increasing height and ensure a comfortable riding position.
By following these maintenance tips, you can keep your DIY balance bike in good condition and ensure that it remains safe and enjoyable for your child to ride. Regular upkeep helps prolong the life of the bike and ensures that it continues to provide hours of fun and exercise for your little one.
The Beauty in Repurposing an Old Bike
Repurposing allows you to unleash your creativity and imagination. Instead of seeing an old bike as obsolete, you view it as a canvas for innovation. Transforming it into a balanced bike gives it a new purpose and revitalizes its appearance.
Every repurposed bike is unique, reflecting the personality and preferences of its creator. Whether you opt for a vibrant paint job, quirky accessories, or personalized details, you have the freedom to customize the design to your liking, resulting in a one-of-a-kind creation.
Repurposing aligns with sustainable practices by reducing waste and minimizing the need for new resources. Rather than discarding the bike and contributing to landfill accumulation, you give it new life, embodying the principles of recycling and environmental stewardship.
The Wrap Up
Crafting a DIY balance bike offers a multitude of benefits, transcending mere functionality to become a testament to creativity, resourcefulness, and familial bonding. As you repurpose an old bike into a new and exciting ride, you embark on a journey that instills invaluable lessons and creates cherished memories.
Repurposing an old bike into a balance bike is a celebration of sustainability and ingenuity. It transforms a forgotten item into a vehicle for learning and adventure, teaching children about the importance of repurposing and environmental stewardship. By engaging in this process, children learn the value of creativity and innovation, gaining a deeper understanding of how to make the most of available resources.
Involving children in the construction of their balance bike is a collaborative endeavor that fosters teamwork and problem-solving skills. As you work together to assemble the bike, children learn to overcome challenges, think critically, and express their creativity. This shared experience strengthens family bonds and creates lasting memories that will be treasured for years to come.
Once the DIY balance bike is complete, it becomes more than just a mode of transportation—it becomes a gateway to exploration and discovery. Riding a balance bike helps children develop essential motor skills, balance, and coordination, laying the foundation for a lifetime of physical activity and outdoor adventure. It encourages children to embrace the joy of exploration, fostering a love for the outdoors and an appreciation for the world around them.
Moreover, a DIY balance bike ignites children’s imagination and encourages independent play. As they ride their custom-made bike, children embark on imaginative journeys, exploring new worlds and creating their adventures. This freedom to play and explore nurtures creativity and self-expression, empowering children to develop their unique interests and talents.
In conclusion, crafting a DIY balance bike is more than just a fun project—it’s a transformative experience that enriches the lives of both parents and children. It teaches valuable lessons about sustainability, creativity, and teamwork while fostering a love for outdoor adventure and exploration. So, embrace the joy of DIY projects and embark on this rewarding journey with your child—it’s an experience you’ll both cherish for years to come.
Frequently Asked Questions
1. What materials do I need to make a DIY balance bike?
Typically, you’ll need a sturdy bike frame and handlebars, along with wheels suitable for your child’s size. For simplicity, consider using a wooden frame and PVC pipes for the wheels.
2. How do you choose the right size for your child?
The size of the bike should be proportional to your child’s height and leg length. Ensure that they can comfortably reach the ground while sitting on the seat with their feet flat.
3. Do you need any special tools or skills to build a DIY balance bike?
While basic DIY skills are helpful, you don’t need advanced expertise. Common tools such as a saw, drill, screws, and sandpaper should suffice. Follow online tutorials or seek guidance from experienced DIY enthusiasts if needed.
4. Can you customize the design of the balance bike?
Absolutely! One of the advantages of DIY projects is the freedom to personalize the design according to your preferences. You can choose colors, add decorations, or incorporate accessories to make the bike uniquely yours.
5. How long does it take to build a DIY balance bike?
The time required depends on your skill level, available materials, and the complexity of the design. Simple designs with fewer components may take a few hours to assemble, while more elaborate designs could take longer.
6. Is it safe for you child to ride a DIY balance bike?
Safety should always be a priority. Ensure that the bike is sturdy, stable, and free from sharp edges or protruding parts. Test the bike for stability before allowing your child to ride it, and supervise them closely during use.
7. Can you make adjustments as you child grows?
Yes, one of the advantages of DIY balance bikes is their flexibility. You can adjust the seat height and handlebar position as your child grows to ensure a comfortable and safe riding experience.
8. What are the benefits of using a DIY balance bike?
DIY balance bikes promote physical activity, coordination, and balance in young children. They also encourage outdoor exploration and provide an opportunity for hands-on learning and creativity.
9. How can you maintain you DIY balance bike?
Regular cleaning, inspections for wear and tear, and adjustments as needed are essential for maintaining the bike’s safety and functionality. Store it indoors when not in use to protect it from the elements.
10. Where can you find inspiration and guidance for building a DIY balance bike?
Online DIY communities, forums, and tutorials are valuable resources for ideas, tips, and step-by-step instructions. Don’t hesitate to reach out to fellow DIY enthusiasts for advice and support.
Building a DIY balance bike is a rewarding experience that fosters creativity, learning, and family bonding. With the right materials, tools, and guidance, you can create a customized ride that provides endless hours of fun and exploration for your child. So, roll up your sleeves, unleash your creativity, and embark on this exciting DIY adventure!


