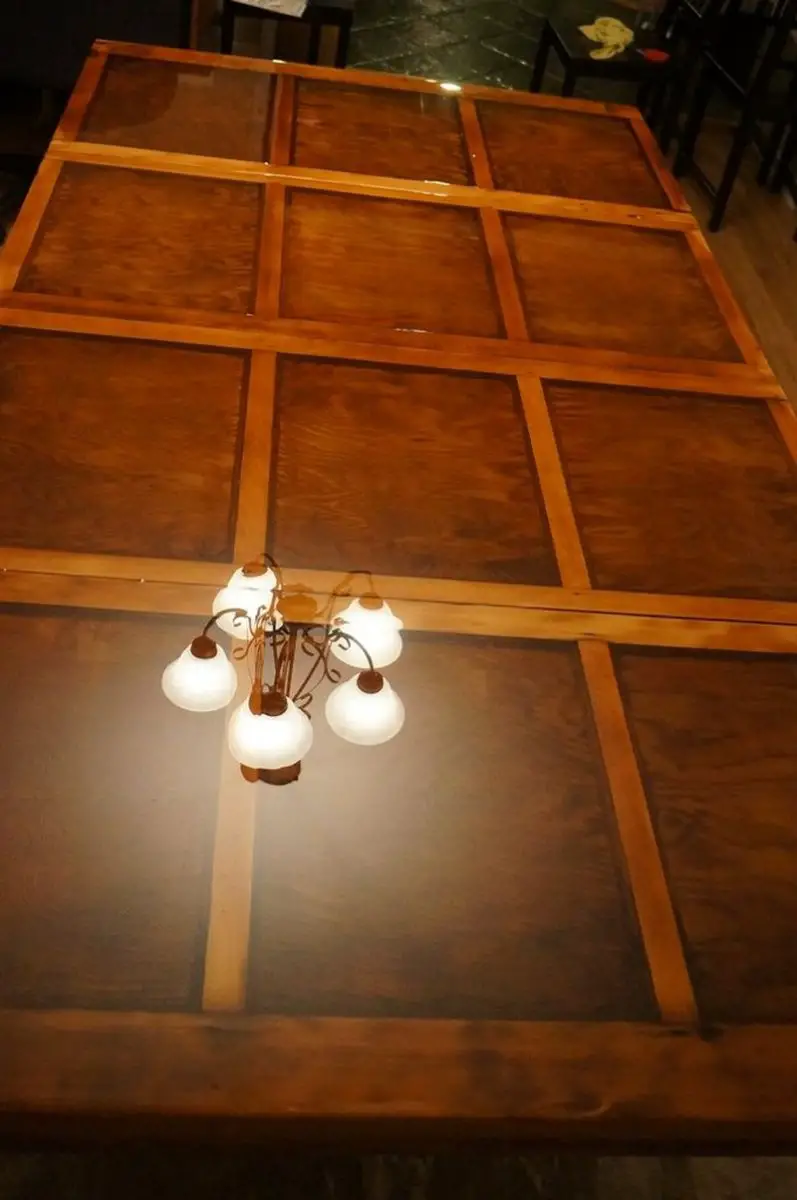
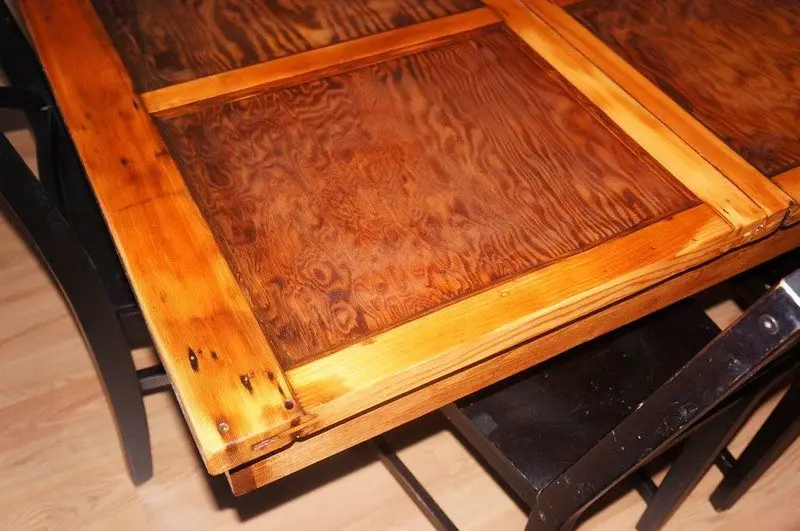
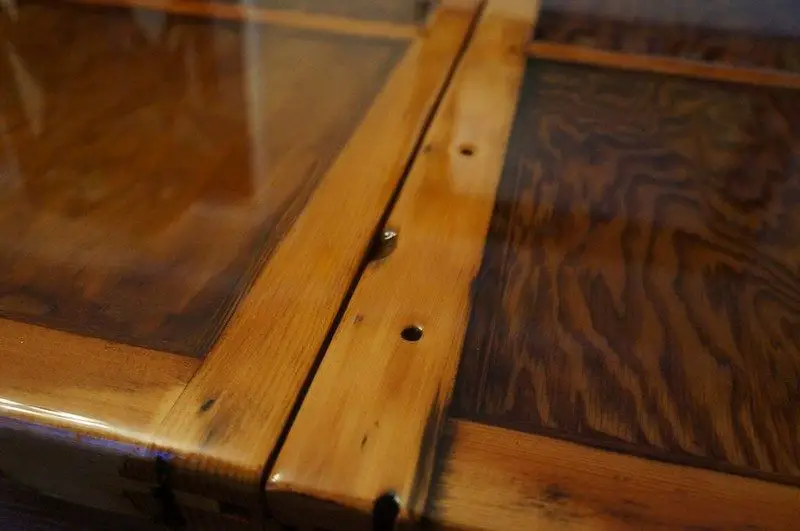
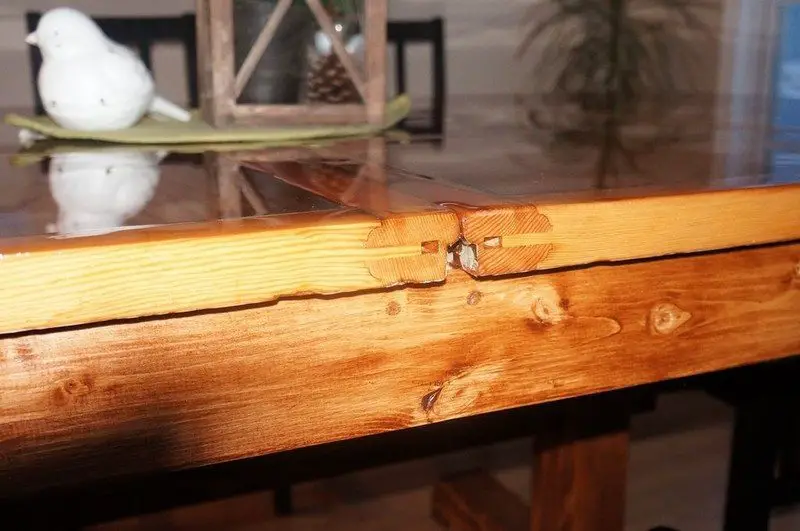
So my decision to pour epoxy into the pockets had my anxiety levels elevated! My goal was to only fill the pockets and leave the sealed wood exposed to create a nice contrast of finishes.
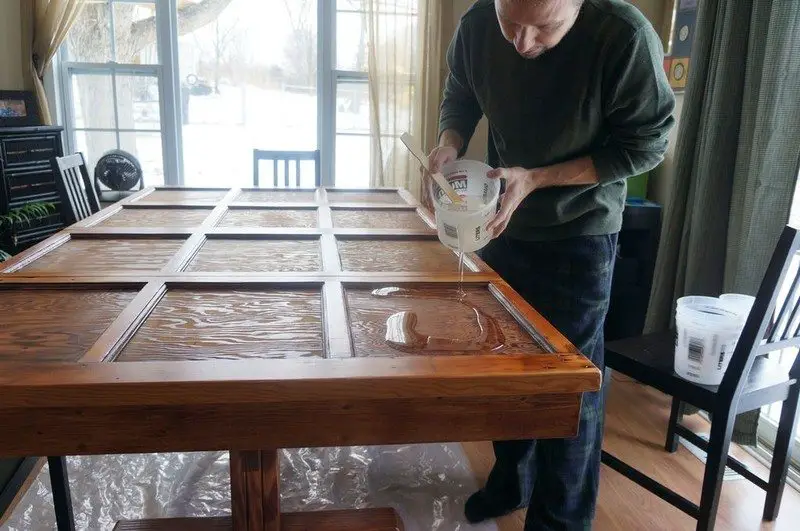
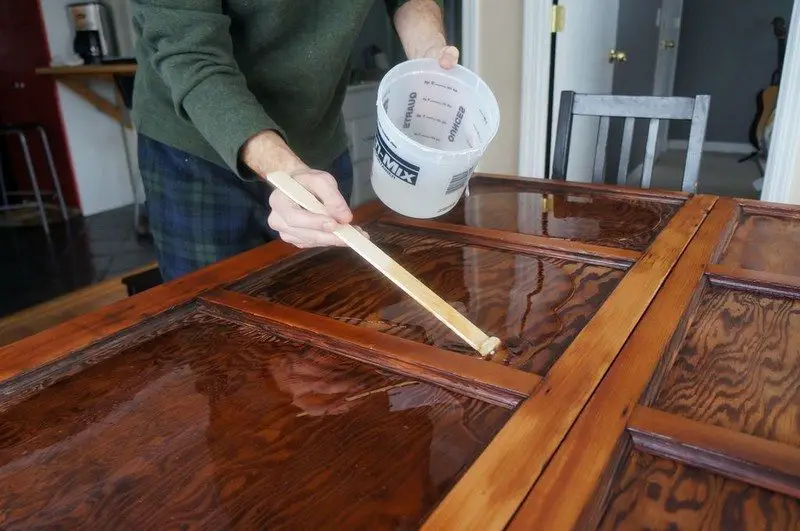
In order to pour the epoxy to 1/2″ thickness, I had to do 4 pours in each pocket. Each pocket pour required 3/4 of a gallon each of the resin and hardener! Doing the math equals 6 gallons total of resin and hardener.
Follow the directions – there’s a reason they include them with their products, and they are found on several pages on their website.
Don’t rush it.
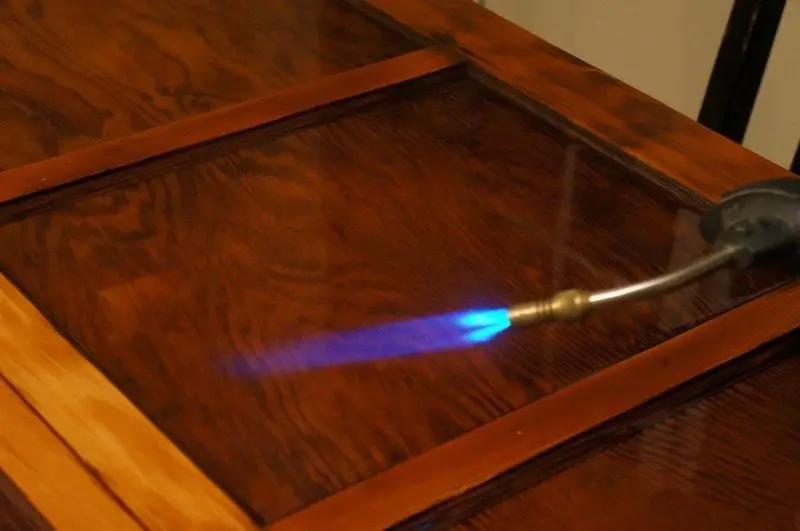
Use a blow torch to remove air bubbles and when you think you have them all removed, use your blow torch again. I wouldn’t recommend a heat gun or hair dryer since those are using forced air and can stir up a lot of dust – which you do not want in your epoxy.
Once all pockets had been completely filled, I noticed that when I had sanded the ribs, I had dipped the belt sander a little on some of the sides and the epoxy was flowing into those low edges, thus erasing any crisp clean edges from epoxy to rib. My solution!? Pour more epoxy over the whole table top making it all one level. It worked, but it was a L O N G day and I was bordering on insanity trying to ensure all bubbles were removed and all surfaces were level.
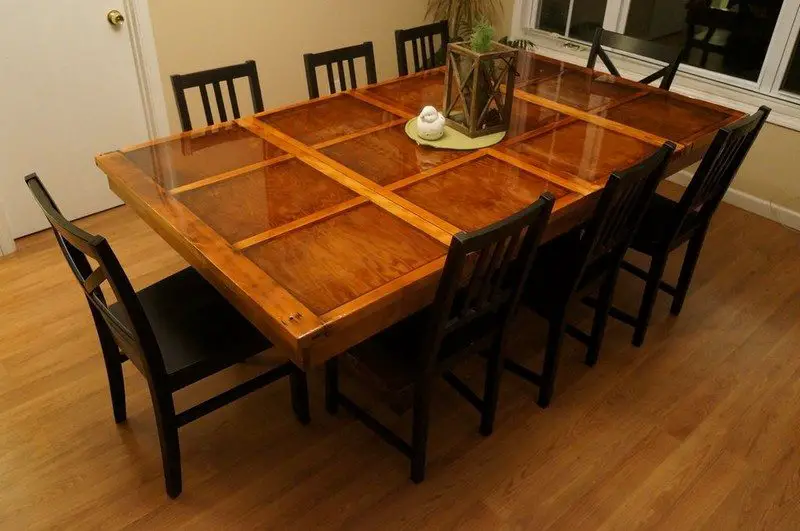
Overall it turned out beautifully in my opinion even though it didn’t have the look I was going for initially. I hope it inspired you to go out and use, reuse and upcycle items to make beautiful furniture yourself! The less we throw away the better it is for everyone!

Thanks to jmitch77 for this great project.


