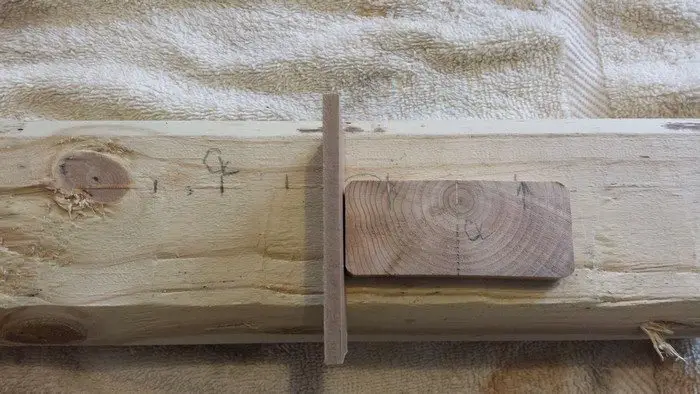
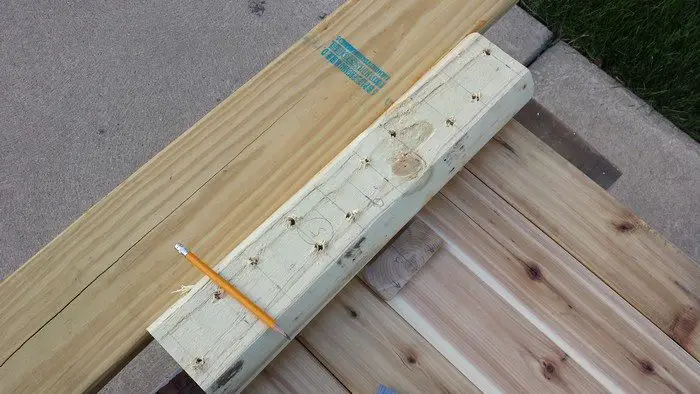
Find the center line of the cut-off piece as picture shows and align with the mid point of the support…
and transfer those two screw location points to the support piece, and make (2) marks. Those will be the reference points for later on to drill 3/8″ holes.
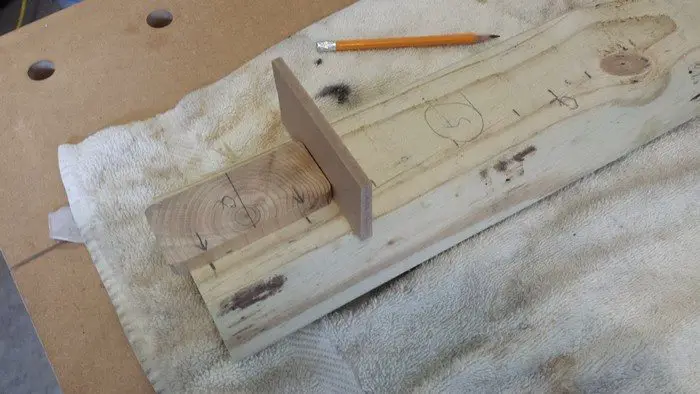
Use a spacer (preferred spacing) to move the template outboard to continue lay out process as pictured. After complete one support piece, transfer all the markings to the other side.
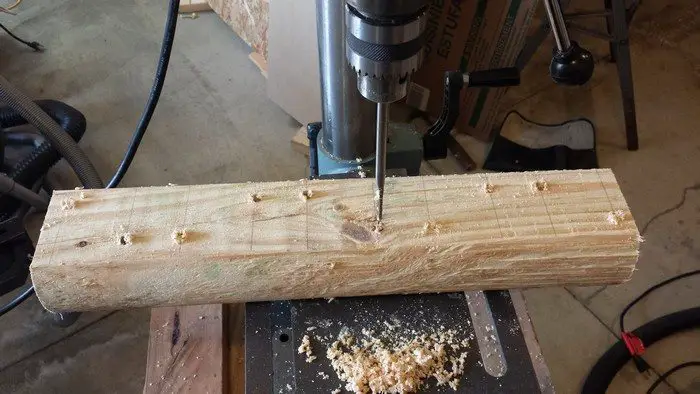
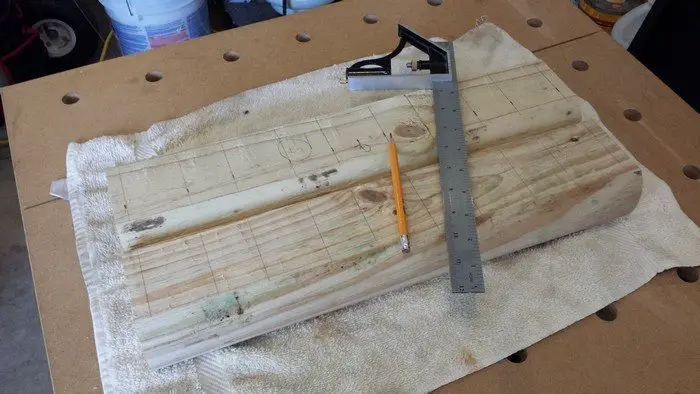
Drill off-set holes as pictured. Again, drill holes 1 7/8″ into the piece, leave about 1″ at the bottom.
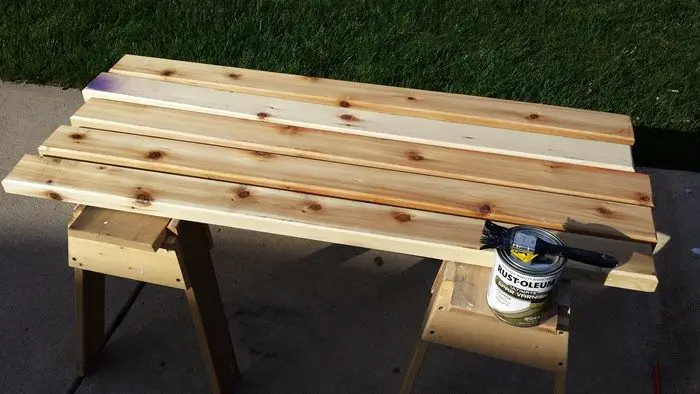
Finish the ceder top first. We left the imperfection and discoloration of all pieces there to show the charactor of nature, they worked out very well.
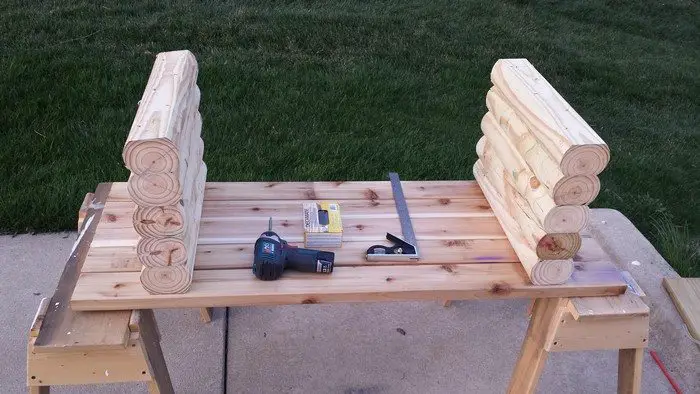
The key of the assembly process is to think outside the box and build this bench up-side-down, so that none of the screw could be seen.
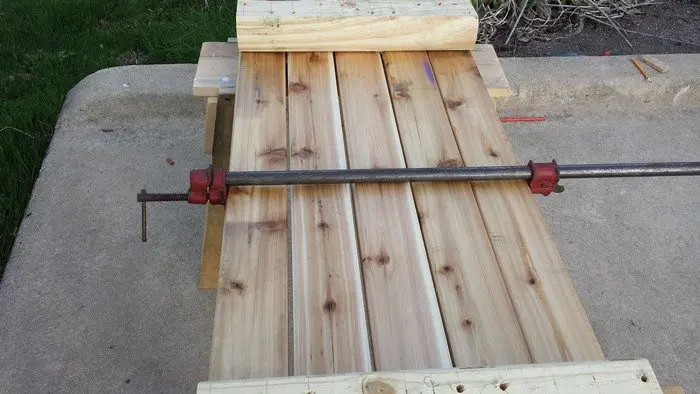
Pick out the side as the top for all ceder top pieces, and flip them over to start the assembly process. Make sure all the edges align to each other. Use spacers to make sure the even spacing of each ceder piece, and clamp all (5) pieces together.
Use a piece of 1×6 as a guide as shown in the picture, so that the first support is square to the top. When everything looks OK, drive deck screws into each pre-drilled 3/8″ holes to connect support with top. Be careful not over drive the screw, as It could go through the top! I put a mark on my drill bit to ensure the right depth.
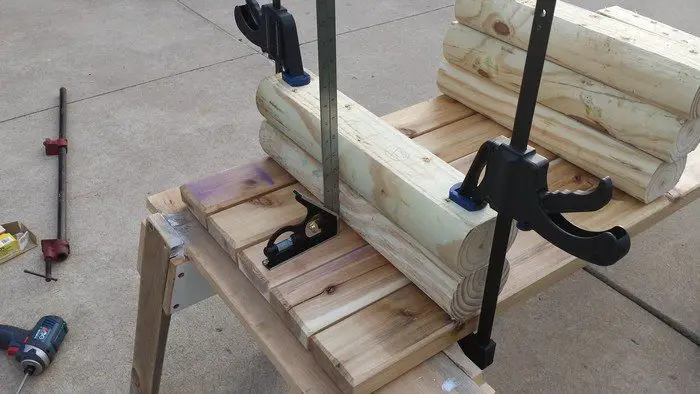
Use square to align the next piece, and use clamps when ever it’s possible. The off-set holes are necessary to ensure that the screw will not end up on top of each other. Plan ahead, everything will fall into the place by itself, the total assembly time was less than an hour.
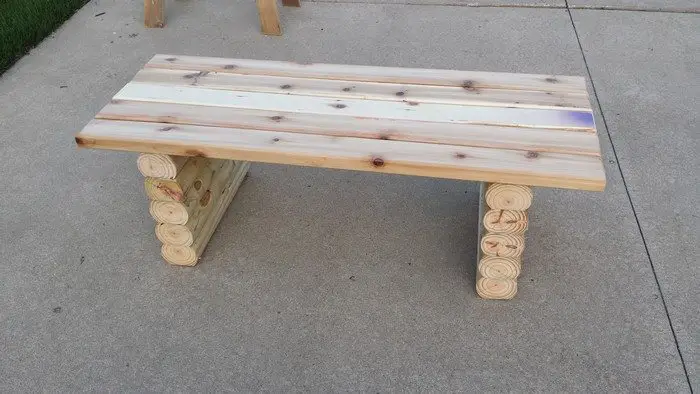
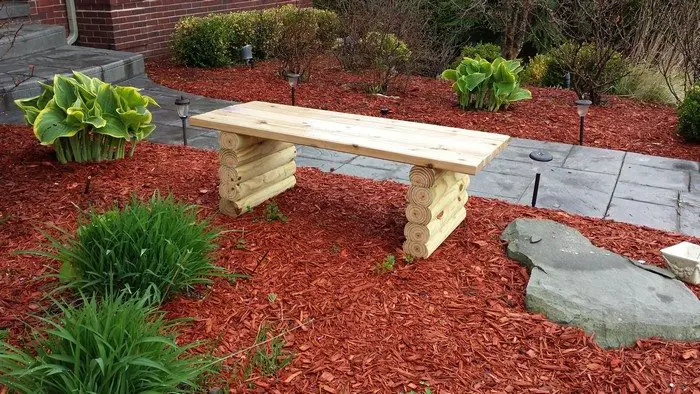
Bench is completed, and most importantly, our family liked it! So set it in place and enjoy!
Thanks to Jzbowmannz for this great project!


