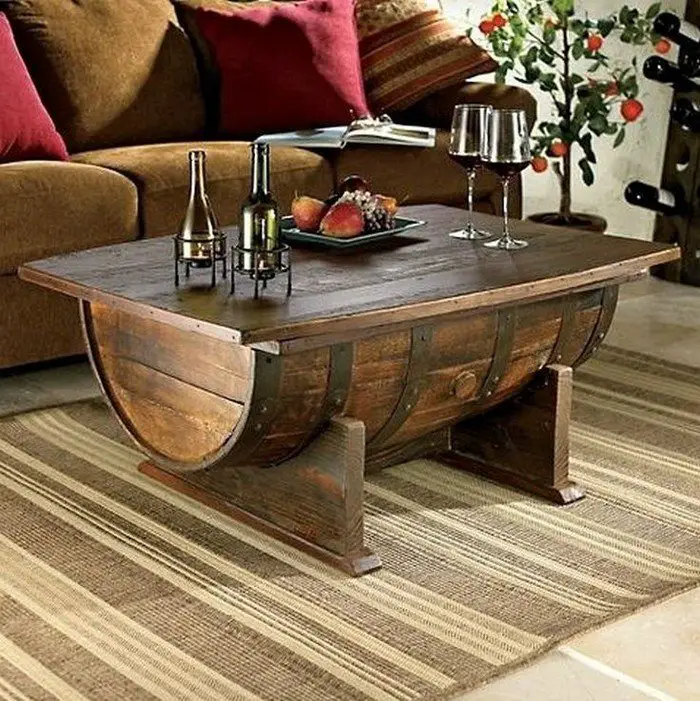
Building a wine barrel coffee table is a fun upcycling idea that even new builders can do as their first project. Learn how to build this wine barrel coffee table.
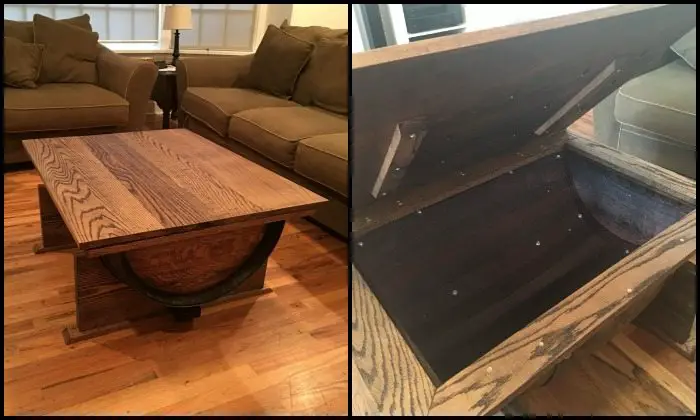
This is not just a stylish wine barrel coffee table. it’s also spacious storage for keeping miscellaneous items in the living room. So if you are looking to improve your living room, this is one great idea you can do!
But if you are not confident about cutting a wine barrel in half yourself, you can ask your supplier or a local woodworking shop to do it for you. This will make the entire project a lot easier. :)
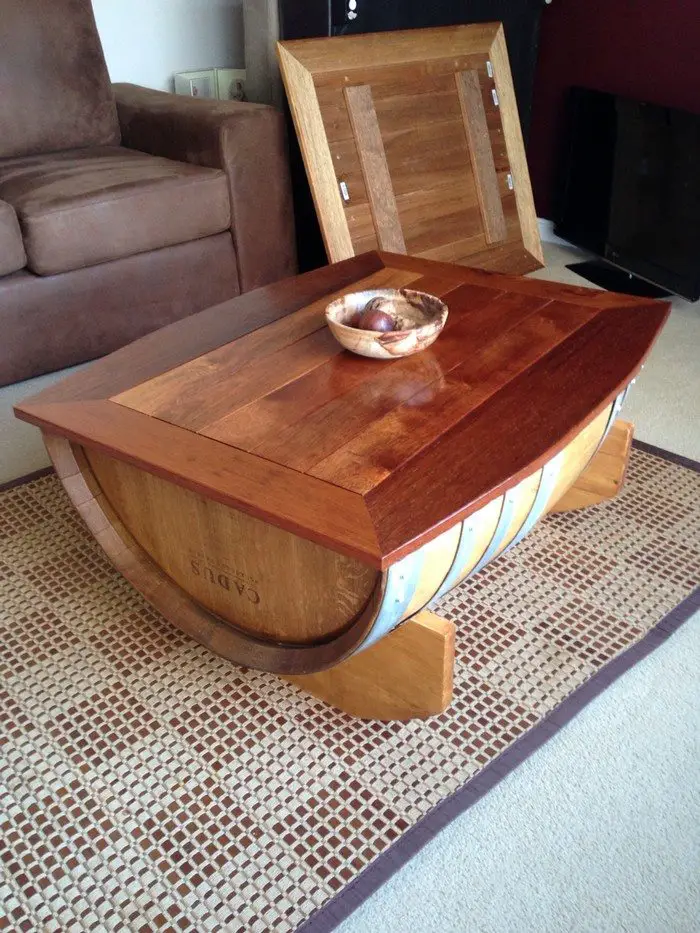
Now what’s also nice about this DIY project is that you can use leftover timber for the tabletop and the base. It doesn’t matter if they’re pallets or oak – your wine barrel coffee table will surely look beautiful in a rustic way.
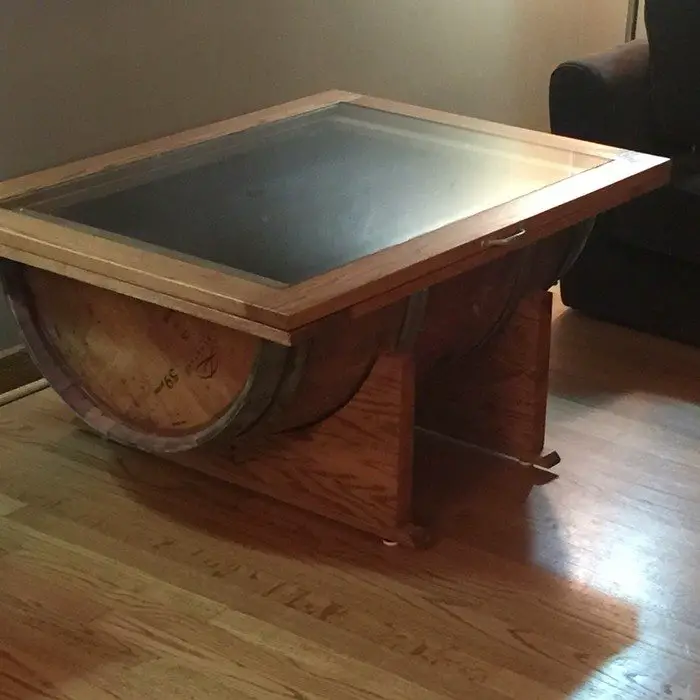
You can also use glass as your tabletop if you want to use the compartment like a shadowbox for displaying certain items.

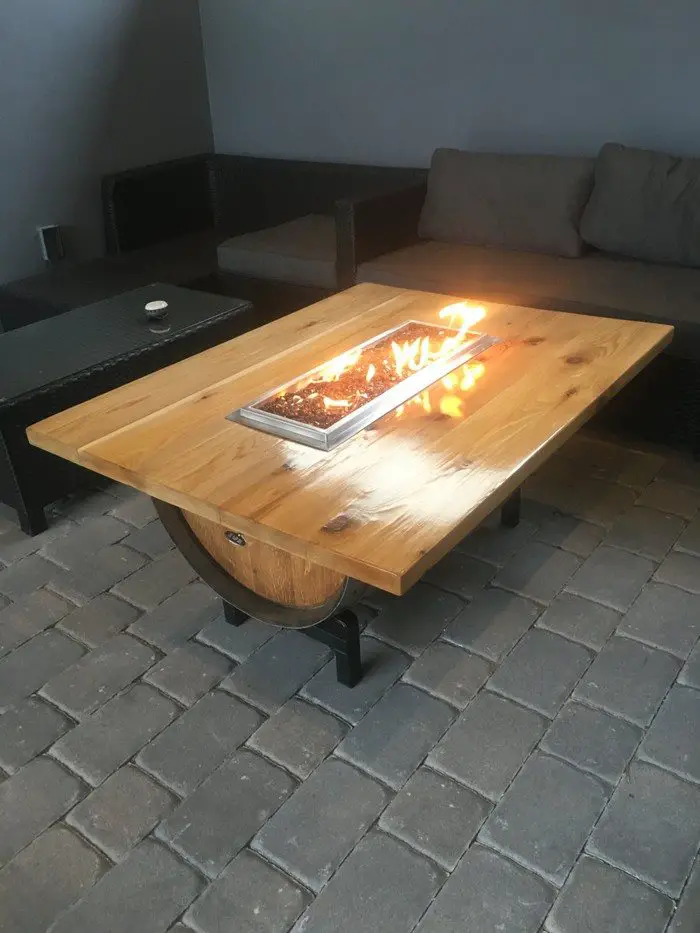
If you plan on building this for your outdoor area, you can install a small fire pit too, to keep you warm during the winter!
This wine barrel coffee table idea is a piece of furniture that certainly meets style and a lot of functions! What’s not to love?
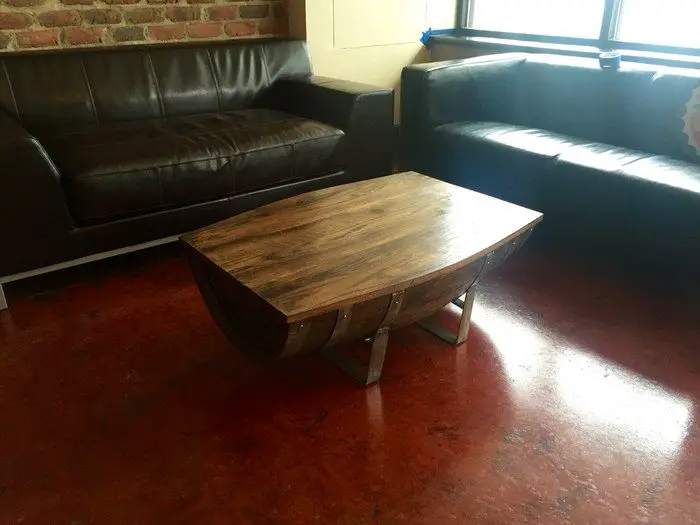
Have a look at some different versions of a wine barrel coffee table from our album below. Then learn the step-by-step tutorial by scrolling down to the tutorial by DIY-er cmatthews13!
Click on any image to start the lightbox display. Use your Esc key to close the lightbox. ?
Materials and tools you need to build a wine barrel coffee table…
Materials:
- Old Wine Barrel
- 1x4x3/4″ Oak Timber
- Oil Rubbed Bronze Colored Paint
- Carriage Bolts
- Wood Screws
- Piano Hinge
Tools:
- Ruler and Pencil
- Cordless Drill
- Jigsaw
- Random Orbital Sander
- Angle Grinder
- Pocket Hole Jig
- Spirit Level
- Measuring Tape
Steps:
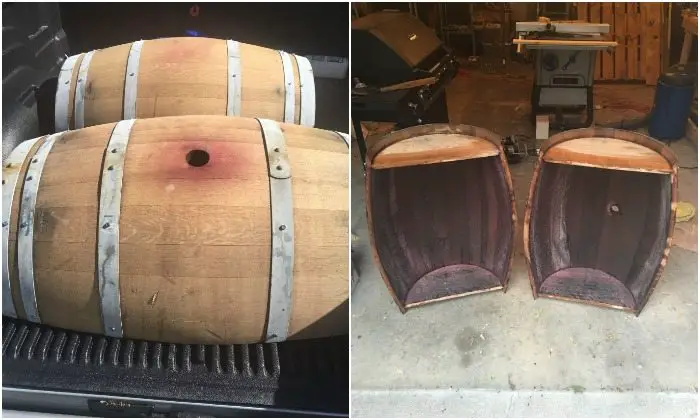
Supplies: Buy a barrel. Hopefully, your supplier will cut the barrel for you. This will save you a lot of time, energy, and any headache.
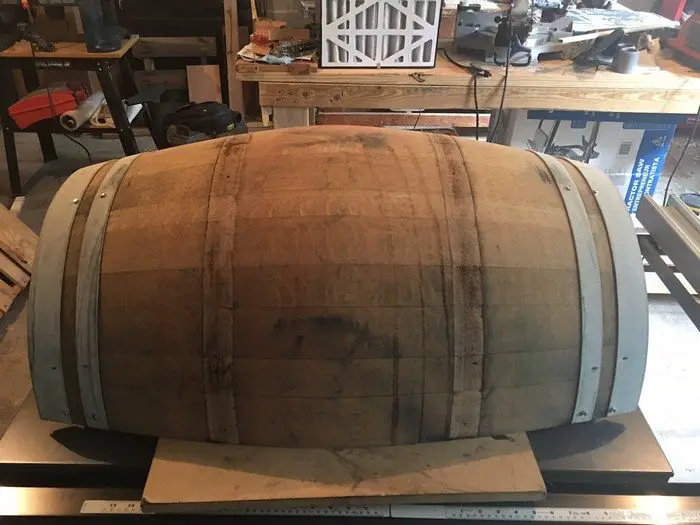
Make it pretty: I removed the steel bands for this, however it probably would have been just as easy to leave them on.
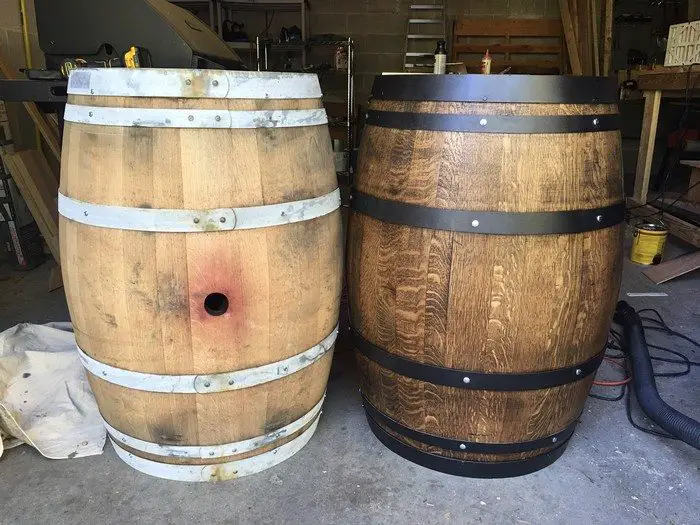
I then used oil and rubbed bronze colored paint to repaint the steel bands, and then re-attached them. Then, I replaced the screws with new carriage bolts.
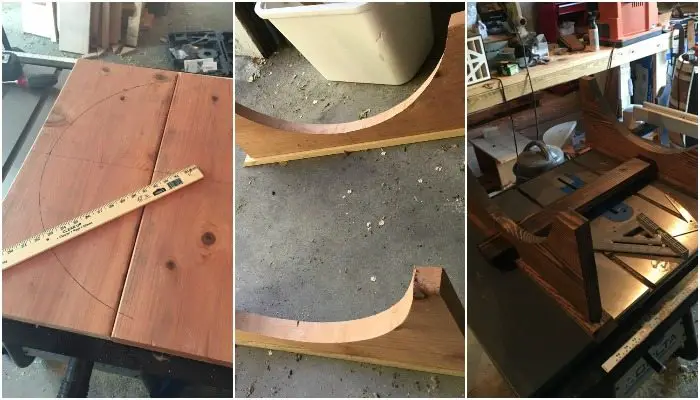
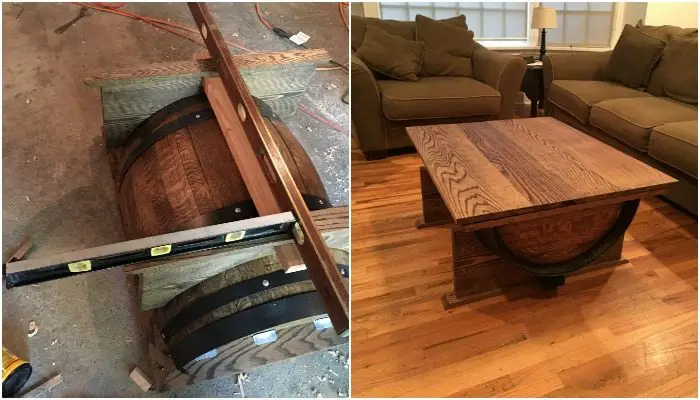
Create the base: Creating the arches for the base was probably the toughest part of this project. There are a couple of good videos that demonstrate this pretty well. The picture shows how I used a ruler to create the half circle for the base. Basically, you divide the width of the barrel from where you want the base in half.
Then add a bottom board to support the base and the runner.
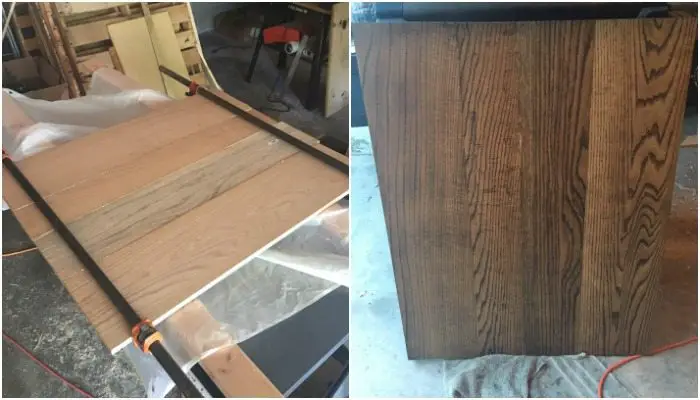
The top: I used three-quarter inch oak panels that I happened to have. These were left over from a previous project. Otherwise, I would not have spent the money as they get a little pricey. I glued them, and then used a pocket hole jig to secure them from the underside.
Then I used two support braces.
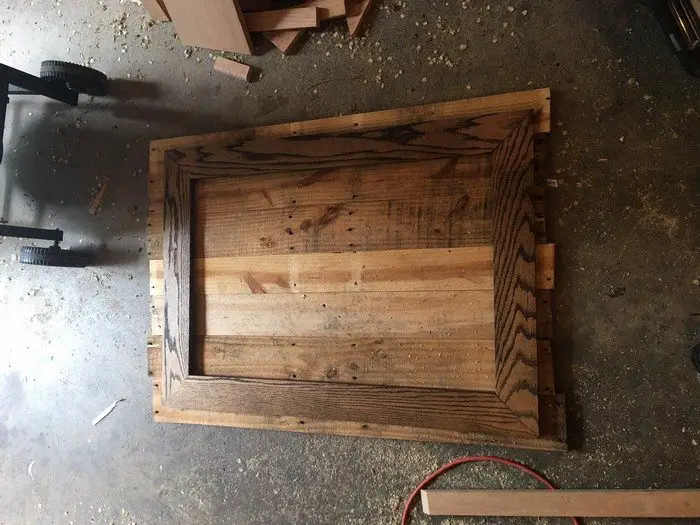
Frame: I used oak 1 x 4s to create a frame for the top to rest on. This was not an easy task as getting it secured to the barrel was tough. I ended up having to use some corner brackets along the bottom side of it to ensure that it would not fall apart if anyone tried to pick up the table. You can see that in the pictures.
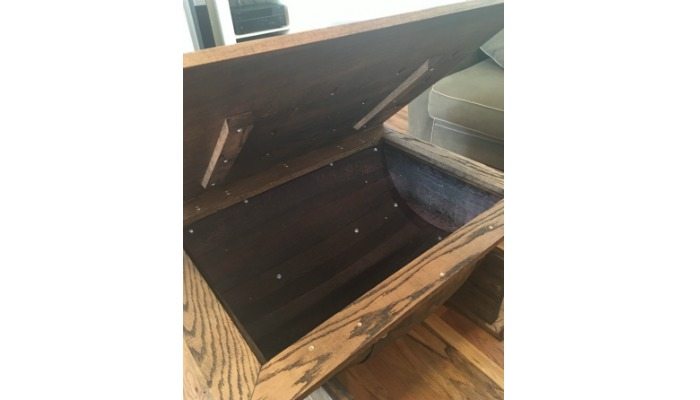
Assembly: I moved it inside the house to do the final assembly. Basically, while it was upside down, I marked the barrel while the base was in place. That way I could drill some pilot holes from the outside in, and then later attach screws from the inside out. Once I put it together, I was able to screw the barrel in place with the base. Then, I set the top on it and added a piano hinge to the backside, which offered a small storage space inside.
Full Disclosure: These two guys really helped me make this happen…
Thanks to cmatthews13 for this great project!


