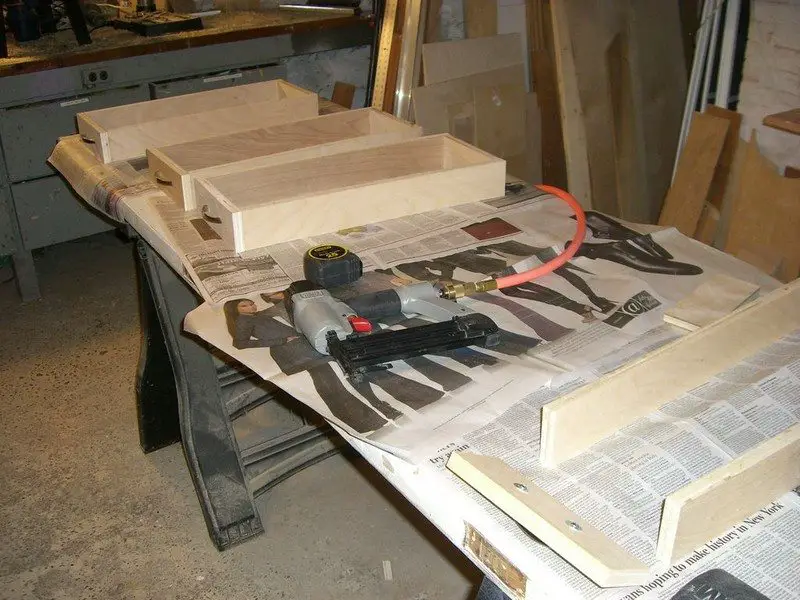
Make sure that the “A5” and each “D1” piece fit between the drawer glides. Mount the pieces in the drawer glides with screws and verify they glide well.
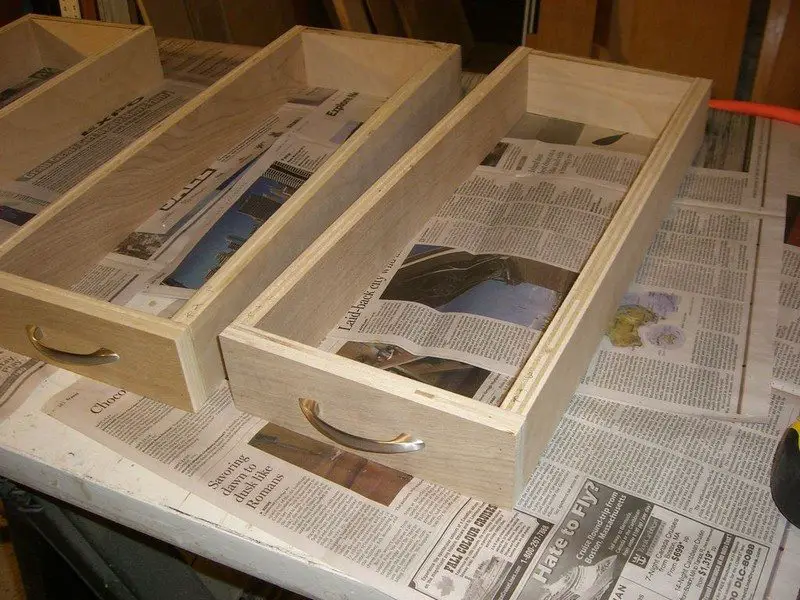
- Attach the drawer pull to the front piece “D4”.
- Build up the drawers as shown in the picture below with pieces “D2, D3, and D4”. Glue and nail.
- Apply glue to the bottom of the drawer sides and attach it to the “D1” pieces. Make sure to offset the drawer side assembly back from the bottoms of the drawers “D1” to allow clearance of the drawer pull. If you don’t do this, the drawer pull will interfere with the door closing.
- Apply edge tape to all exposed edges of the TV lift cabinet and sand.

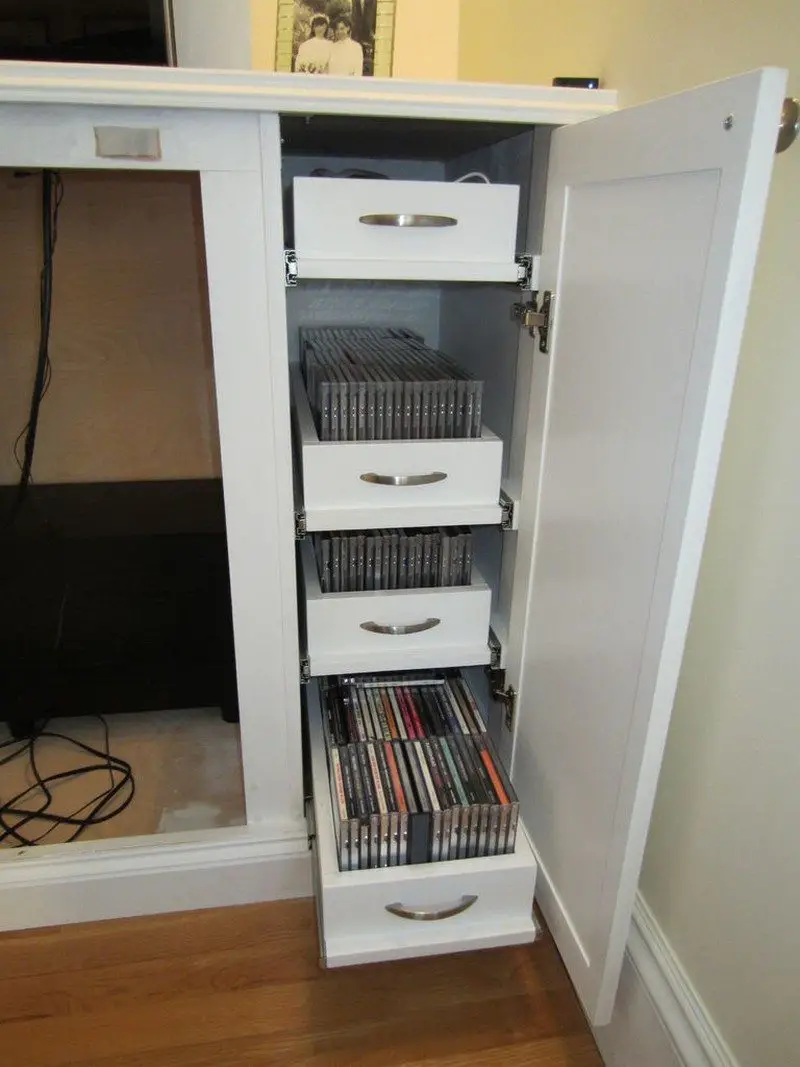
Optional step: Add dummy filler plates of 1/4″ wood in 2 places. They can be cut quickly on the band-saw.
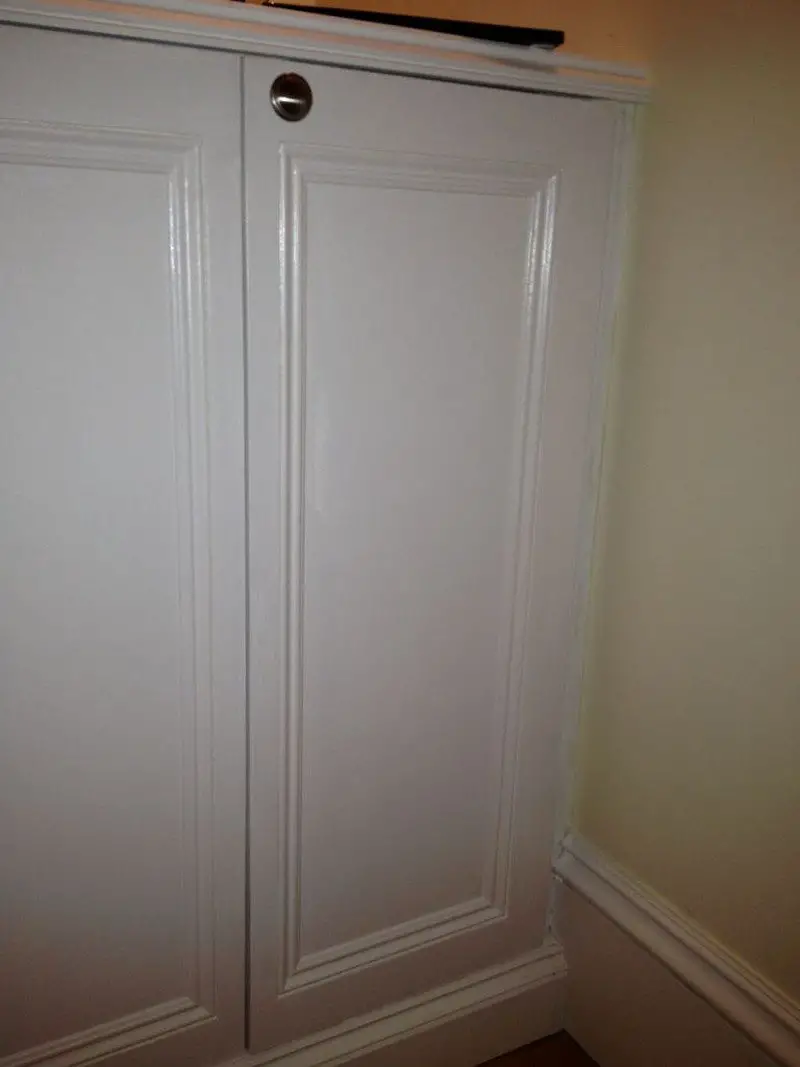
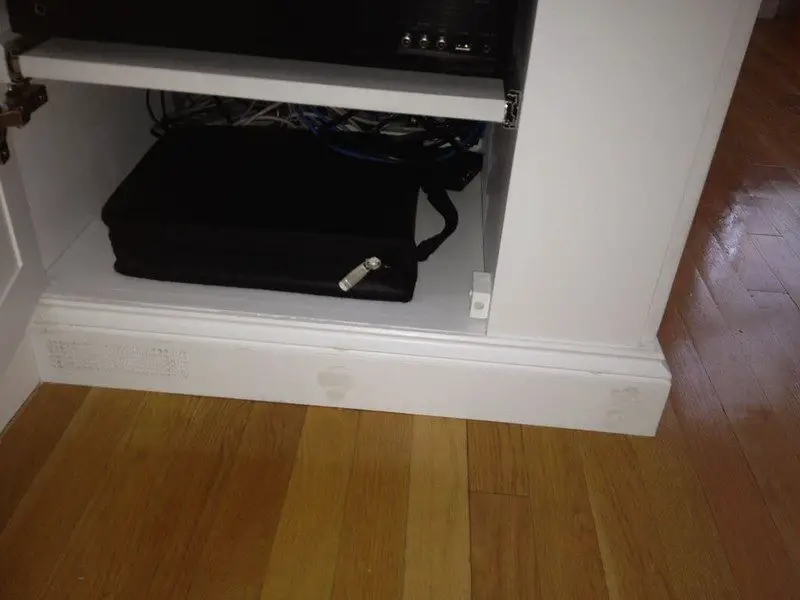
- Add a filler plate to the left of “D’ so you can’t see the TV lift cabinet insides when you open the right-side door. Glue in place and add some painter’s tape to hold while it dries. See the picture below.
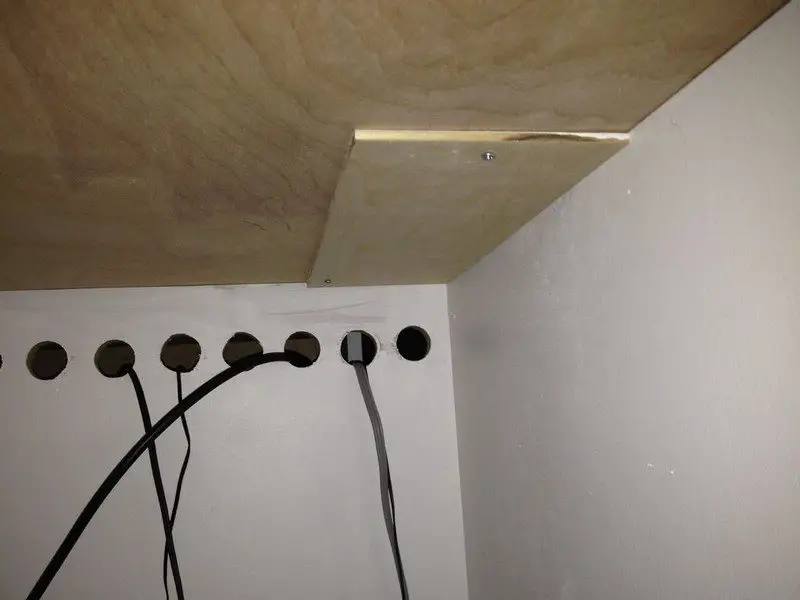
- Add a filler plate at the roof of the component cavity so you can’t see the component cavity inside when the flap lid is open. Screw from underneath. See the picture below.
Remove All the TV Lift Cabinet Pieces and Setup to Sand and Paint
Our goal here is to remove all the pieces from the TV lift cabinet now to do the final spackling, sanding, and painting.
- Remove all pieces from the TV lift cabinet that are not glued.
- Lay them out on surfaces or tables.
- Spackle all nail holes, gouges, and scratches with a putty knife. Wait for it to dry.
- Sand everything with 100-grit paper that feels rough to your hand. Use a combination of the random orbital sander, sanding block, and sandpaper in your hand.
- Wipe off all sanding sawdust. Clean your shop area to prepare for painting.
Painting
The best way to paint a TV lift cabinet like this is with an HVLP sprayer system. They are expensive, require a spray booth, and… I don’t have one. So, I used a brush, paint, and a finish coat of polyurethane to cover it. Experiment with multiple coats of paint and urethane to get the finish you want before painting the TV lift cabinet.
I used Home Depot, “Decorator White” Behr Premium Plus Ultra which is primer and paint together and is water-based. It still takes 3 coats of this paint to cover the wood.
I put a few finish coats of Minwax satin water-based poly. The poly keeps things like books and picture frames from sticking to the paint when you put them on it.
Paint all parts of the TV lift cabinet that will be visible. Paint the remaining trim pieces and bottom pieces to be used in the final assembly.
This TV lift cabinet is heavy. I built mine in my basement and needed a strong friend to help me carry it upstairs (thanks Troy!). I wanted a few things attached as possible while I moved it to reduce weight so I did the final assembly upstairs. I recommend the same for you.
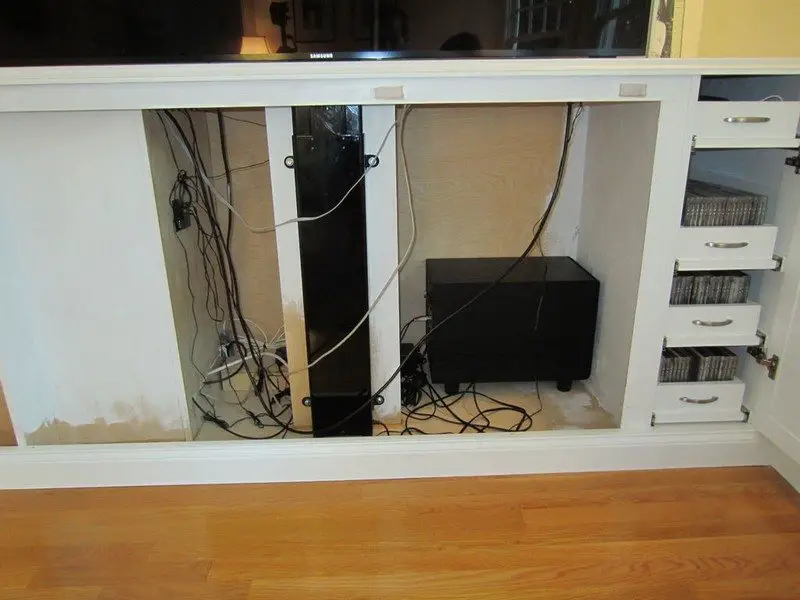
After the paint has dried, you are ready to move your TV lift cabinet. Before you move it, make sure you have prepared any wiring or cables that will need to go into it.
- Move the TV lift cabinet carefully. When it is in place, get all your wiring into cabinet. Mount the doors and place the top on the TV lift cabinet.
- Make sure that you don’t have more than 1/8″ from the TV lift cabinet top edge to your walls. If you do, the caulk may not hold and you’ll need to insert filler pieces.
- Mount the Firgelli lift in the cabinet. Make sure the roller wheels are mounted properly on top. Test the operation of the lift going up and opening the flap door smoothly. Test that the lift goes down nicely and the flap door shuts. Watch carefully and keep your finger near the controls in case you see a potential problem.
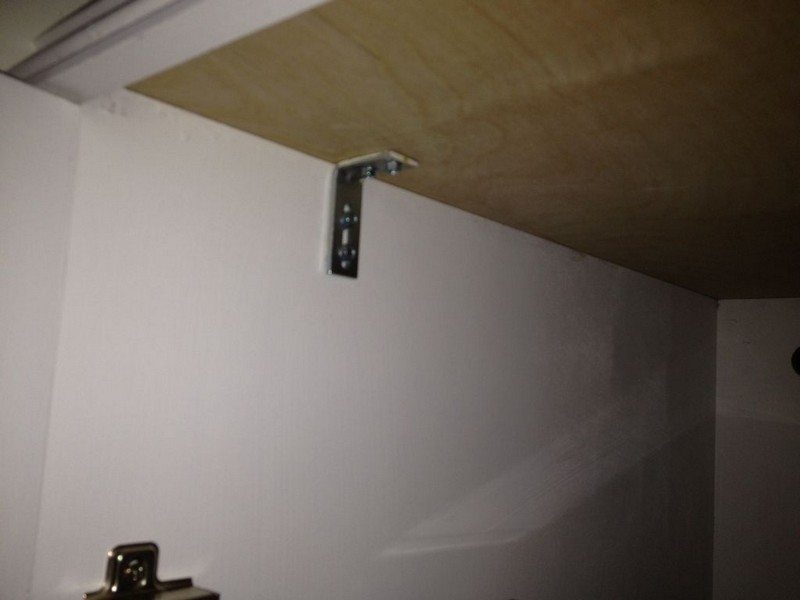
- Attach the top to the TV lift cabinet carcass with L brackets as shown in the picture below. This will make for easy removal.. just in case. Put the L brackets in any area where the top may try to rise a little. I used 4 L brackets for this TV lift cabinet.
Install the TV per the Firgelli manual:
Lay the TV down on a flat rug and install the 4 brackets to the TV. Slide in the 2 black “wing” pieces.
- Attach the Lift top housing to these “wing” pieces.
- Carefully, add the TV with the lift top to the top of the lift to secure it with the 4 bolts.
- Connect all your cables to the Power, cable box, receiver, IR sensors, etc.
- Test that your TV lift works!!
Now it’s time to add the following trim pieces:
1 BB2 Bottom Block 86 ¾ x 2 ¾
1 BB4 Bottom Block 26 ½ x 2 ¾
Trim moulding:
——————–
1 T1 Big Moulding 86
1 T2 Big Moulding 26 1/4
1 T3 Big Moulding 86 1/2
1 T4 Big Moulding 26 3/4
- The lengths of these pieces should belong. You will need to measure, trim, and install them.
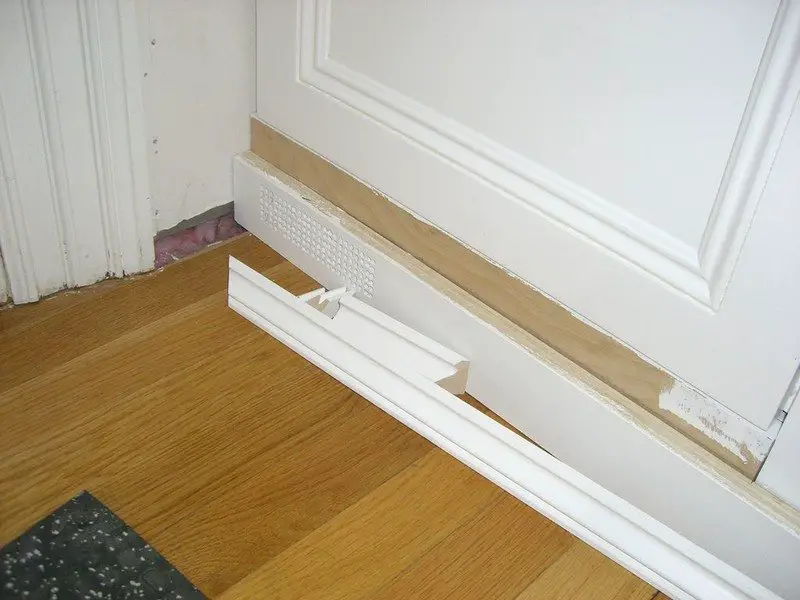
- Install “BB2” and “BB4” per the drawings. Make sure to cut mitred joints where they meet.
- Install “T2” and “T1” mouldings on the toppers of the drawings. Make sure to cut mitred joints where they meet.
- Install “T3” and “T4” mouldings on the bottom per the drawings. Make sure to cut mitred joints where they meet.
- Spackle, sand with 220 grit paper, and touch-up paint all mitred joints and holes.
This TV lift cabinet is a big project and it is very rewarding. If you want you can choose to add a shelf for your next project!

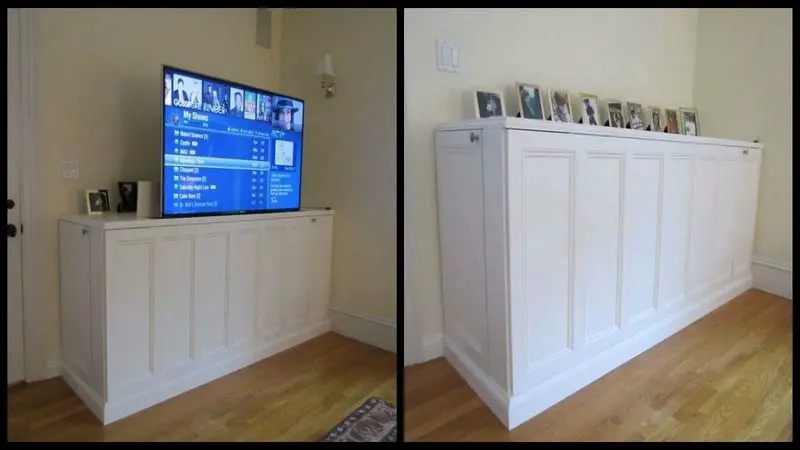
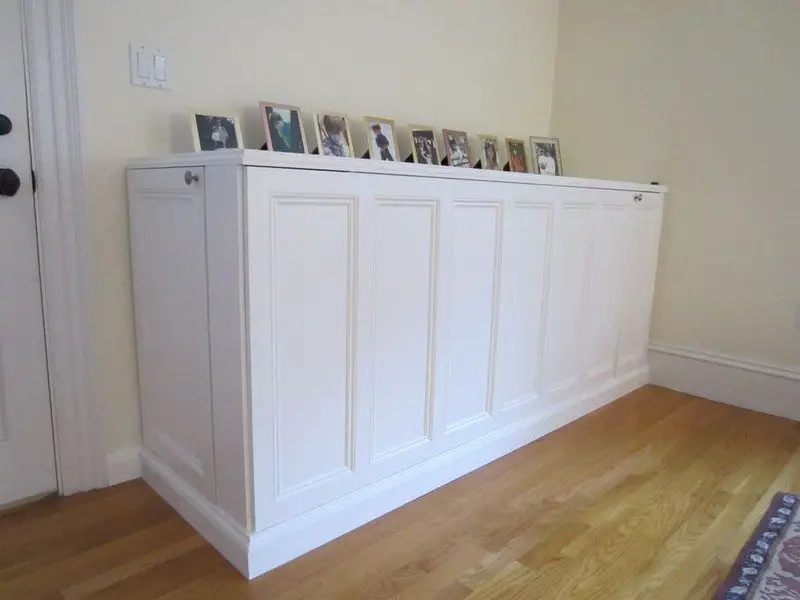
By building this TV lift cabinet, your living room could be improved a lot, having no visible wires and players to clutter the place. To some, it might even serve to protect electronics from burglars. Who would think there’s a TV in there?
Thanks to ihart for sharing their insights on this fantastic TV lift cabinet project!
Summary
Unlock a world of entertainment in style with our step-by-step guide to crafting your very own DIY TV lift cabinet. With just a few effortless and straightforward steps, you possess the remarkable ability to completely metamorphose your ordinary living space into a captivating cinematic haven.
This exciting TV lift cabinet project not only elevates the aesthetics of your room but also introduces an element of luxury and innovation to your entertainment setup, turning your space into a sanctuary where you can immerse yourself in cinematic delights at the touch of a button.
Discover the secrets to the seamless design, hidden technology, and the satisfaction of creating a TV lift cabinet that’s both functional and fabulous. Elevate your home entertainment experience today!
Prepare all the materials and tools and make your own DIY TV lift cabinet!


