One of the best ways to update a space is to add lighting. A great idea would be to use lighting fixtures that can double as art pieces. However, designer lighting can get pretty expensive. But you don’t have to spend hundreds of dollars so you can have a set of stylish lights. With a little know-how, time, and effort, you can easily make them on your own.

We were renovating our outdoor bar about a month ago. We wanted it to become an entertainment area when family and friends come over to visit. As work went on, we realized we needed to get new lights to complement the mood of the space. We figured concrete pendant lights would be good but the price tag attached to a set stopped us.
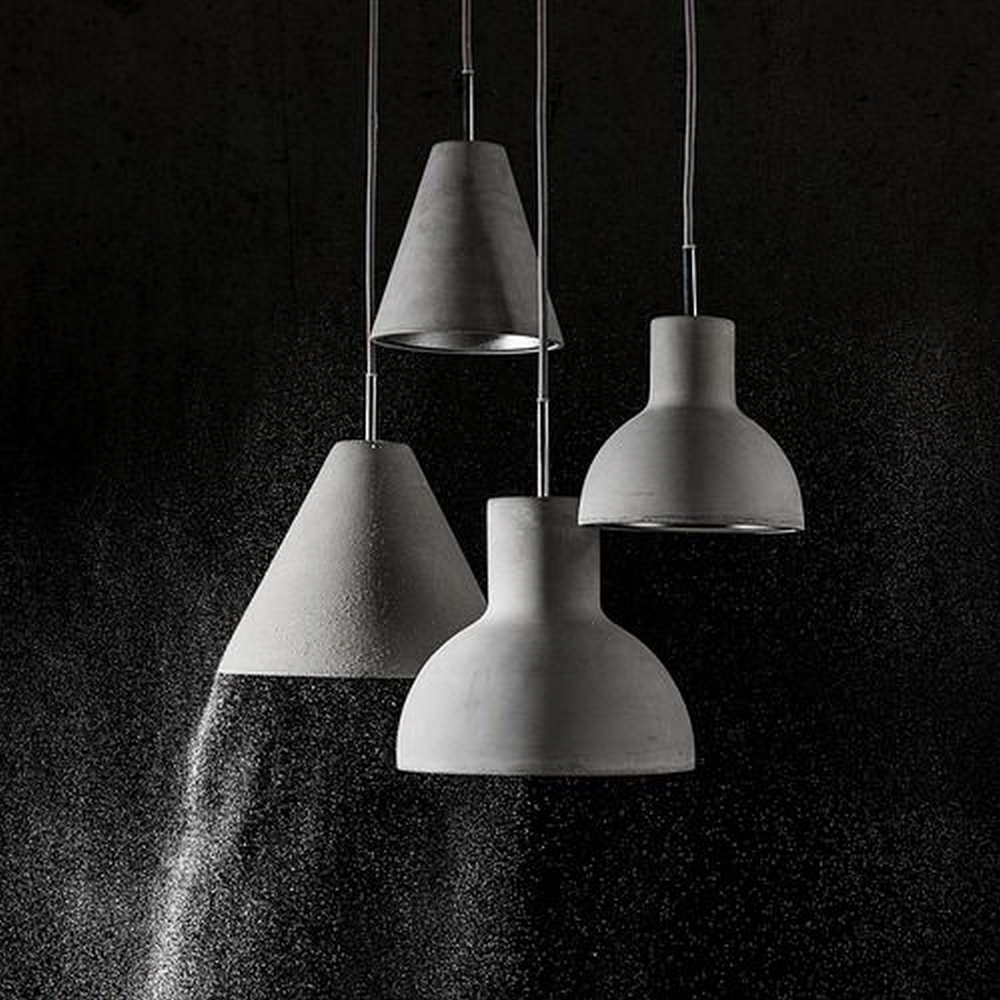
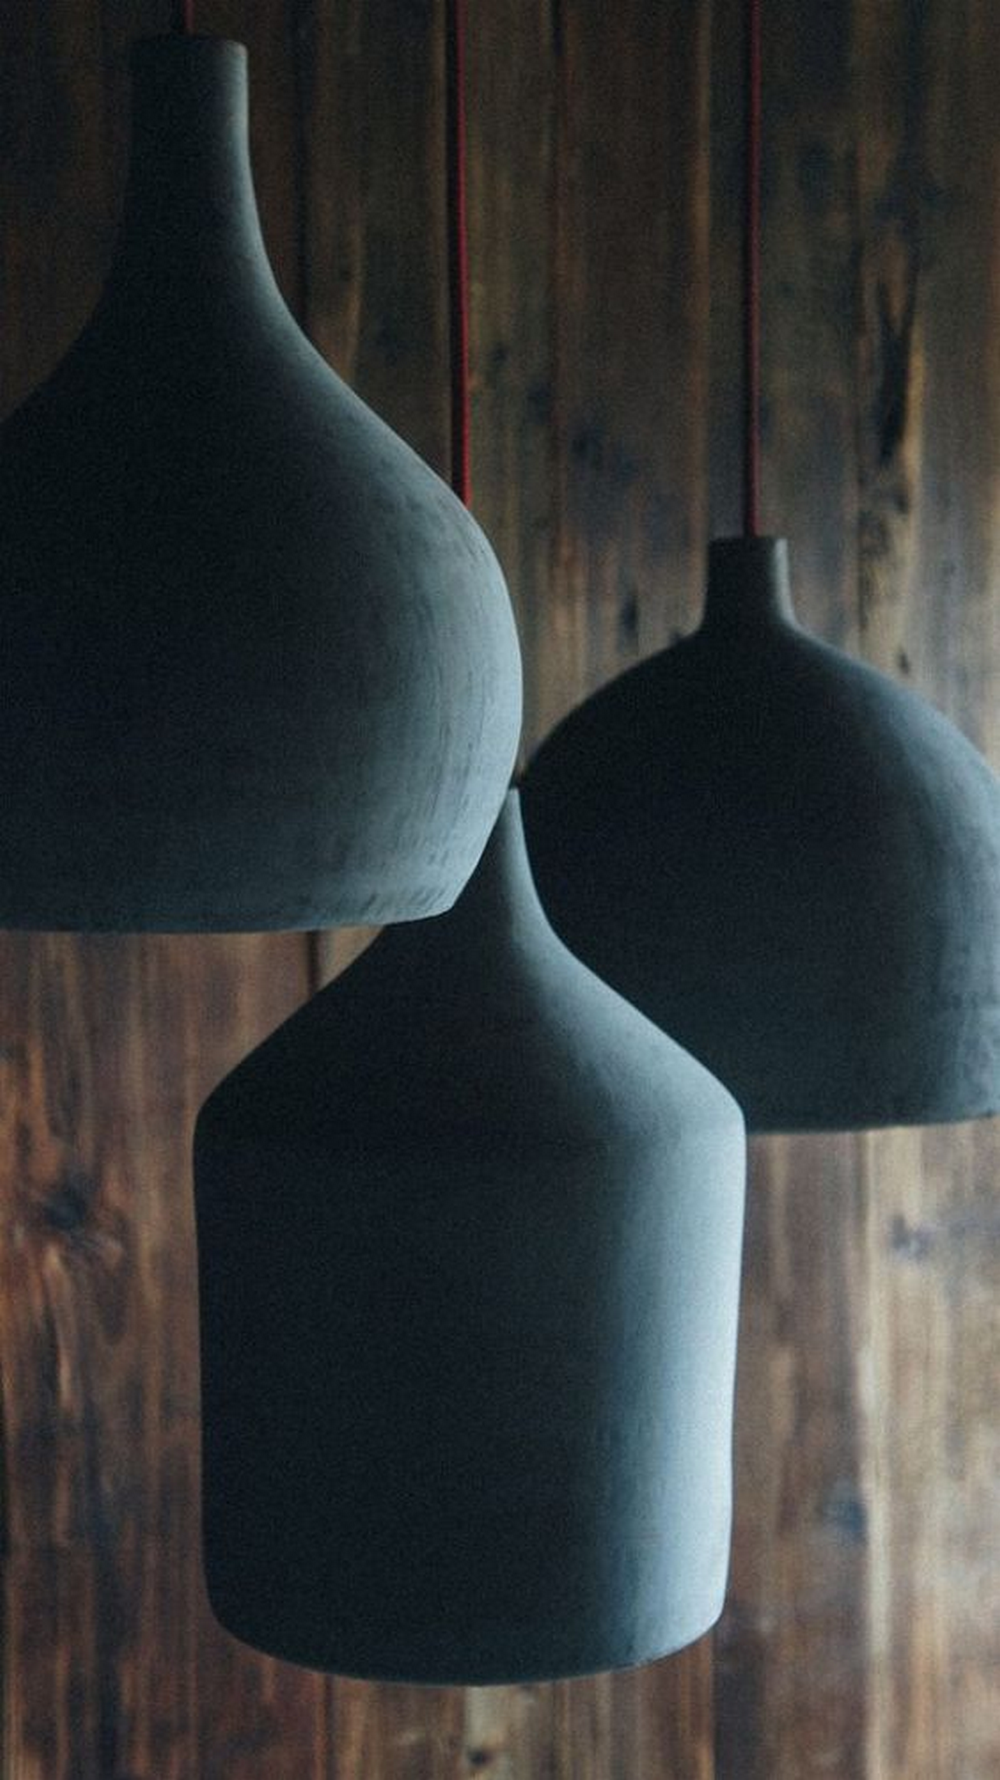
Fortunately, we found a tutorial video on how to DIY concrete pendant lights. It was simple and easy to follow so my husband and I worked on a set of six lights. Today, they’re hanging in our outdoor bar and we love it!
Contents
Making Concrete Pendant Lights
Materials
- Quikrete 5000 Concrete Mix
- Plastic bottles
- Pendant cord kit
- Threaded tube and nuts
- 3 ½” deck screw
- Cooking spray
- Screws
- Light bulb
Tools
- Box cutter/knife
- Drill with drill bits
- Mixing bucket
- Mixing spoon
- Large can
- Scissors
- Permanent marker
- Power Sander
- Sandpaper
- Eye protection
- Waterproof Gloves
Instructions
Prepare Your Molds:
- Choose plastic bottles with the shape and size you desire for your pendant lights. Cut the top off each bottle with a box cutter or knife to create your molds.
Mix Concrete:
- Wearing your eye protection and waterproof gloves, mix the Quikrete 5000 Concrete Mix in a mixing bucket. Follow the instructions on the package for the correct water-to-concrete ratio. Use the mixing spoon to stir until you achieve a smooth consistency.
Coat Molds with Cooking Spray:
- Lightly spray the inside of your plastic bottle molds with cooking spray. This acts as a release agent, making it easier to remove the concrete once it’s set.
Fill Molds with Concrete:
- Carefully pour the concrete mix into the molds. Tap the sides of the molds gently to remove air bubbles.
Insert the Deck Screw and Threaded Tube:
- Halfway through filling the mold with concrete, insert a 3 ½” deck screw into the center of the mold. This will hang the pendant light. Then, place a threaded tube vertically into the mix, ensuring it’s centered and upright. This tube will house the electrical parts of your pendant light.
Let the Concrete Set:
- Allow the concrete to set according to the instructions on the Quikrete package. Placing a large can on top of the threaded tube can help keep it in place as the concrete dries.
Remove the Molds:
- Once the concrete has fully set and cured, remove the molds. You might need to use the box cutter or scissors to cut the plastic bottle away carefully.
Sand the Concrete:
- Use a power sander and sandpaper to smooth any rough edges or surfaces of the concrete pendant. Always wear eye protection during this step.
Drill a Hole for the Pendant Cord:
- If not already done, drill a hole through the center of the concrete where the threaded tube is. Ensure the hole is big enough for your pendant cord kit to fit through.
Assemble the Light:
- Thread the pendant cord through the hole in the concrete pendant and through the threaded tube. Attach the light bulb socket to the cord according to the pendant kit instructions. Secure the setup with nuts where necessary.
Install the Light Bulb and Test:
- Screw in the light bulb and hang your new concrete pendant light. Connect it to power to test it out.
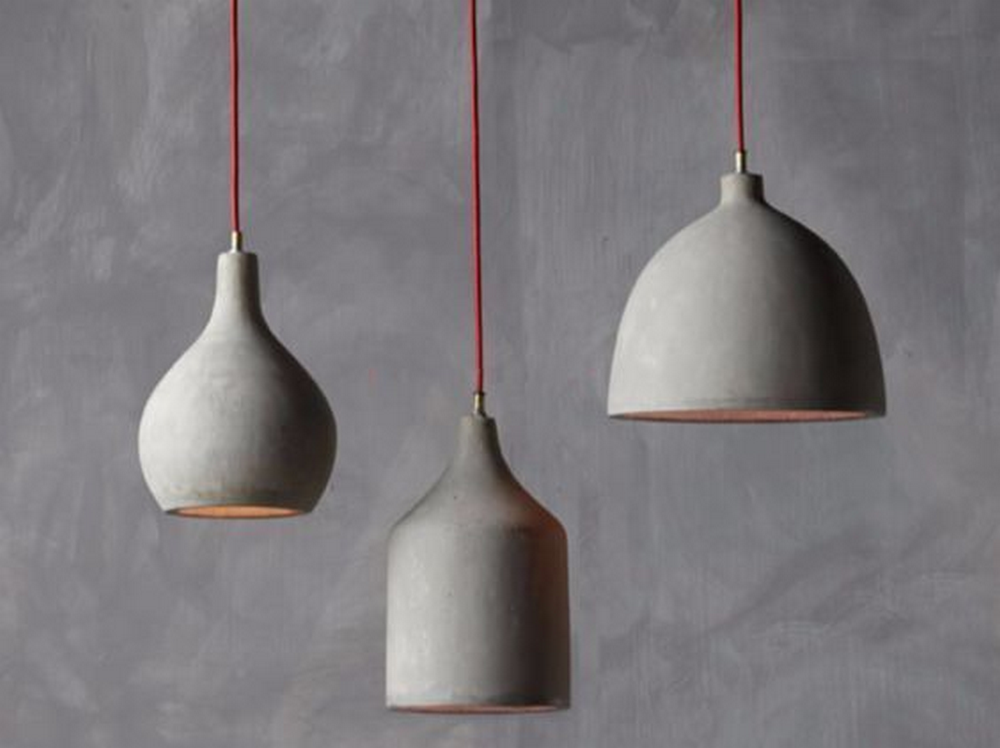
Click on any image to start the lightbox display. Use your Esc key to close the lightbox.
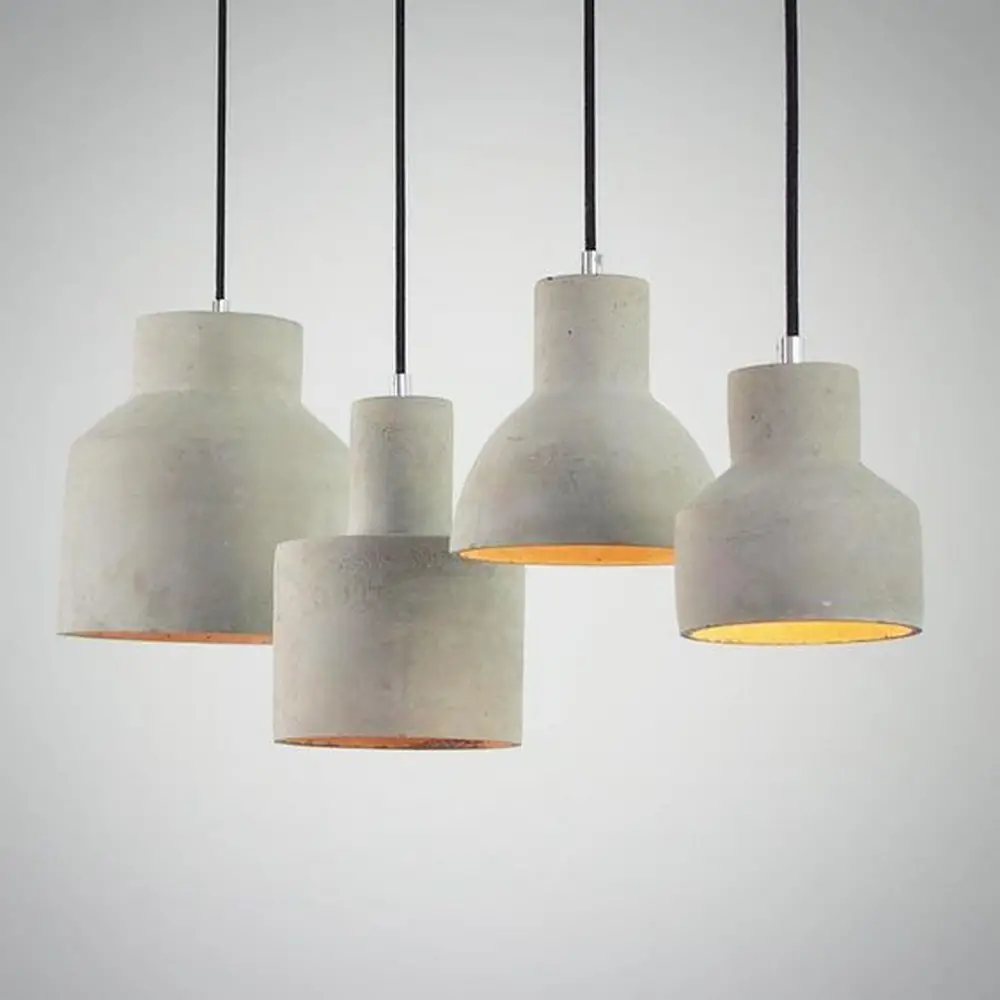
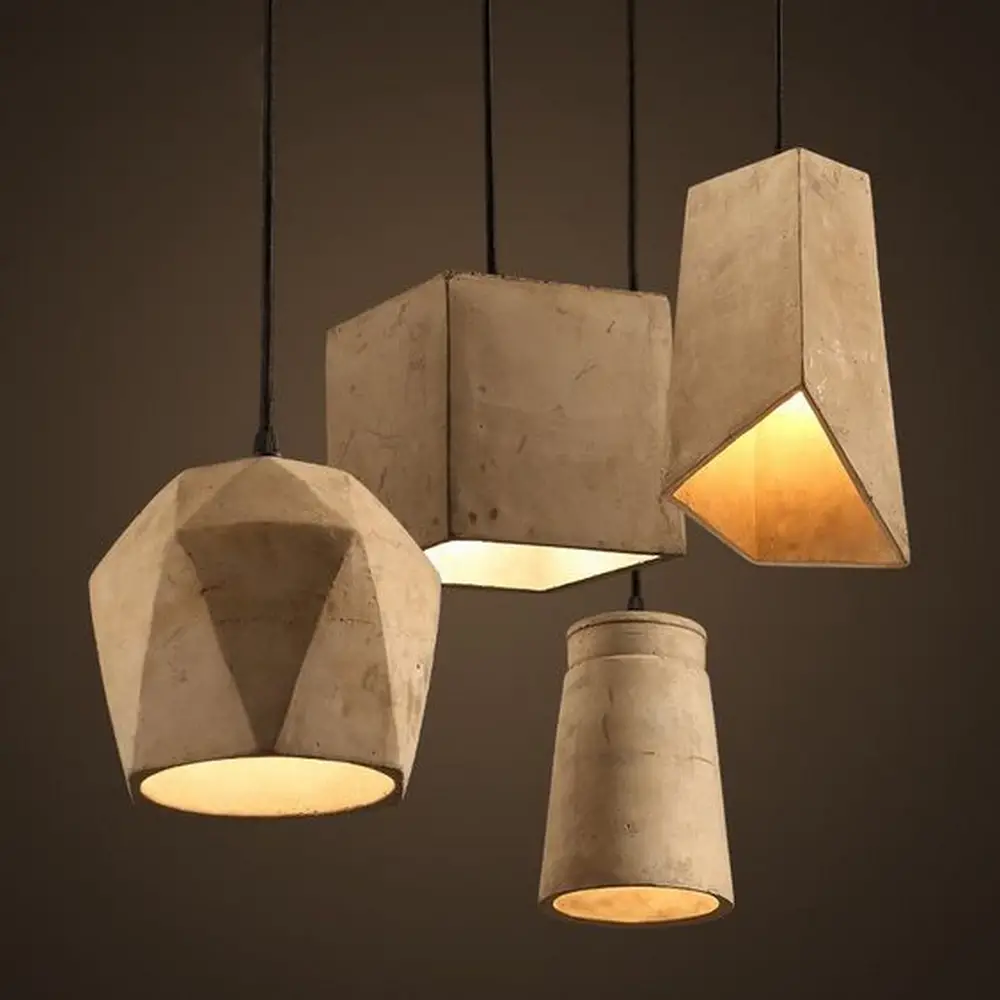
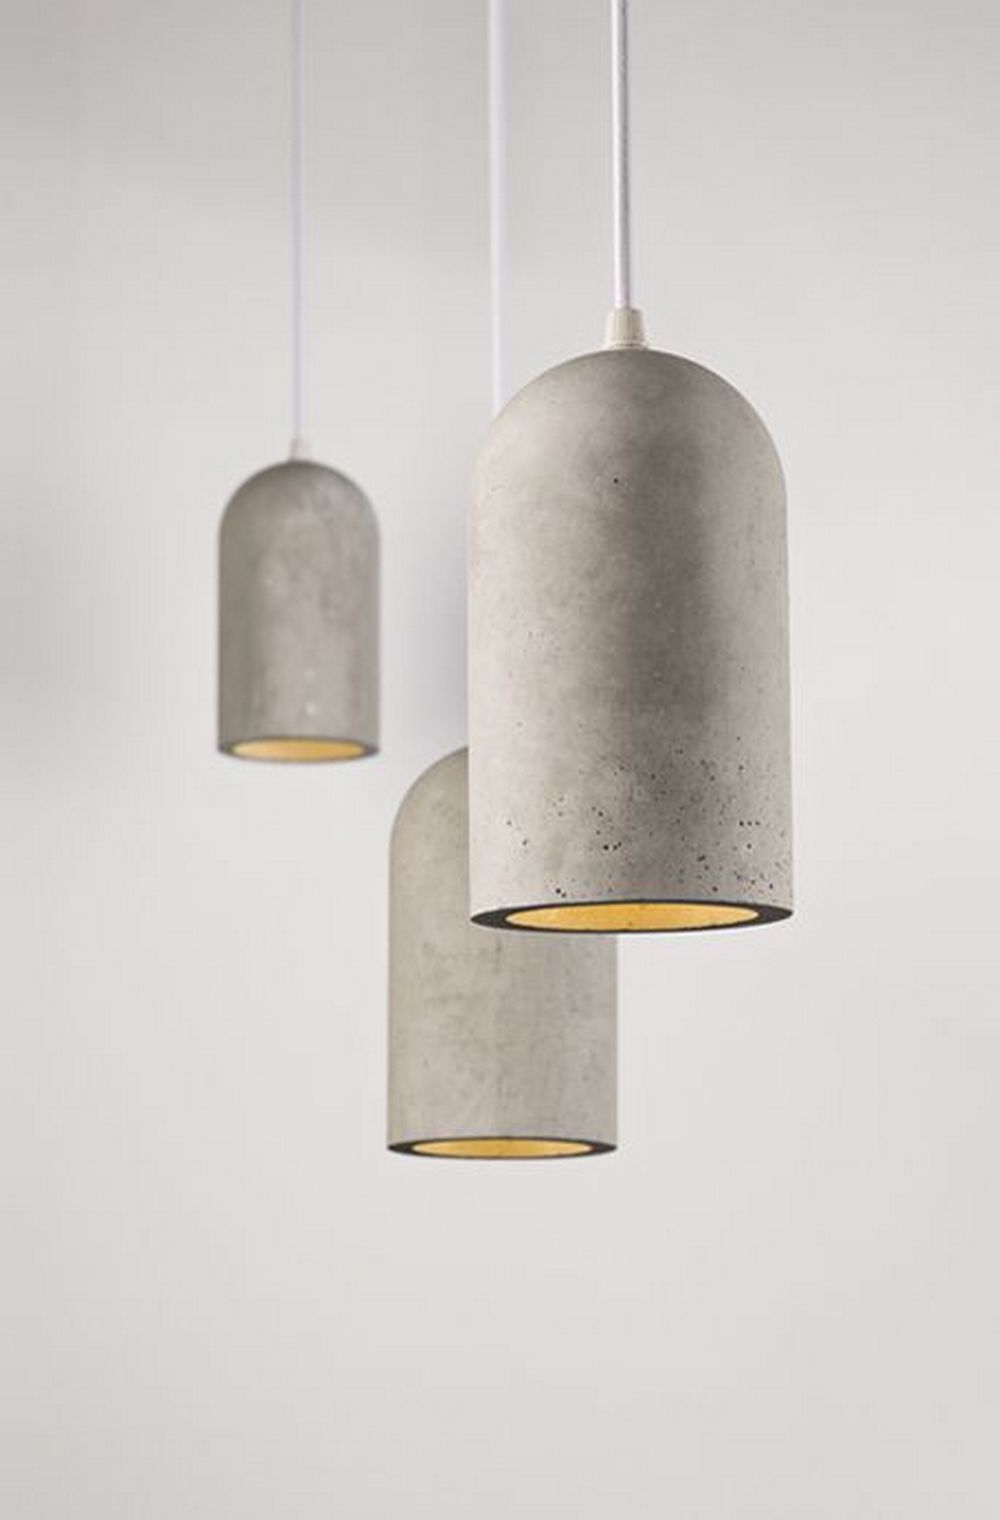
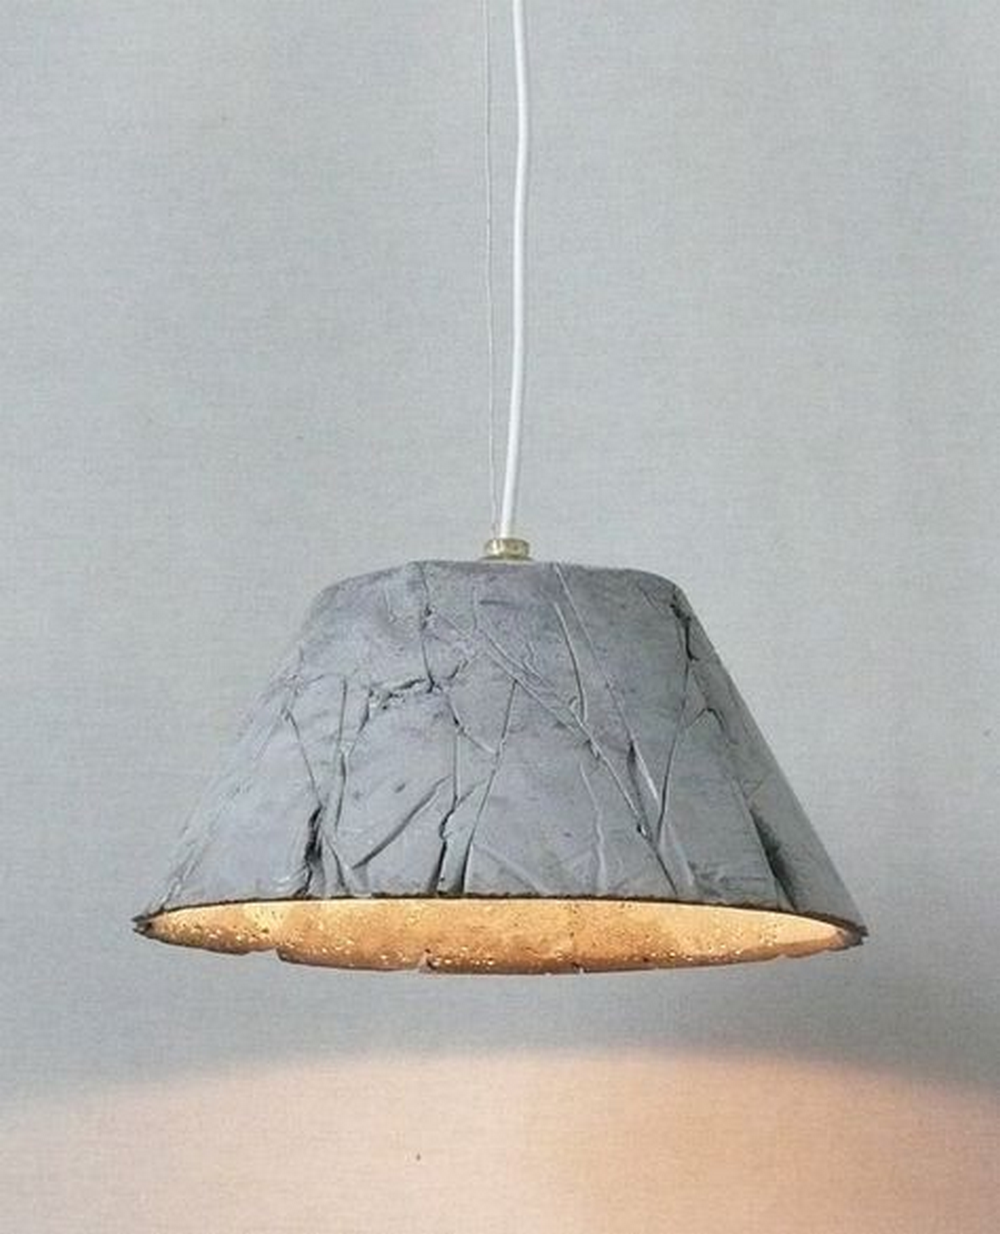
Light up a space using these concrete pendant lights! Check out this video for a visual guide.
Lighting and Electrical Safety Tips
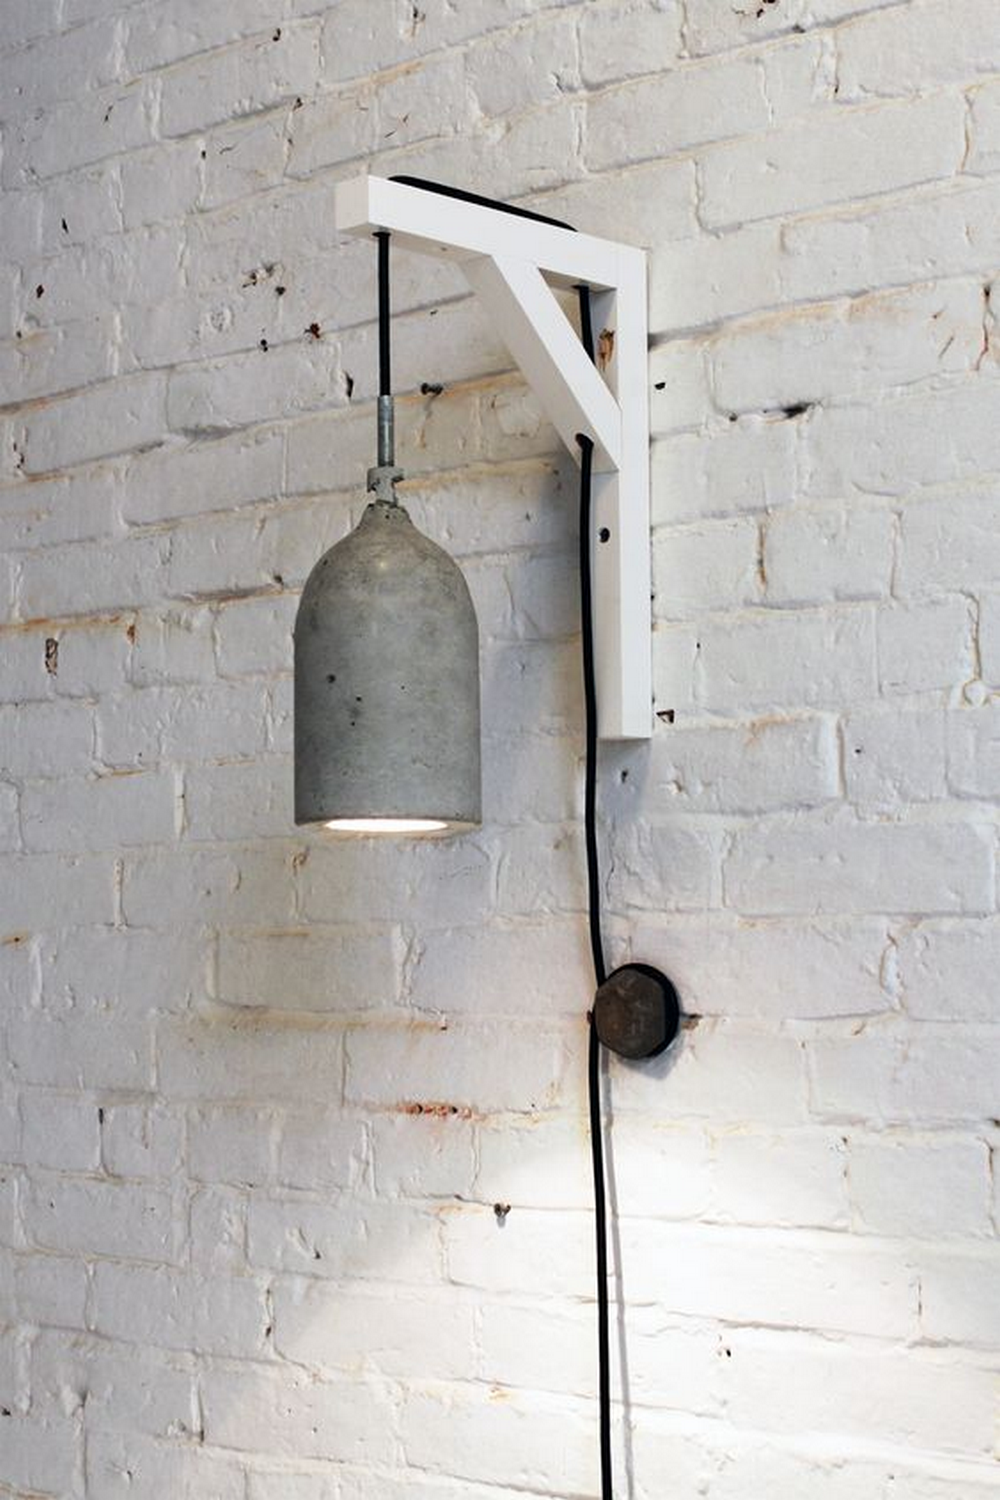
Creating concrete pendant lights is a fantastic DIY project that can add a unique, industrial vibe to your space. However, working with electrical components requires caution and a basic understanding of safety practices.
Below are essential lighting and electrical safety tips to ensure your concrete pendant lights are not only beautiful but also safe to use.
Understand the Basics
Before you begin, familiarize yourself with the basics of electrical wiring and components. Understanding the function of each part of your pendant light kit—such as the cord, socket, and plug—will help you assemble them correctly and safely.
Use the Right Tools and Materials
Ensure you have the correct tools and materials before starting your project. Using the wrong type of electrical wire or an incompatible light bulb socket can pose serious risks. For concrete pendant lights, ensure that the pendant cord kit is designed for the weight and size of the concrete shade.
Work in a Safe Environment
Always work in a well-lit, dry area when handling electrical components. Moisture and electricity are a dangerous combination, so avoid working in damp locations. Keep your workspace organized to prevent accidents, such as tripping over tools or spilling water on electrical parts.
Wear Protective Gear
When mixing concrete, sanding, or drilling, wear protective gear. This includes safety goggles, dust masks, and gloves. Protecting yourself from concrete dust and flying debris is crucial. Also, wear insulating gloves when handling electrical components to reduce the risk of electric shock.
Inspect Components
Before assembly, inspect all electrical components for damage. This includes the pendant cord, socket, and any connectors. Damaged insulation or exposed wires can lead to short circuits or shocks. If any part of your kit is damaged, replace it before continuing with your project.
Secure Wiring and Connections
When assembling your concrete pendant lights, ensure all electrical connections are tight and secure. Loose connections can cause sparks or heat build-up, leading to fire hazards. Follow the manufacturer’s instructions for connecting wires and securing the light socket.
Avoid Overloading
Be mindful of the electrical load your lighting installation will place on your home’s electrical system. Using light bulbs that exceed the recommended wattage for your pendant light can cause overheating. Always check the maximum wattage rating on your light fixture and adhere to it.
Test Your Lights Safely
Before hanging your concrete pendant lights, test them in a safe environment. Check for any unusual noises, smells, or sparks when you turn them on. If everything seems normal, turn off the light before proceeding with the installation.
Consider Professional Help
If you’re not confident in your electrical skills, there’s no shame in seeking professional help. Hiring a qualified electrician to make the electrical connections can ensure your concrete pendant lights are installed safely and up to code.
Regular Maintenance
Once your concrete pendant lights are installed, inspect them regularly for signs of wear and tear. This includes checking the cord for fraying, ensuring the light bulb is secure, and that there are no cracks in the concrete shade that could affect its integrity.
By following these safety tips, you can enjoy your DIY concrete pendant lights with peace of mind, knowing they’re a safe addition to your home’s decor.
Incorporating Patterns and Embeds
Incorporating patterns and embeds into your concrete pendant lights not only elevates the aesthetic appeal but also adds a personalized touch to your lighting fixtures. This approach allows you to experiment with various textures, colors, and materials, making each pendant light a unique piece of art. Whether you’re aiming for a subtle imprint or embedding colorful materials, the possibilities are endless.
Here’s how you can add character to your concrete pendant lights through patterns and embeds.
Choose Your Materials Wisely
When selecting materials for embedding into your concrete pendant lights, consider both aesthetics and functionality. Glass pieces, metal objects, or even natural elements like leaves and stones can create stunning effects. Ensure the materials you choose are not prone to deterioration over time and can withstand the curing process of concrete.
Preparing Embeds
Before mixing your concrete, prepare your embeds. If you’re using leaves for patterns, ensure they are clean and dry. For materials like glass or stones, consider their placement and how they will affect the weight and balance of your pendant light. It’s crucial to think about the final look and ensure your embeds will be visible in the desired way.
Creating Patterns
To create patterns on your concrete pendant lights, you can use objects like lace, stencils, or even rubber mats with interesting textures. Press these materials against the inside of your mold before pouring in the concrete. As the concrete sets, it will take on the texture of these materials, leaving a detailed imprint on the surface of your pendant light.
Embedding Objects
For embedding objects within your concrete pendant lights, place your chosen embeds into the mold before adding the concrete mix. You can either partially embed objects so they protrude from the surface for a three-dimensional effect or fully encase them within the concrete for a surprise element visible when the light is turned on.
Timing is Key
The timing of when you embed objects or press patterns into the concrete is crucial. Waiting until the concrete has started to set but is still pliable will help ensure that your patterns are crisp and your embeds are securely in place without sinking too far into the mix.
Finishing Touches
Once your concrete pendant light has cured and you demold it, take time to do any necessary clean-up around the embeds or patterns. Sanding edges for a smooth finish or sealing the concrete can enhance the durability and appearance of your pendant light.
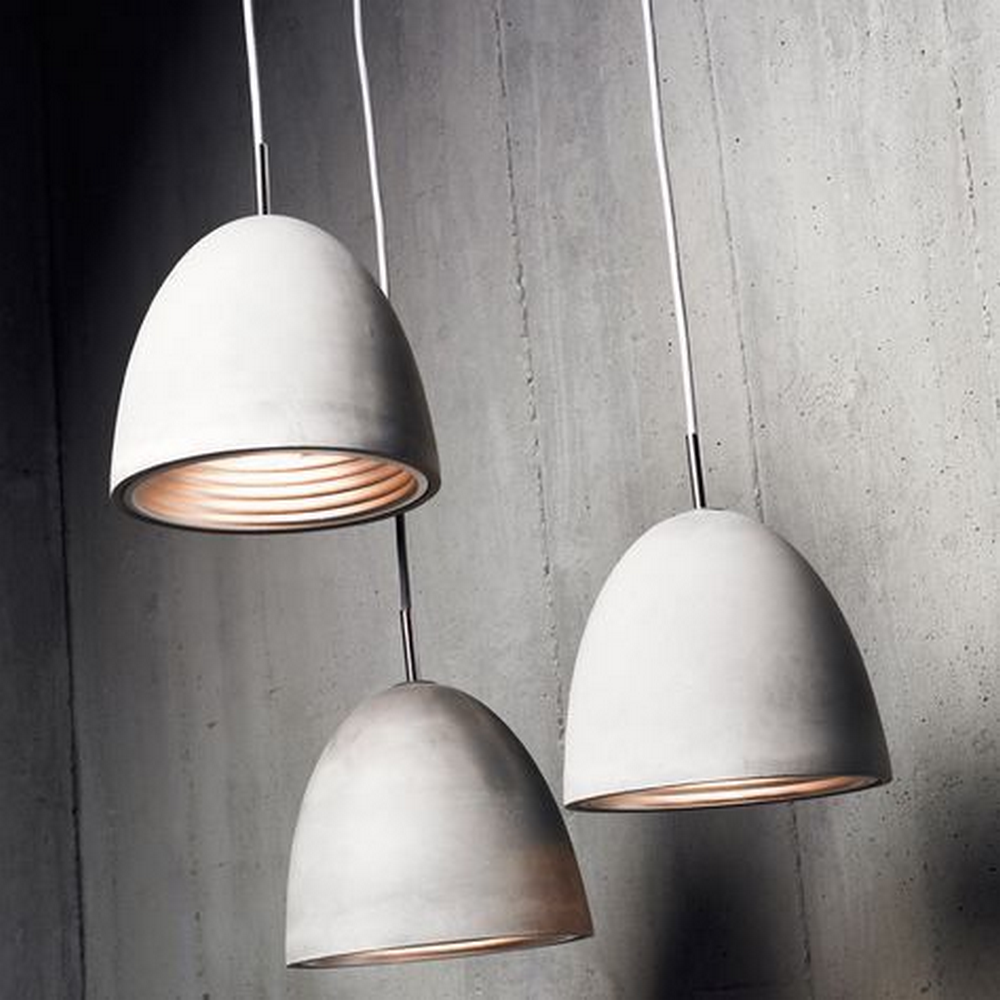
Lighting Considerations
Consider how light will interact with your embeds and patterns. Translucent materials like glass can catch and reflect light in beautiful ways, while textured patterns can cast intriguing shadows, adding another layer of interest to your lighting.
Incorporating patterns and embeds into your concrete pendant lights is a fantastic way to add depth, interest, and personalization to your lighting fixtures. With a bit of creativity and careful planning, you can transform a simple concrete pendant into a statement piece that reflects your style and enhances your space.
Conclusion
Creating concrete pendant lights is an enriching DIY project that blends artistry with functionality, offering a unique touch to any space. Through the use of various embeds and patterns, each light becomes a personalized piece, reflecting individual style and creativity. This process not only enhances your home’s aesthetic but also brings the satisfaction of crafting something beautiful and practical with your own hands.
We have more incredible lighting projects. Check out our guide on well lights for your garden!


