Every home needs a spot to hang things. In colder climates it might be hats and coats. I warmer climates it might be as simple as caps and the dog’s leash. You can head out and buy one. In our experience, most are mass produced and look rather ordinary while the nice ones are expensive. If you’ve got access to some fallen branches, why not turn them into a one-of-a-kind coat rack?
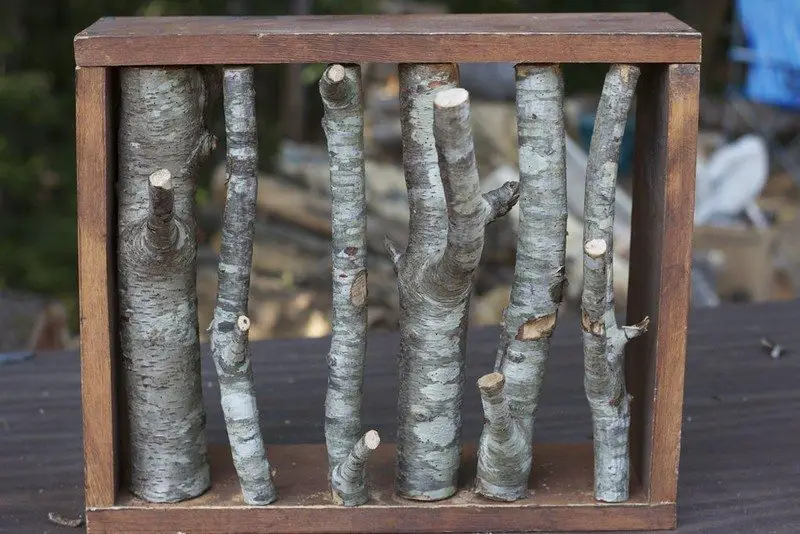
Instead of letting those fallen branches rot or turning them into firewood, transform them into something useful for your home. A great example is this inexpensive coat rack.
If you’ve been wanting to add a coat rack to your home you just ran out of excuses because this project is perfect for you! Even though it’s unique, it’s easy and very inexpensive sine the materials are easily found around you. All you need are some timber boards from your previous projects, and some fallen branches!
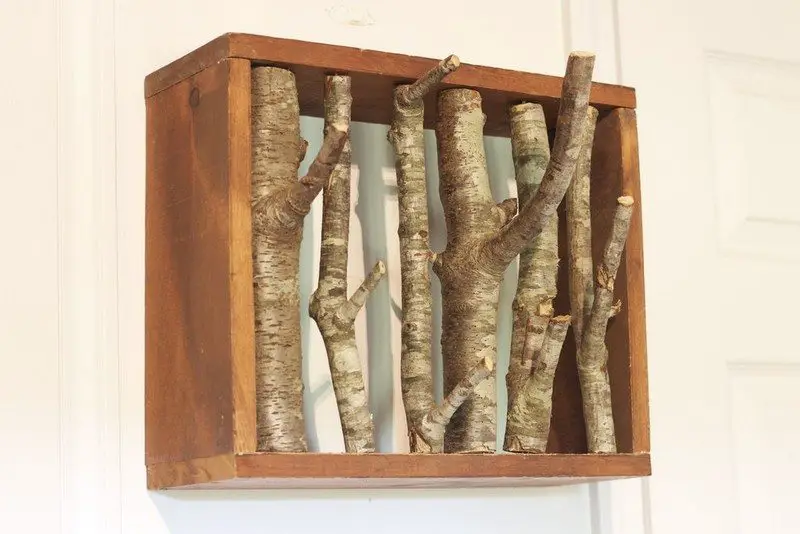
What’s great about this coat rack is that it doesn’t take up floor space since it’s mounted on the wall – great for small hallways! You could also use the top as a shelf.
Need a place to hang your coats and caps? Why not build this DIY branch coat rack!
Materials:
- Branching Branches
- 1/2″ or 3/4″ Plywood/Hardwood
- Nails/Screws
- 2 Hanging Hanging Hooks
Tools:
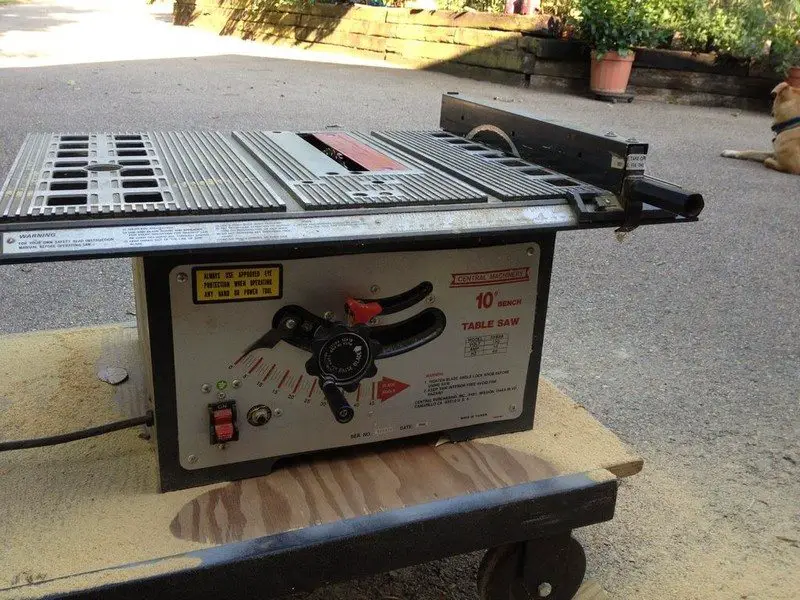
- Hand Saw
- Table Saw or Miter Saw – to cut the frame (optional)
- Hammer/Drill
[adinserter block=”11″]
Steps:
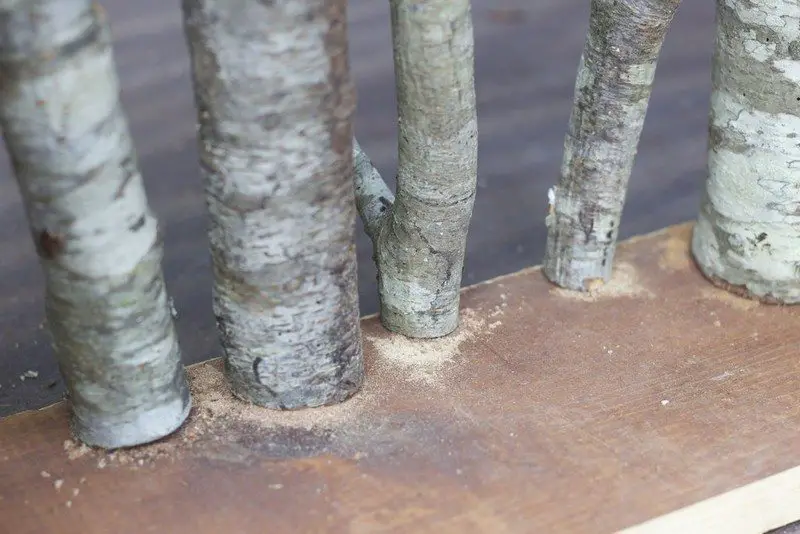
Cut the branches to the appropriate height depending on the size of your rack.
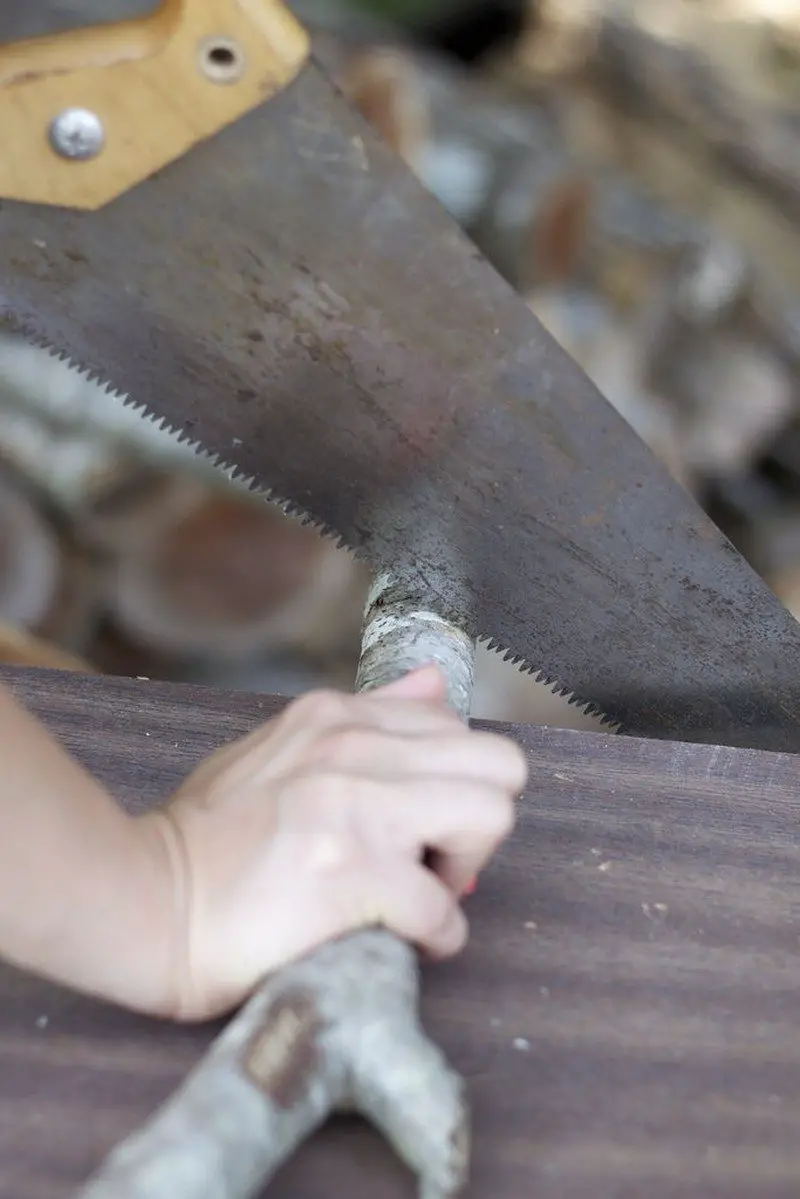
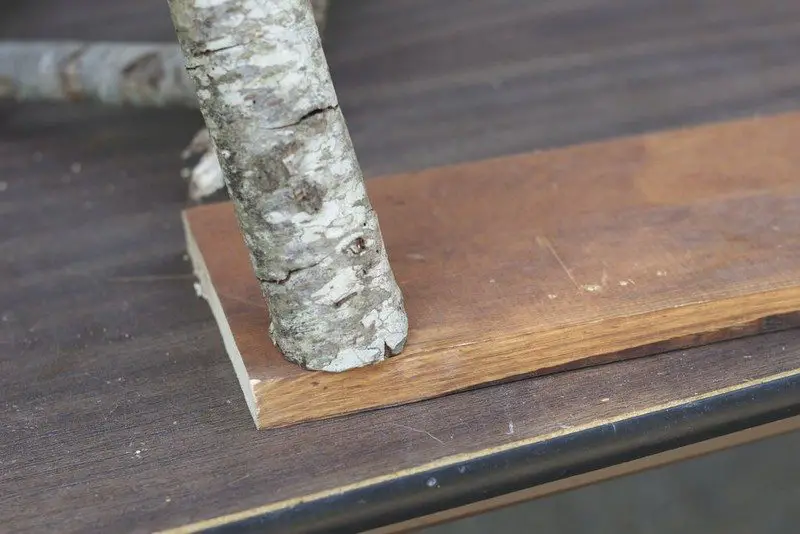
Trim the ends to make the branches stand upright inside the frame.
Trim sharp tips where coats would be hanged as well.

Use your available saw to cut your boards to size. At this point, depending on the material you are using for the frame, you can sand and paint the boards to your desired finish.
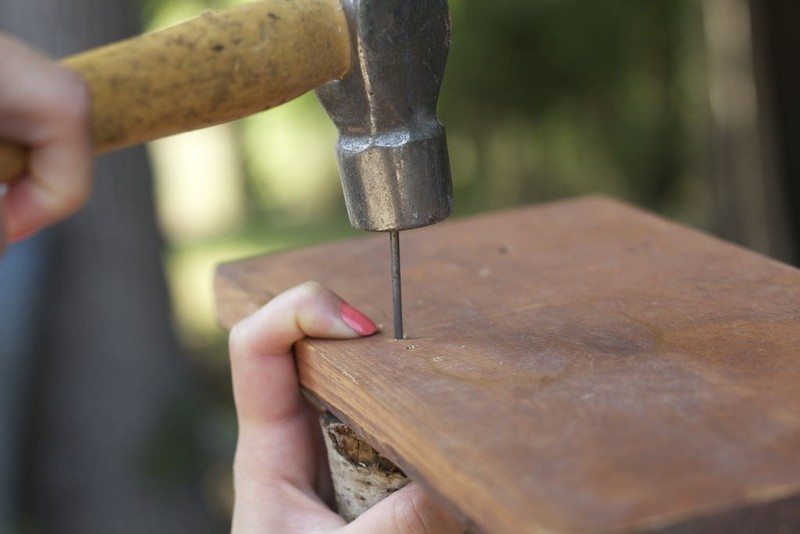
Depending on your preference hammer/screw all the branches on one side, like shown in the pictures. If you are going for the screws, make sure to drill pilot holes first.
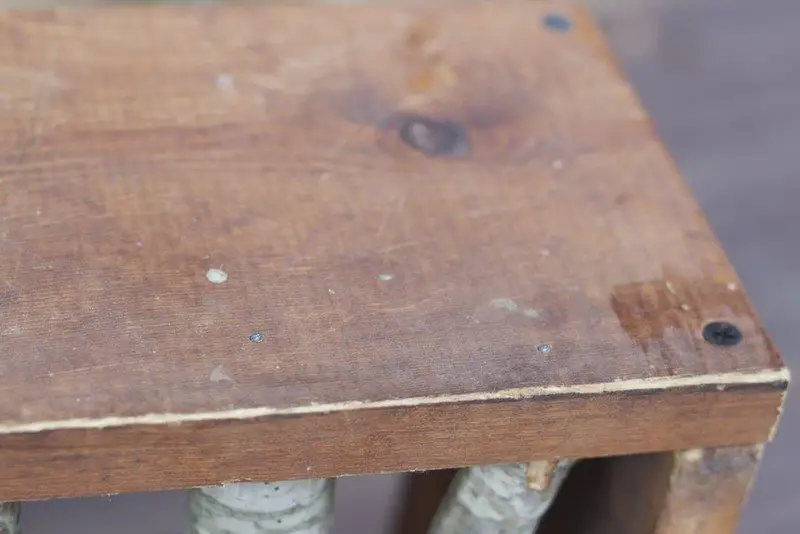
After attaching all the branches to one side, attach the side frames first before the bottom/top frame. And of course don’t forget to secure the branches to this other side :)
It’s that easy! Now you can mount it on your wall using hooks. :)