Thinking of what to do with your old table that’s seen better days? Why not give it a makeover! And it doesn’t have to be expensive – use recycled bottle caps!
Depending on the size of your table, you might need some time to collect enough bottle caps. You can ask for help from local bartenders. Get your friends to help you collect too.
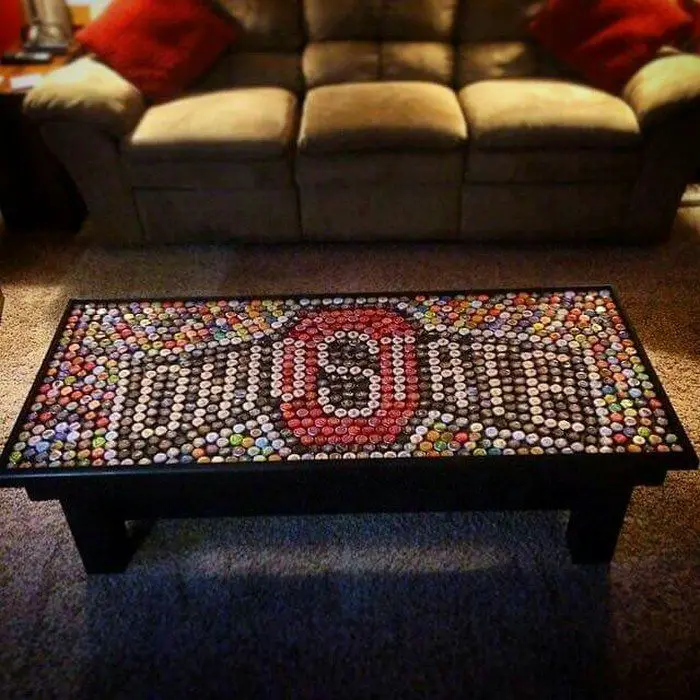
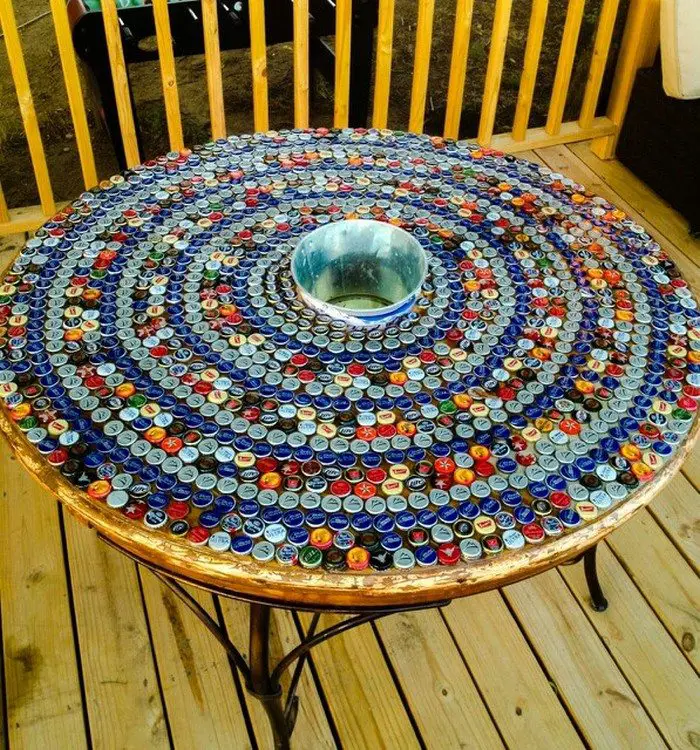
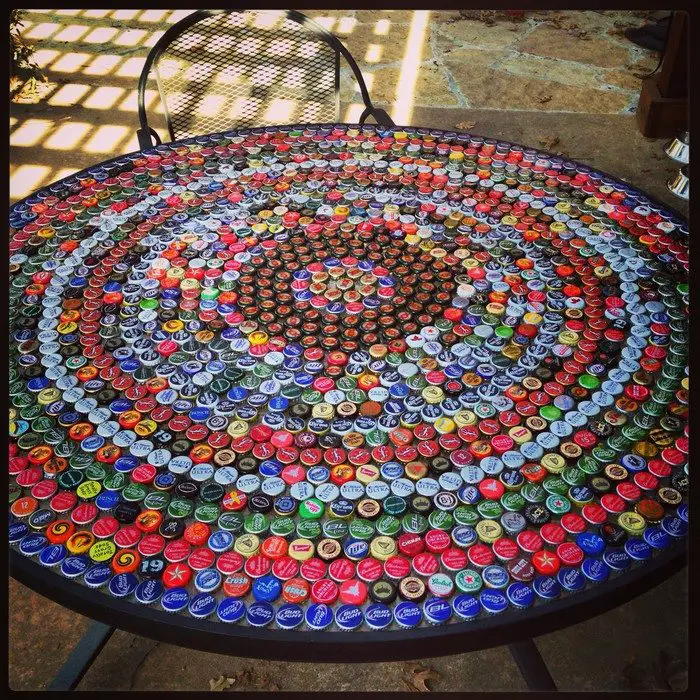
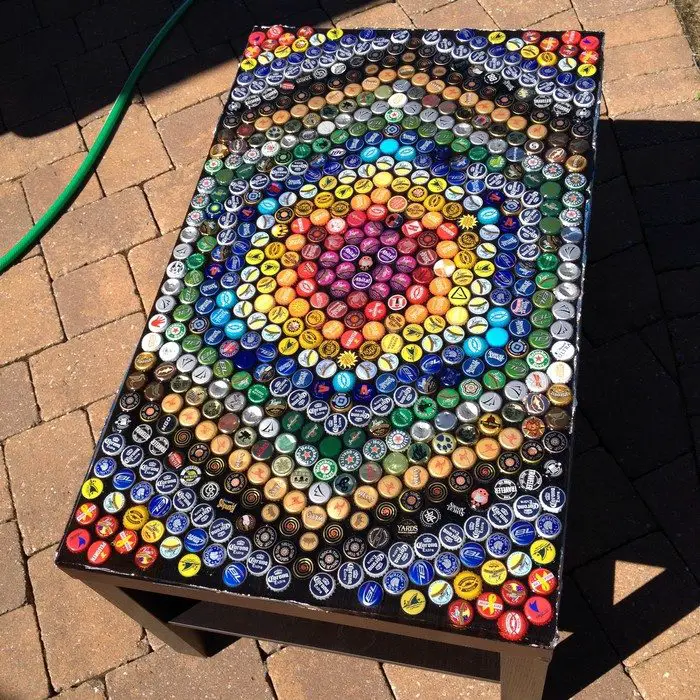
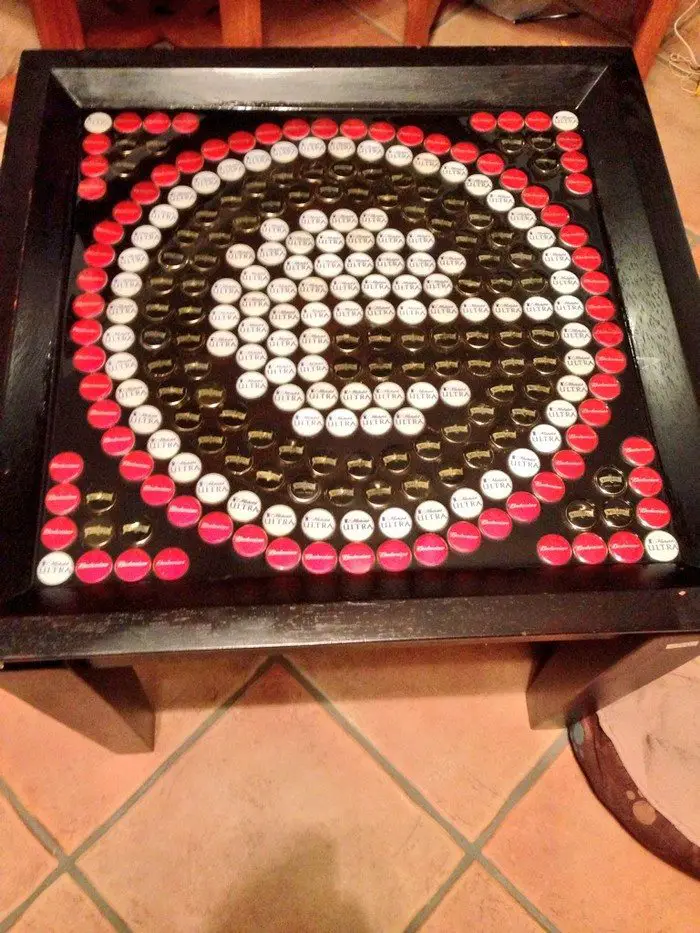
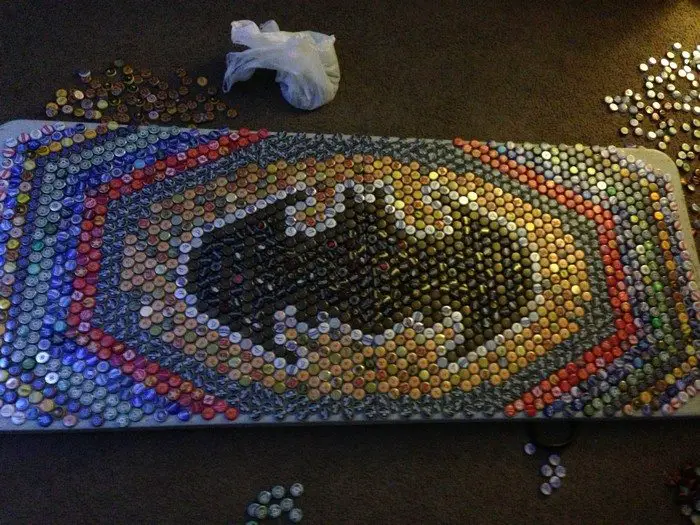
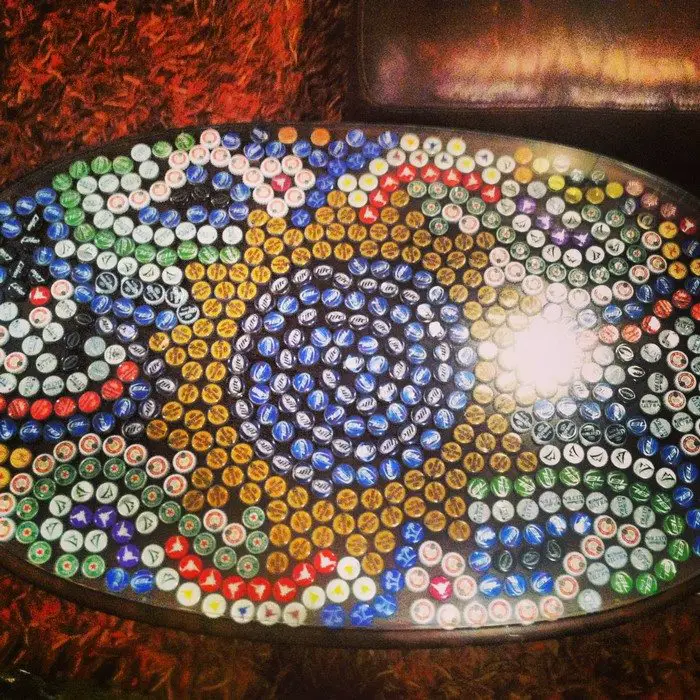
After you’ve collected the bottle caps decide on your pattern. You can arrange the caps according to color or design, your imagination is the limit.
A table like this would make a great table for your patio, it’s easily a talking piece especially if you frequently entertain outdoors.
Materials:
- Table
- Bottle Caps
- Super Glue
- Aluminum Foil
- Duct Tape
- Painter’s Tape
- High Gloss Finish Resin
Tools:
- Old Plastic Card (old ID)
- Cutter
Click on any image to start lightbox display. Use your Esc key to close the lightbox.![]()


Steps:

Collect lots of bottle caps. It would be better if you could collect many for each kind/brand.
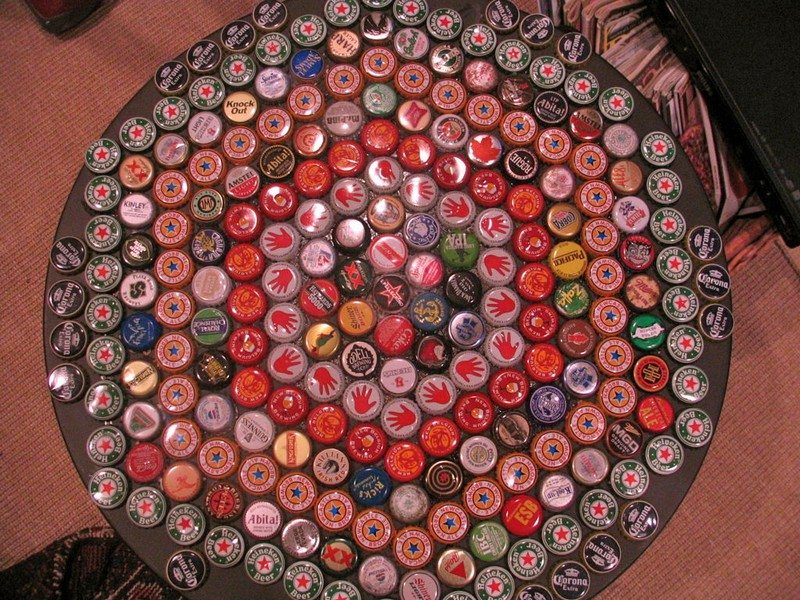
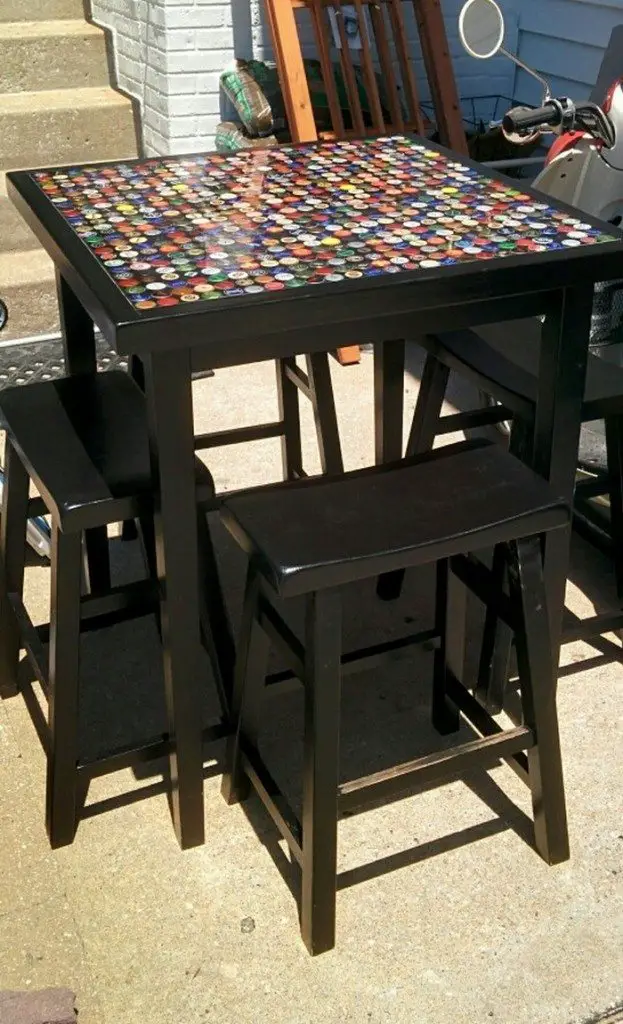
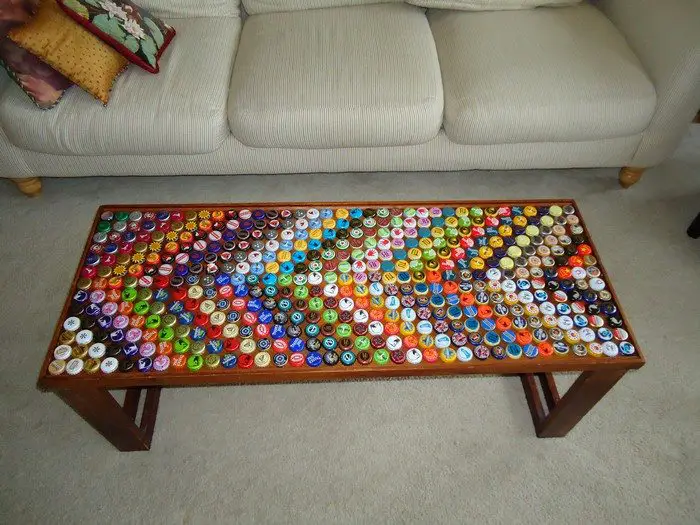
Lay out the bottle caps. Arrange them until you have covered the table with as much caps as you can.
Once you are happy with how it looks, the next important step is to glue them. The best adhesive to use for this is super glue – dries quickly, leaves the least marks, and is enough to keep the caps in place.
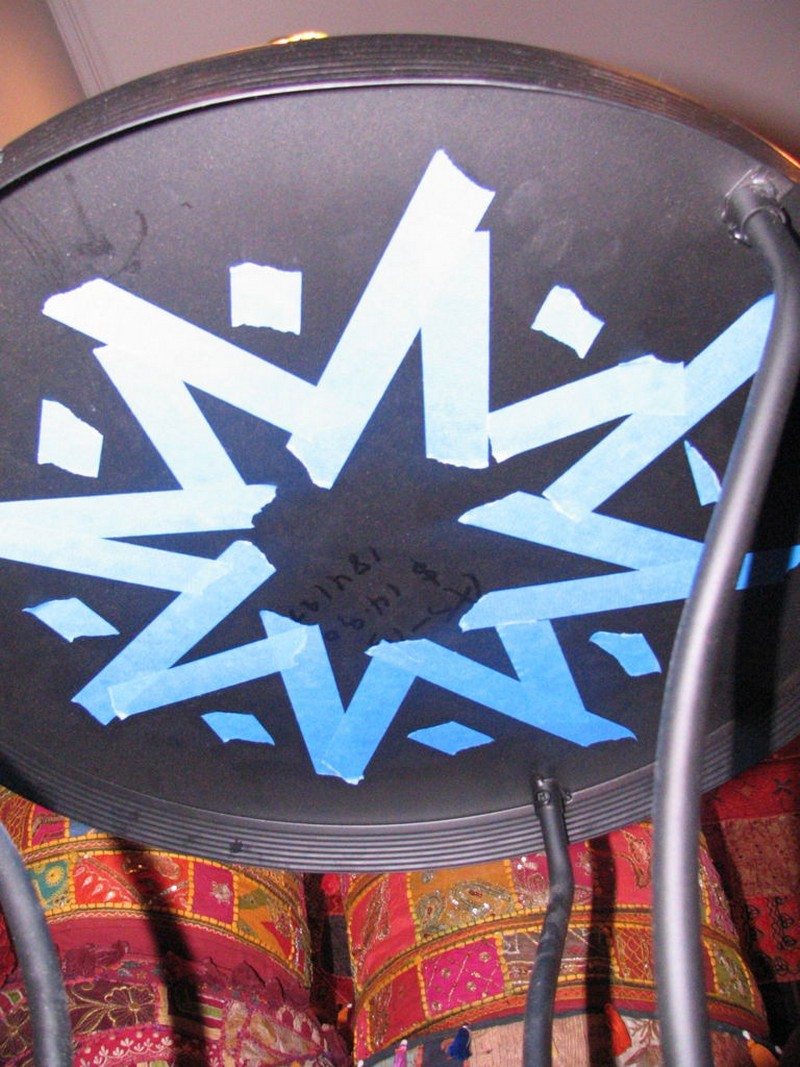
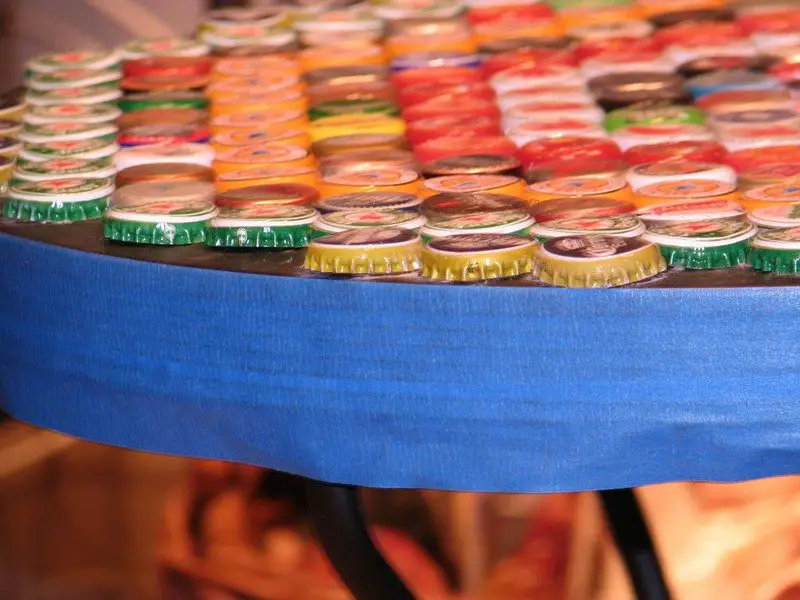
After gluing all pieces the next step is to pour in the resin, but you have to make sure your table is all set. One of the things to look out for are holes on the surface your table. Here, the holes are covered from underneath so that the blue tape won’t show in the final design. If your table has plenty of holes in it, like a mesh, you might want to cut an MDF as cover for the entire table. Don’t forget to tape the sides of your table, too, as shown in the previous picture. This will protect your table from getting sticky with duct tape which you will be using in the next step.
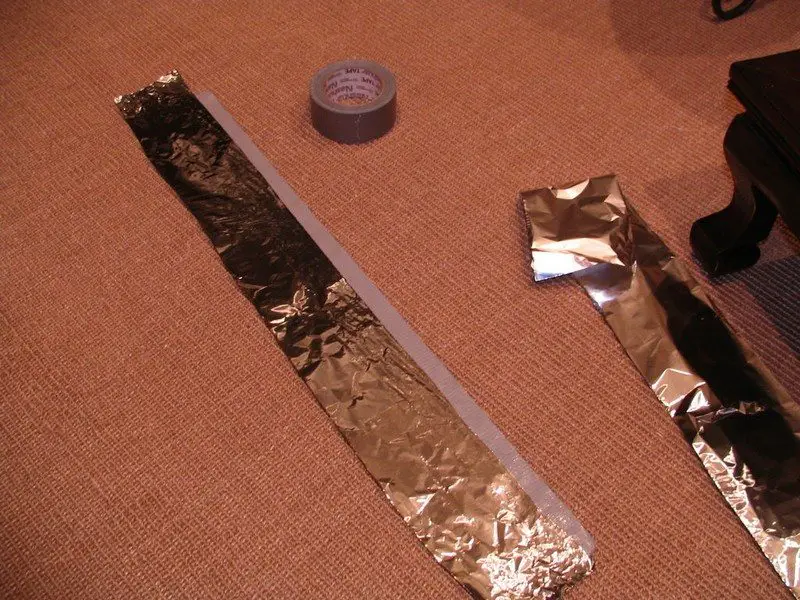
Resin obviously needs some molding from which to shape itself. If your table already has a rim around it, you probably won’t need to do this step. Get a foil 6 inches thick, and fold it lengthwise so that it is 3 inches. Stick half of the duct tape on one bottom side of the foil, as shown in the picture.
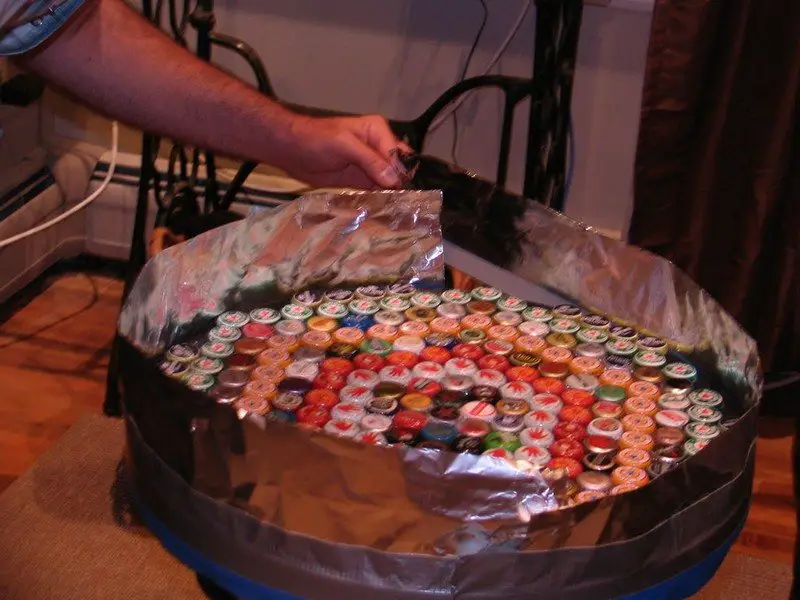
Carefully tape the foil/tape strips around your table. Make sure that the bottom edge of the foil falls just below the edge of the tabletop itself. The reasons: If the exposed sticky side of duct tape is above the table top, resin will stick to it and thus destroy the resin later when you remove the barrier. If you place the foil far below (overlapping with the blue tape), the resin may seep in and will later trap the blue tape on the sides of your table.
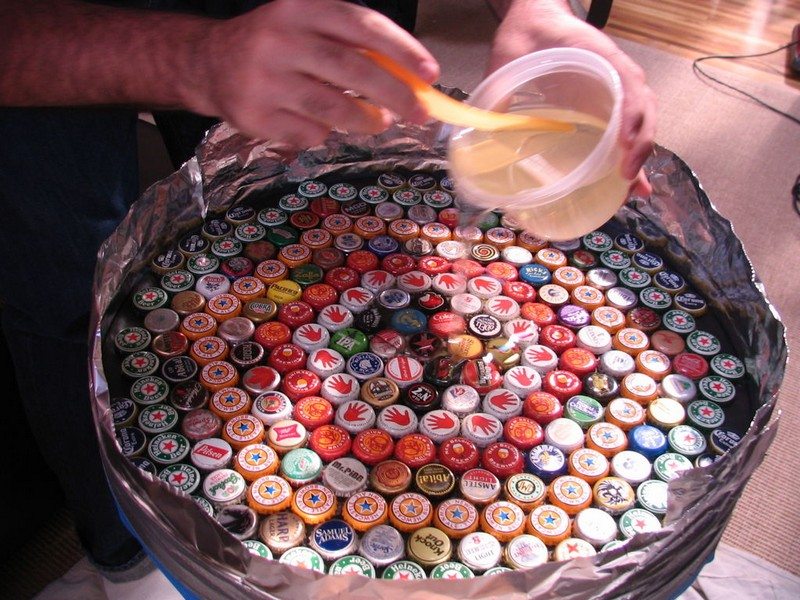
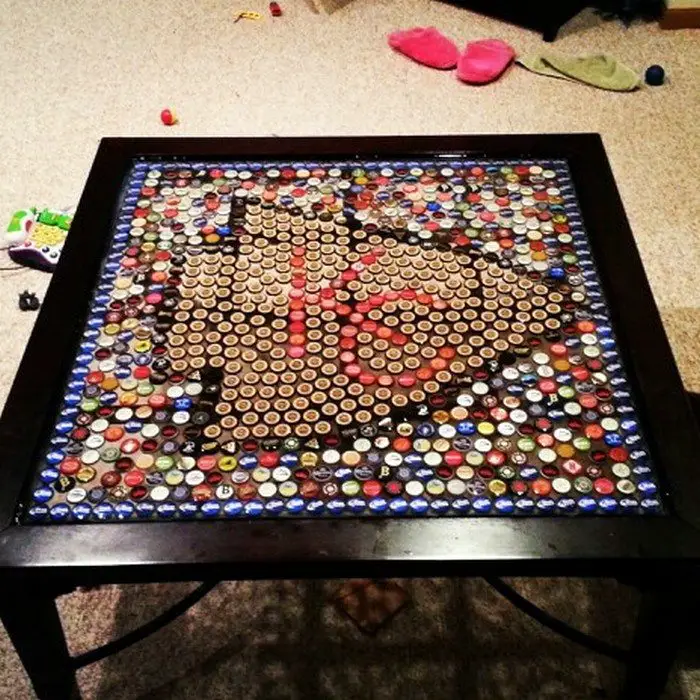
Follow the instructions found in the box of your resin to mix. Carefully pour it on your table, using a plastic card to make sure gaps and edges are properly filled.
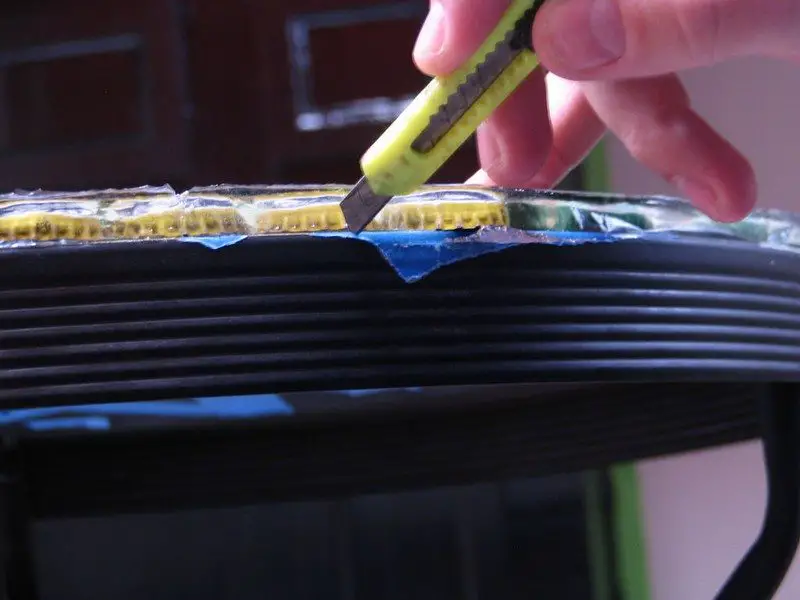
Once the resin has set and dried, you can now remove the foil barrier. Check for some tapes or foil that might have been stuck. Carefully get them out with the help of a cutter.
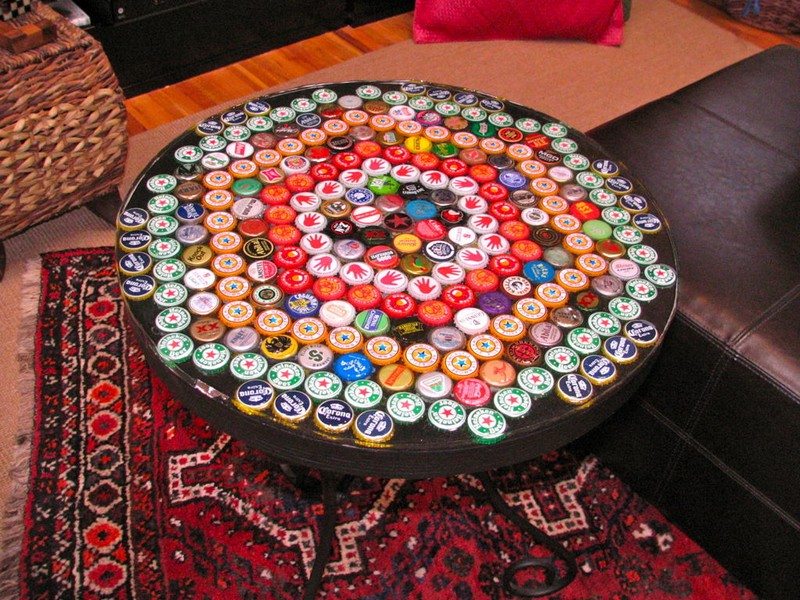
You are now done with your DIY bottle cap table!
This would be a great conversation starter at home, don’t you think?
Thanks to americangypsy for this wonderful tutorial!


