This was my first tiling job and I learned the hard way that you want to use organic mastic, not thin-set on walls. When planning your pattern don’t be afraid to mix things up. I didn’t want a basic boring grid so by adding a row of diagonal tiles I was able to create an interesting architectural element. The outer perimeter was done using bullnose tiles. This style of tile was the “Tuscan bone” porcelain tile available from Lowes.
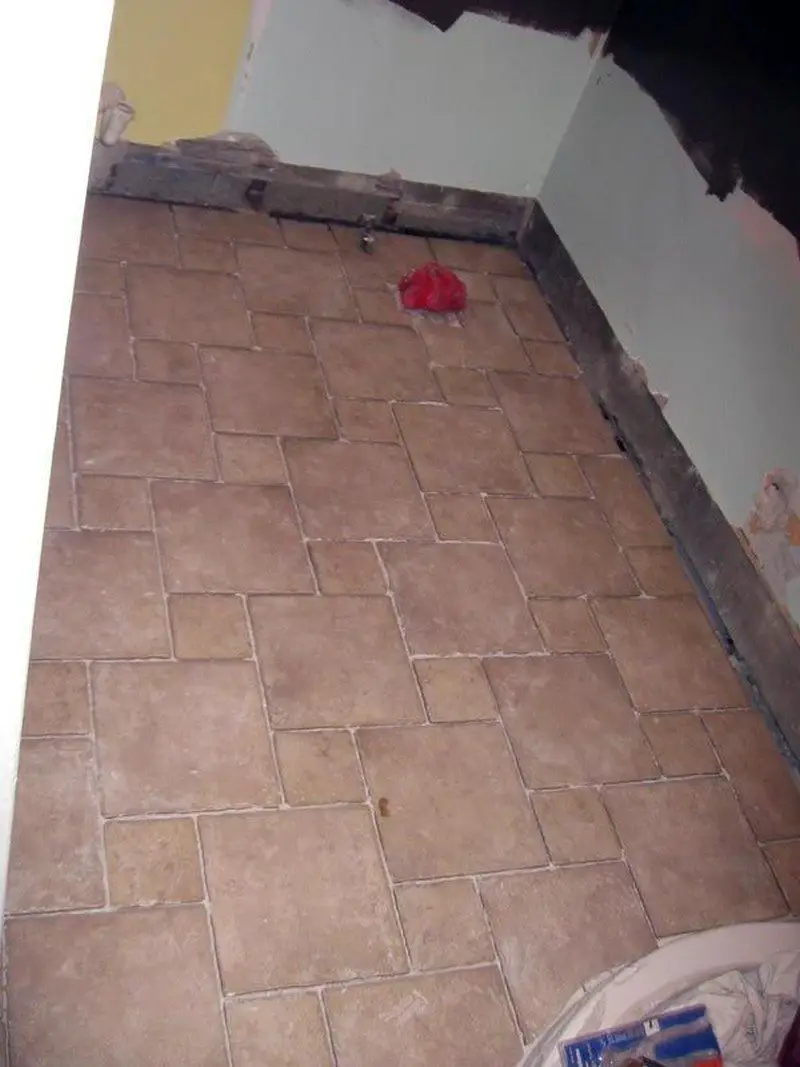
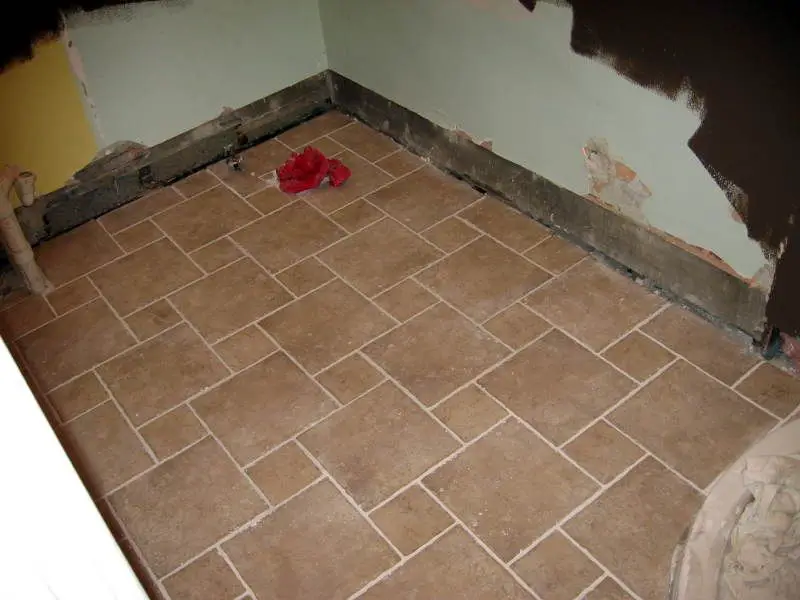
It makes sense to tile the floor before you grout so all the grouting and sealing can be done at once. For the floor pattern, I opted for something a little different by combining 12″ and 6″ tiles. You don’t want to tile right up to the walls, again for heating and cooling. Plugging the water lines with scraps of rags will prevent unwanted debris from clogging things up.
The curves around the shower base were actually created using a tile nipper, no tile saw needed (although it would have made things easier if I had one). The rest of the cuts were all done using a score-and-crack style cutter which did the trick just fine (and can be found for as cheap as $15).
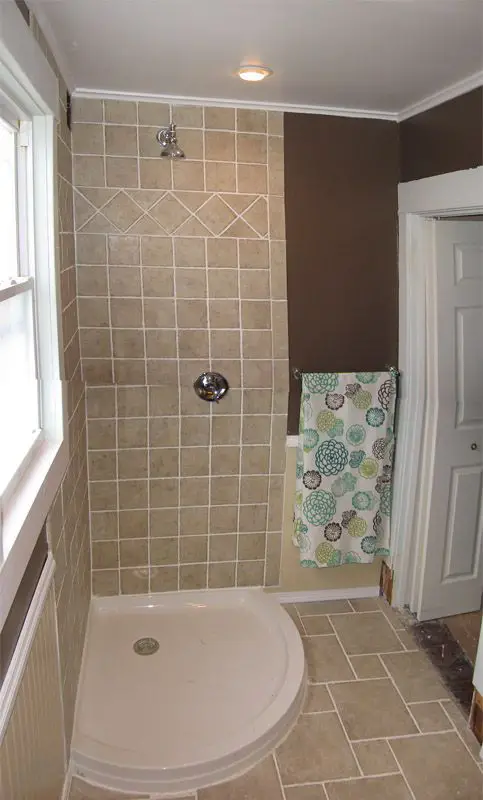
Leave enough space between the last row of tiles and the shower base for a line of caulk. You can really paint at pretty much any point but I chose to do it before the floor tile was down (paint drips down).
I used 1/4″ spacers so a sanded grout was in order. Mixing the grout with deionized or distilled water from the supermarket will prevent staining from minerals and is much cheaper than the costly additives. Leave the space between the corner of the shower walls to be caulked later. The same thing goes for the edge of the shower base. When grouting I found it best to use two buckets of water. The first bucket is for rinsing dirty sponges and the second for clean water. When the dirty bucket gets too dirty you can fill it with clean water and use the old clean water as the new dirty. It seems trivial but it helps keep the process moving along. When grouting the walls lots of grout will fall so don’t be afraid to just grab handfuls and smear it in. Once the grout has cured, apply the sealer. Finally, you can caulk the gaps.
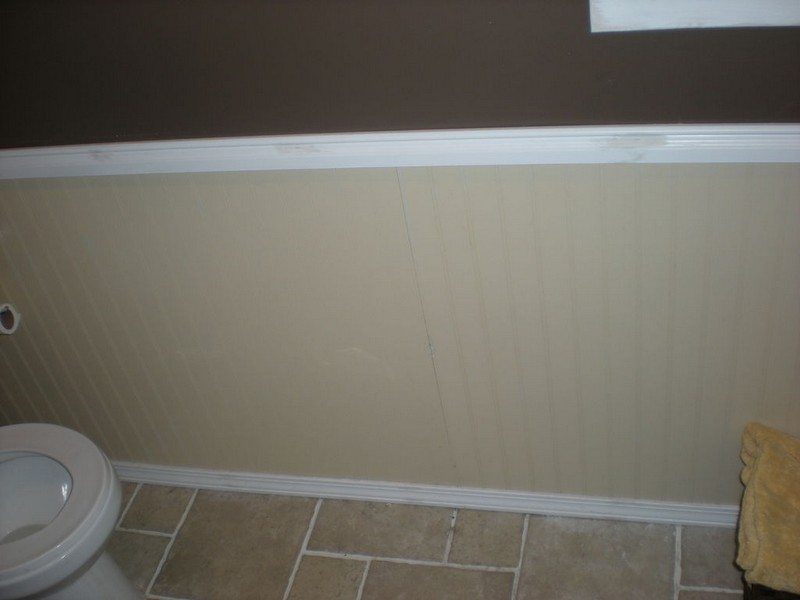
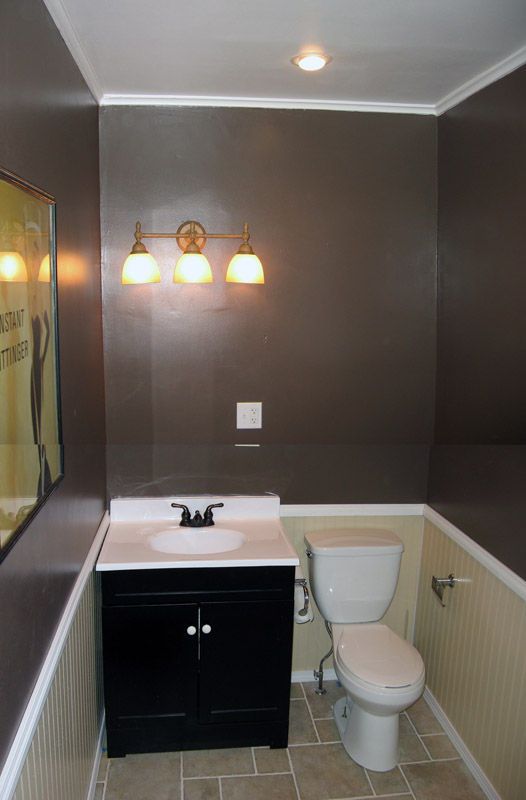
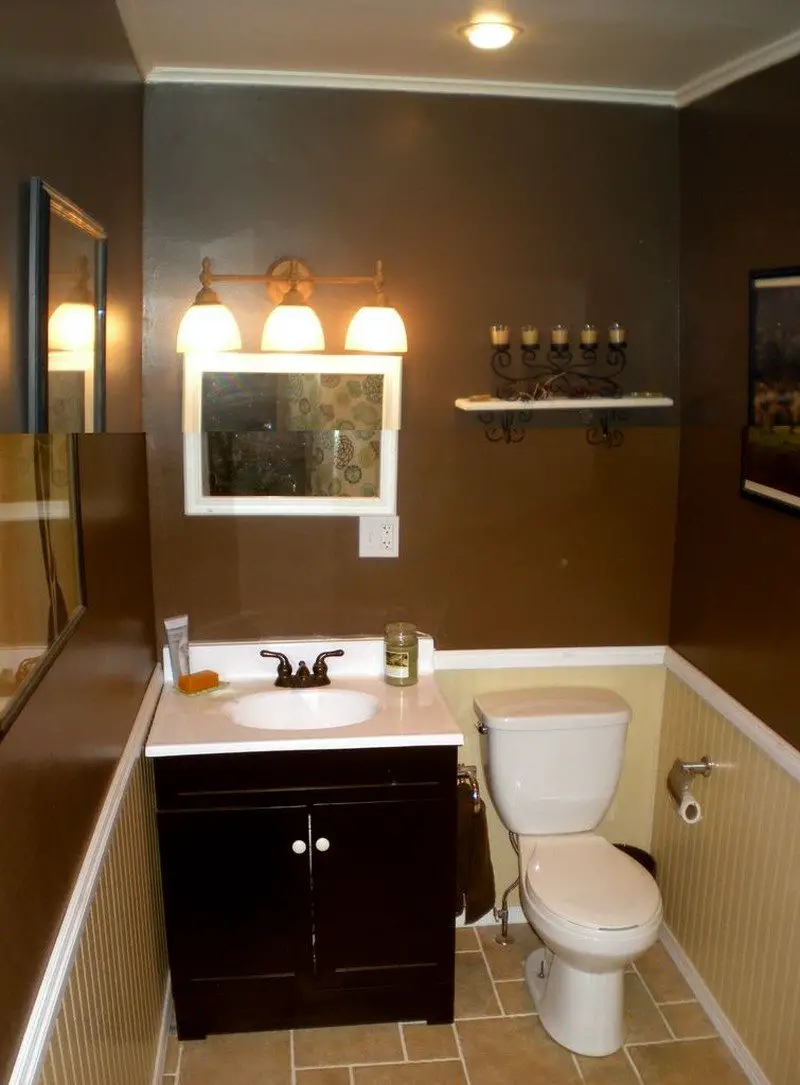
I used a nice chocolate brown for the walls and a tan for wainscoting. There was no sense in painting all the way down what was going to be covered later.
Wainscoting comes in two basic forms. You can get actual wood pieces that slide together or you can go the easy/cheap route of 4’x8′ sheets of MDF wainscoting, which is what I opted for. The height is somewhat up to you but by using 32″ I was able to get 12′ in length out of a single sheet and maximize the value. I painted it ahead of time, but that could just as easily be done after. To mount it to the wall I used a combination of liquid nails paneling adhesive spread across the back as well as crown staples from an air nailer across the very top and bottom where they will be covered by molding. Caulk was applied where the different panels joined and the paint was touched up later.
I painted the molding ahead of time and attached them using an air nailer into the studs (try to mark the location of the studs before the wainscoting goes up).
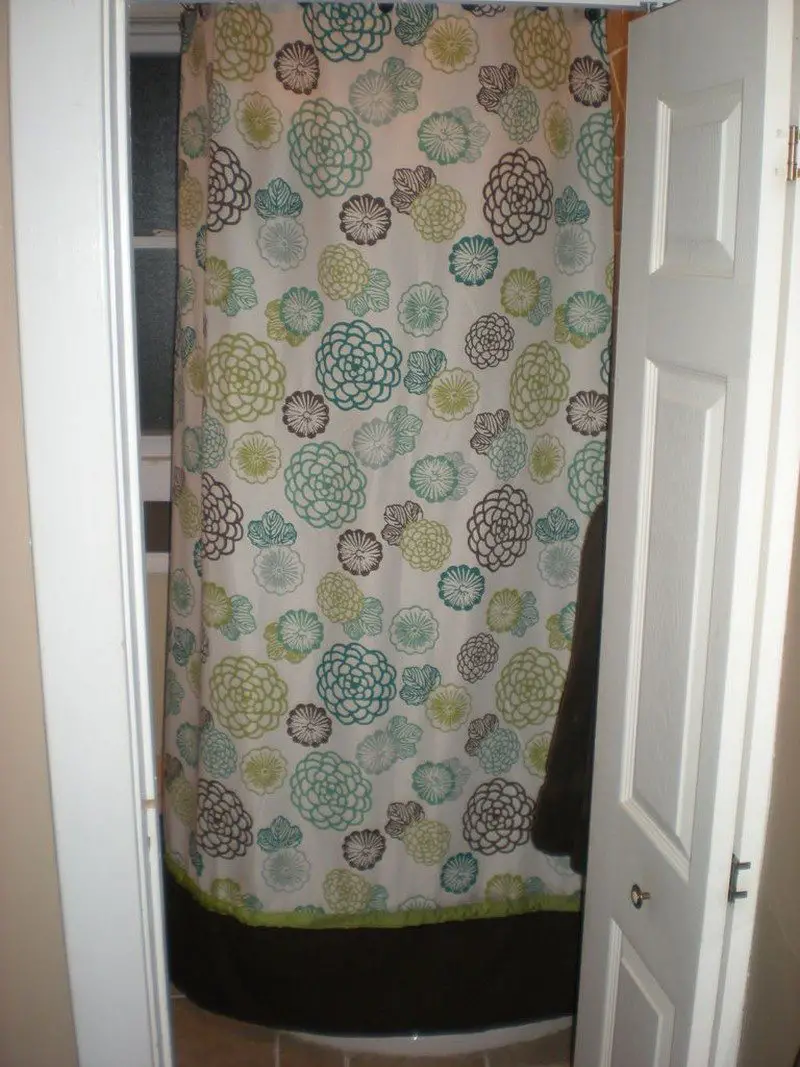
I was originally intending to get a custom shower rod fabricated but came up with an alternative plan of suspending the shower curtain using pieces of the chain directly from the ceiling.
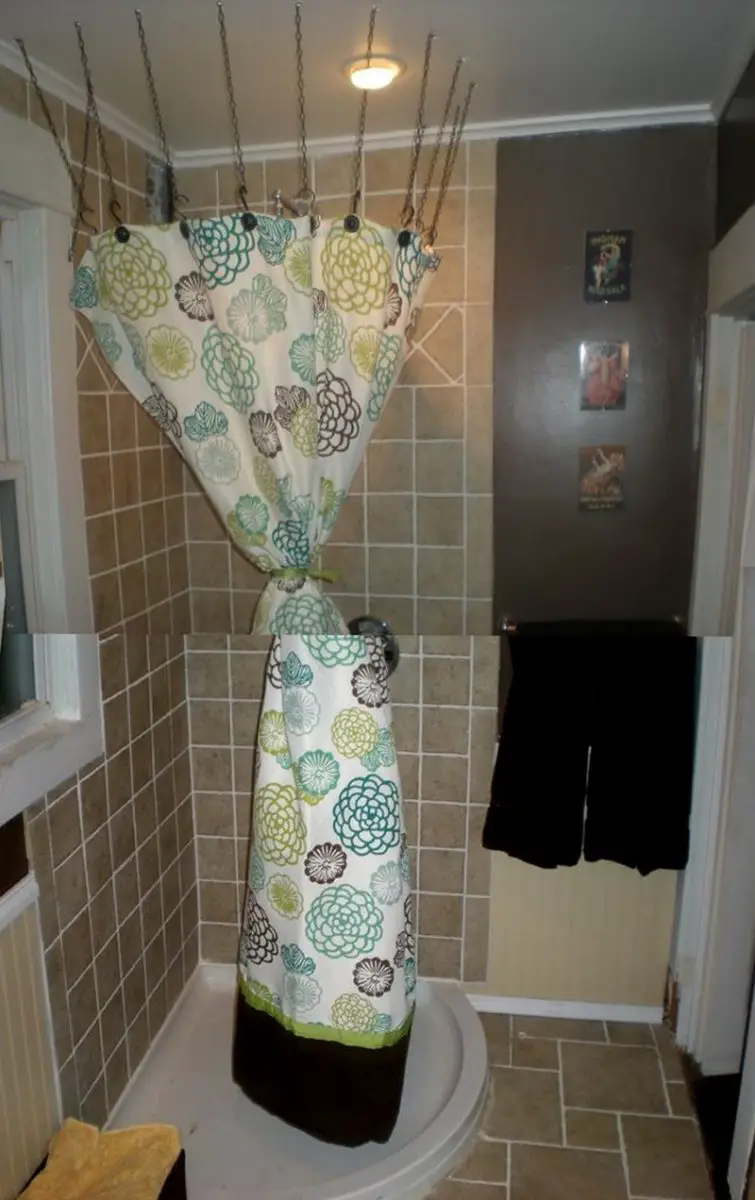
Most are held into the ceiling using drywall anchors but the couple that line up with studs is anchored more securely. I traced the contour of the base onto cardboard that when held against the ceiling, allowed me to properly line up the anchor points.
Thank you MrBippers for this great renovation project!
If you liked this project, you might also like these bathroom inspirations…


