Who doesn’t enjoy a good TV show? There are few things more relaxing after a long day than sitting in front of the TV to enjoy a good show with the family.
My eldest son is a big fan of the TV show ‘Doctor Who.” I wasn’t familiar with it at first. When he went off to college, I started to watch it and got hooked as well. We haven’t seen him for quite a while as he’s busy juggling school and work. So when we knew he was coming home for Thanksgiving, his dad and I decided on a surprise.

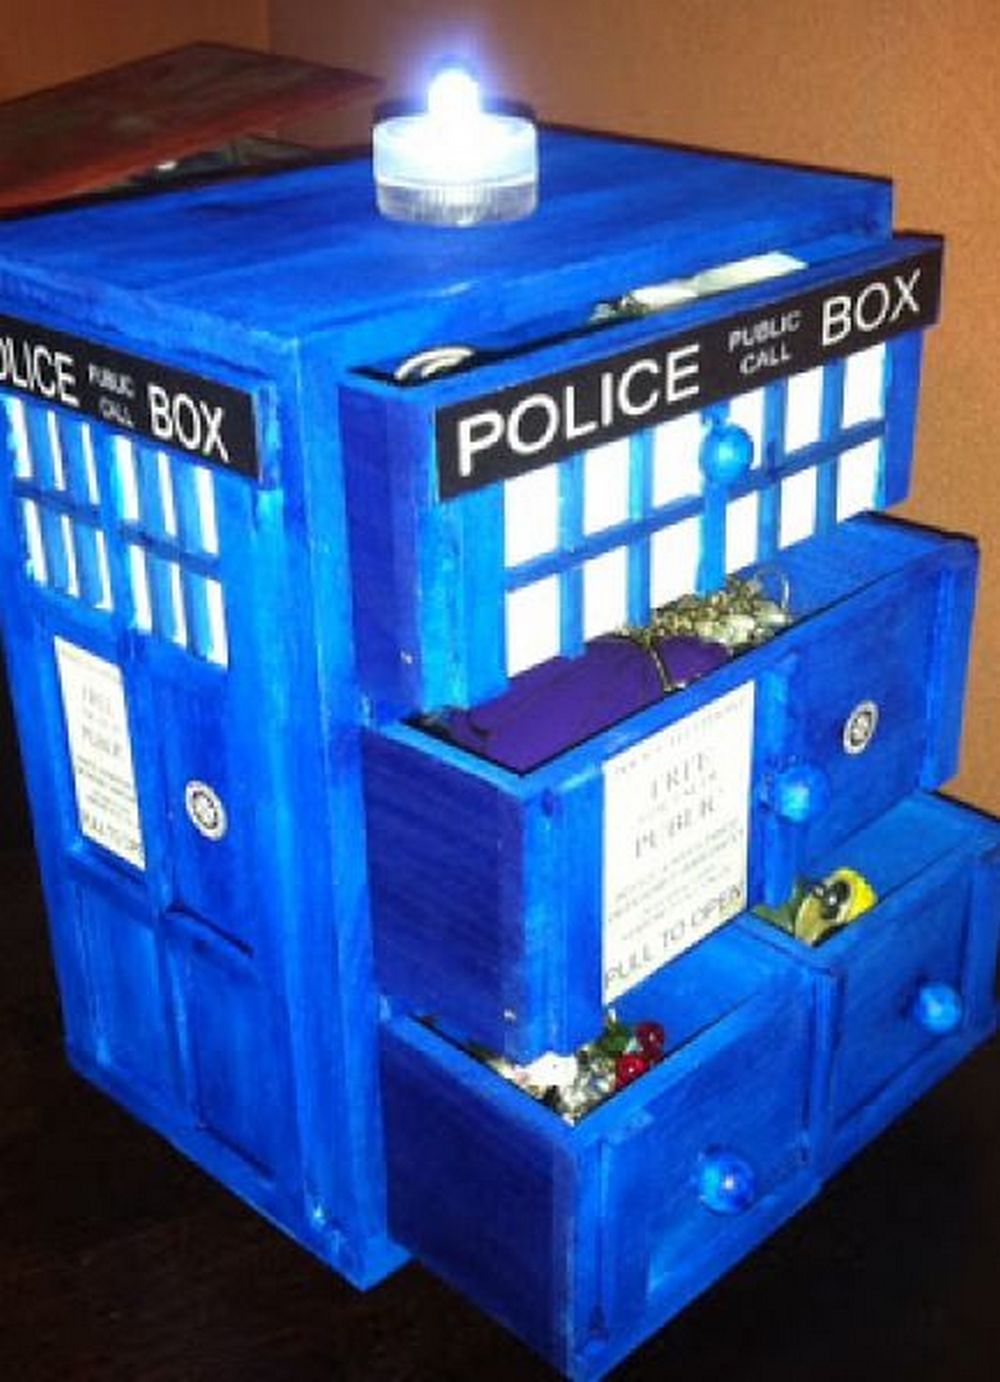
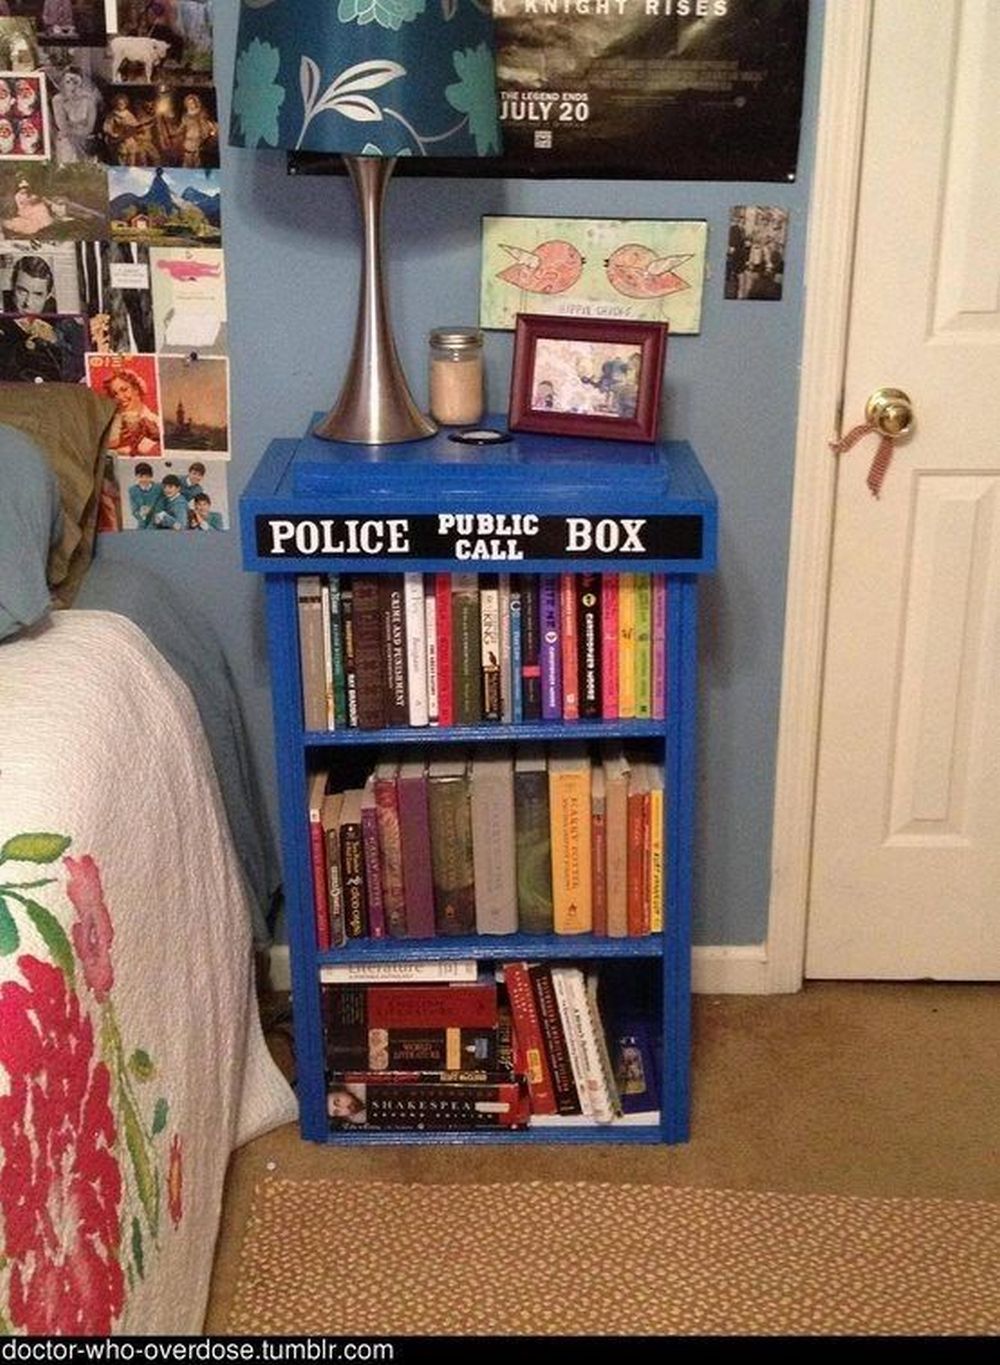
We came into his room and the first thing that caught my eye was his bedside table. It has been there since he was a kid and it’s screaming to be replaced. It was definitely time for an upgrade. And then a light-bulb moment: what if we include a Doctor Who references in his room?
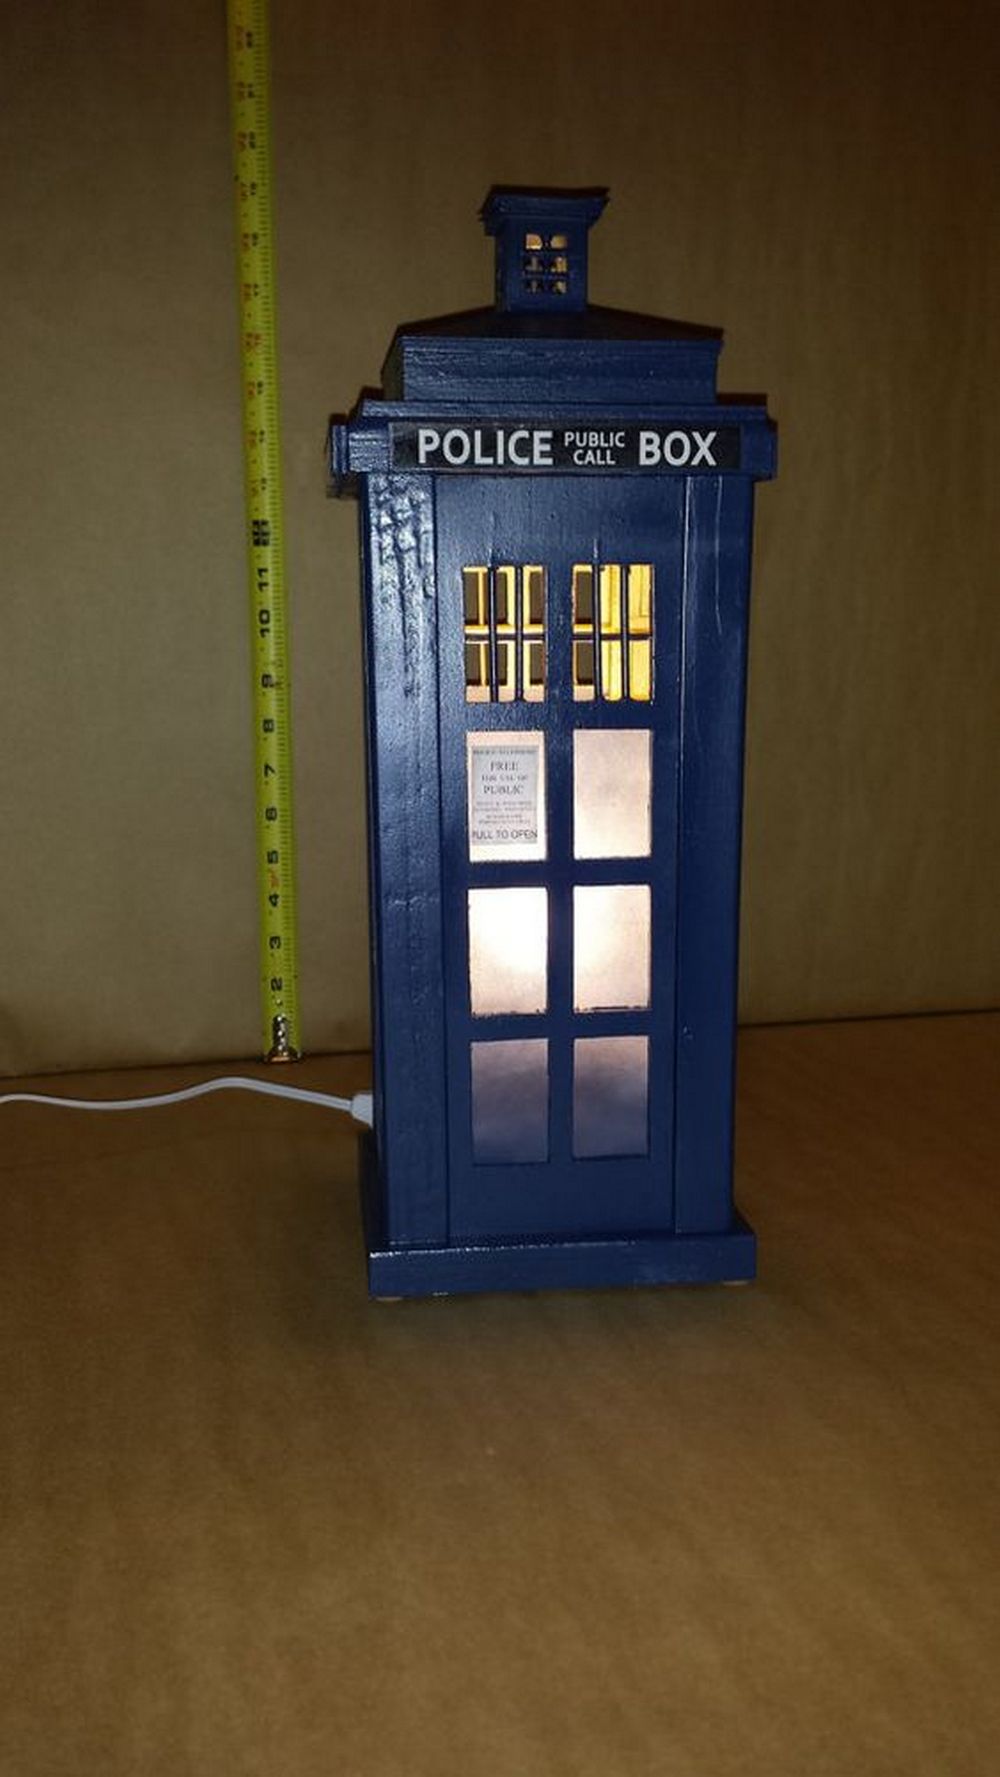
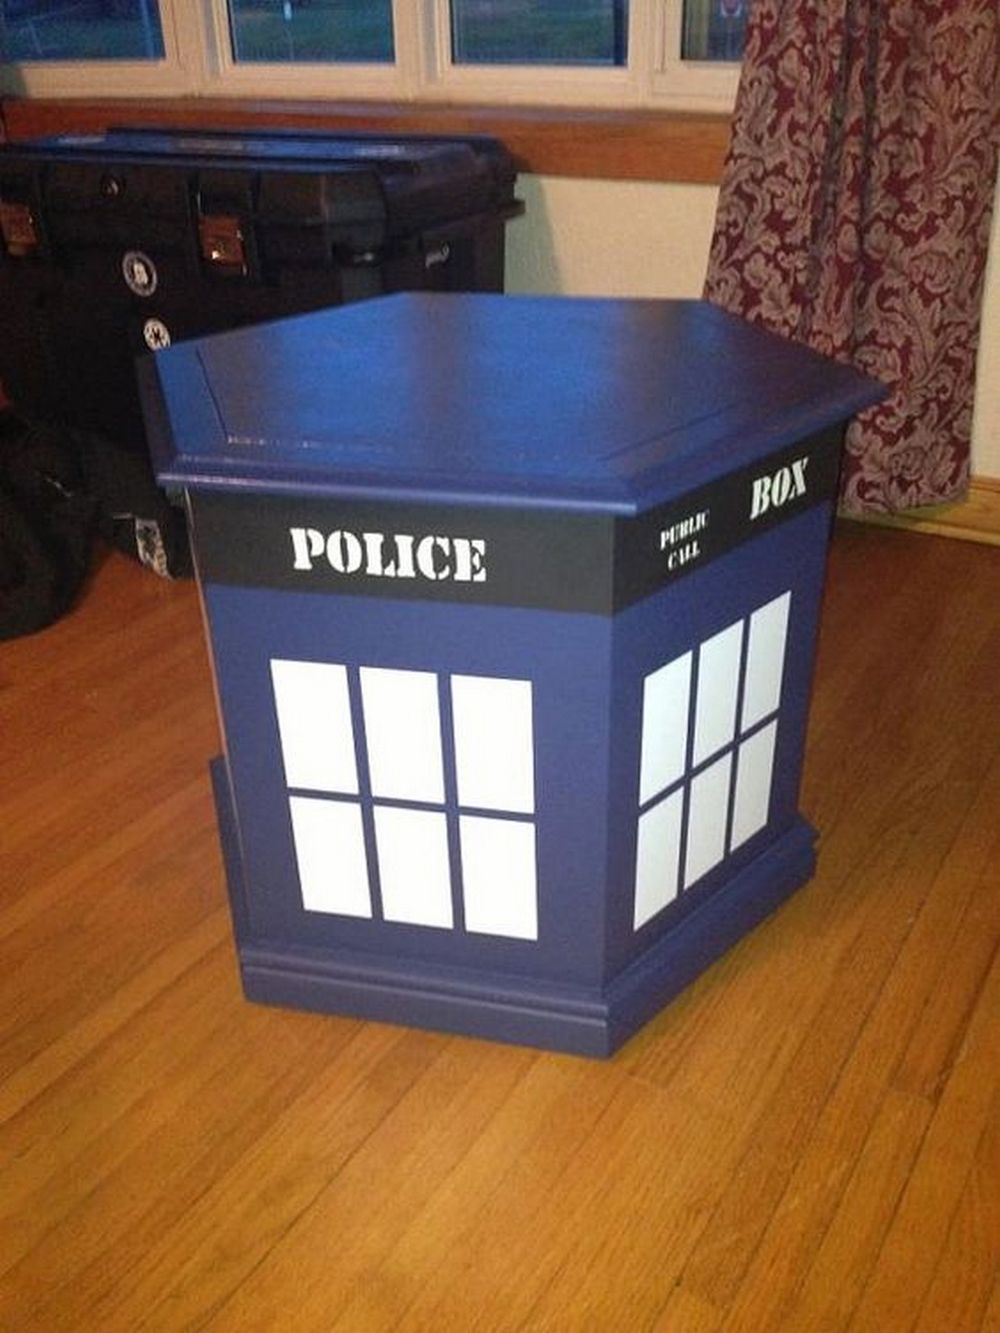
The police box that the Doctor travels around in is actually a time and space machine from Gallifrey, his home planet. TARDIS stands for Time And Relative Dimension in Space. Clever, eh?

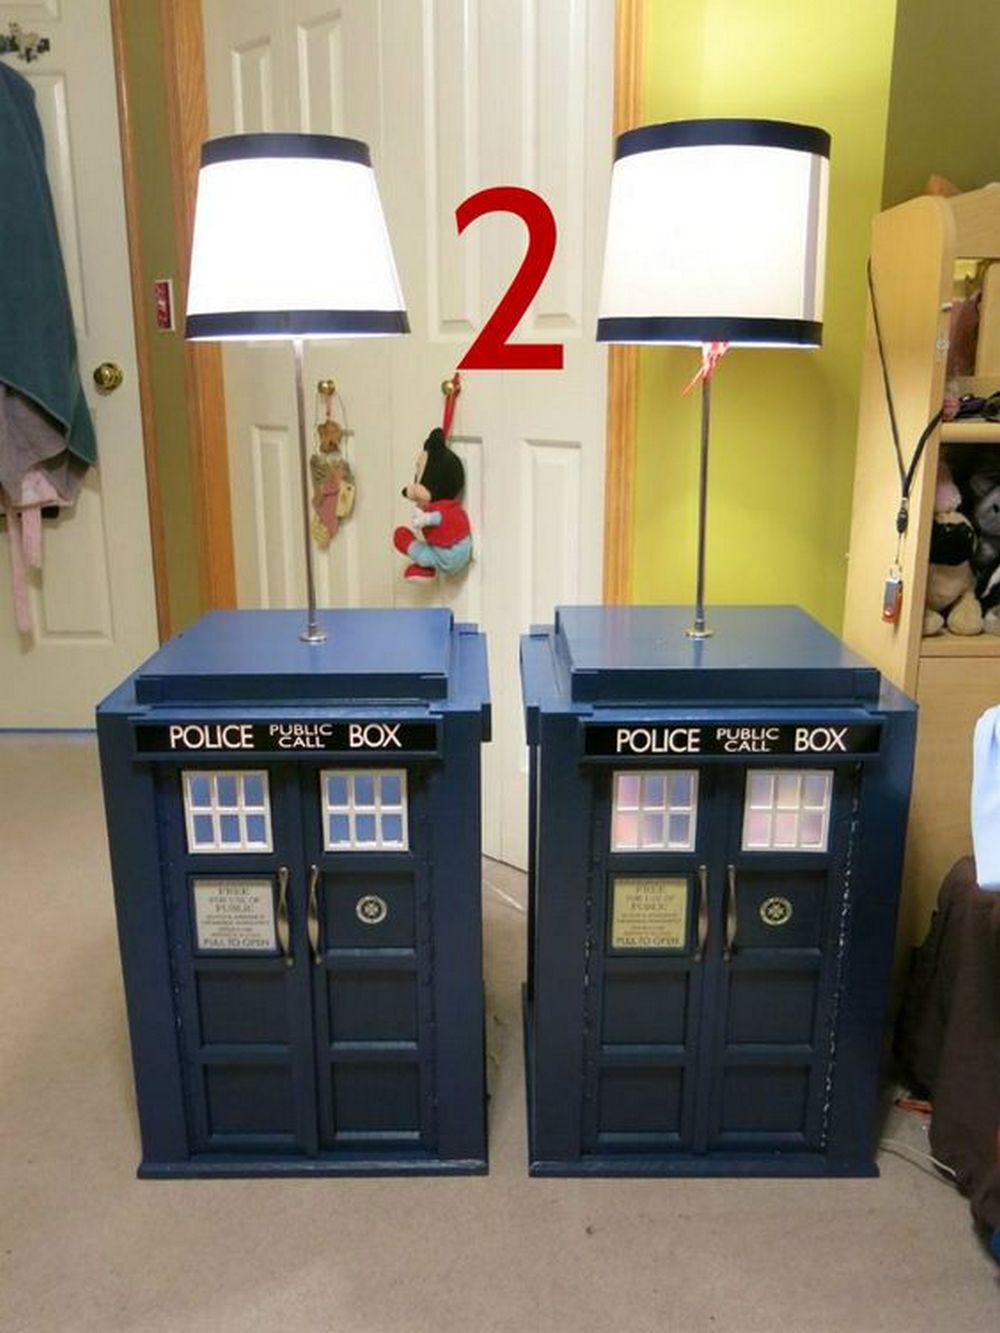
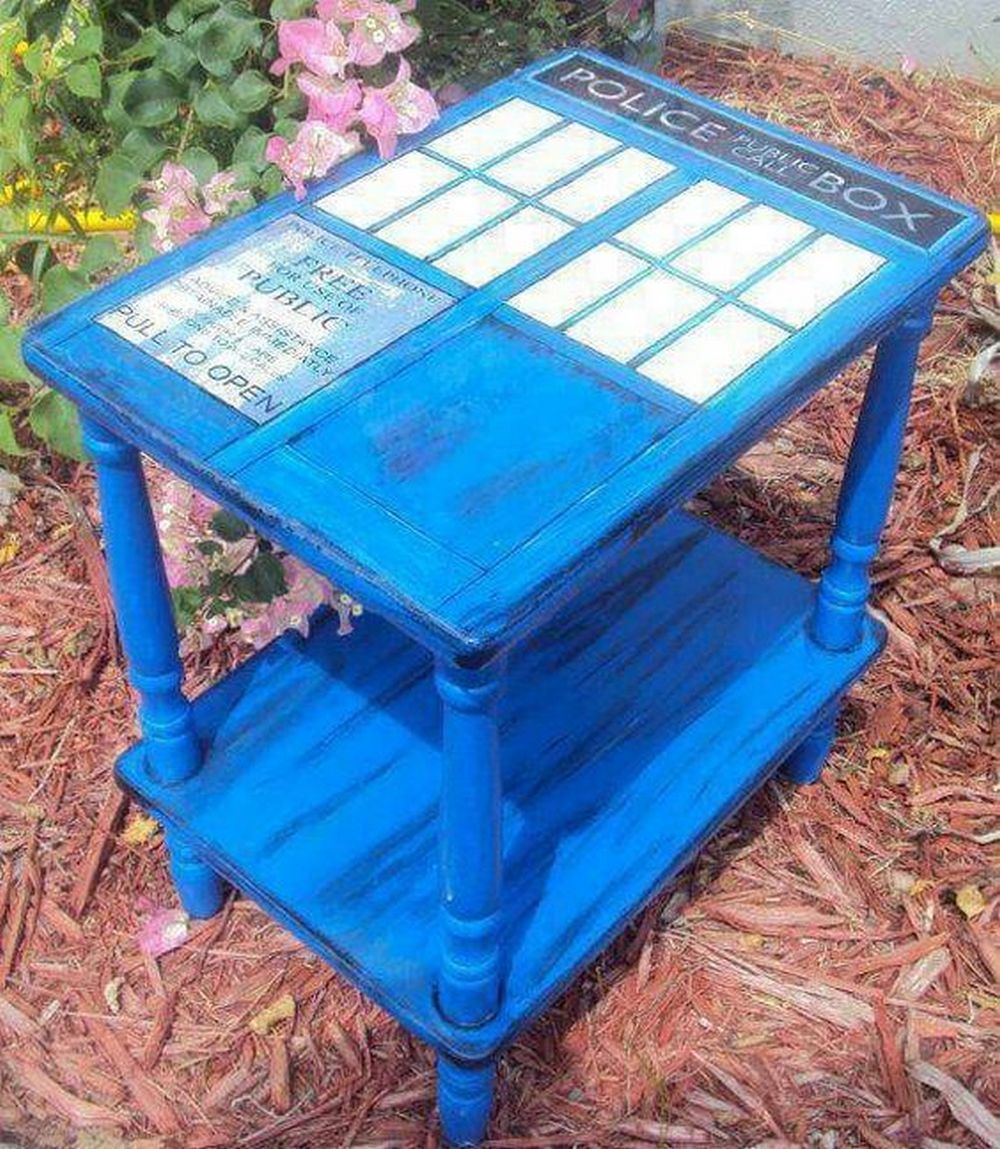
We came across a DIY TARDIS bedside table project and we immediately knew this was it. Without any second thought, we gathered all the necessary tools and materials and went to work.
If you have a friend or family member who’s into Doctor Who, they’ll really appreciate this project.
Materials:
- Wood
- Wood glue
- Screws
- Opaque white plexiglass
- Smooth-On Mold star 15
- Smooth-On Smooth cast 300
- Paint
- Piano hinge
- Black primer
- Light grey spray paint
- Drawer handles
- Varnish
- 8-foot electrical cord
- 13-inch chrome tube threaded at each end.
- 2 washers
- Washer cover
- Two 1/4 inch light sockets
- Two 25 watt frosted bulbs
- 3-way lamp socket
- One marette
- Four compression attachments
- 3 feet of electrical cord
- threaded connector (Threads fit the 13-inch pipe)
- 2-inch threaded pipe (Threads fit into the connector)
- One nut to fit on the 2-inch threaded pipe
Tools:
- Table saw
- Tape/clamp
- Pencil
- Drill
- Fine-toothed hand saw
- Cut off saw
- Angle finder
- hacksaw
- Jigsaw
- paintbrush
Click on any image to start the lightbox display. Use your Esc key to close the lightbox.


Thanks to Red5ive for this great project. You can get step-by-step instructions here…
Here’s a quick video…


