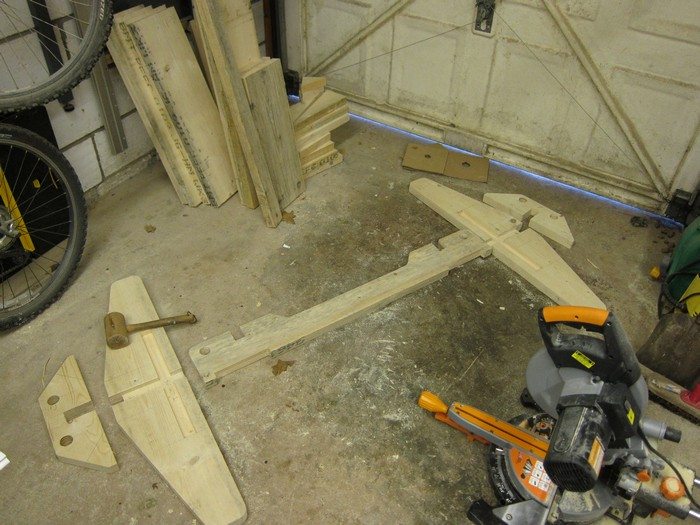
Base Supports
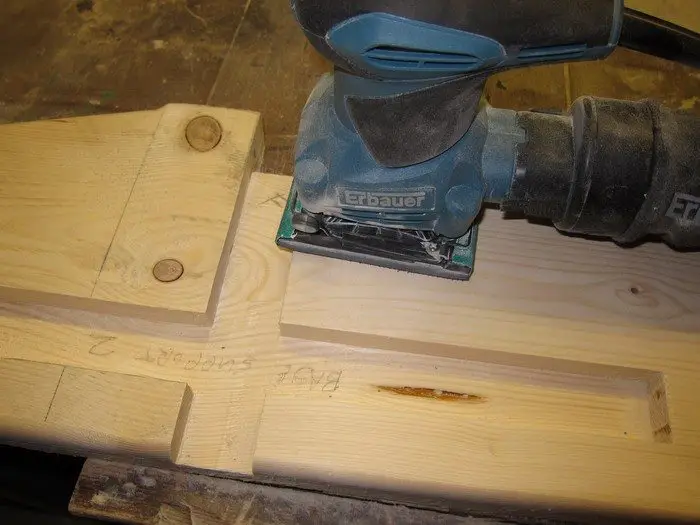 Mark out part.
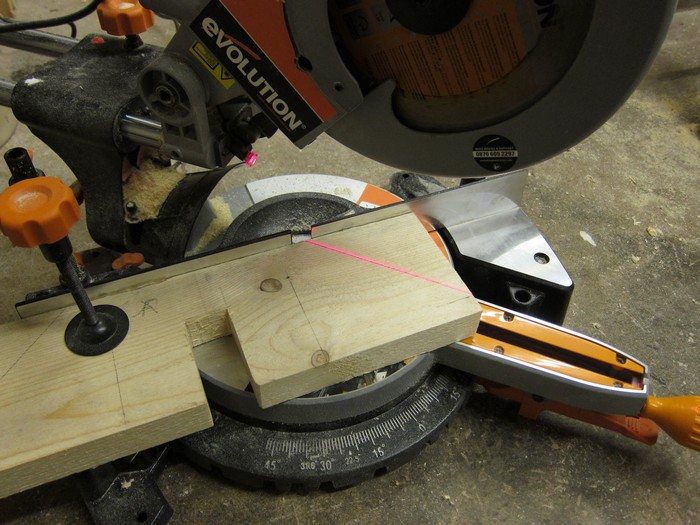
Used the mitre saw to cut the 45° angles.
For the central cut out, I first drilled holes in the corners and then used a jigsaw to cut it out.
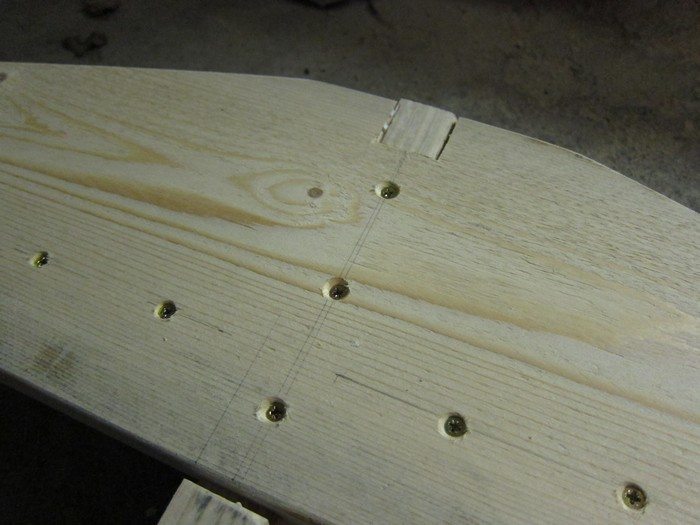
Holes for the pins were the drilled out.
Spine
Mark out part. Cut to the correct width using a table saw.
Jigsaw used to cut the dropped down detail.
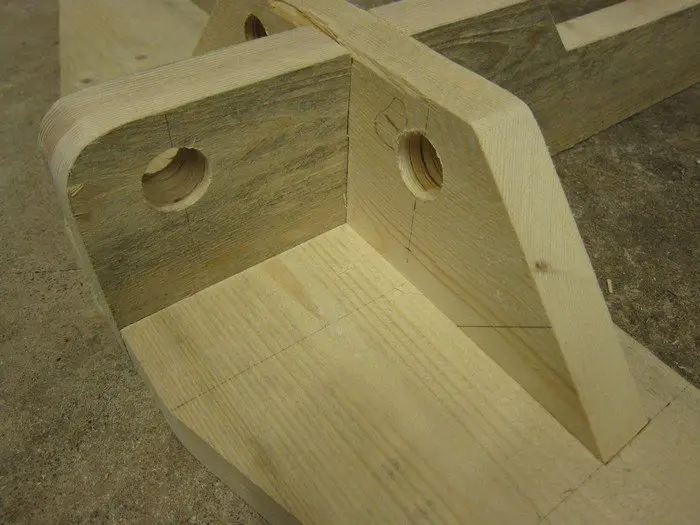
Holes for the pins drilled out.
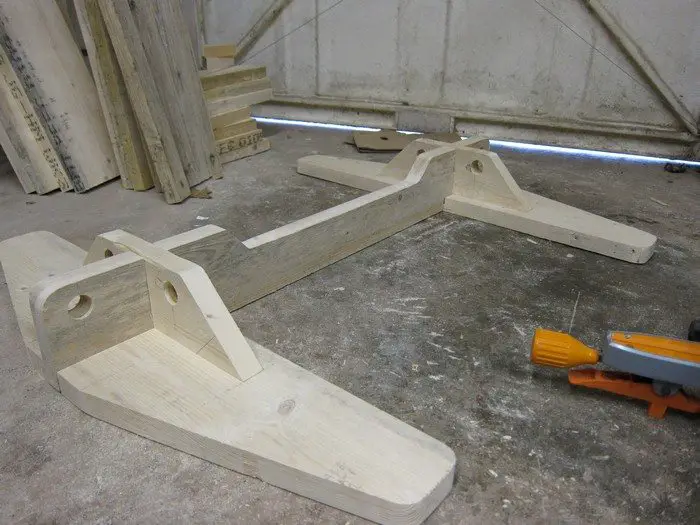
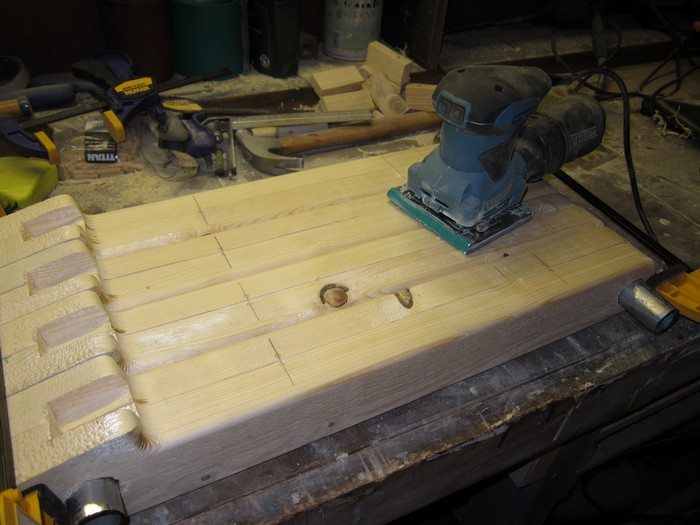
With all the parts cutout I used a router to round over the edges and gave everything a sand down. I then did a dry assembly to check everything fitted together and adjusted the parts where necessary to ensure a good/tight fit.
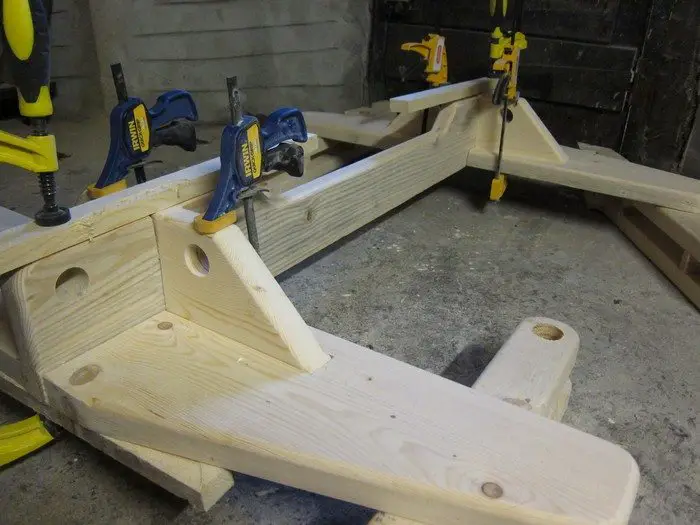
It was then time to apply some wood adhesive, fit the parts together and clamp everything up to dry. I added some screws for good measure.
Arms: The first ‘Side Arm’ you cut out will become the ‘master’ that will be used to made the others, so take time to get it right.
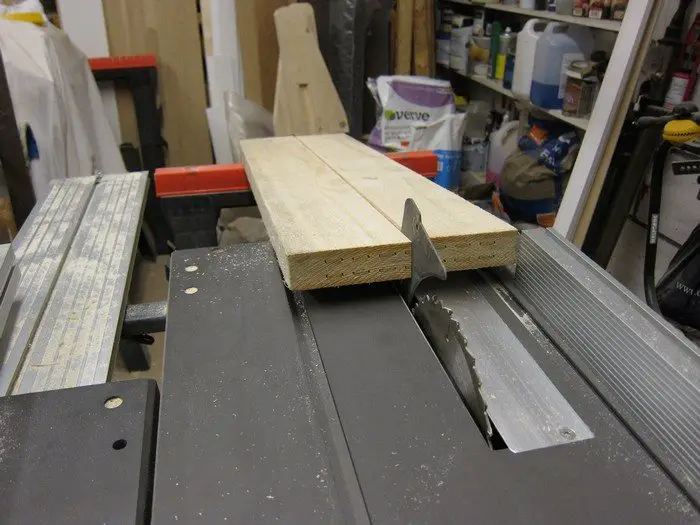
Cut the planks to the correct width.
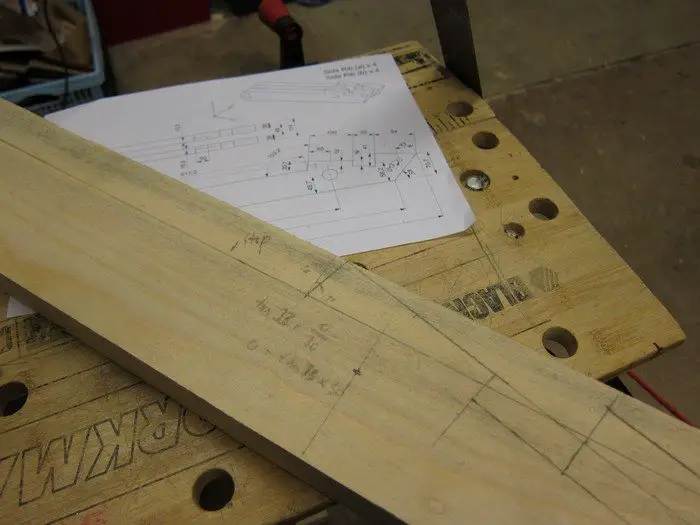
Mark out the part.
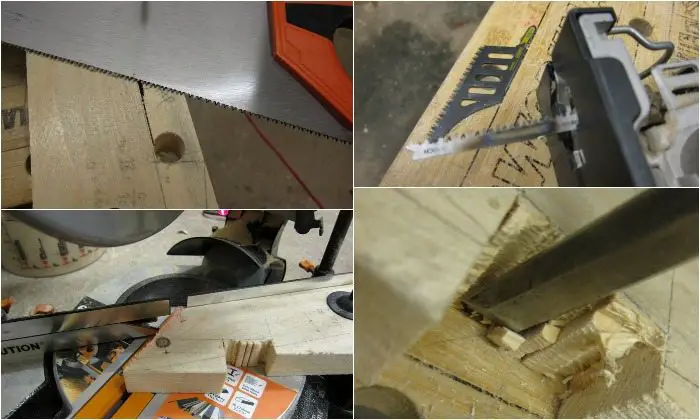
Cut out the part using the appropriate saw for each cut.
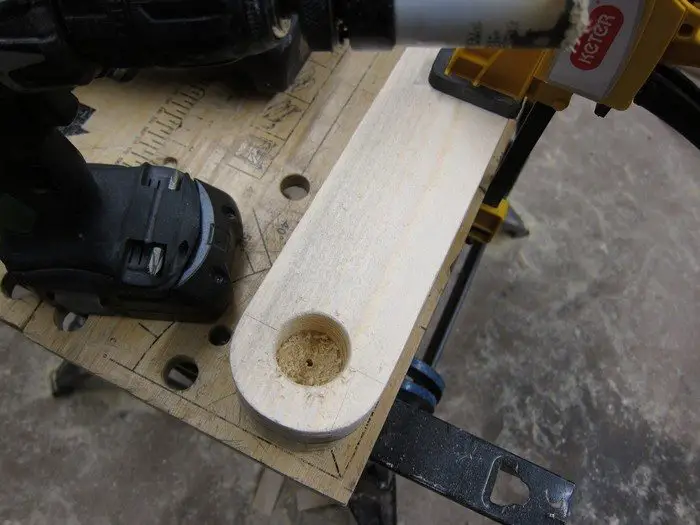
Drill the holes for the pins (adjust the diameter of this hole for whatever pin size you’re using).
With the 1st one cut-out, you can use that to quickly mark out the others and then cut them to the rough shape.
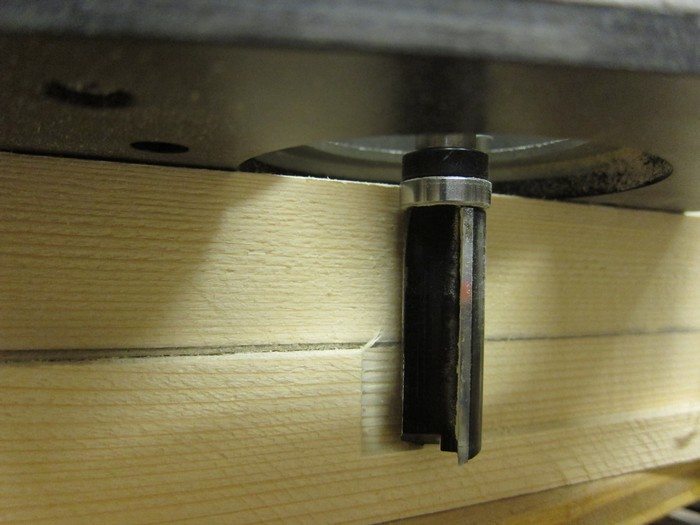
Next, using a router with a profiling bit the ‘master’ is used as a guide to finish off the other arms and ensure they’re all the same:
- Clamp the ‘master’ to the top of the ‘rough cut’ blank.
- Set the bearing on the bit so it will run around the ‘master’
- The depth on my router was maxed out so I had to do the cut in two parts, removing the ‘master’ for the 2nd cut.
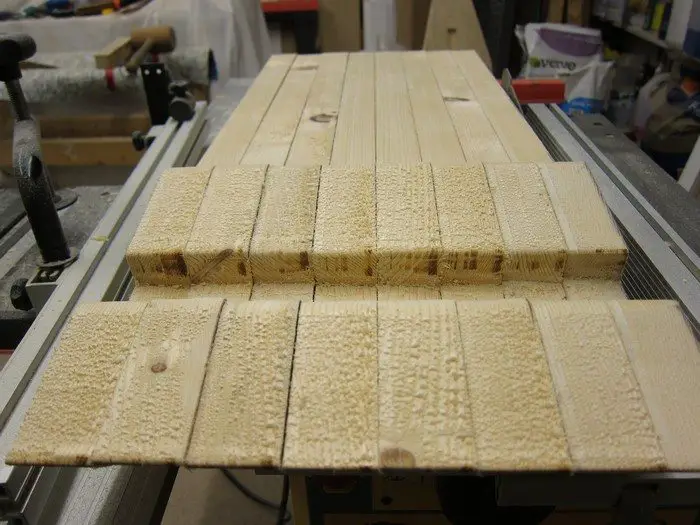
You should now have 8 Side Arms that are identical. The only difference between Side Arms (a) and (b) is the side you route a small recess in to allow a slat to be fitted.
The arms for the front and back follow the same process…
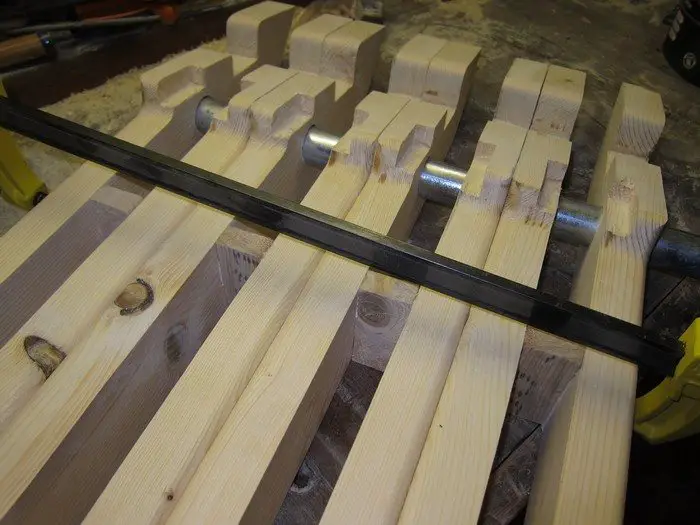
The parts were next given a quick sand and the edges rounded over. Spacers were then cutout and glued between two arms, with dowels used to add strength. I inserted a metal tube while they dried to ensure the alignment was correct.
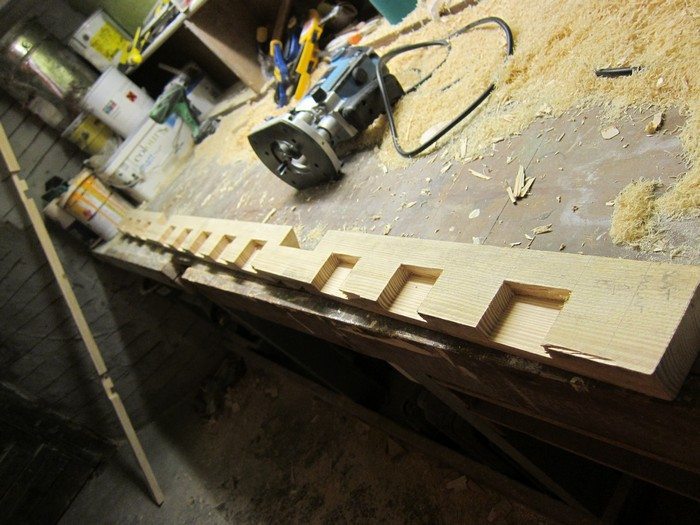
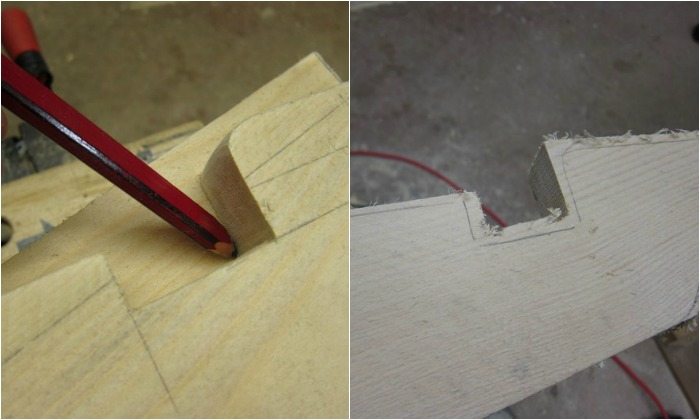
Slat Supports: These parts will be attached to the bed frames surround and be used to mount the slats. Two Slat Mounts need to be made, a left and a right.
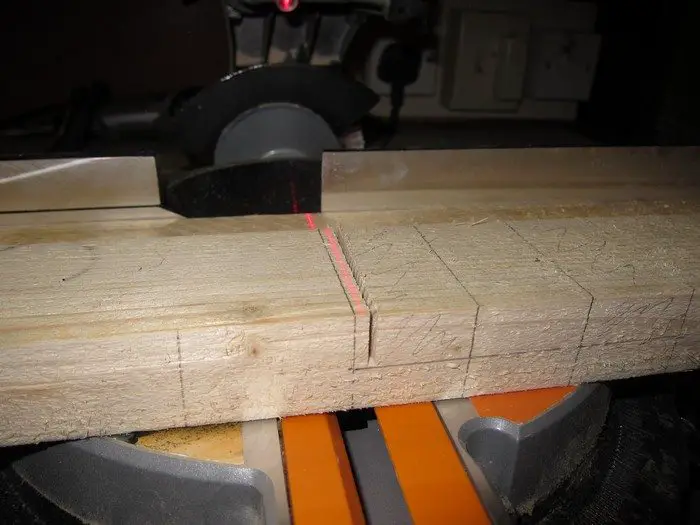
The blanks were cut to the correct width using a circular saw with the blade set to the correct angle.
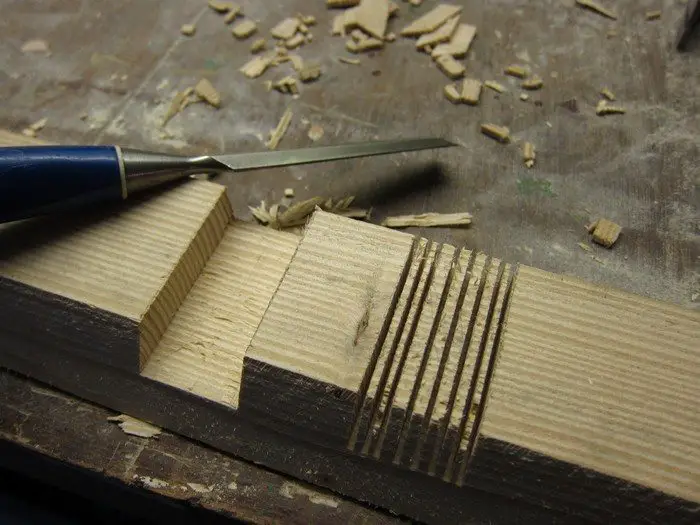
Recesses were again cut using the same method. Multiple cuts with the mitre saw set to the required depth and then cleaned up with a chisel.
Continued Page 3…


