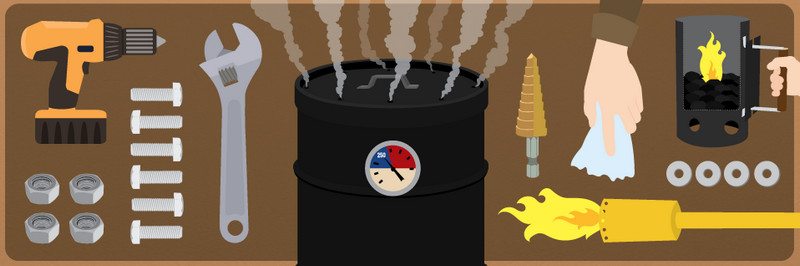
Smokers are always one of our most popular projects. With the holiday season rapidly approaching, we thought you might like a smoker project that is easy enough to do in a weekend! It doesn’t require any welding and you’ll find everything you need at your local hardware store!

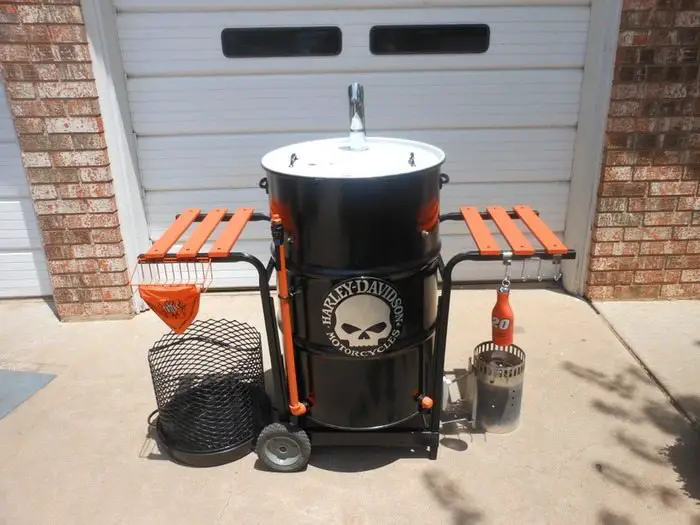
The ugly drum smoker is one of the easiest smokers to use. This smoker is truly a “set and forget” device – your only real concern will be occasionally tending to the meat. Once the charcoal has been lit and added, the smoker can easily cruise for 10-20 hours, holding a steady low temperature. The drum is large enough to fit two to three packer briskets and at least four pork shoulders, so it can feed quite a few people. Best of all, it can be built for well under $200, if you are up to building it yourself.
Click on any image to start lightbox display. Use your Esc key to close the lightbox. 8-)


General Plan
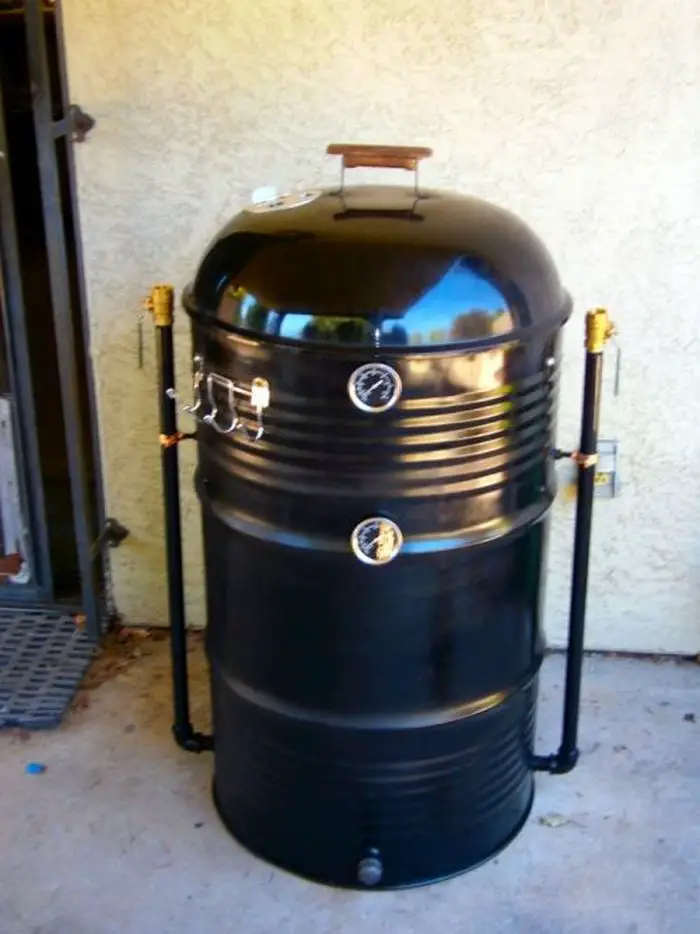
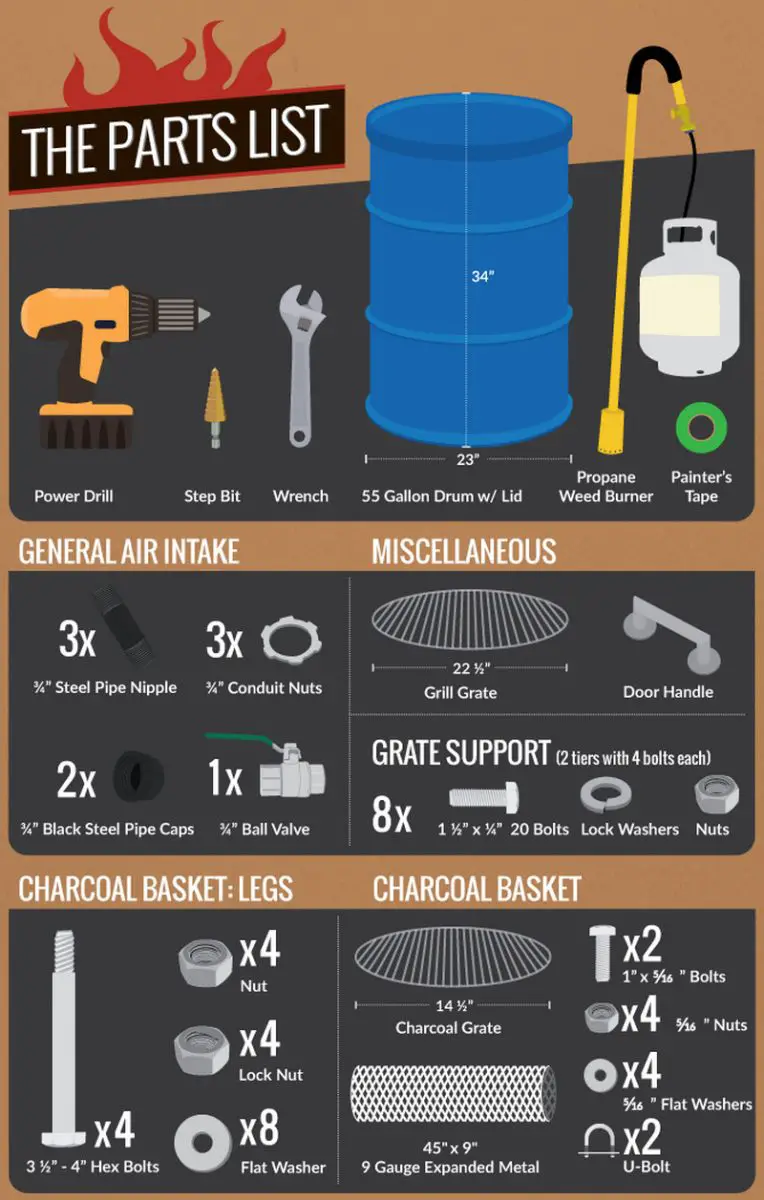
The general plan for building an ugly drum smoker is to buy a 55-gallon steel drum and burn the paint off the exterior. Once the paint is burnt off you’ll drill various holes around the drum and lid for hardware placement, air intake control, and exhaust. The bolts will hold the cooking grate; the air intake consists of plumbing fittings, such as a ball valve and pipe nipples with caps, to allow you to control air flow. The exterior of the drum will be painted with a high-heat-tolerant spray paint. Charcoal is held in a “no-weld” charcoal fire basket made from expanded steel, a charcoal grate, and hex bolt legs.
Drum Selection and Paint Removal
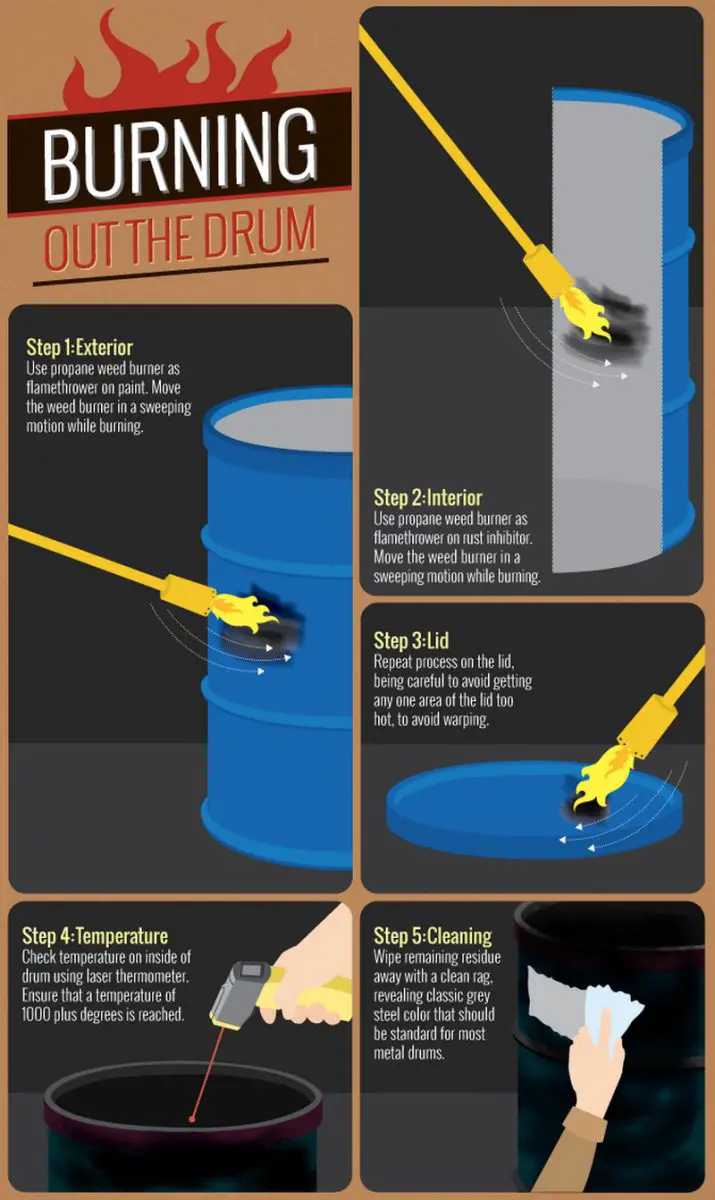
The safest and easiest way to tackle this project is to buy a new 55-gallon drum. Many people insist on finding a free 55-gallon drum that might have been used to hold anything from soda syrup to formaldehyde. When you buy a new drum (for only about $70) you have the benefit of knowing it wasn’t used for anything toxic, and exactly what type of lining, if any, is inside the drum. Drum liners are chemical liners that are very difficult to remove, requiring not only burning at high heat but also intense mechanical scrubbing. To avoid this, buy a new drum with no liner. The only thing inside of a new drum should be a mild rust inhibitor that can be easily burned out with a propane torch at the same time you are removing the original exterior paint.
Connect a propane tank to a propane weed torch and slowly apply a high heat flame to the exterior of the drum. Slowly move the torch in a sweeping motion. Both the original paint and the interior rust inhibitor will come right off with the high heat. Repeat the process for the lid of the drum, being careful not to apply too much heat in one location, as the thin lid might warp. Use a clean rag and wipe off the drum completely to remove any excess paint and dirt.
Drilling the Drum
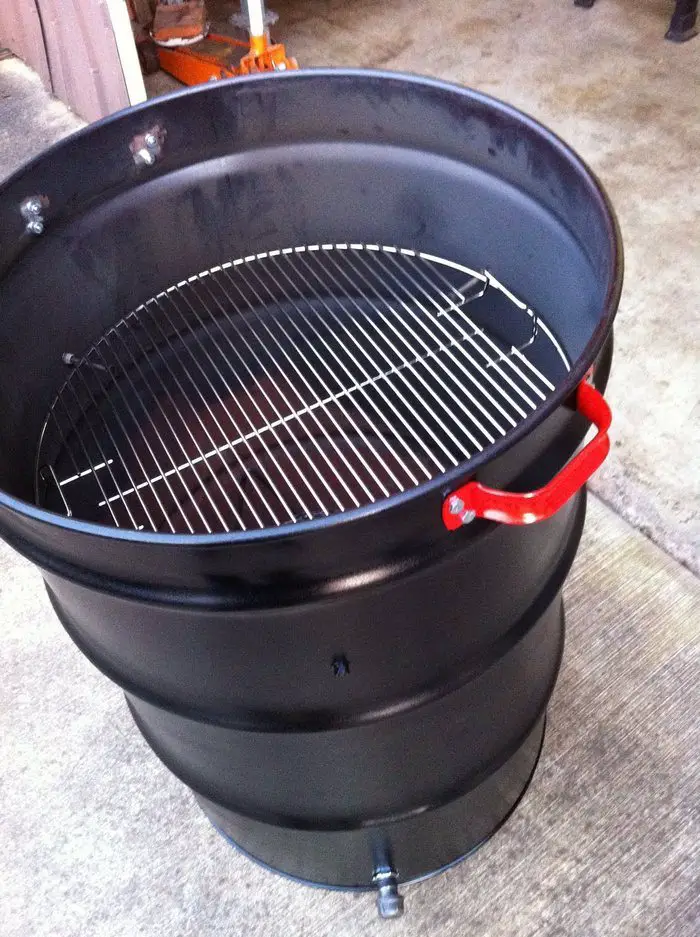
Once the exterior paint has been removed, measure and make small marks where the holes will be drilled. The holes should be drilled with a step bit, large enough to allow the ¼-inch diameter bolts to fit through, but not so large that the head of the bolt will slip through. Drill four holes, equally spaced, seven inches below the top of the drum. This is where the cooking grate will sit. Drill four additional holes 12 inches from the bottom of the drum. This provides the flexibility of adding an additional lower grate, which can be used for higher heat (closer-to-the-flame cooking), or even for holding a drip pan or heat deflector, if you choose. Drill three equally spaced holes three inches from the bottom, large enough for the ¾-inch pipe nipples and ball valve to be inserted securely.
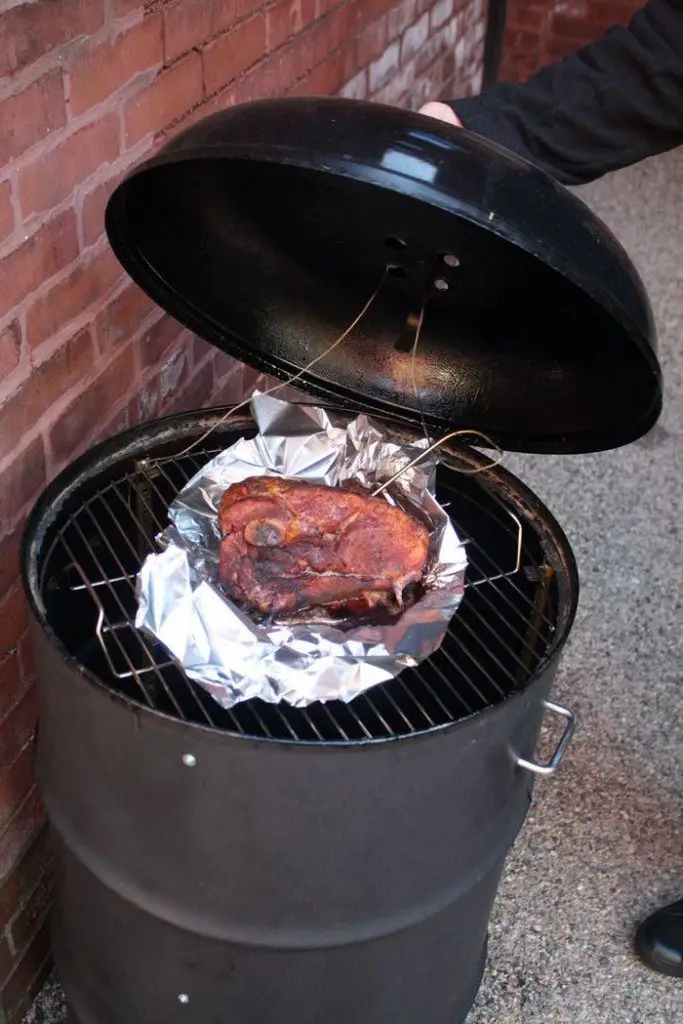
For the exhaust, the easiest setup involves evenly spaced holes in a circular pattern around the drum lid, as opposed to a single larger hole with a chimney tube attached. This minimizes any chimney effects, which can increase draft and create hot and cold spots and an overall hotter fire. For this exhaust pattern, drill eight equally spaced one-inch holes a few inches from the edge of the lid. An easy way to get this right is to place eight coins in a circle around the lid and then measure the distance between them. Slightly move each one until the distance between each coin is equal. Then remove each coin one-by-one and drill the holes. Depending on the type of handle and smoker thermometer you find, drill an appropriate number of holes to attach both.
After all of the holes are drilled into the drum, remove any leftover steel shavings that might have fallen into the inside of the drum. Use painter’s tape and cover all of the holes you drilled from the inside. This will prevent spray paint from contacting the inside of your drum. Use high-heat engine paint, as this has been rated upwards of 500 degrees F. Spray paint the entire outside of the drum, including the bottom and the lid. Allow the paint to dry completely.
Continued Page 2…


