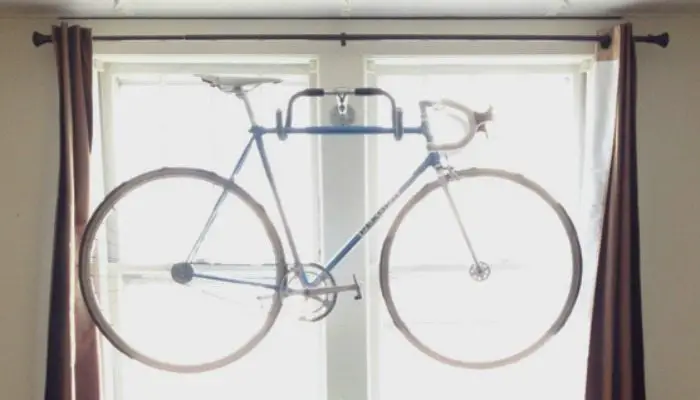
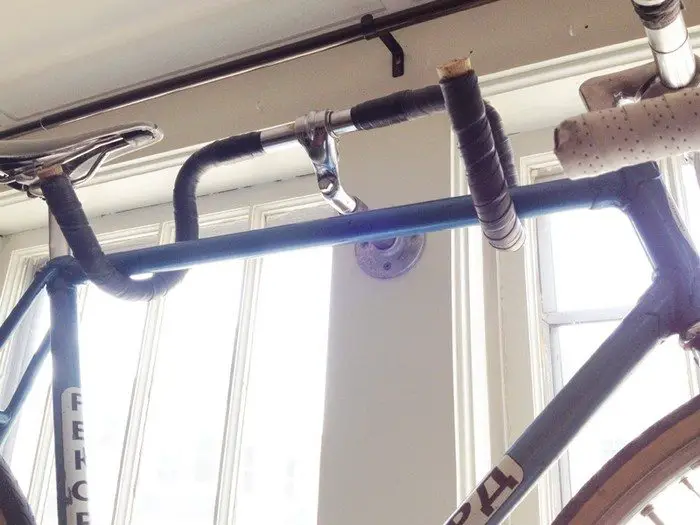
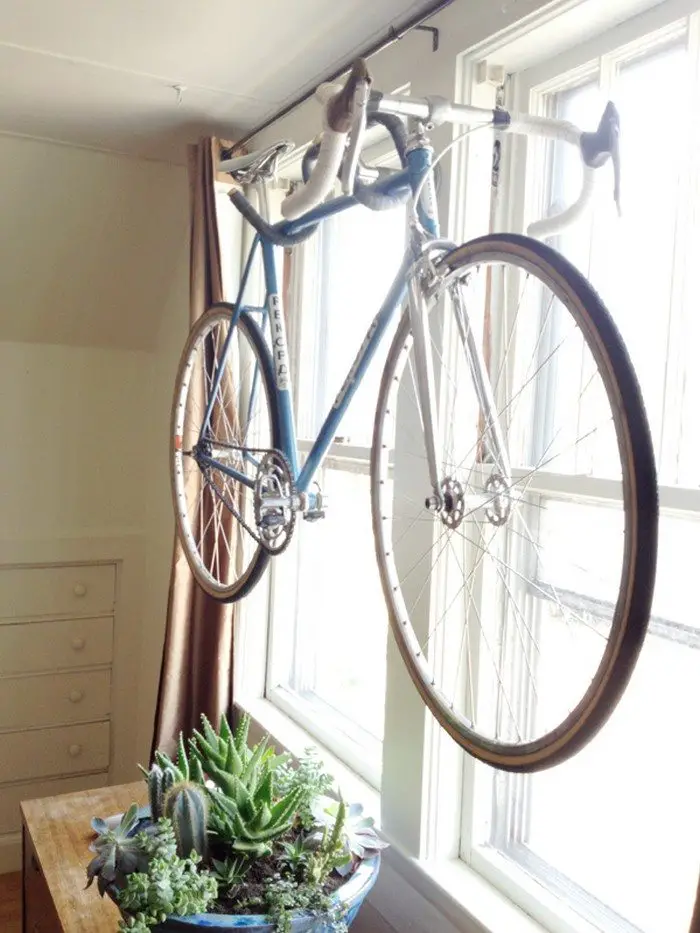
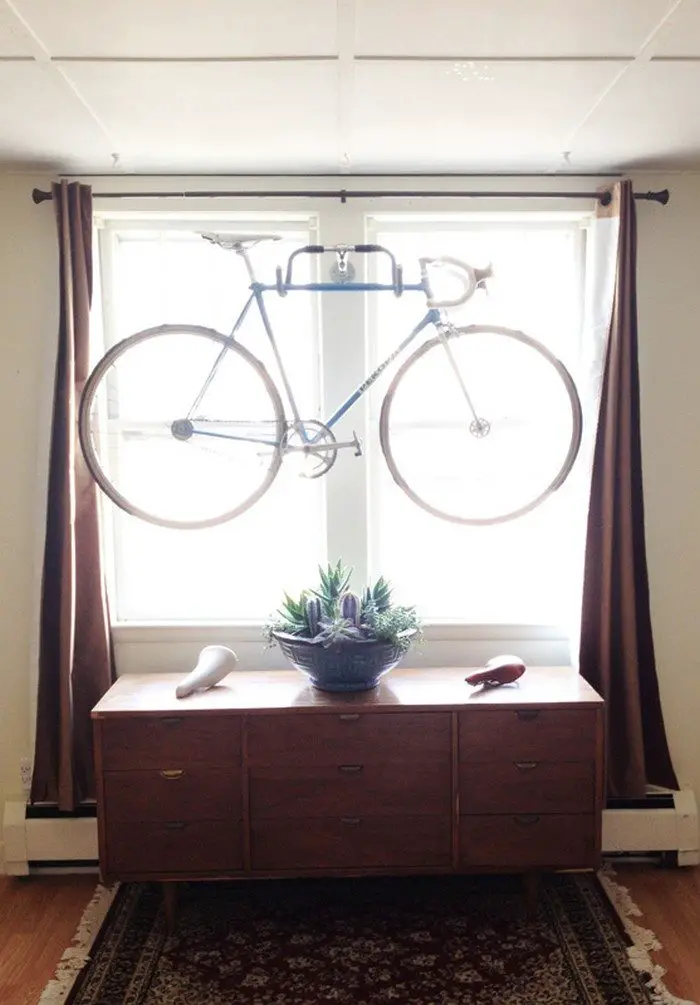
Storing a bicycle can be a challenge in a small space. No cyclist would leave his bike outside in the rain. So if space is a problem indoors, you need to be a little creative. With pedals and handlebars sticking out, just standing them in the hallways is a bad idea. They’ll snag, get knocked over, and generally be annoying. Often enough, a wall-mounted rack provides the perfect solution.
Do you need a wall-mounted rack for your bicycle but don’t like the price tags of the ones sold in stores? Save your money with this awesome recycling idea!
Good wall-mounted bike storage racks usually cost around $30 to $50, but you can definitely spend less by making your own.
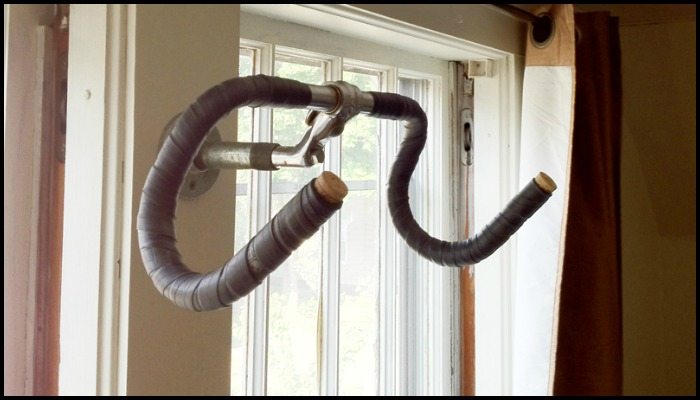
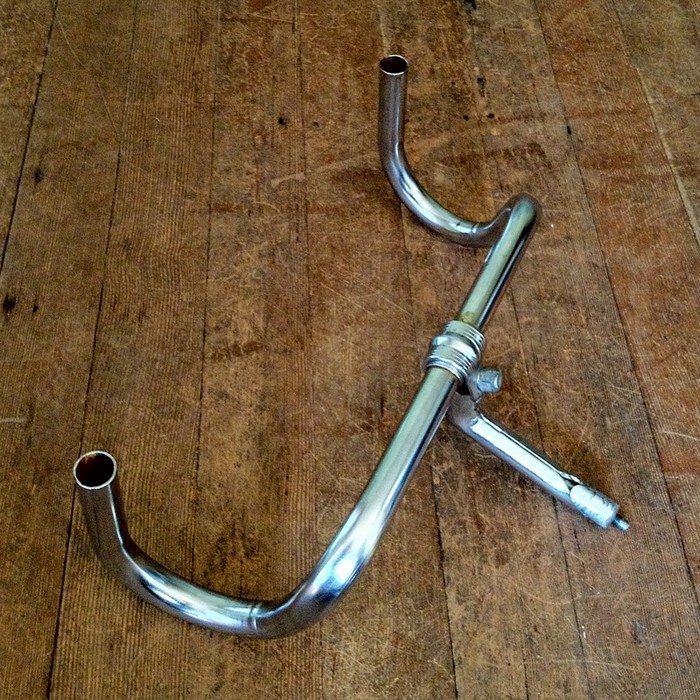
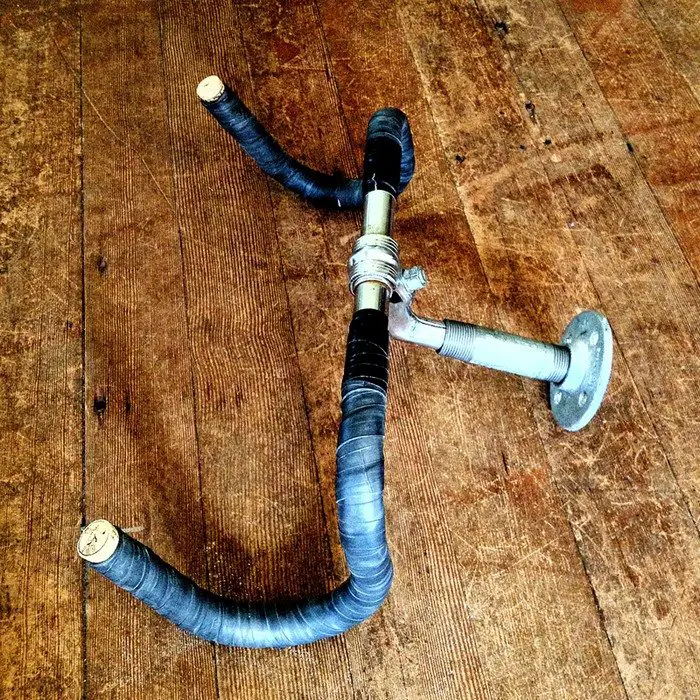
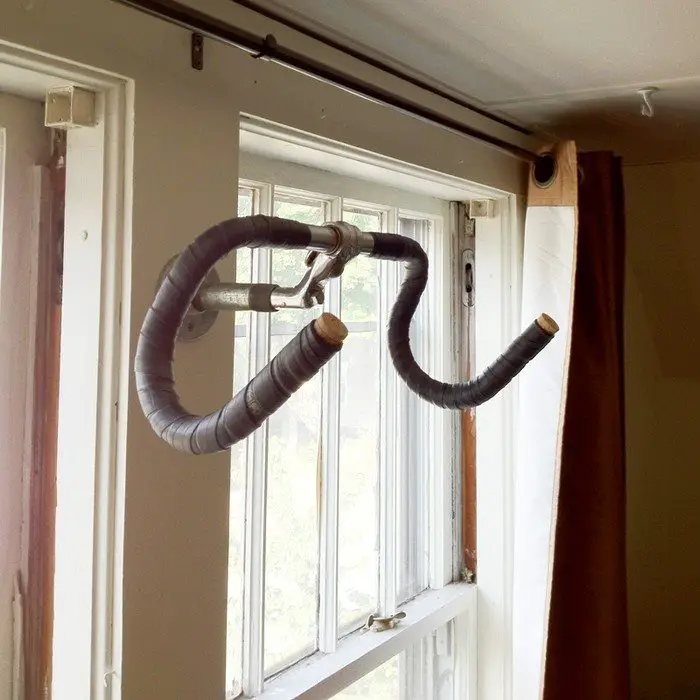
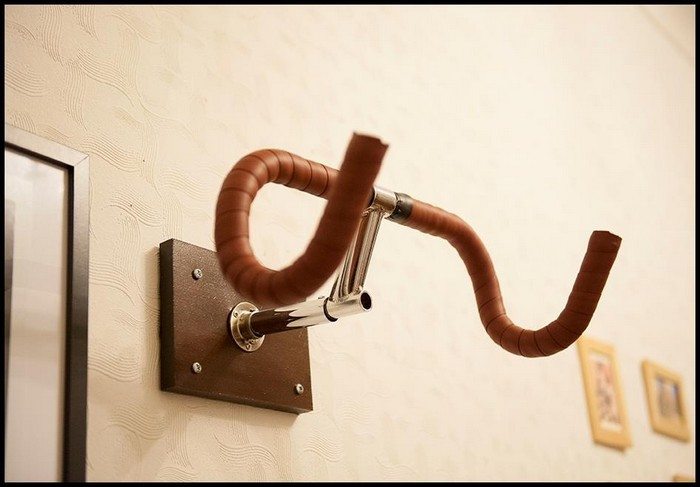
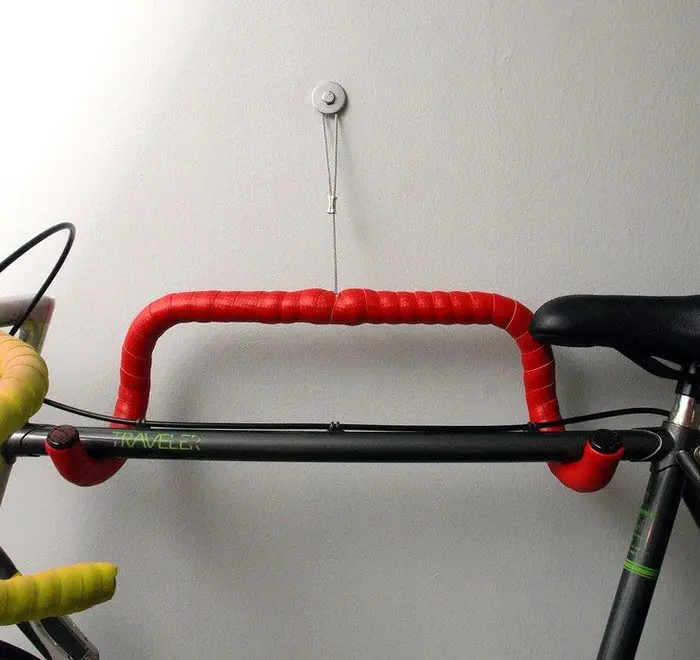
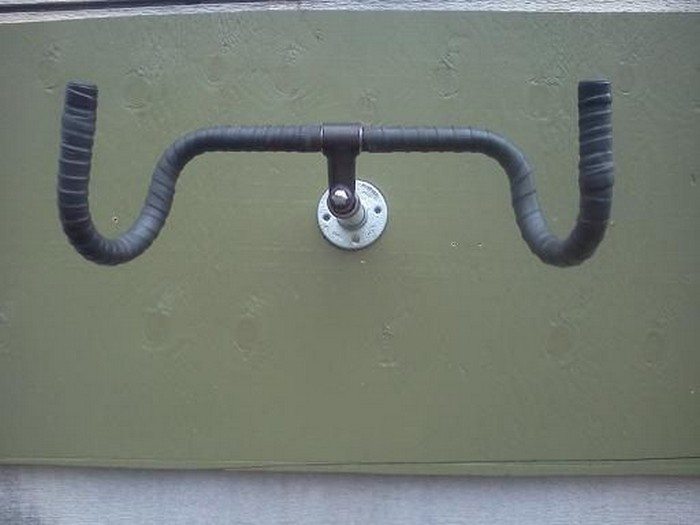
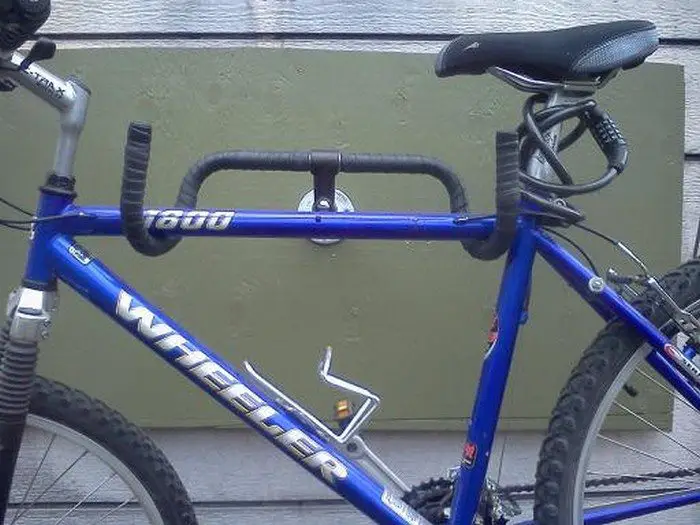
The trick as you may already have figured out with the image above is to use an old (but still in good condition) handlebar. Together with its quill stem, a threaded pipe, and a flange you can have yourself a really cheap and unique bike rack!
This DIY project is very easy to do but keep these factors in mind. Make sure the parts you get are still good and can still fit snugly with each other. Take the weight of your bike into consideration. Depending on their weight, some bikes are better parked than mounted on walls. If yours is extremely lightweight, then a flange and two screws should keep your DIY bike rack strong enough to hold it. But if it’s a bit heavier than others, you will need to use bolts and other reinforcements.
Nevertheless, this recycling idea is one clever option you can consider for storing your bikes. It’s inexpensive, unique, and a space-saver!
Do you need a wall-mounted bike storage rack at home? Then start looking for an old handlebar now! :)
Materials:
- 1 set of Drop Styled Handle Bars
- 1 Quill Stem (should fit Handle Bars)
- 1 Old Tire
- 1 Threaded Galvanized Steel Pipe (should fit snuggly with Stem)
- 1 Wall Flange
- Screws
Tools:
- Measuring Tape
- Drill
- Level
Click on any image to start the lightbox display. Use your Esc key to close the lightbox. ?
Thanks to Kyle Wilson for this great project. You can get step-by-step instructions here…


