A vertical rotisserie for a fun outdoor party. A vertical rotisserie is a great addition to your outdoor kitchen. This is perfect for a fun night with friends right in your very own backyard. You can also use this for an outdoor party with the family.

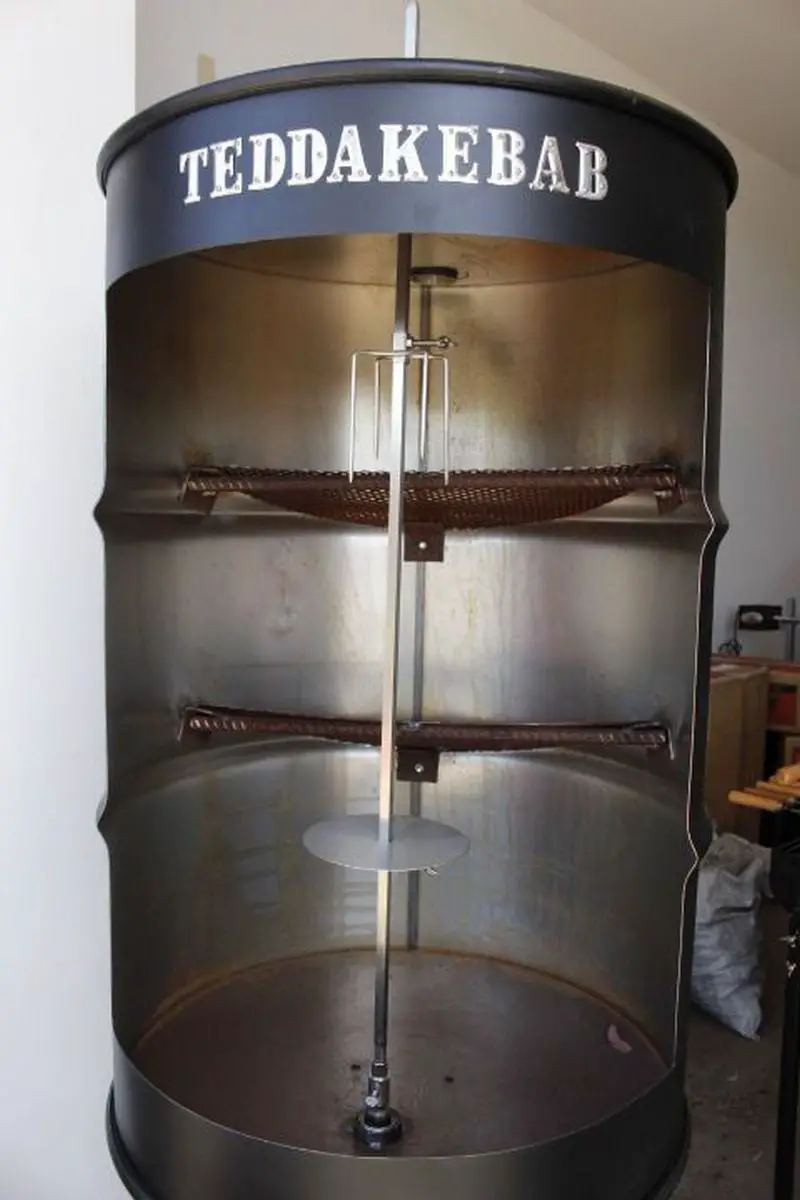
Why spend a lot of money buying a rotisserie when you can build one? Buying a ready-made vertical rotisserie is costly. But if you have an old oil drum that is no longer in use, well and good. You can turn that into your very own vertical rotisserie.
This DIY project requires a very clean (emphasis on very) oil drum. Make sure that it is free from any chemical and its residue. As always, exercise caution when cooking as the surface can become very hot.
Are you ready to start building? But first, your tools and materials…
Contents
Building a Vertical Rotisserie
Materials
- Clean 45-gallon oil drum
- Barbeque Rotisserie Kit (with 1m long skewer and forks)
- clay brick (ideally with holes)
- 8” cake tin or metal plate
- Steel 1” Weldmesh (heavy duty)
- Selection of nuts, bolts, and washers
Tools
- Angle grinder (cutting disk for metal)
- Drill (7, 10mm)
- Hammer
- Centre punch
- Pliers
- Spanners
- Safety gloves
- Safety goggles
- Scissors
- Tape measure
Instructions
Preparing the Oil Drum
- Clean the Oil Drum: Ensure the 45-gallon oil drum is thoroughly cleaned, removing any residues or chemicals. This step is crucial for safety and hygiene.
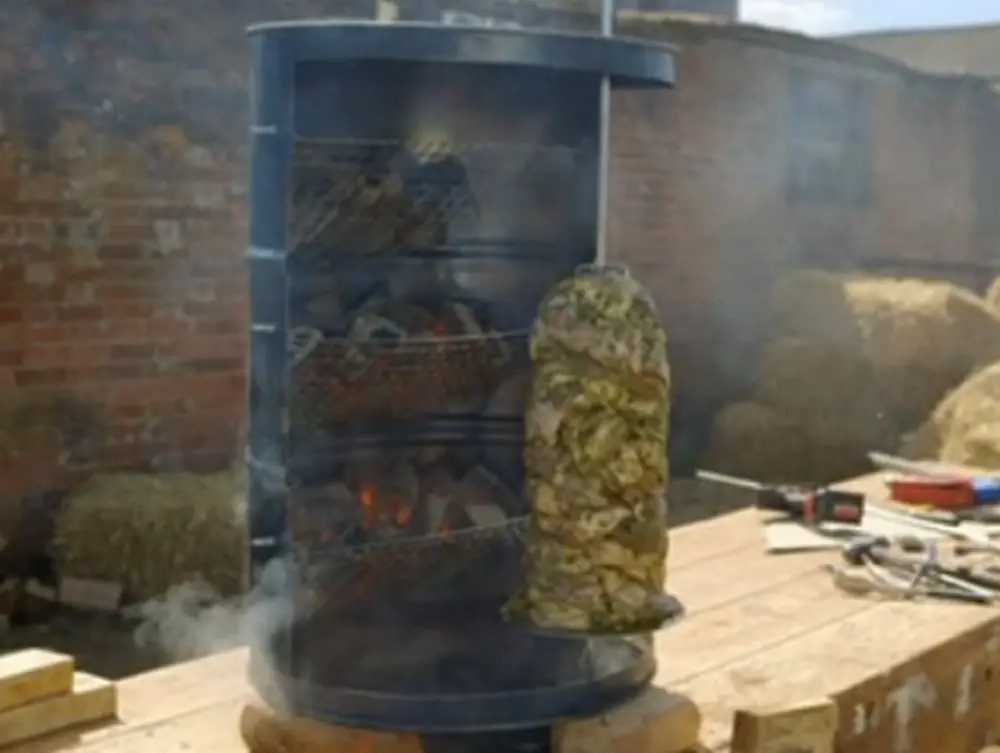
- Cut Open the Drum: Using the angle grinder with a cutting disk for metal, carefully cut a rectangular opening on one side of the drum. This will be your access point for placing and retrieving food.
- Smooth Edges: Use the grinder or a metal file to smooth any sharp edges around the cut opening to prevent injuries.
Setting Up the Rotisserie Mechanism
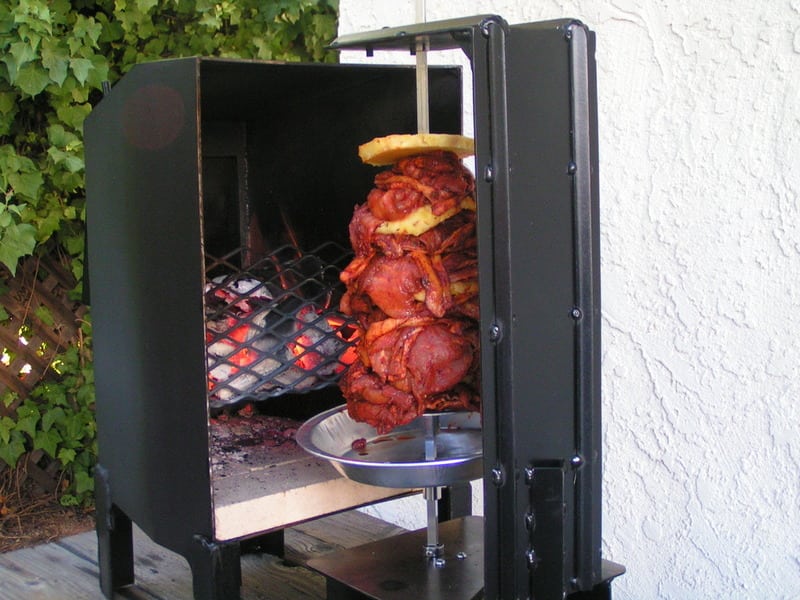
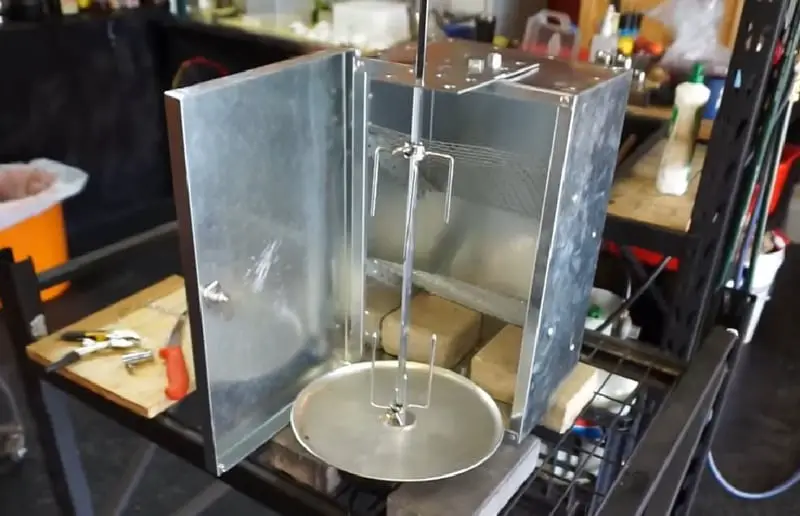
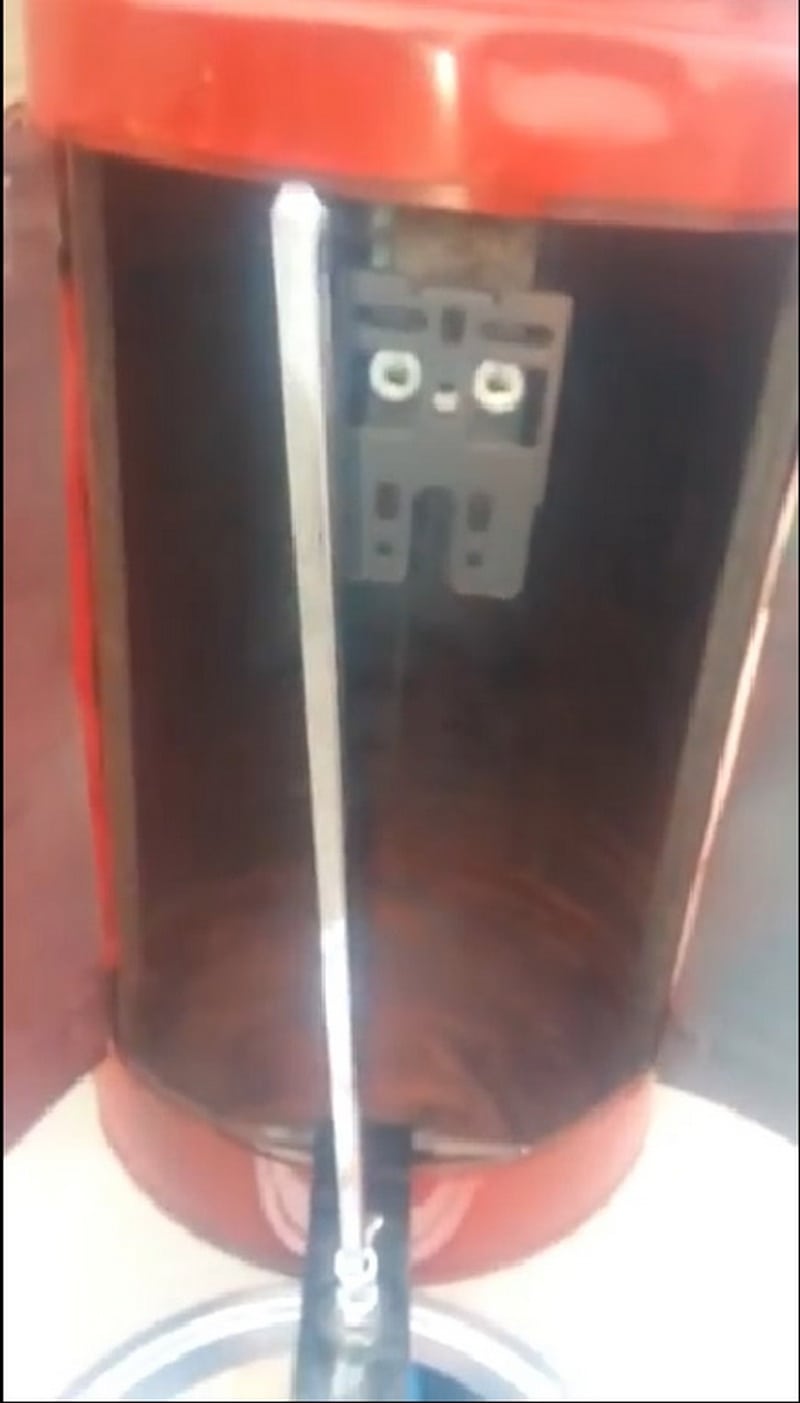
- Install the Barbeque Rotisserie Kit: Determine the placement for the rotisserie skewer. Drill holes on opposite sides of the drum at your desired height to fit the skewer. Secure the rotisserie kit’s skewer and forks, ensuring it’s balanced and can rotate freely.
- Assemble and Place the Clay Brick: Position the clay brick with holes inside the drum, beneath the skewer. This will serve as a support for the charcoal or wood, allowing air to circulate better and providing a stable base.
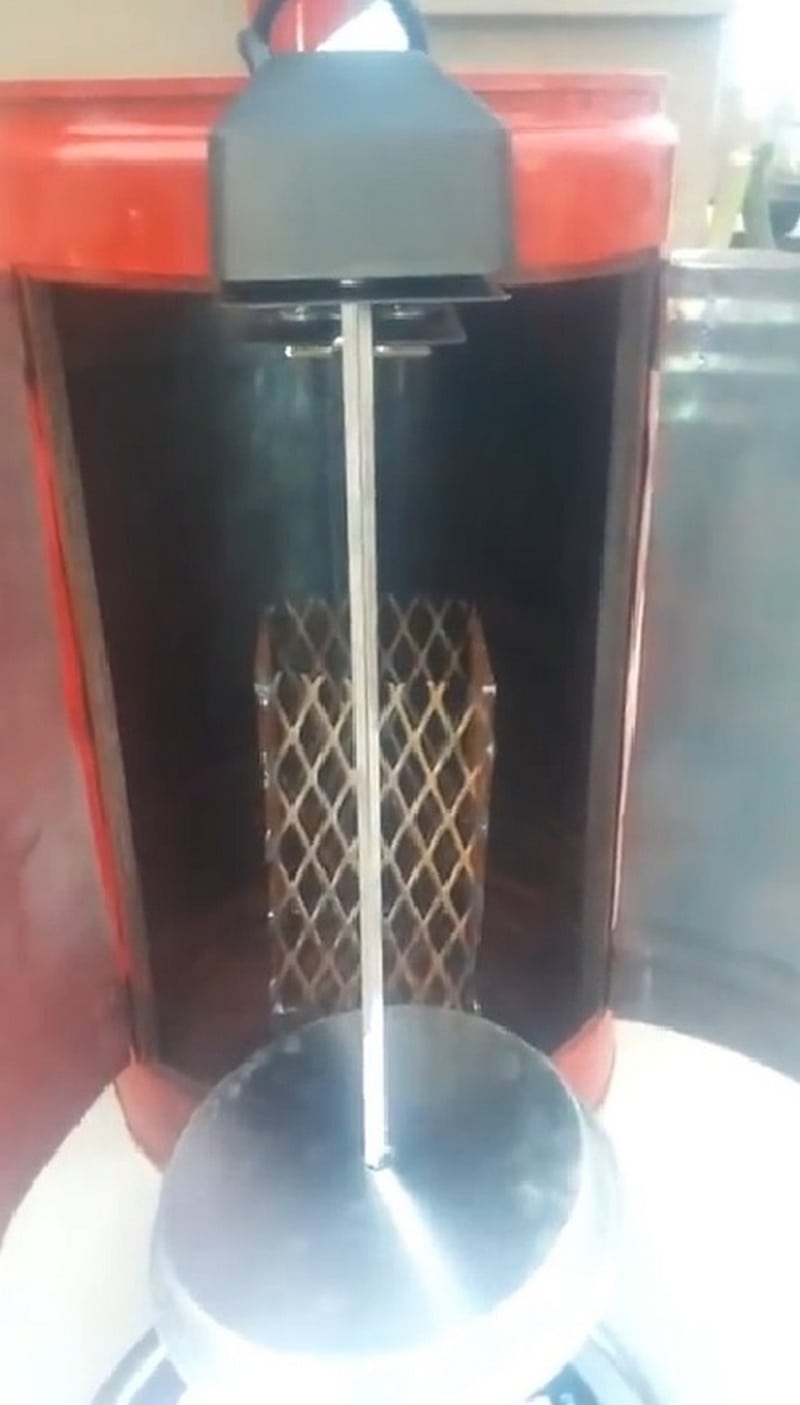
Building the Heat Source
- Prepare the Cake Tin or Metal Plate: This will catch drips and make cleanup easier. Place it directly under the skewer, on top of the clay brick.
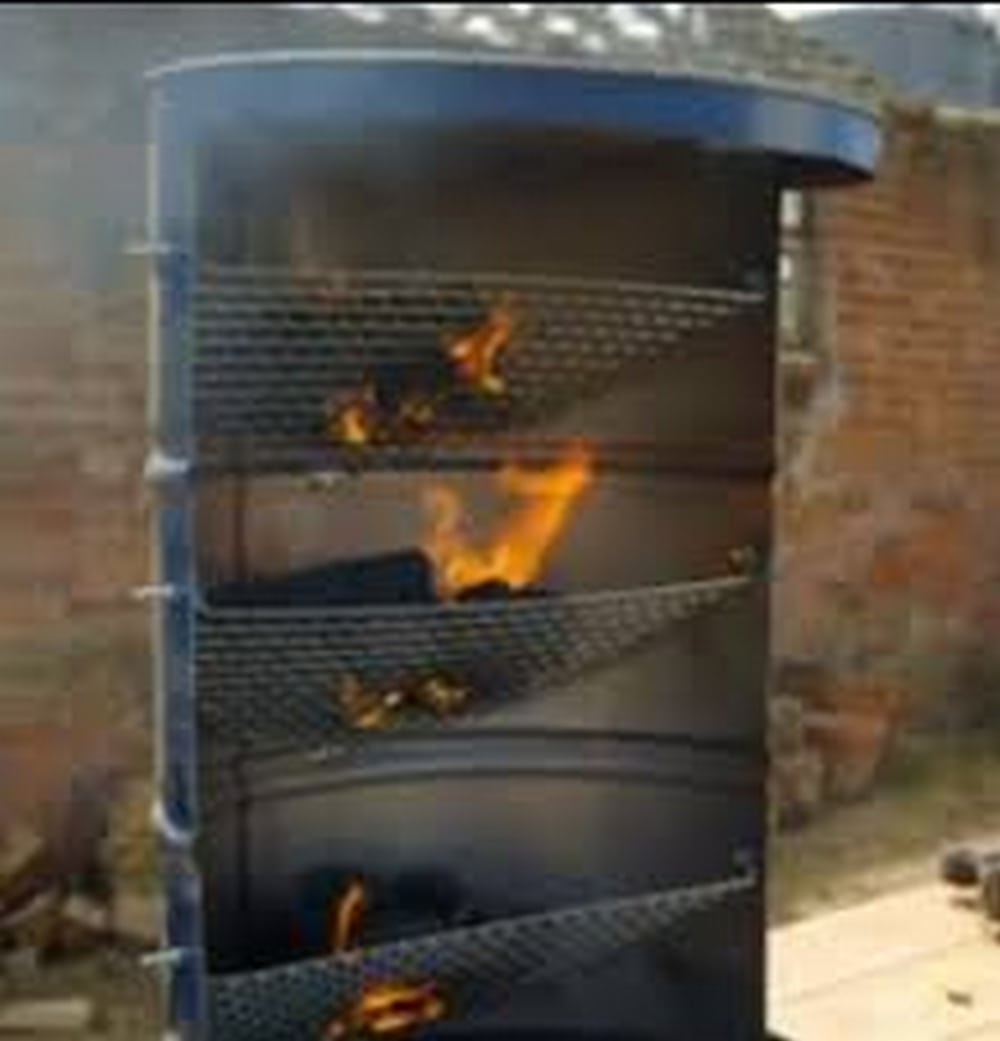
- Cut and Shape the Weldmesh: Use the angle grinder to cut the steel 1” weldmesh to size, creating a grate that fits inside the drum above the brick. Secure it with nuts, bolts, and washers, creating a platform for your heat source (charcoal or wood).
Final Assembly and Safety Checks
- Secure All Parts: Double-check all nuts, bolts, and washers to ensure they are tightly secured. This step is vital to ensure the safety and stability of your rotisserie.
- Install Safety Features: If necessary, add additional features such as handles or knobs made from heat-resistant materials to safely open or adjust the drum.
- Test the Rotisserie: Before using, conduct a dry run without food to ensure the rotisserie kit functions correctly and the drum is stable. Check that the skewer rotates freely and the heat source is adequately supported.
Cost Analysis
Embarking on the journey to build a DIY vertical rotisserie presents a unique opportunity to blend culinary innovation with craftsmanship. This section delves into the financial aspects of creating your own vertical rotisserie, comparing the costs associated with DIY construction versus purchasing a pre-made unit.
The analysis aims to provide a comprehensive understanding of the potential savings and investment involved in bringing this exciting project to life.
Initial Material and Tool Costs
The foundation of the DIY vertical rotisserie project lies in the acquisition of materials and tools. Key components include a clean 45-gallon oil drum, a barbecue rotisserie kit with a 1m long skewer and forks, clay brick, an 8” cake tin or metal plate, steel 1” weldmesh, and a selection of nuts, bolts, and washers.
While some of these materials, such as the oil drum, may be sourced at little to no cost if recycled, others will require purchase. The barbecue rotisserie kit, for instance, is a specialized item with prices varying based on quality and features, typically ranging from $50 to $150.
Tools needed for the project, like an angle grinder, drill, hammer, and safety equipment, may already be available in a well-equipped home workshop. If not, acquiring these tools represents an additional upfront investment. However, they are versatile and can be used for numerous future projects, thus adding value beyond this single endeavor.
Operational Costs
Building your DIY vertical rotisserie is just the beginning. The operational costs that follow are an essential aspect to consider for long-term use. These costs can be broadly categorized into fuel expenses and maintenance.
The choice between charcoal and wood as a fuel source for your vertical rotisserie affects both the flavor of the food and the operational costs. Charcoal offers convenience and consistent heat but may come at a higher price point compared to wood, which some may source for free but requires more effort to maintain consistent cooking temperatures.
The frequency of use plays a significant role in determining annual fuel costs. Regular entertainers will face higher fuel expenses, though these costs remain relatively modest compared to dining out or purchasing pre-cooked meals.
Maintenance is critical to ensure the longevity and safety of your vertical rotisserie. Regular cleaning is mandatory to prevent buildup of grease and potential fire hazards. Additionally, parts exposed to high temperatures or mechanical wear, such as the weldmesh or the skewer mechanism, may require occasional replacement.
While these costs are not significant individually, they contribute to the total cost of ownership over the lifespan of the rotisserie. Proactive maintenance not only reduces the likelihood of costly repairs but also ensures that the rotisserie remains a safe and efficient cooking tool.
Cost Comparison: DIY vs. Pre-Made
When weighing the decision to build a DIY vertical rotisserie against purchasing a pre-made unit, cost considerations extend beyond the initial purchase price.
The initial cost of a pre-made vertical rotisserie can deter many potential buyers, with prices that can easily exceed $1000 for high-end models. These units often include advanced features and robust construction but come at a premium. In contrast, the DIY approach offers a more budget-friendly entry point, especially for those who are willing to invest time and effort into building their rotisserie. The ability to repurpose materials, such as an old oil drum, further reduces the cost.
Beyond financial savings, the DIY route affords a level of customization that pre-made units cannot match. Builders can tailor their vertical rotisserie to fit specific spaces, accommodate unique cooking requirements, or even add personal design touches. This customization extends to the choice of materials and fuel sources, allowing for a truly personalized cooking appliance.
Considering the operational costs and potential savings, building a DIY vertical rotisserie represents not just an economical choice but also an investment in a personalized cooking experience. The satisfaction derived from crafting a custom appliance, coupled with the savings from avoiding the high cost of pre-made options, contributes to the overall value proposition of the DIY approach.
The construction of your DIY vertical rotisserie requires an initial investment in materials and possibly tools, with ongoing operational costs for fuel and maintenance. Despite these expenses, the DIY approach presents a cost-effective alternative to buying a pre-made unit, offering not only savings but also the satisfaction of creating something truly unique for outdoor cooking experiences. This cost analysis underscores the value of DIY projects in achieving high-quality results while managing expenses thoughtfully.
Click on any image to start the lightbox display. Use your Esc key to close the lightbox.

Hosting Outdoor Parties with Your Vertical Rotisserie
The completion of a DIY vertical rotisserie is just the beginning of a journey into culinary exploration and social gatherings. This unique cooking appliance not only enhances your outdoor kitchen but also becomes the centerpiece for memorable outdoor parties. Below, we delve into how to leverage your vertical rotisserie to host standout gatherings that leave a lasting impression on your guests.
Planning Your Menu
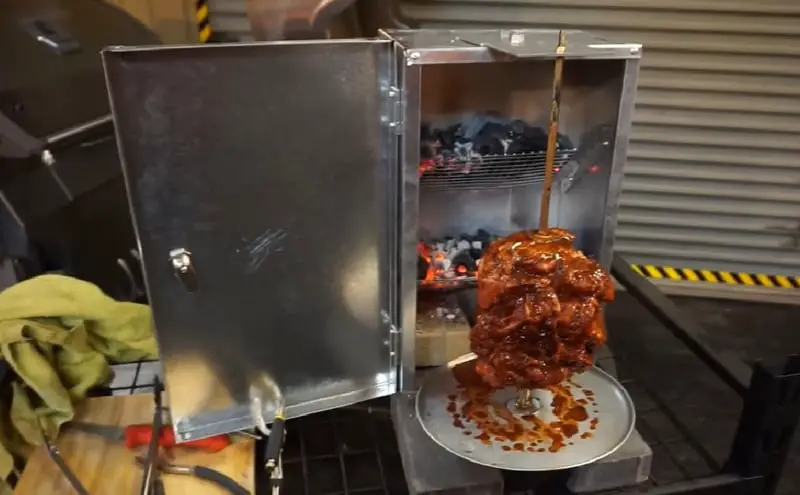
- Selecting the Right Proteins: The vertical rotisserie excels in cooking a variety of meats to perfection. From juicy chickens to succulent roasts, the key is to choose proteins that benefit from slow cooking, which allows flavors to develop and ensures tender results. Consider marinating meats in advance to infuse them with robust flavors.
- Vegetarian Options: Don’t forget to include vegetarian-friendly options. Vegetables like bell peppers, onions, and tomatoes can be skewered and cooked alongside the meats. The vertical rotisserie can also roast whole pineapples or cabbages, offering a unique twist to your menu.
- Side Dishes and Accompaniments: Complement the main attraction with a range of side dishes that can be prepared ahead of time. Salads, grilled vegetables, and a selection of dips and sauces not only add variety but also cater to different dietary preferences.
- Incorporate Global Flavors: Take your guests on a culinary journey by incorporating global flavors into your rotisserie menu. Experiment with international recipes that can be adapted for the vertical rotisserie, such as Indian tandoori chicken, Mexican al pastor, or Middle Eastern shawarma. These dishes can introduce a variety of spices and marinades, offering a diverse tasting experience.
- Seasonal and Local Produce: Emphasize freshness and support local farmers by including seasonal fruits and vegetables in your menu. Fresh, local ingredients can inspire side dishes or even become the stars of the show when cooked on the vertical rotisserie. Seasonal produce not only tastes better but also adds an eco-friendly aspect to your gathering.
- Desserts on the Rotisserie: Don’t overlook the potential of your vertical rotisserie to create tantalizing desserts. Fruits like apples, pears, and peaches can be skewered, spiced, and slowly roasted to caramelized perfection. Serving these with ice cream or fresh cream can round off the meal beautifully.
Setting the Scene
- Outdoor Decor and Seating: Create a comfortable and inviting ambiance by arranging seating that encourages interaction among guests. Utilize outdoor lights, lanterns, or string lights to set the mood as the evening progresses. Consider theme decorations to add an extra layer of excitement.
- Music and Entertainment: A well-curated playlist can enhance the atmosphere of your party. Consider the demographics of your guests and select music that suits the overall vibe you wish to achieve. Outdoor games or a designated area for children to play can also contribute to a lively and inclusive environment.
- Lighting for Function and Mood: Beyond basic illumination, use lighting to define different areas of your party. A well-lit cooking area ensures safety around the vertical rotisserie, while softer, ambient lighting can create a cozy dining or lounging space. LED candles or solar lights can mark pathways, ensuring guests can navigate your outdoor space safely.
- Interactive Stations: Set up stations where guests can engage in activities related to the vertical rotisserie theme. A build-your-own skewer station, for instance, allows guests to choose their meats and vegetables, aligning with the interactive cooking experience. Provide guidance on how to skewer items for optimal cooking on the vertical rotisserie.
- Comfort and Convenience: Ensure your guests’ comfort by providing amenities like bug repellent, blankets for cooler evenings, and ample seating. Consider the flow of movement around the vertical rotisserie and dining areas to prevent congestion and create a relaxed environment.
The Rotisserie as a Showpiece
- Interactive Cooking Experience: Engage your guests by making the cooking process part of the entertainment. Share insights into the construction and operation of your DIY vertical rotisserie. Demonstrating how the rotisserie works and allowing guests to participate in basting or checking the meat can create a memorable experience.
- Safety Measures: Ensure that the area around the vertical rotisserie is safe, especially if children are present. Set up a designated cooking zone and keep all necessary tools and equipment within easy reach to prevent accidents.
- Educational Demonstrations: Offer short, engaging demonstrations on how the vertical rotisserie was built and how it operates. This can include tips on achieving the perfect roast, the science behind the cooking method, and the benefits of using a vertical rotisserie over traditional grilling methods. Such demonstrations can spark conversations and deepen guests’ appreciation for the meal.
- Rotisserie Viewing Area: Designate a safe viewing area where guests can watch the food as it cooks. The slow rotation of meats and vegetables on the vertical rotisserie can be surprisingly mesmerizing and adds an element of anticipation to the dining experience. Ensure there’s enough distance to keep everyone safe from the heat.
- Custom Lighting for Showcase: Utilize spotlights or adjustable LED lights to highlight the vertical rotisserie and the cooking food. This not only draws attention to the cooking process but also enhances the visual appeal of the food as it browns and sizzles, creating a mouthwatering display.
Enhancing the Experience
- Themed Parties: Elevate your outdoor party by choosing a theme that complements the vertical rotisserie. For instance, a Mediterranean night can feature Greek-style lamb or a Brazilian churrasco theme can showcase a variety of meats.
- Tasting and Pairing: Organize a tasting session where guests can sample different meats cooked on the rotisserie. Pair these with wines, craft beers, or non-alcoholic beverages that complement the flavors of the grilled foods.
- Scent Experience: The aroma of food cooking on the vertical rotisserie is irresistible and can be used to create an inviting atmosphere. Position seating areas downwind of the rotisserie, when possible, so the enticing scents waft towards guests, stimulating their appetites and creating a sensory experience.
- Rotisserie Cook-Off: Encourage a friendly competition among guests with a rotisserie cook-off. Provide a variety of meats, vegetables, and marinades, and let participants create their own skewers to be cooked on the vertical rotisserie. This interactive element adds excitement and involvement, making the party memorable for everyone.
- Signature Rotisserie Dish: Develop a signature dish that can only be prepared using your vertical rotisserie. Whether it’s a unique marinade or a special cooking technique, offering something exclusive will make your outdoor party stand out. Share the story behind your signature dish to add a personal touch that guests will remember.
- Feedback and Recipe Sharing: After showcasing the capabilities of your vertical rotisserie, encourage guests to provide feedback on the dishes served. This can foster a sense of community and involvement. Additionally, prepare recipe cards for your rotisserie dishes to share with interested guests. This allows them to take a piece of the experience home and perhaps inspires them to explore vertical rotisserie cooking on their own.
Hosting outdoor parties with your vertical rotisserie offers an unparalleled opportunity to gather friends and family for delightful culinary experiences. By focusing on the menu, setting, and interactive elements, you can create events that celebrate good food and good company, making every gathering a special occasion.
Conclusion
Constructing a DIY vertical rotisserie offers an enriching blend of culinary creativity and hands-on craftsmanship, resulting in a unique addition to any outdoor kitchen. This project not only allows for significant cost savings compared to purchasing a pre-made unit but also offers the flexibility to customize according to personal preferences and needs. The vertical rotisserie becomes a focal point for gatherings, enhancing outdoor parties with its capability to produce flavorful and evenly cooked meals. Ultimately, building and utilizing a vertical rotisserie enriches the outdoor cooking experience, fostering social connections and expanding culinary horizons.
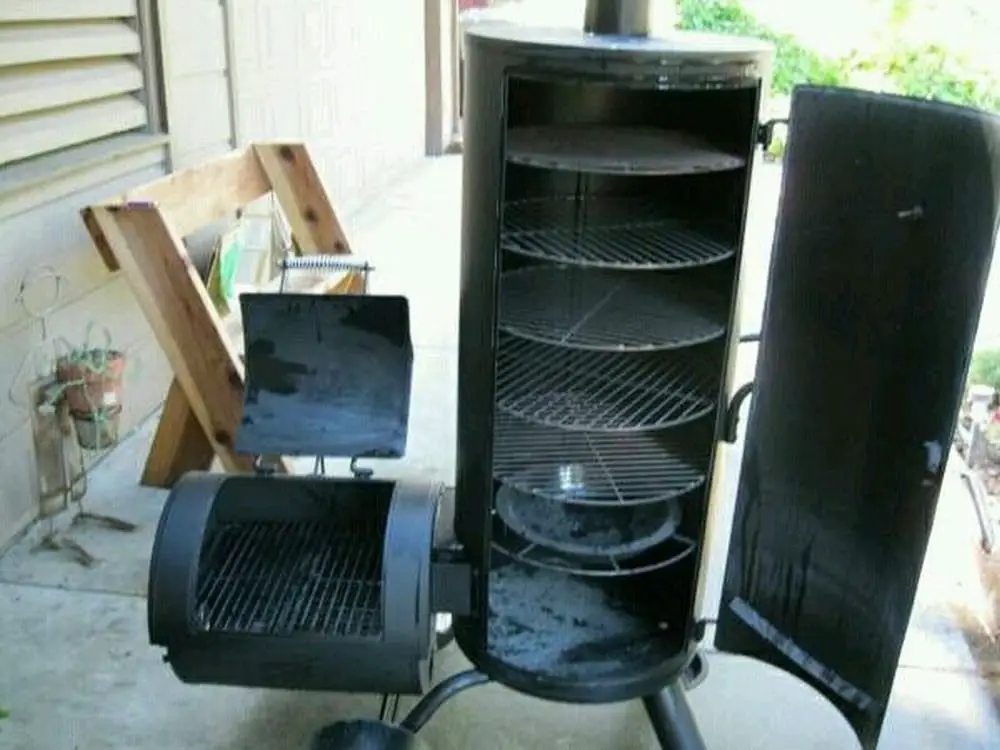
For more incredible cooking methods in your backyard, check out our guide in making an all-in-one smokehouse!


