Got an old cabinet door that you want to ‘get rid of’? Turning it into a chalkboard is a fun little upcycling idea that you can use for so many purposes!
And there are several ways to do it as well depending, on what you want to use your DIY chalkboard for.
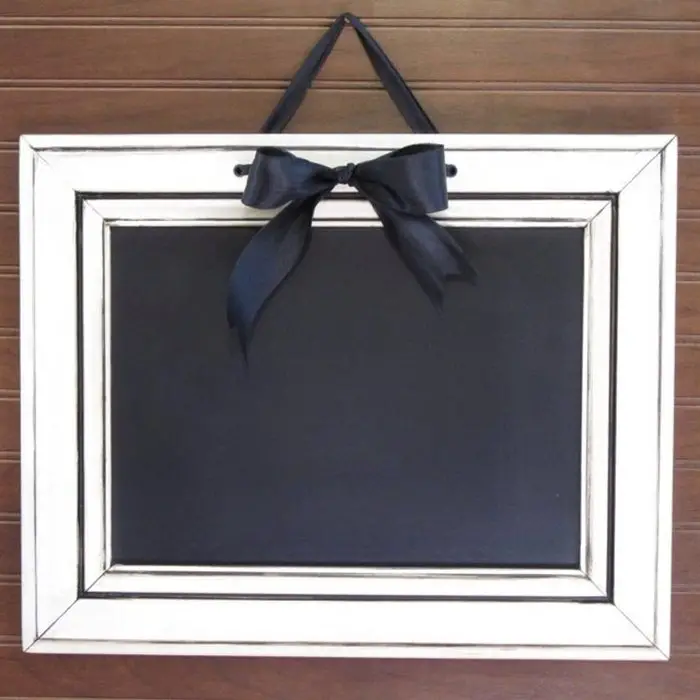
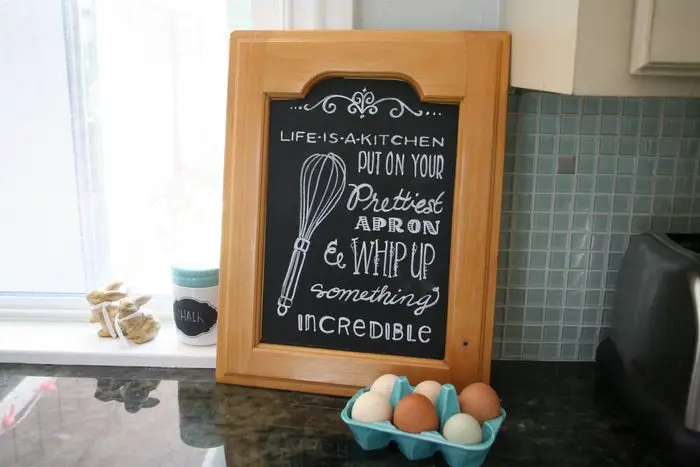
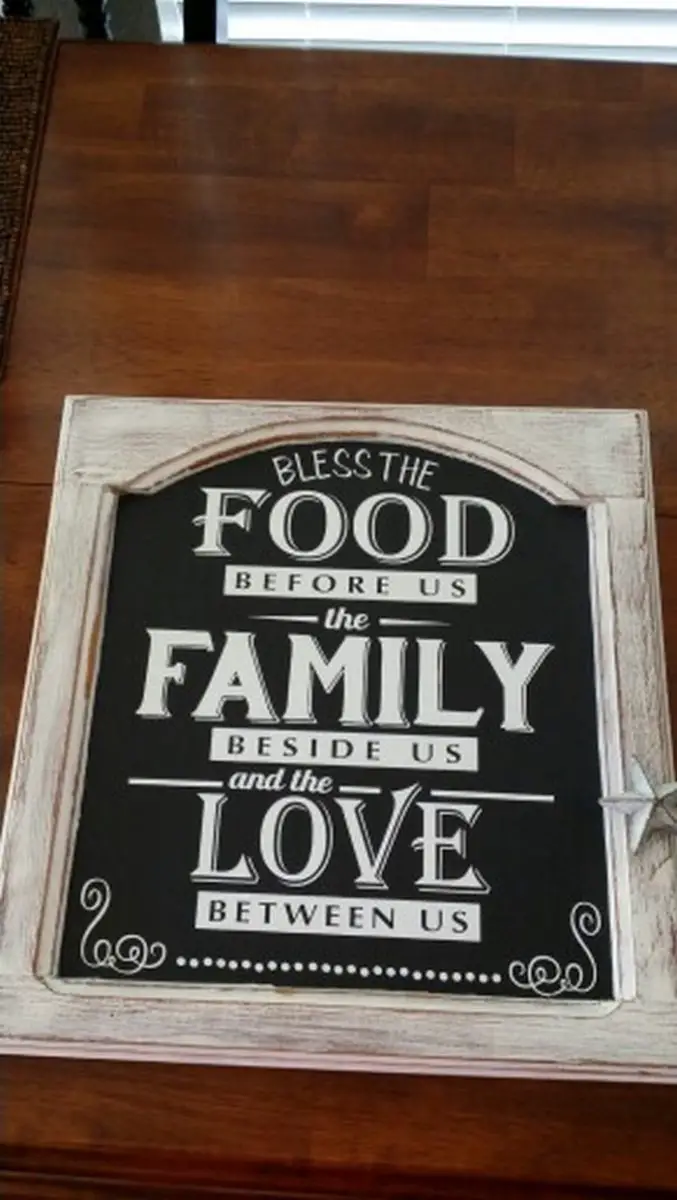
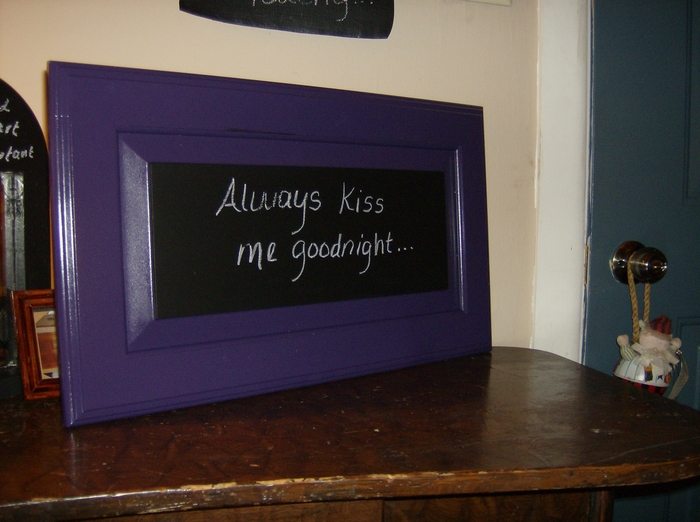
If you want a chalkboard sign as a simple decor or to display inspirational messages. You can use a small cabinet door and hang it on the wall like a regular picture frame. You can also attach a stand on the back so you could put it on your countertop or on a table.
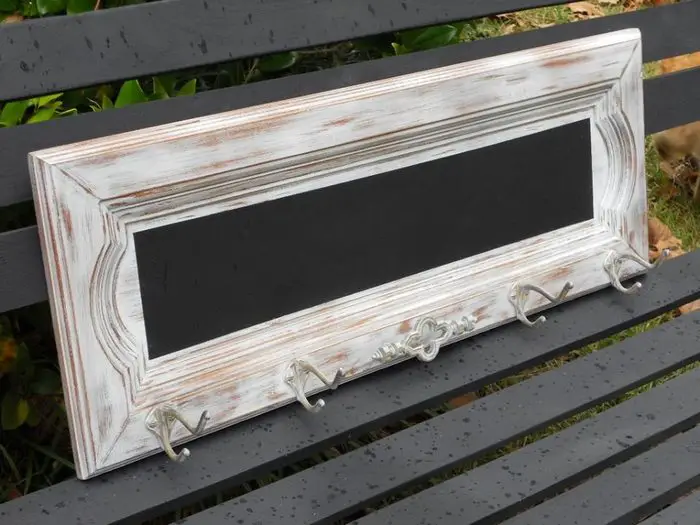
You can also use a cabinet door chalkboard for leaving reminders or for your shopping list. And if there is still space left, you can attach small hooks so that it serves as a key holder too!
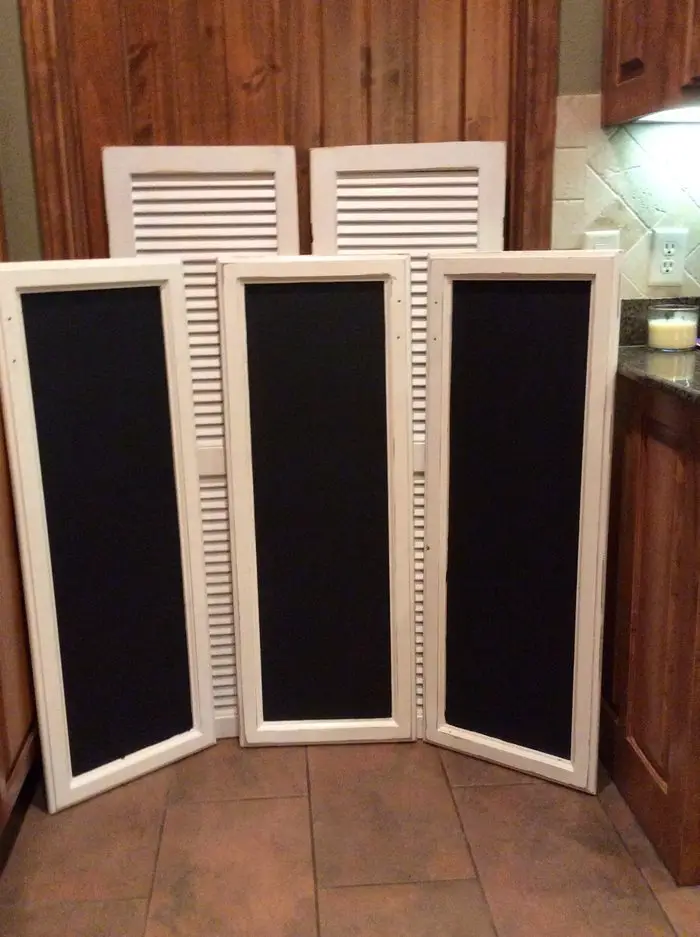
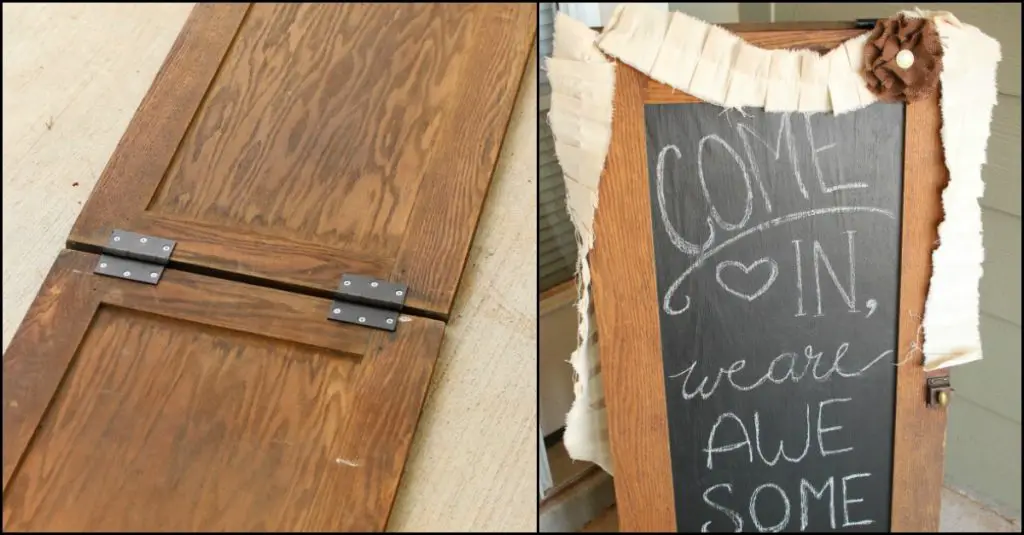
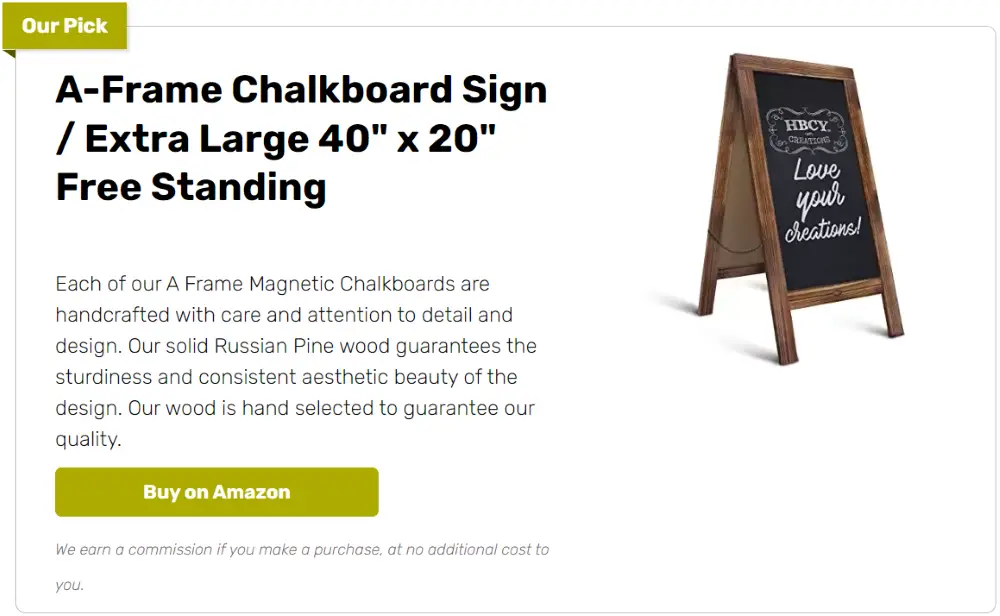
Do you have a small business? Or perhaps doing a garage sale soon? Putting up a sign using this cabinet door chalkboard is a great idea. For this project, you are going to need two identical cabinet doors. And of course, the bigger it is, the better – so it’s easily visible!
If you are interested in learning how to build this chalkboard sign, head over to the tutorial we’ve linked below.
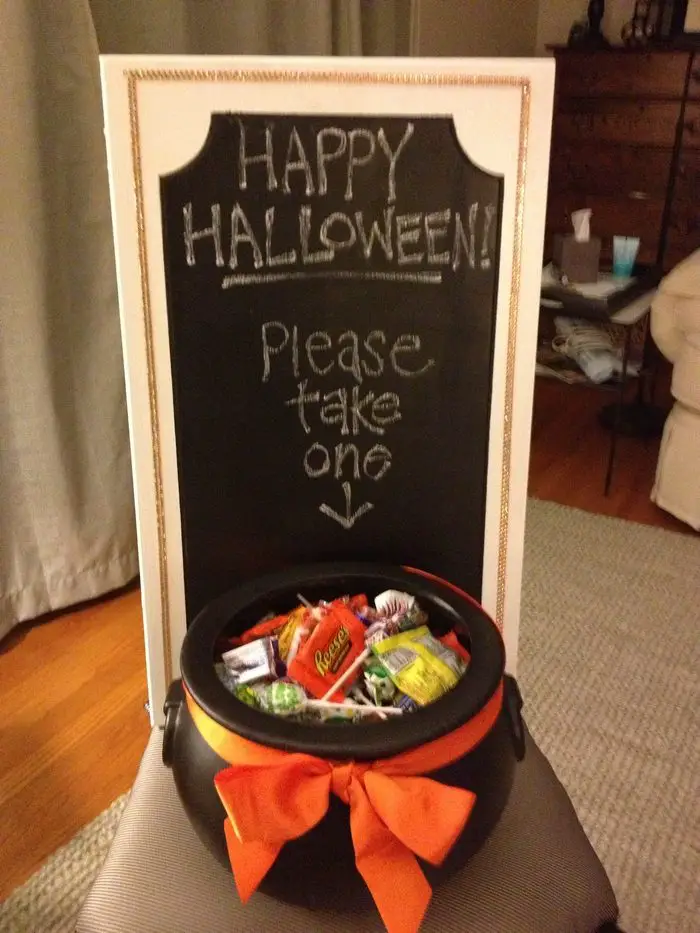
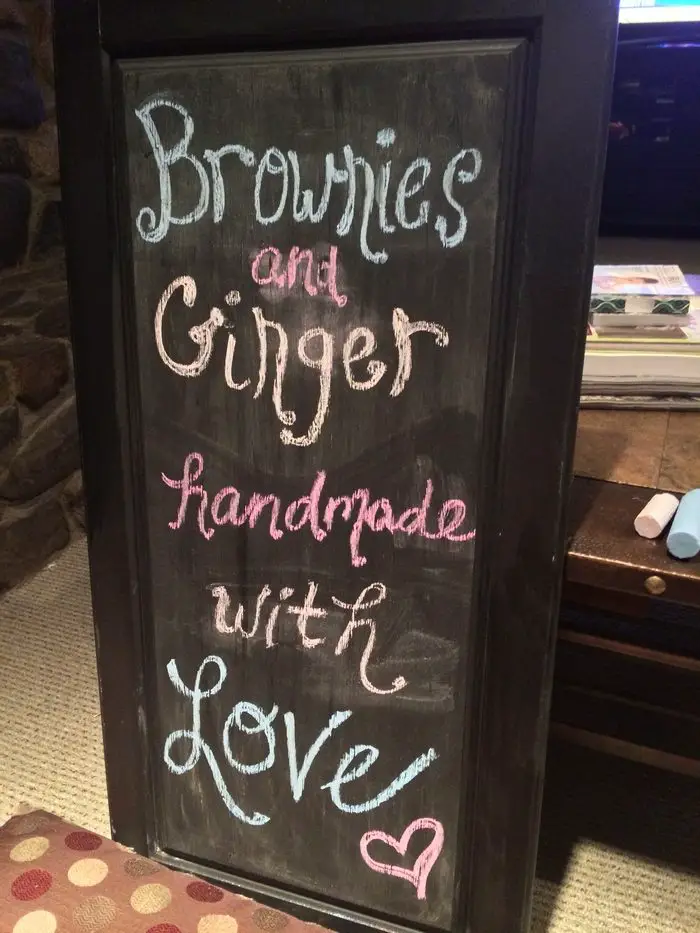
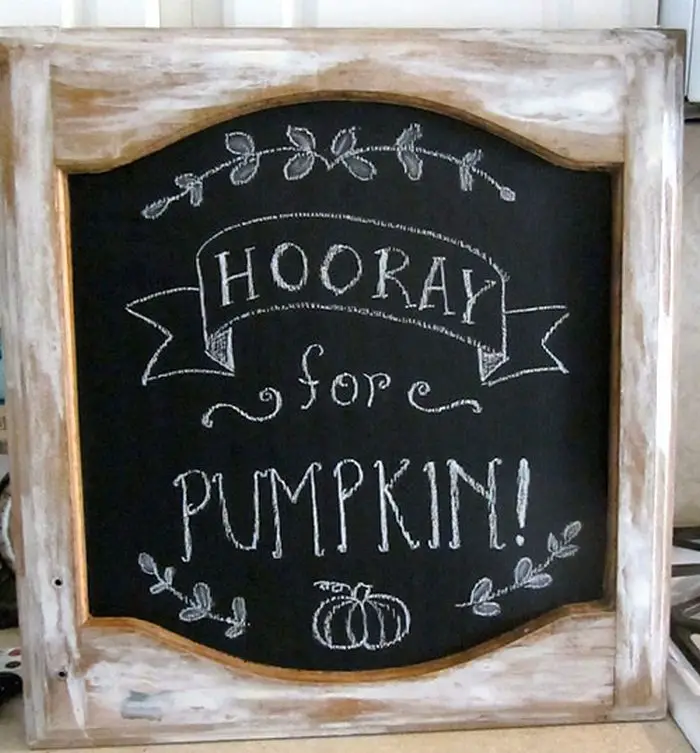
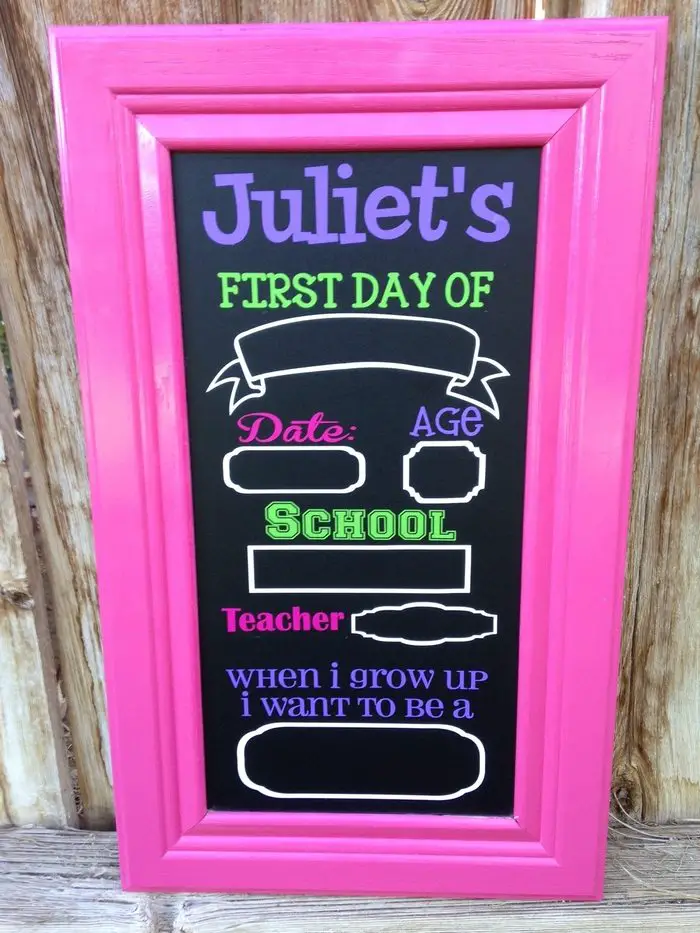
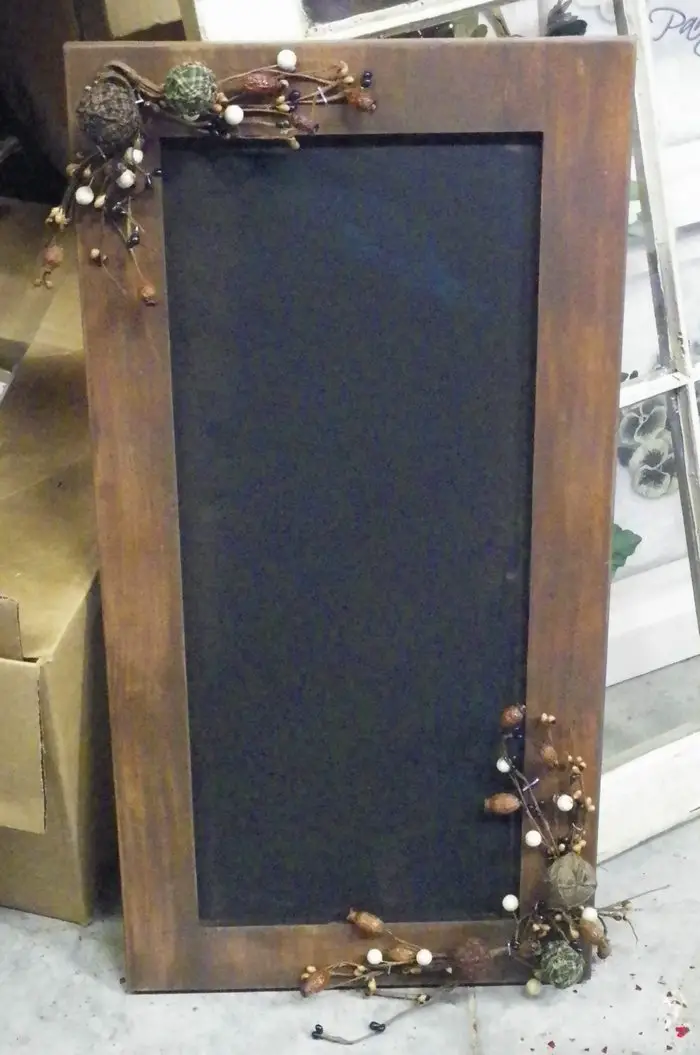
And for design inspirations you can check out our album of cabinet doors turned chalkboard!
Is this going to be your next project?
Contents
Making a Chalkboard Sign
Materials
- Cabinet Doors
- Metal Hinges and Screws
- Painter’s Tape
- Chalk Paint
- Sandpaper
- Decorations (optional)
Tools
- Screwdriver/Drill
- Paintbrush
Instructions
Step 1: Prepare the Cabinet Door
- To eliminate any dirt, grease, or old paint, first thoroughly clean the cabinet door. Allow the door to dry totally using a water and mild soap solution.
- To produce a smooth, equal area for painting once dry, gently sand the surface with sandpaper. To help the chalk paint stick better, concentrate on removing any glossy finish.
Step 2: Tape Off Areas
- Mask off any part of the cabinet door you wish not painted with painter’s tape. If you wish to keep a wooden frame look, this can include edges, hinges, or handles.
Step 3: Apply Chalk Paint
- Well before you use, thoroughly stir your chalk paint. Over the cabinet door, lay a thin, even coat of chalk paint with a paintbrush. To prevent streaks, start at one end and move toward the other.
- Usually around one hour, let the first coat dry totally. If needed for complete coverage, apply a second coat; make sure each coat is thin to prevent drips or texture build-up.
Step 4: Attach Metal Hinges
- If your cabinet door does not already have hinges or you are adding ones, place the metal hinges on the door’s edge. Securing the hinges with screws can be accomplished with a screwdriver or drill. If you intend to mount the door, make sure they are aligned correctly; else, it hangs straight.
Step 5: Season the Chalkboard
- Once the paint is fully dry, “season” the chalkboard to prevent ghosting of your first drawing or message. Take a piece of chalk, lay it sideways, and cover the entire surface in a thin layer of chalk. Then, wipe it clean with a dry cloth or chalkboard eraser. This process ensures that later marks can be fully erased.
Step 6: Add Decorations (Optional)
- To personalize your chalkboard sign, put borders, painted designs, or even small hooks or holders for extra utility. Securing any decorative elements can be done with appropriate adhesives or extra screws.
Step 7: Hang or Display Your Chalkboard Sign
- Either hang it on the wall using the hinges as mounting points or fasten a stand to the rear for resting it on a counter or table. Make sure it is either firmly supported or mounted.
Step 8: Enjoy Your Chalkboard
- Your chalkboard sign is practically ready for use. To appreciate the practical and decorative advantages of your new creation, write notes, sketch ideas, or list daily chores.
Click on any image to start the lightbox display. Use your Esc key to close the lightbox.
You can get step-by-step instructions from Canvas Corp Brands Creative Studio over at their site!
Chalkboard Sign Design Variations
Chalkboard signs are versatile tools for communication and decoration, blending functionality with a touch of rustic charm. Whether you’re adding a personal touch to a kitchen, designing a welcome sign for a wedding, or just giving your workspace a creative outlet, the design options are nearly endless. Below, we explore a range of design ideas that can cater to various aesthetics, enhancing any space they’re featured in.
Rustic Charm
For a classic, farmhouse feel, use reclaimed wood as the frame of your chalkboard. The natural imperfections of the wood add character and warmth. Consider staining the wood in shades of walnut or leaving it naturally weathered for that authentic rustic appeal. Complement this look with hand-written cursive or calligraphy that flows across the board.
Modern Minimalism
If you prefer a clean, contemporary look, opt for a sleek, frameless chalkboard design. Use a fine grain sandpaper to smooth out the edges of your cabinet door, and apply a matte finish to the chalk paint. Stick to block or geometric lettering styles to maintain a minimalist vibe. This design works well in modern kitchens or as a chic event signage option.
Vintage Victorian
For those who love a touch of history and ornate details, a Victorian-inspired chalkboard can be a standout piece. Select a cabinet door with intricate wooden carvings or moldings. Paint the frame in dark, rich colors like deep green or navy, then lightly distress the edges with sandpaper to highlight the detailing. Use silver or gold chalk markers for writing to add an element of old-world luxury.
Industrial Edge
To fit an industrial or urban decor theme, incorporate materials like metal or a wire mesh frame around your chalkboard sign. You can also use a metallic finish on the frame or add bolts and washers to the corners for added detail. Keep the typography simple and bold to complement the strong lines and materials typical of industrial design.
Bohemian Flair
Embrace a bohemian style by adding colorful and eclectic elements to your chalkboard sign. Frame your board with a mosaic of brightly colored tiles or wrap the edges in a vibrant, patterned fabric. Use a variety of chalk colors to create intricate mandalas or whimsical floral patterns on the board itself. This style is perfect for creative spaces or as a playful addition to a cafe or boutique.
Educational Tool
Chalkboards are excellent educational tools, especially in children’s rooms or schools. Frame the board with a colorful, interactive element—like a ruler for a border to teach measurements, or painted alphabet letters around the edge. The board can be used for everything from spelling practice to math problems, combining decoration with learning.
Each design approach not only transforms the chalkboard sign but also the space it occupies, proving that a simple piece of chalkboard can be much more than just a place to jot notes, it can be a focal point of decor and creativity.
Maintenance and Care for Chalkboard Signs
Maintaining and caring for chalkboard signs ensures they remain functional and visually appealing for years to come. Whether used in a bustling café, at lively events, or within the home, these signs require regular attention to preserve their quality and usability. Below are key practices to help you keep your chalkboard signs in excellent condition.
Regular Cleaning
To maintain the clarity and vibrancy of your chalkboard signs, regular cleaning is essential. For daily or frequent users, wiping the board with a dry, soft cloth will remove loose chalk dust. For a deeper clean, use a damp cloth once a week to remove lingering chalk marks. Avoid using abrasive cleaners or sponges, which can damage the surface.
Proper Seasoning
Seasoning your chalkboard sign is crucial, especially after the first application of chalk paint or when the surface starts to show ghosting of old marks. To season, simply rub the side of a chalk stick across the entire surface and then erase it. This process provides a layer of chalk dust that helps prevent permanent staining and makes future cleaning easier.
Avoid Moisture and Humidity
Chalkboard signs should be kept in a dry environment to prevent the chalk from smudging and the board from warping. If you’re using chalkboard signs outdoors, ensure they are brought inside during inclement weather or use a waterproof sealant to protect the surface from moisture.
Use Quality Chalk
Invest in high-quality, non-oil-based chalk to use on your chalkboard signs. Cheaper, oil-based chalks can leave permanent stains and are harder to erase cleanly. Using good quality chalk will result in brighter and smoother writing, which enhances readability and the overall look of the sign.
Repair and Touch-Up
Over time, your chalkboard sign might show signs of wear such as scratches or faded paint. You can touch up the surface with a small amount of chalkboard paint. For deeper scratches, lightly sand the affected area before applying the paint to ensure a smooth finish.
By following these maintenance and care tips, your chalkboard signs will continue to serve as vibrant, effective communication tools in any setting. Regular upkeep not only enhances their functionality but also contributes to the aesthetic charm they bring to your space.
Conclusion
Creating your own chalkboard signs is a rewarding DIY project that adds a personal and functional touch to any space. With the right materials and a bit of creativity, you can craft signs that are not only practical but also enhance the decor of your home or business. Regular maintenance ensures your chalkboard remains a vibrant focal point for years to come.
For more ways to boost your interior space’s aesthetic, check out our home bar project!