Neck Cut-out
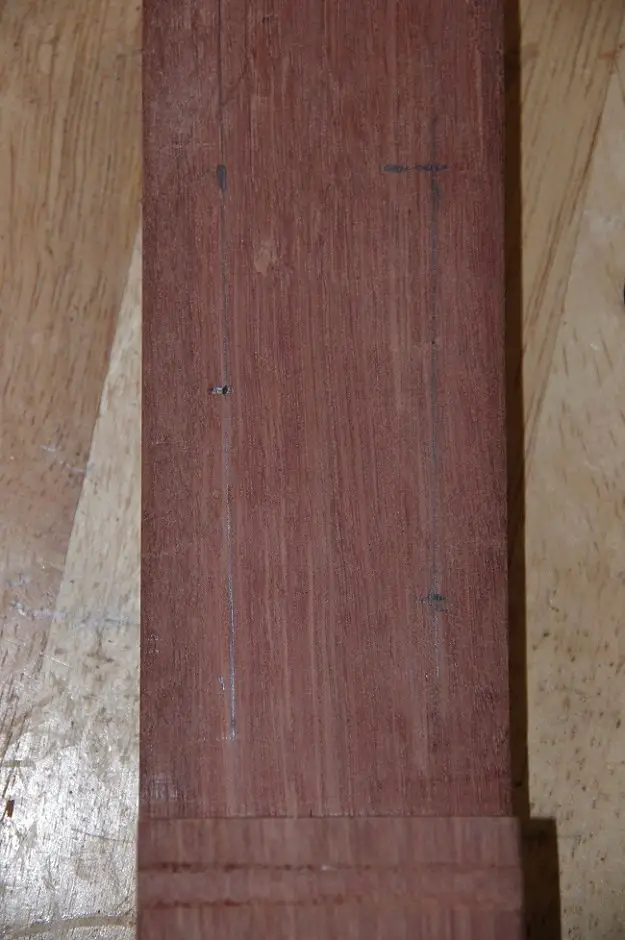
Once you have your body cut-outs it’s time to work out the positioning of the neck and then cut a recess so that the lid can close fully. You’ll want the tail to sit about 5cm from the edge of the box. This will give you good spacing between the tail piece and the bridge, making the guitar easier to tune.
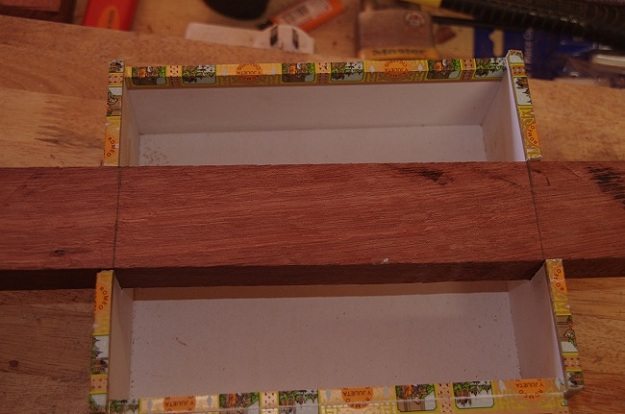
Once you’ve decided on the length of your tail piece, Mark the inside edges of the box on your neck and mark a cut line to the thickness of the lid. With most boxes you can use a cut-off from where you made the body cuts as a depth measure for those cuts.
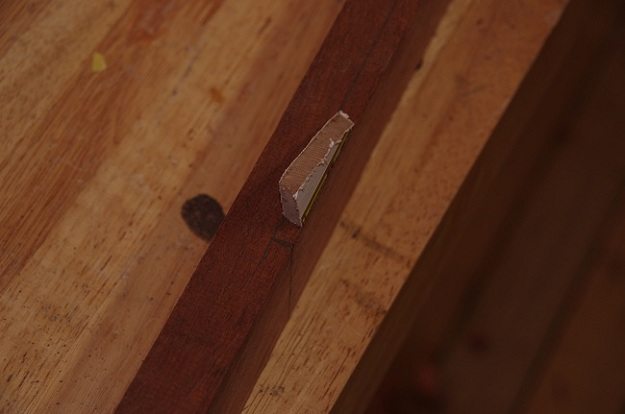
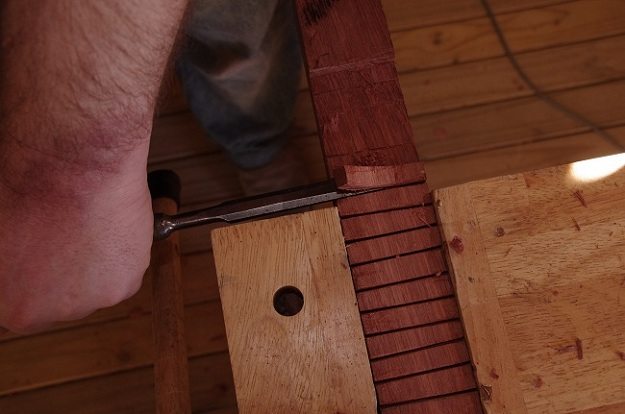
Much like with fashioning the headstock, you may have an easier time using the guide cut and chisel technique to remove material from the lid recess. Making sure the lid fits snug and flush will probably be the most time consuming part of the build. You need a good tight fit for structural integrity, so erring on the side of caution and slowly enlarging your original cut with a file or rasp is advisable.
Tailpiece
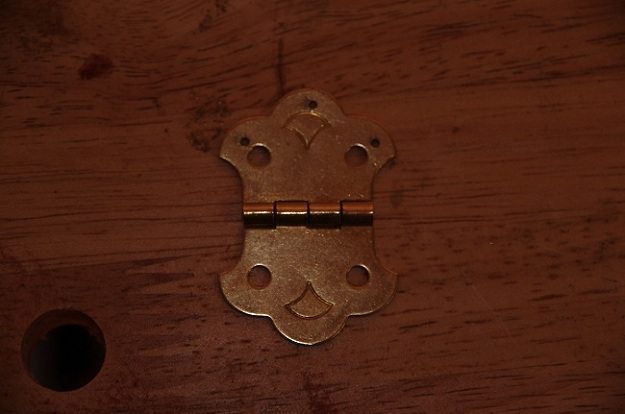
There are any number of things that can be used to make a tail piece – a fork with bent tines, picture hooks, screws, tacks and the like, but a good old fashioned ornamental brass hinge with a little bit of modification is perfect.
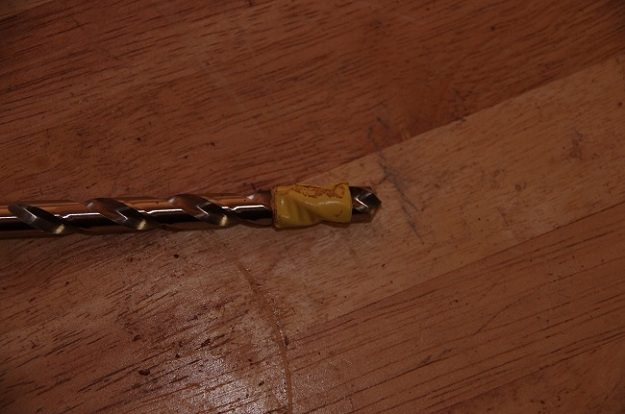
Before you attach the hinge to your neck you need to drill holes for the strings to pass through. These holes have to be large enough to pass strings through but small enough so that the brass nuts on the end of the strings will catch. A 1/16” or 3/32” drill bit will do the job. It goes without saying that you will have an easier time using an electric drill than a hand drill to make the holes, but a decent metal bit will chew through the brass without too much effort. If you can’t get your hands on a small enough drill bit you can always try using a fine nail to make the holes.
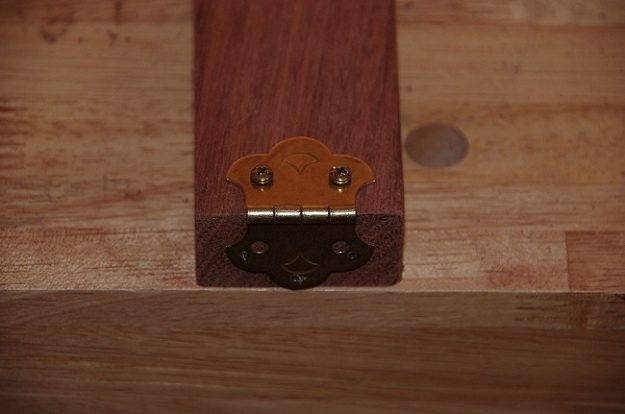
Once your string holes are made the hinge needs to be screwed to the rear side (the side opposite to the head stock and body cutouts) of the neck so that the hinge folds around the end of the wood. Be sure to pre drill screw holes to avoid splitting the wood.
Machine Heads
Installing your machine heads isn’t hard but it is delicate work that will require some precise marking and drilling. The exact nature of the drilling really depends on the kind of machine heads you have bought. Internally geared, planetary style tuners usually only require a single straight hole, whereas cheaper externally geared turners usually require some countersinking for bushings.
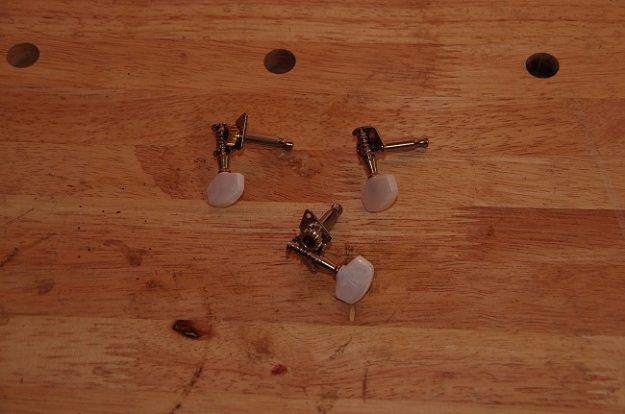
When working out the placing of machine heads you first need to work out which direction they actually tune in. For externally geared tuners, the gears should always point towards the body or the instrument. As a rule of thumb, planetary banjo tuners all tune in the same direction so they can be placed anywhere.
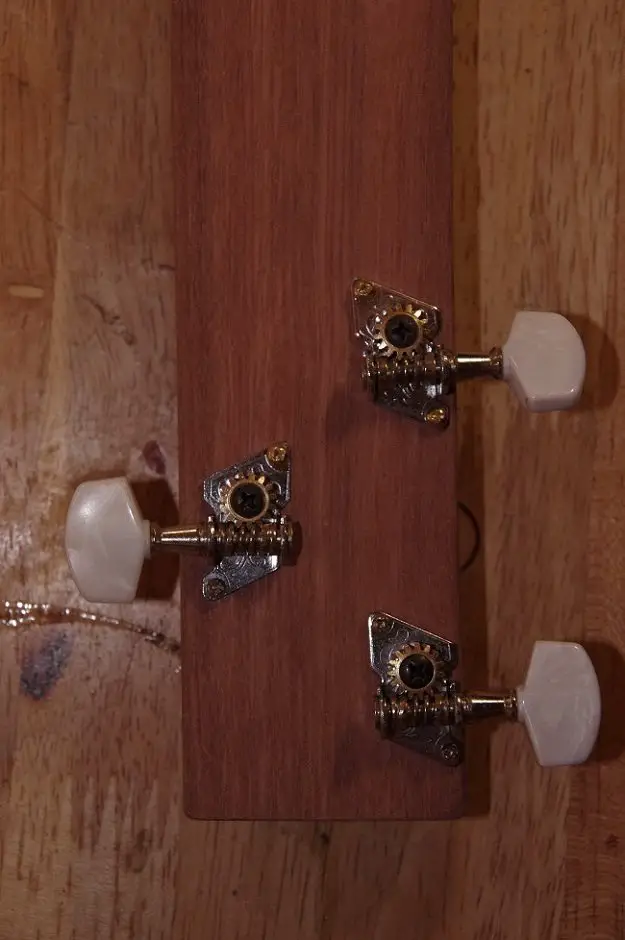
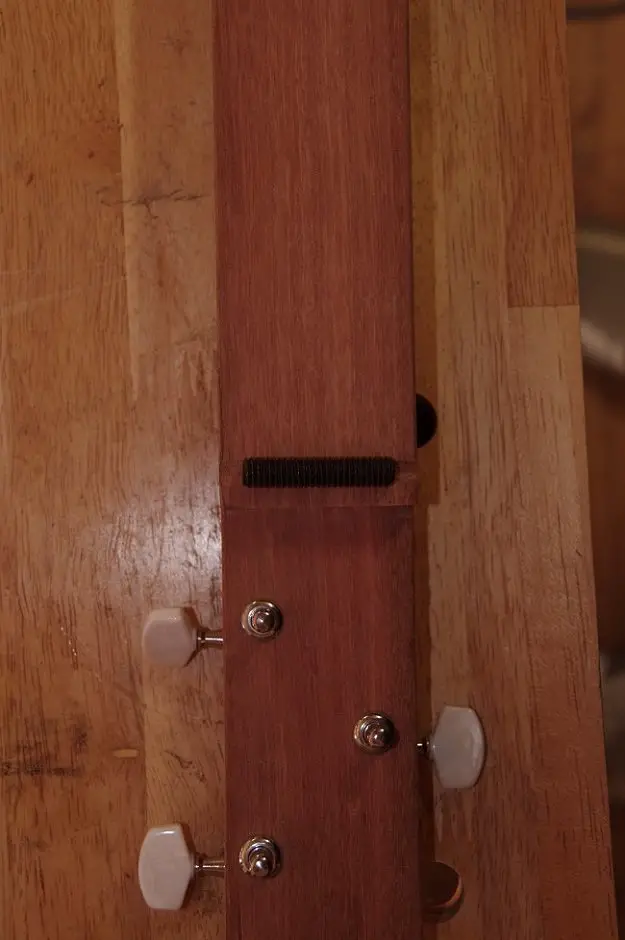
Once you’ve worked out which direction your machine heads tune in it’s time to mark up some points for drilling. On the side with two tuners, these should be evenly spaced around 25-30mm from each end of the headstock and about 10mm from the edge. The other machine head should be places half way along the head stock , 10mm from the edge.
Ultimately the exact placement of machine heads doesn’t matter. What is important is that you get the tuners tuning in the correct direction and have enough room to turn.
Once you have your drill points marked it’s time to make your first holes. If the machine heads don’t have sizing on them you can use a bit gauge (a piece of plastic with holes in it ranging from 1/16” through to 1” or more) to work out the size. If you need to countersink the holes for bushings there’s a very simple technique you can use so that you don’t drill all the way through the wood. Simply measure the depth of your bushing and wrap a good amount of electrical tape around you drill bit so that only the desired depth is showing. The drill will stop cutting as soon as it reaches the taped depth.
Once you have your main guide holes drilled the only job left before you complete construction of your neck is marking and pre-drilling some holes for the tuner screws. As a rule these screws are tiny so will require all the help they can get cutting into hard wood.
Once you have your machine heads installed it’s time to file a groove for your threaded rod nut to sit in. This groove should be about 3-5 mm from the edge of the headstock cut-out. If you can’t get your hands on a rats tail or round file, a pen, pencil or dowel wrapped in coarse sandpaper will suffice for making the groove.
Continued page 3…


