
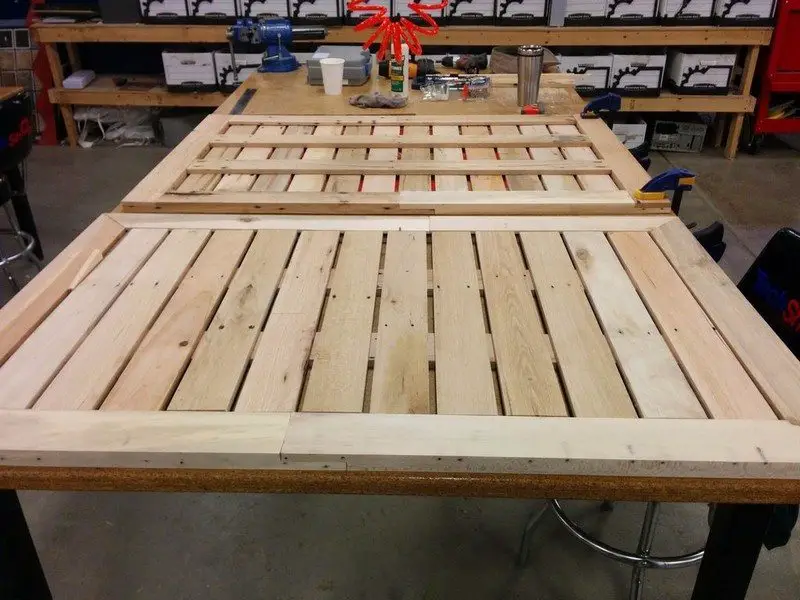
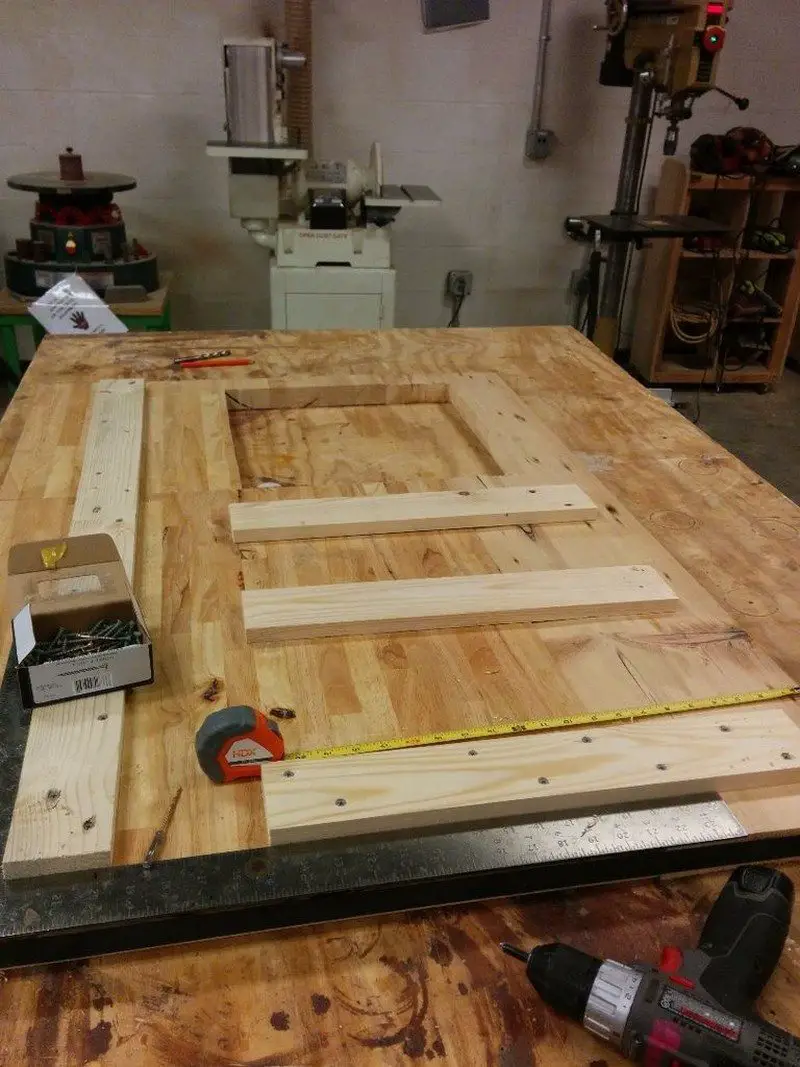
I also took 4 more pieces of 1″x3″x29″ hardwood pallet stock and cut complimentary mitered half-laps on both ends to create side pieces for the table top (basically a frame for the slats, similar to the middle shelves on the carcasses).
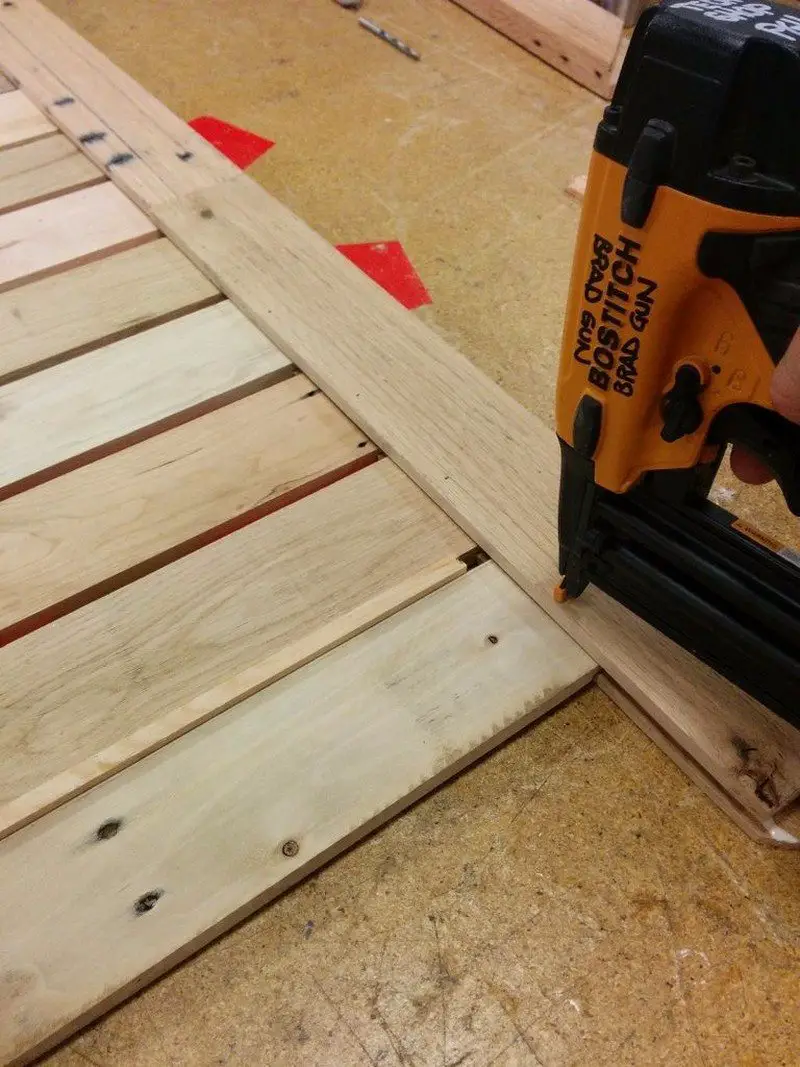
Along the long pieces, I gut a 3/8″ groove 1/4″ from the top inside edge. Again, like the middle shelves, I cut a 1/4″x1/2″ tongues along about two dozen 1/2″x3″x23″ hardwood pallet stock.
I joined the mitered edges with glue and brads, fit the tongues of the slats into the grooves, and used a ~3/4″ spacer to set the spacing before securing with more glue and brads.
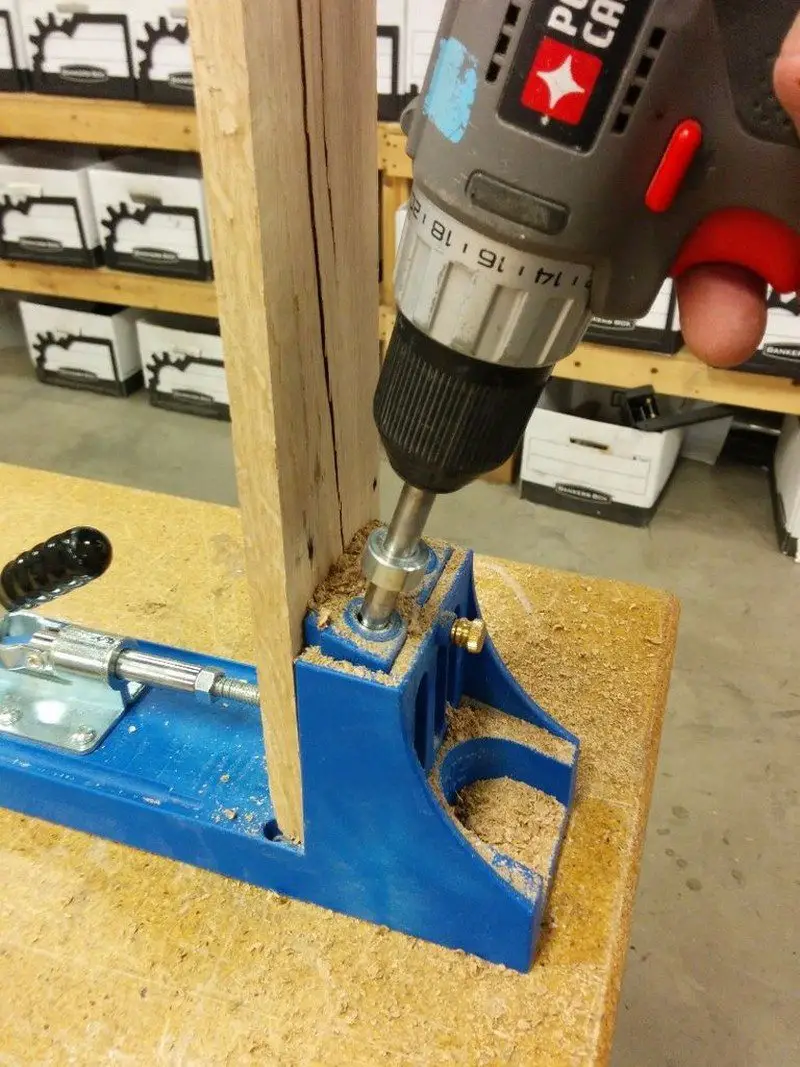
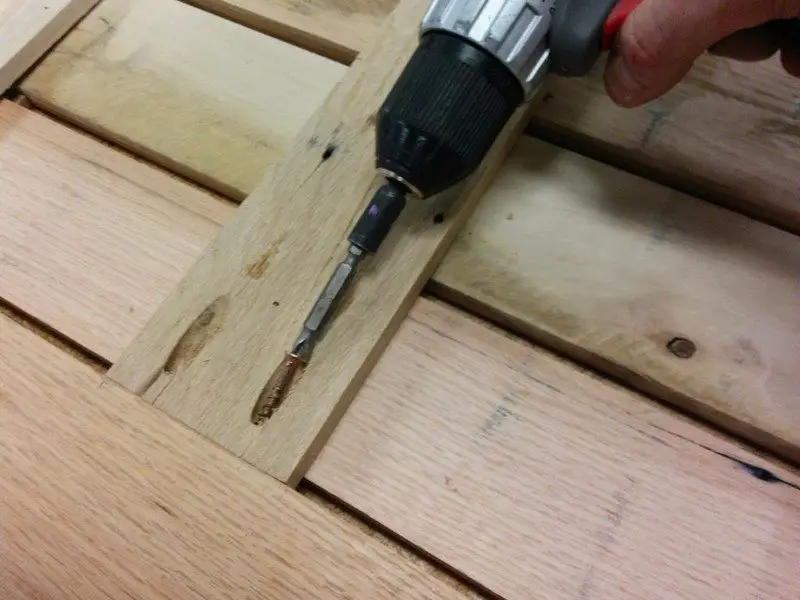
I also cut two supports out of 1/2″x3″x41″ pallet stock for each table top, attaching them to the underside of the table with pocket screws and then to the table top slats with brads.
Recovering from Screwups:
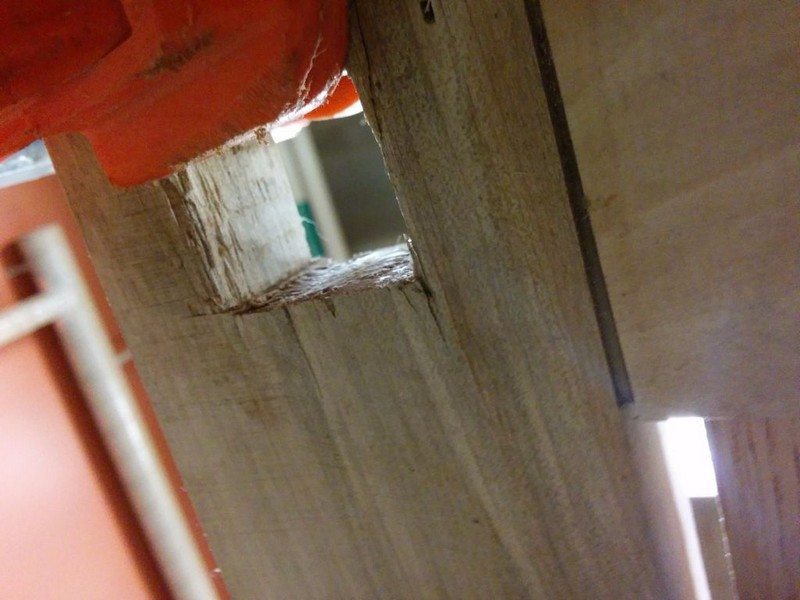
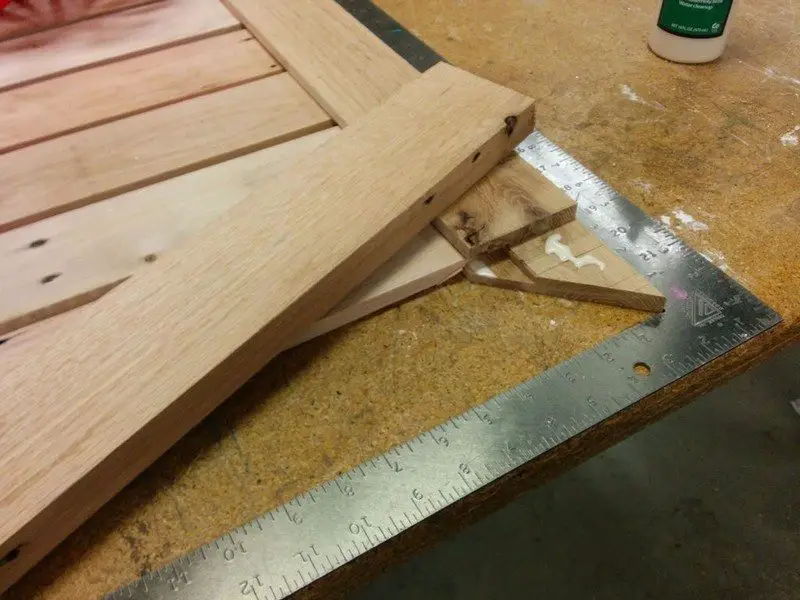
Originally, I had intended for the table legs to set inside of the table top with no hardware, only with a mortise and tenon joint in the corners of each table. I tried to cut the mortises by hand after assembling the table tops, but a combination of weak wood, sub-optimal chisels, and my own inexperience led to terrible joints.
I like symmetry, so I was really concerned about the table tops not being uniform. This really upset me; I had spent a ton of time working on the table tops, tried to do everything as precisely as possible, and had “ruined” one of my tables.

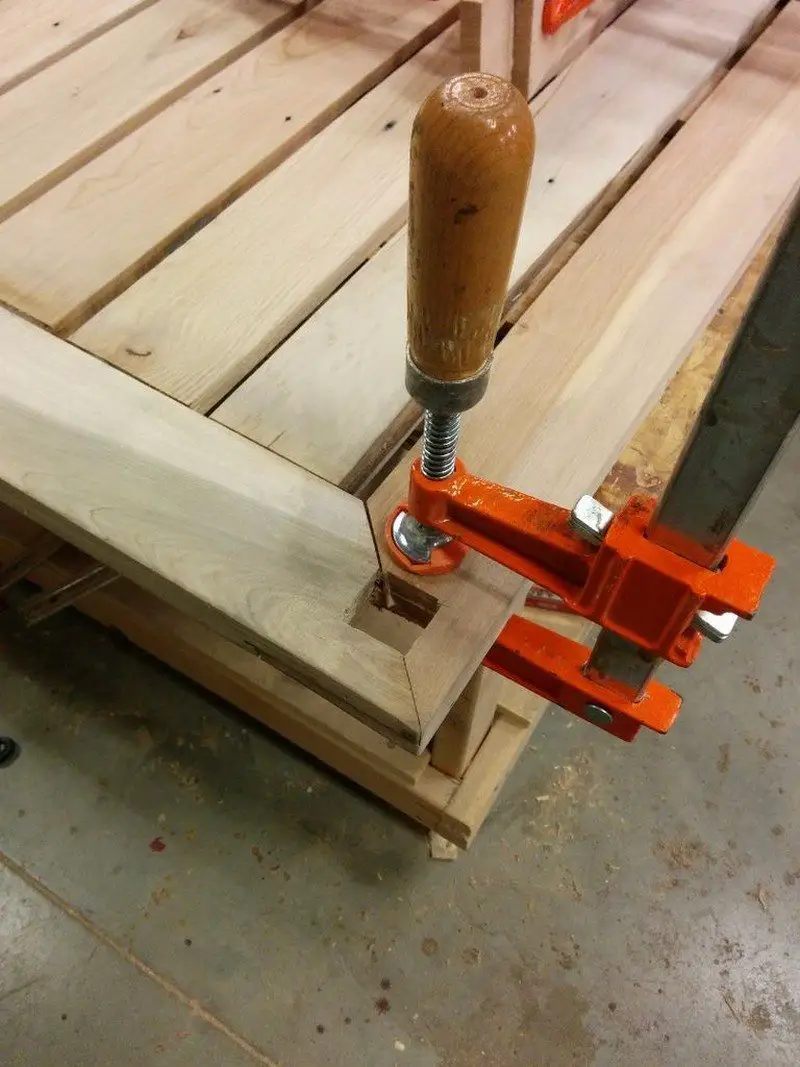
After a brief period of frustration and self-criticism, I lightened up. This project uses reclaimed wood, after all – perfect symmetry is impossible, and the only one who would really notice or care would be me. I took this as an opportunity to practice patching and chose to use contrasting wood colors to highlight the patch, rather than trying to mask it. I glued and clamped the splintered pieces of the mortise, then made myself some blocks sized to fit the holes. After sanding the blocks to a tight fit, I coated the blocks and holes with glue, then used a scrap piece of wood and a hammer to drive the blocks in.
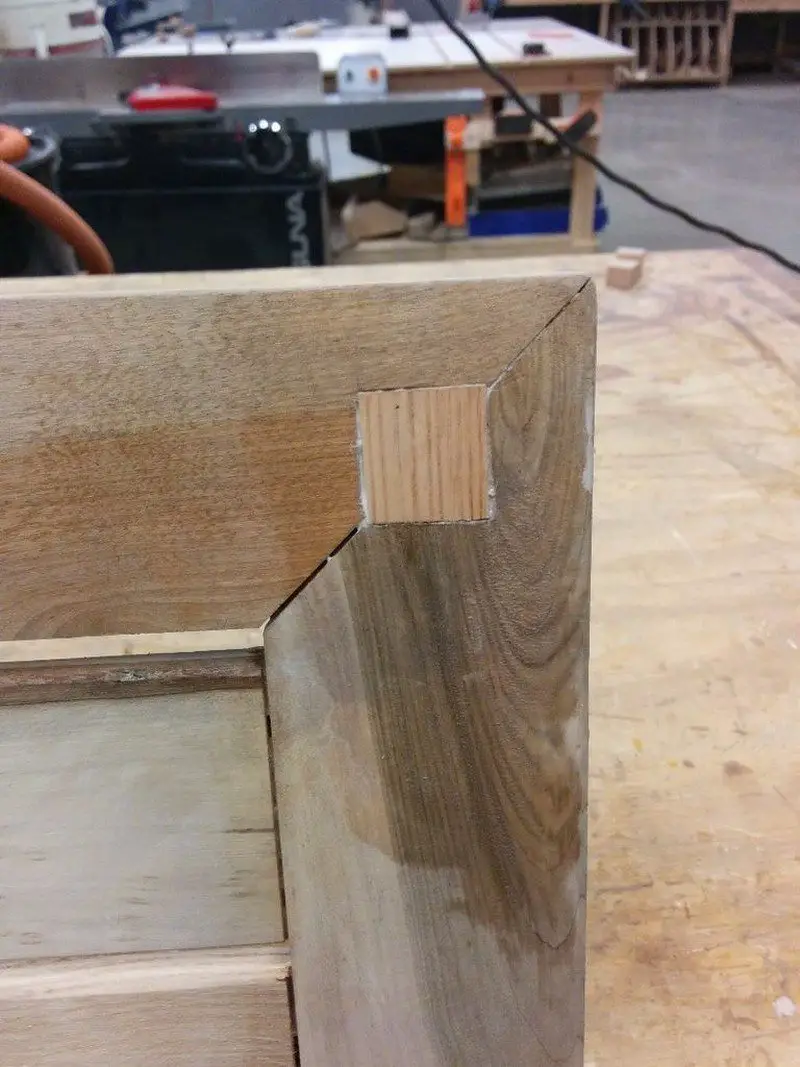
The result looked surprisingly good – after filling in gaps with wood filler (I like a 1:1 mixture of sawdust and wood glue) and sanding them, the patches turned into a decorative accent to the table top. The few people who’ve even noticed the patches thought they were intentional and really liked the look of the contrasting wood.
I made several other screwups on this project that I’m glossing over (tenons on the slats were cut imprecisely, I failed to account for a design change and ended up with a piece of wood 1″ too narrow, filling gaps ended up discoloring parts of the surrounding wood, etc.). The point is, trying to complete a project without a screwup is nearly impossible, especially on the first try. It’s been useful for me to practice recovering from screwups, and to use them as opportunities to learn how to improve my skills and practice new techniques. Above all, screwups are opportunities to learn to love work that isn’t perfect, because it never will be.
Continued Page 4…


