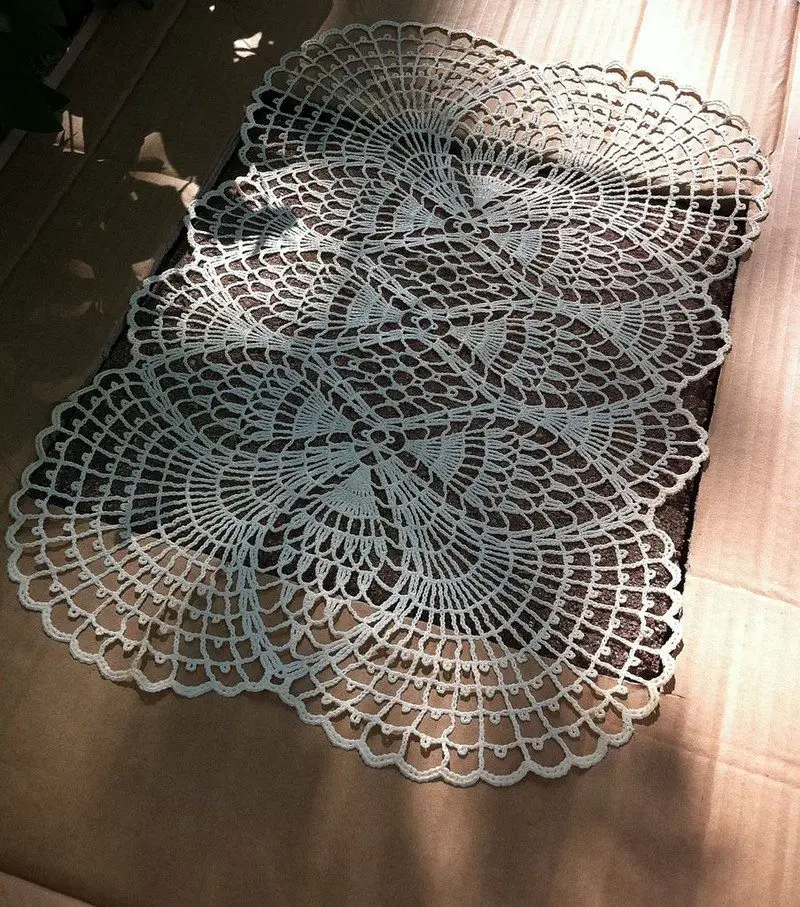
After you have placed your painting shield over the stone, lay your doily of choice on top of the stone and give it a good coating of spray paint.
Be sure to focus on the tiny holes, but don’t hold the paint too close, or there will be blobs seeping underneath. A light mist around the edge, then the center, then back around again, giving good coverage, but not too heavy.
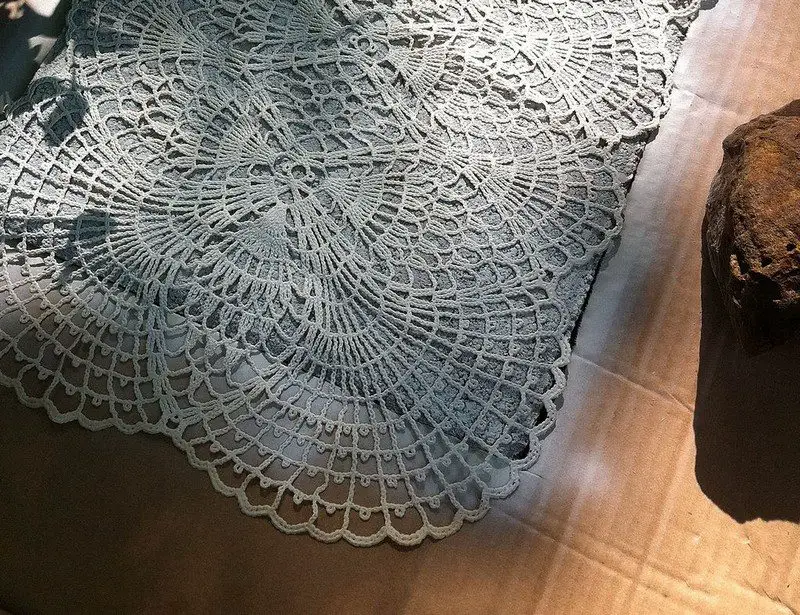
Allow the paint to dry a bit, then carefully lift the doily out of the way, draping it over something to allow any residual paint to dry on the doily. Paint each stone, being careful not to step on them until they are completely dry.
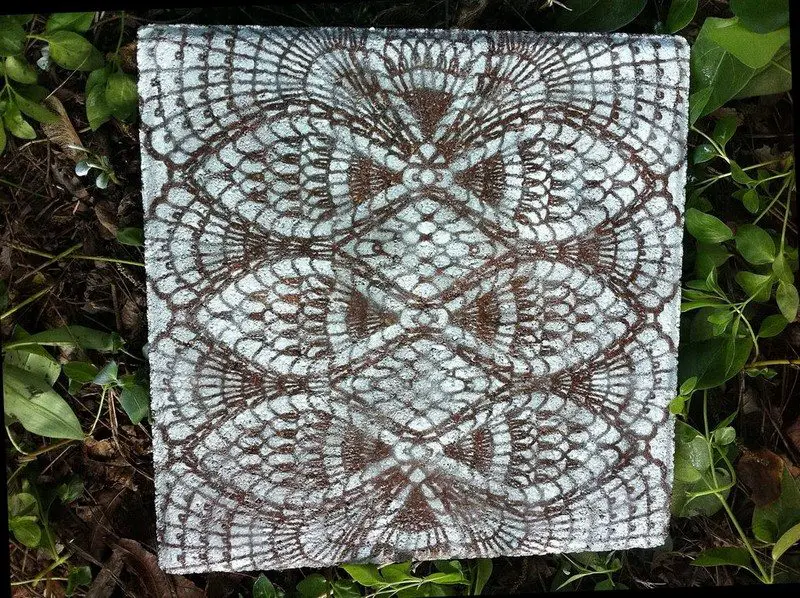
After you have sprayed the stones with the lace, allow them to thoroughly dry. Using an exterior sealer, spray the tops of the stones to protect the paint finish.
If you have the funds available, opt for a small can of outdoor polyurethane. Your stones will look twice as gorgeous and the paint will last a lot longer, not to mention the cool beading effect rain will have on them.
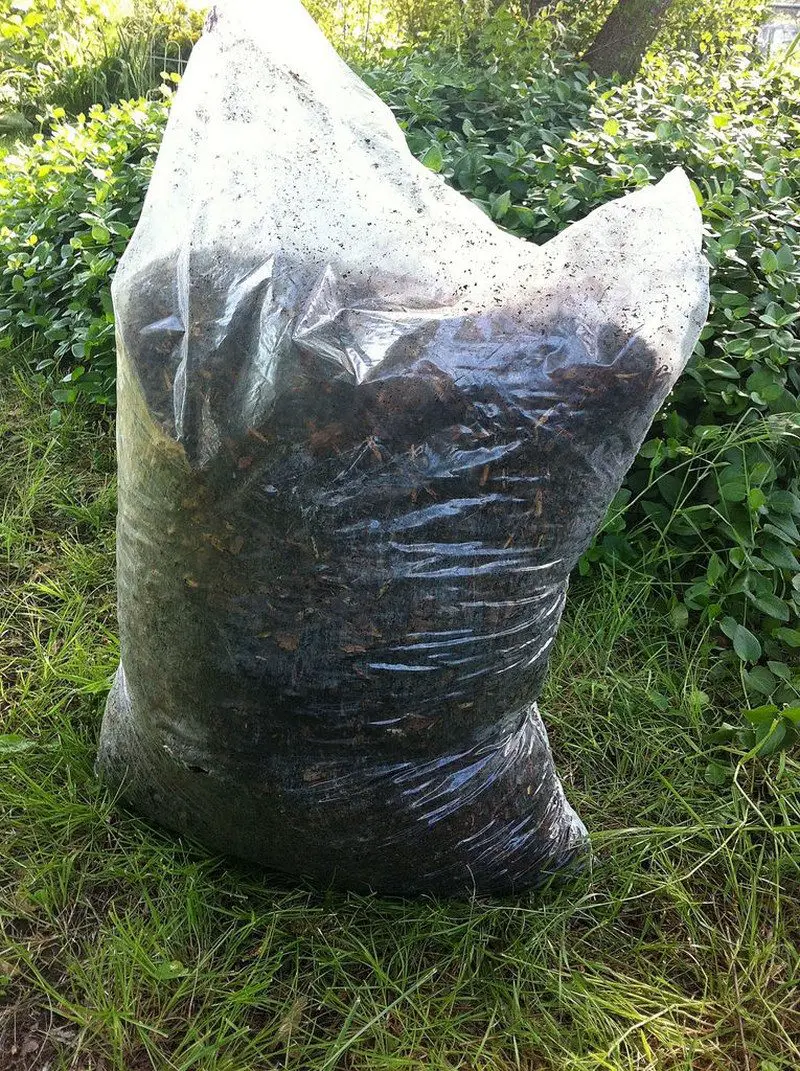
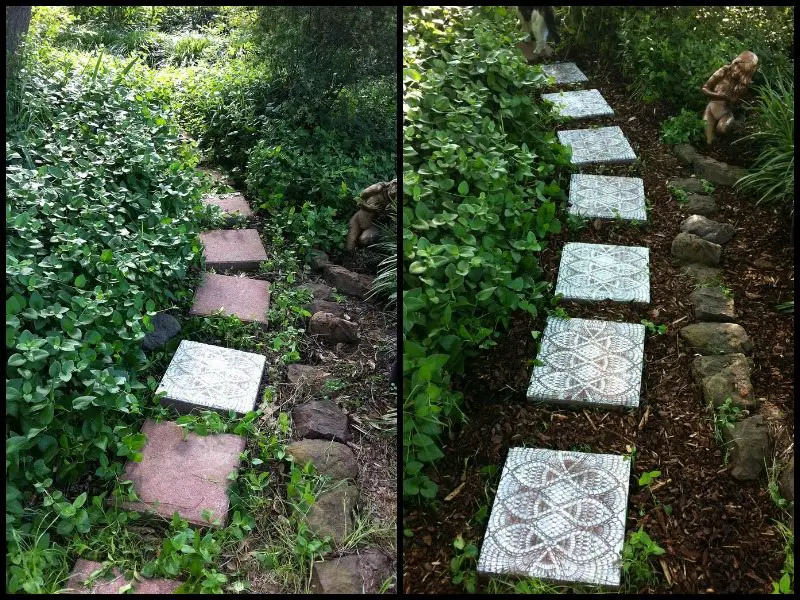
Mulch really does wonders for the garden. Consider adding some around and in between the stones for a wonderful effect! I chose a nice pine bark nugget, which looks lovely next to the white stones.
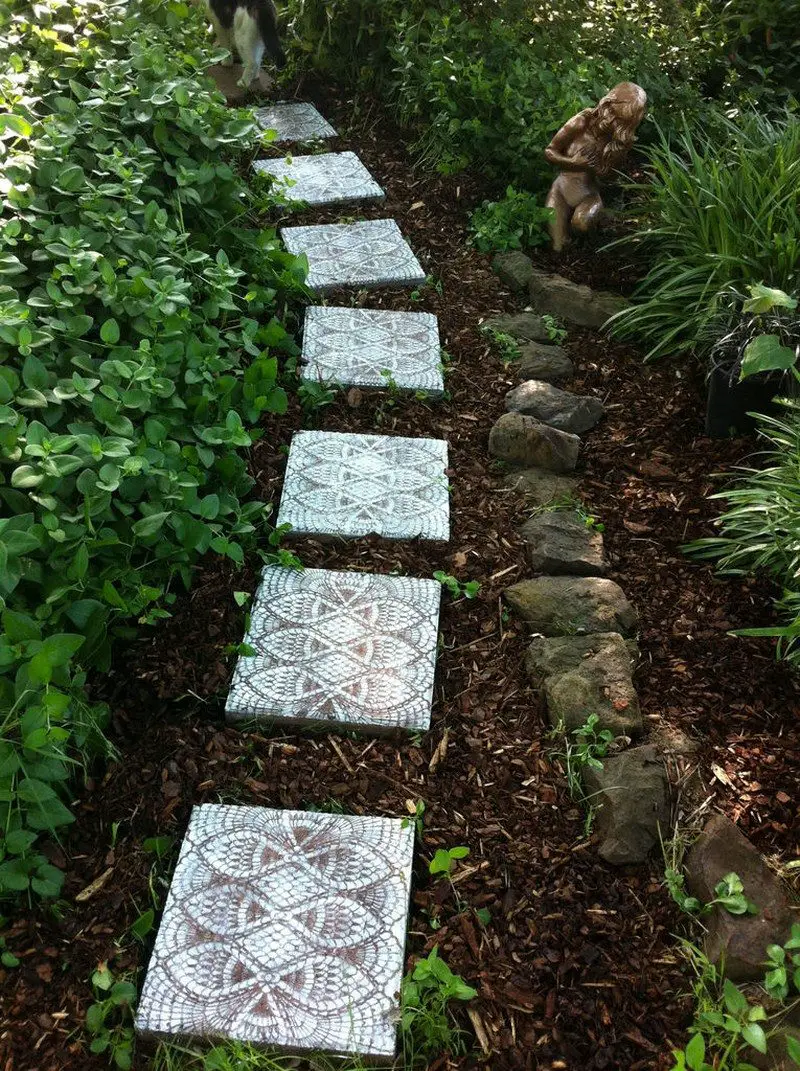
Although the lace stones provide quite a decorative effect, the dark mulch really sets it all off. I cannot wait until the rains come, which will darken the mulch, even more, wetting the stones, enhancing the look.
This is a favorite place for our cats to hang out, so now that it is photo-worthy, we’ll probably be likely to find one of the stinkers on a stepping stone. In fact, if you look at the top of the photo below, you can see Libbie walking on the stone I have yet to paint. But would she take a moment to pause, posing pretty? Nah.
For those with a keen eye, yes, Libbie is sitting on stone yet to be painted.
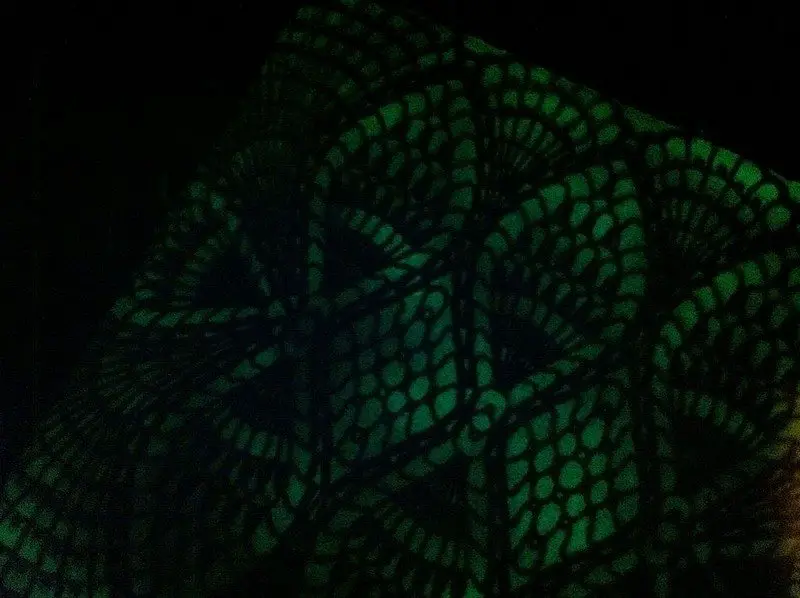
Oh, but you thought this project was over, yes? Not so. One final idea. Make your stepping stones glow in the dark!
Once your stones are dry to the touch, place the doily back onto the stone in the same location. If you used a doily with a specific pattern and contrasting color paint to the stone, this should be an easy feat.
Spray just as you did before, only this time, spray over the sections that have already been painted. The neat thing about this paint, you can’t really see it in the daytime that well.
Come night time, grab a flashlight, charge up the stones, and then turn out the lights. Lovely!
I hope you have enjoyed this tutorial, and perhaps garnered a few ideas of your own.


