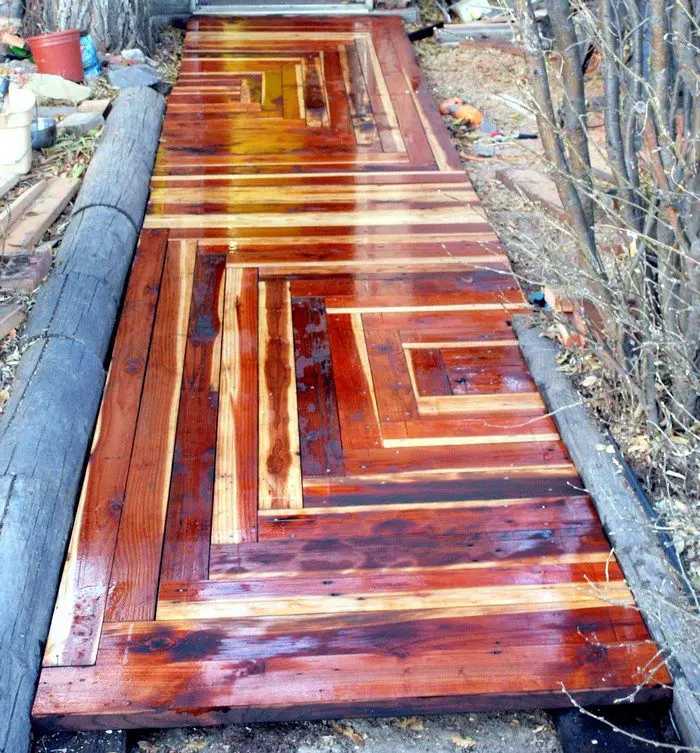
Some reclaimed timber, hard work, and a bit of creativity will give you this beautiful garden path. And by using recycled materials, you’re being kind to your wallet and the environment.
The owner of this project needed a new pathway, but he didn’t want to waste money on concrete. Now concrete is usually permanent but not where he lives. He knows from experience that concrete pathways won’t last long in his area because of expansive soils. Between temperature and humidity changes, the ground moves enough to break up concrete paths.
Garden designer Gordon Hayward shows how to use paths to create a garden design, pull together an existing garden, make a small garden look larger, and a boring lawn smaller.
Good thing he came across some salvaged lumber and, even better, it was free! It’s a bit difficult to believe, but the whole project only cost him about $50.00! Not to mention that he had saved timber that otherwise would’ve ended up in the dump or used as firewood.
Click on any image to start the lightbox display. Use your Esc key to close the lightbox.![]()

Materials:
- Redwood Lumber Pieces
- 6 boxes Deck Screws
- ½ gallon Deck Sealer
- A mix of Used Motor Oil & ½ – 1/3 part Diesel Fuel
- Wood Sealer
Tools:
- Power Drill
- Table Saw
- Wood Planer
- Mitre Saw
- Circular Saw
- Square
- Tape Measure
- Hammer
- Brushes – for dusting off
- Paint Brush
- Dremel
Steps:
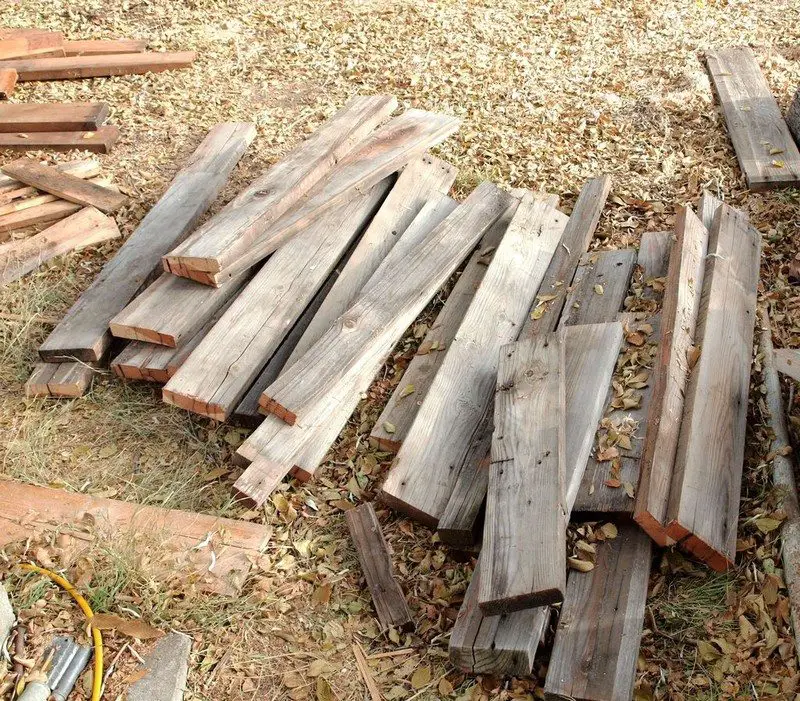
I heat a lot with firewood so I am always on the lookout for wood. Lumbar scraps and discarded wood burns just as good as anything else, so when a friend of mine told me he had a pile of wood from a flood cleanup I went to look. I was soon the owner of a large collection of used redwood that normally would have gone to the dump. I acquired a second pile from an old redwood deck that was torn down and replaced. Now I had the wood I needed for my sidewalk, except that it was not all nice standard same size pieces. It was a mix of 2×4, 2×6, and 2×8’s with varied lengths from 8 feet long to 12 inches. In addition The wood from the old deck was very weathered on the top side from years of exposure.
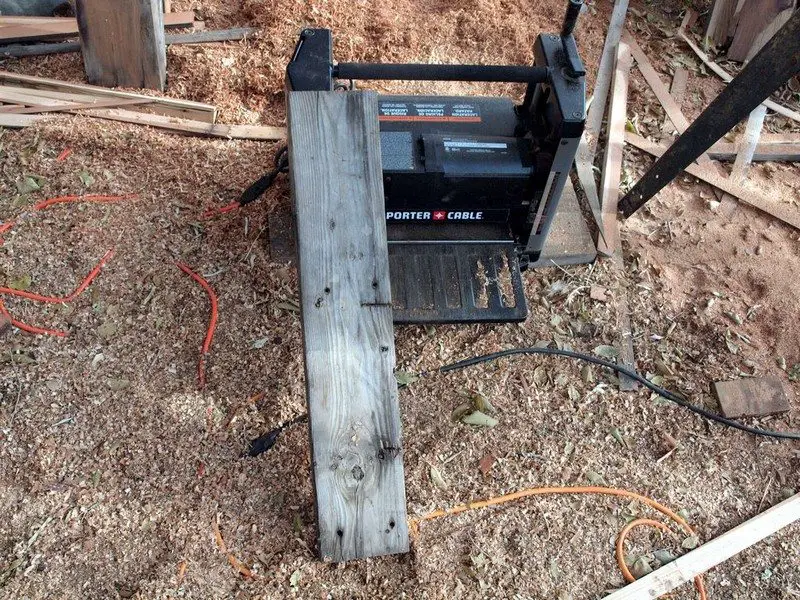
A wood planer shaves off the top layer of the wood to expose the good wood underneath. It is very important to check the lumber for any hidden screws or nails. The plane spins at very high-speed, and if it hits a metal object in the wood it takes a notch out of all the blades. From then on you will see a line down anything you plane where those blades are damaged. You can run the wood through again to take off the line but if you get to many dings in the blades you will have a real problem. I start with the board just clearing the blades and work the depth down from there. It usually takes at least three passes to get it looking good. Remember that you are going to have to plane all the boards to the same size in order to avoid having some boards sticking up above others. Decide from the start which side is going to be the top. I usually run the bottom of the board through the plane at least once to take off any high spots but you don’t have to worry about cutting it down to fresh wood as it’s not going to show. A plane makes big piles of chips and sawdust very quickly. Have a plan for dealing with it. I rototill all my sawdust into the garden so it’s recycled.
Oh, and watch out for lead paint on old boards. If you suspect that they may have it dispose of them. If you plane them the lead will go everywhere in the fine dust from the planer
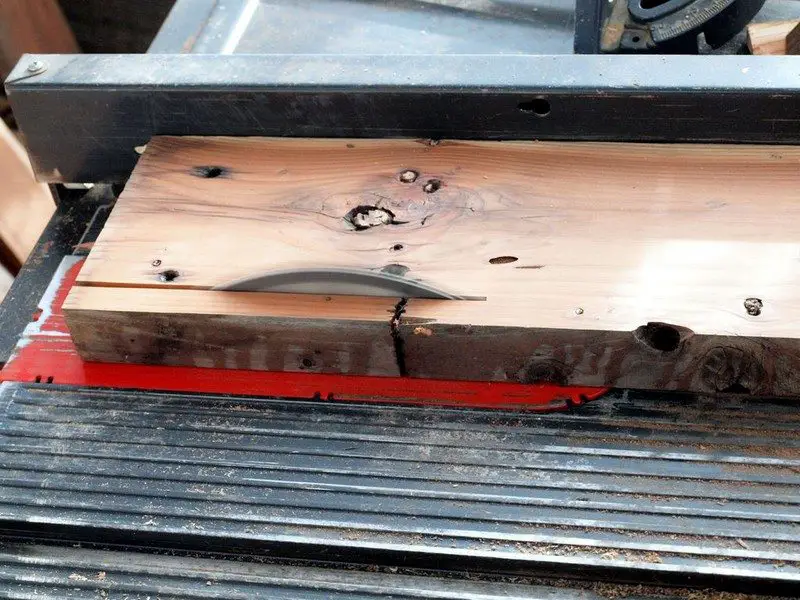
Some of my boards were badly worn on the edges. A few had been steps and so they were very rounded from being walked on. You can use the table saw on these to cut 2×6’s down to 2×4’s. Also 2×8’s can become 2×6’s. Start by cutting off the worst edge; don’t just try to cut it down completely in one pass. Next run the board again and square up the other edge.
You now should have a good flat square side that will work against the rip fence. Measure and set the fence for the final dimension (3 ½ inches for a 2×4) and again cut off the worst edge to make your 2×4. I was only able to salvage half of the one in the picture because of the big knot. In addition be aware of any screw or nail holes in the board, if you can trim them out while cutting down the board, so much the better. Sometimes the holes actually line up with where you need them to be and you can just reuse the hole.
Important: A Note about Safety
All new table saws come with guards on the blades. Mine did, but it broke many years ago so that is why it’s not on there. I do not recommend running the saw without the guard. These blades are so sharp and so fast that you will see you finger lying on the ground and wonder what it is before you even realize that yours is gone. I had a friend who sliced his finger right down the middle before he had a chance to pull his hand back. They sewed it back together but it never worked the same because of the damage to the joints. Treat this saw with absolute respect and you should have no problems. Never lose track of where that blade is when it is running. Also remember that table saws love to throw stuff—they can launch a hunk of wood with great speed. It’s called kickback. Make sure you are not in the line of fire. Mine threw a chunk of wood through a window once. Always use sharp blades. A dull blade will tear up the wood and smoke and char the kerf. I always use carbide tipped blades; they are definitely worth the money.
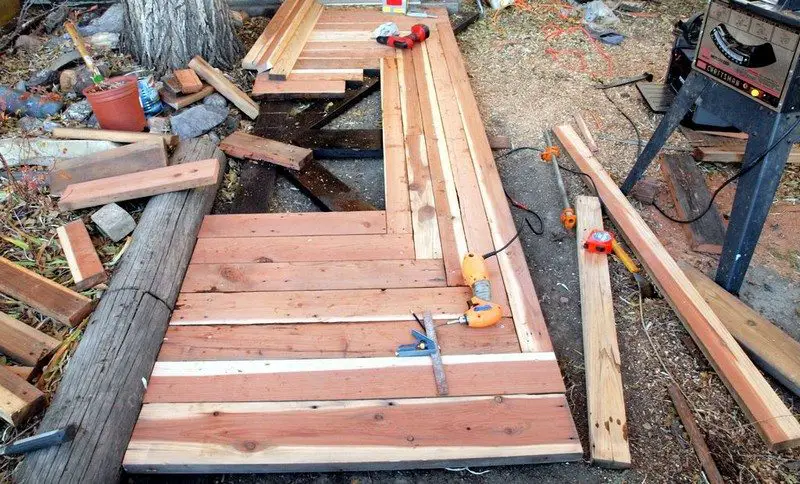
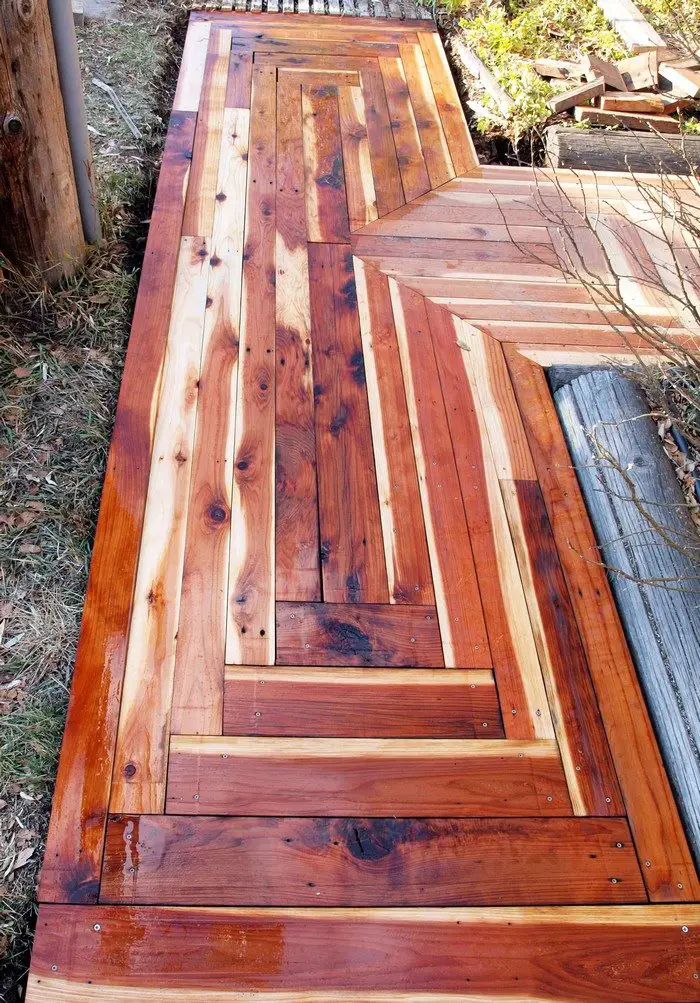
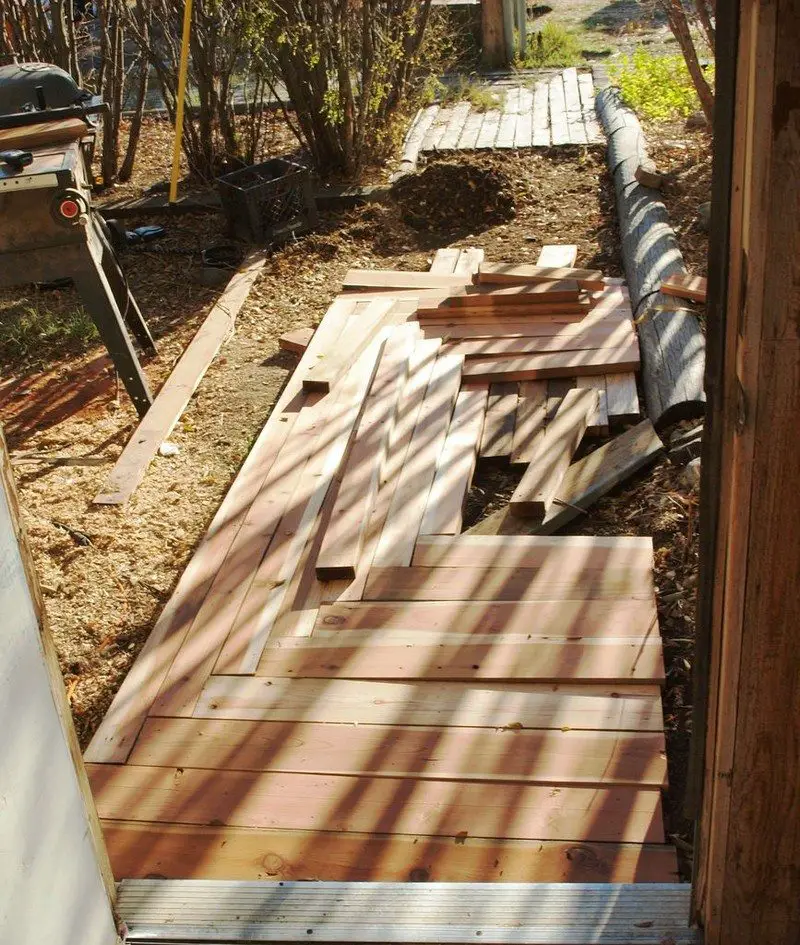
I tried a number of different patterns but quickly decided on this one. It made best use of the sizes of wood that I had and from the first layouts I did I thought it looked really interesting. It did make for some difficult cuts for the supporting boards, but that is just all part of the challenge.
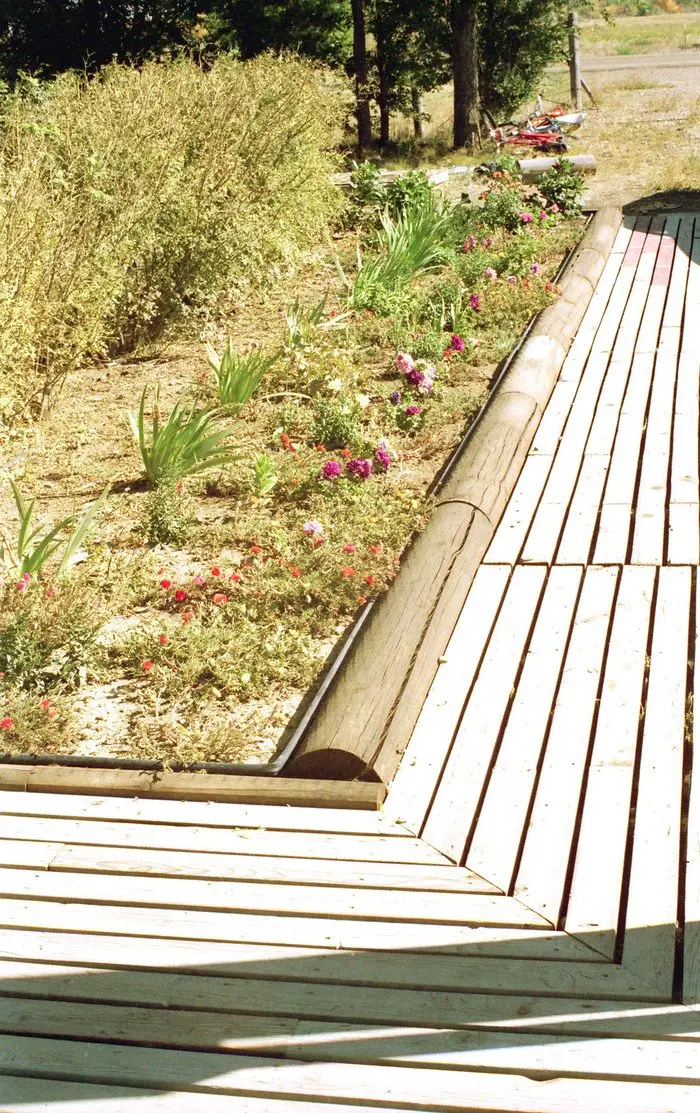
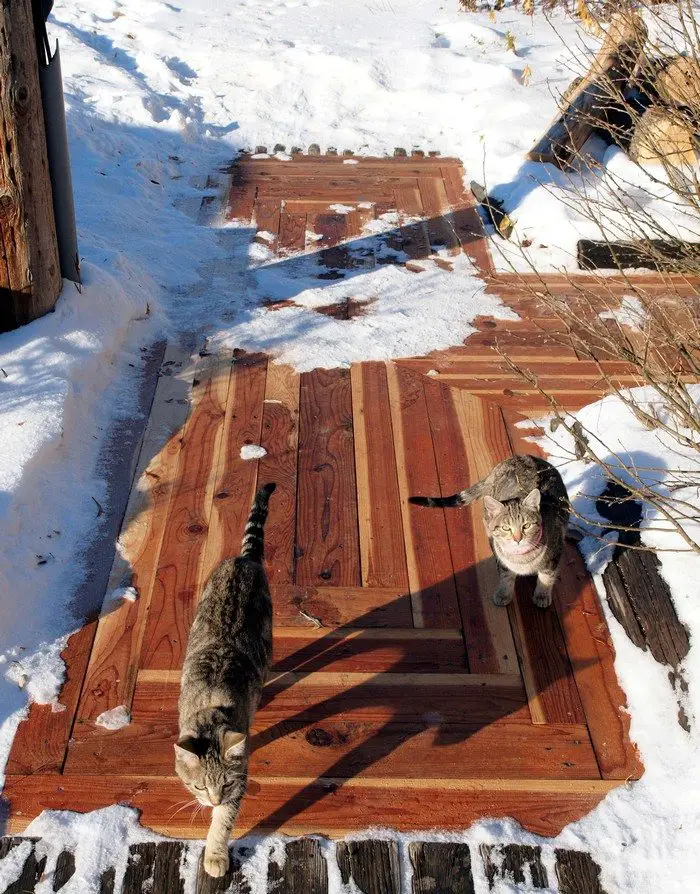
I made this in sections, the length of each section was determined by the length of the longest 2×4 board that I had since they were the ones going lengthwise. The sections can come apart just by taking off the connecting 2 x 6″s where they come together. By doing this the sections are small enough that I can stand them up on edge if I need to get underneath them.The sidewalk sections are free floating. They are not attached to the ground. The support boards rest on bricks that can be adjusted to get it level.
For the supporting boards you can use the boards that are in the poorest condition. This is one of the reasons you should sort out your wood and decide what will be used for what. The support boards don’t need to be planed. However if they are going to be in contact with or close proximity to the ground they should be treated.
I have tried commercial wood preservatives and some of them just don’t seam to work very good. Something that does work though is a mix of used motor oil and a half to a third part diesel fuel. This has been in use around this area for a very long time. I learned that they used to use it to treat wooden wagons. Some use it to treat flatbed trailers that are left out in the elements for years. I know from my own experience it works and is cheap. The oil penetrates into the wood and appears to seal it from moisture. It’s that simple. Oil and water don’t mix so if the wood is saturated with oil no water will get in. No water means no rot, and also the bugs really don’t like to chew on it. The diesel fuel thins the oil and acts as a transport agent to move it deeper into the wood. I have seen fence posts that were treated with oil still in the ground after 30 years. Very little oil transfers to the ground so it’s not a pollution problem. One down side to it is that it smells for while. It takes time for the diesel fuel to evaporate but if you live where I do that’s not a problem. It also is more flammable than just plain wood until it weathers for a while, but again that is not usually a problem for outside landscaping projects.
To apply it just paint it on with an old paint brush and let it soak into the wood. Pay special attention to the ends of the boards and any holes or cracks in the boards. Weathered wood with lots of cracks actually works very good for this because it gives the oil more places to soak in. If you have the time to wait you should let it stand for a few days until most of it soaks in. If you are in a hurry you can use it right away, but it might get a little messy.