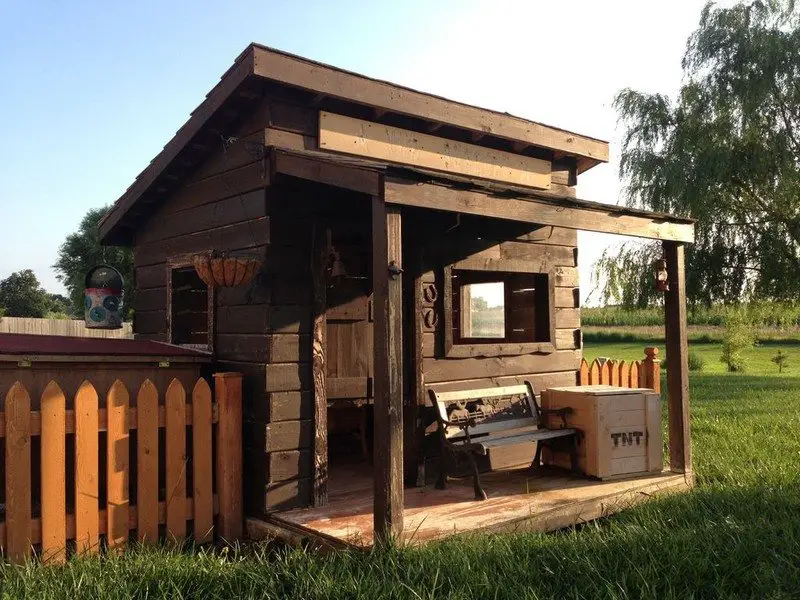
Is there any child who doesn’t like a fort or cubby house to play in? This western saloon would surely never go empty!
This fort was inspired by saloon style playhouses sold online. But instead of buying. the owners decided to build their own and created a simple structural plan.
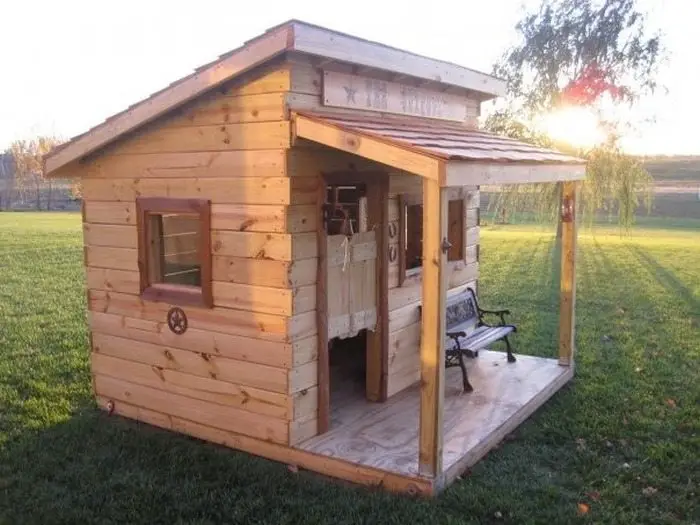
Recycled pine fence palings and cedarwood were used in this project which makes it nice and sturdy. It will last until little kids are too grown to play in it. The use of recycled materials also lessens the cost.
Working on free evenings and weekends, and with help from the kids, this project was finished in three and a half months. You too can build this together with your kids. It’s a great project to get them interested in planning and building their playhouse.
Click on any image to start lightbox display. Use your Esc key to close the lightbox. 8-)


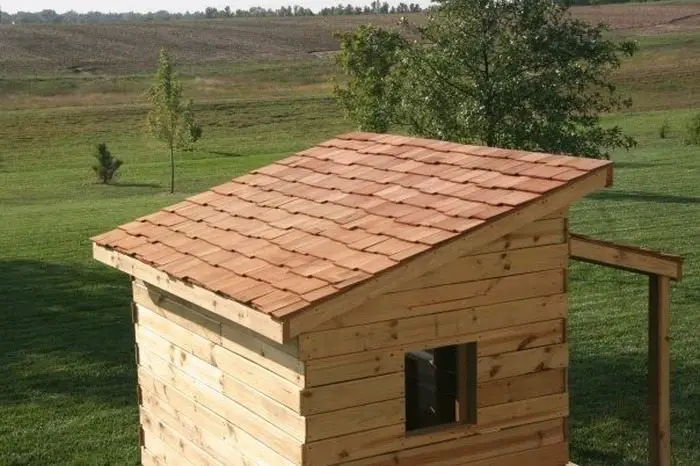
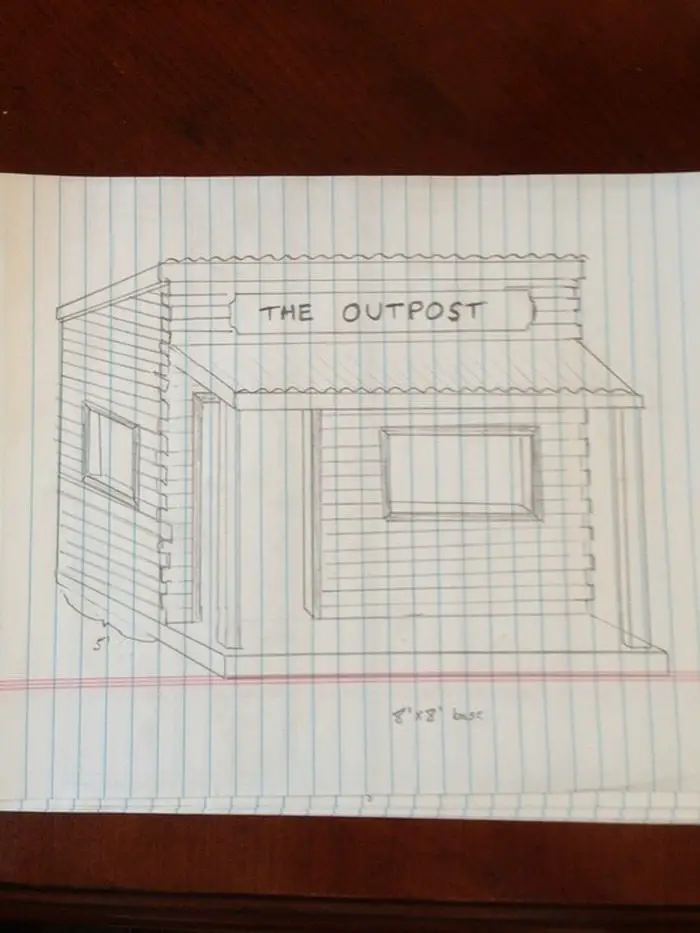
Materials:
Timber:
- 3/4″ x 4’x8′ Plywood (for floor) and 1/2″ (for roof)
- 2″x4″x8′ Pressure Treated Pine Studs (for framing)
- 5/8″x5.5″x6′ Pressure Treated Pine Fence Boards (for siding)
- 2″x2″x8′ Pine (for the inside of ceiling)
- 4″x4″ x 8′ Pressure Treated Pine Posts (for porch posts)
- Rough Red Cedar Fence Boards (for trim around windows and door)
- Smooth Cedar Board (for sign)
Roofing:
- Black Felt Roofing Paper
- Cedar Shingles
- Roofing Nails
Other materials:
- Concrete Deck Blocks
- Ground Anchors, Bolts and Washers
- Deck Screws – multiple sizes
- Plexiglass
- Western Decorations
- Two Brackets used to hold 4×4 posts to the porch (the type used in deck construction)
Tools:
- Powered Miter Saw
- Router, table and round-over bit
- Circular or Table Saw
- Cordless drill and bits
- Electric Jigsaw
- Measuring tape, chalk line, hammer, level, square, and other basic construction tools.
- Wood burner
Steps:
You are going to do a little digging – probably not deep enough to hit gold, but who knows for sure… This is a good time to teach your minor miners that digging into a power line is not just annoying to those who might lose service, it could be life-threatening. Pick up the phone before you dig to have those sparky sidewinders marked.
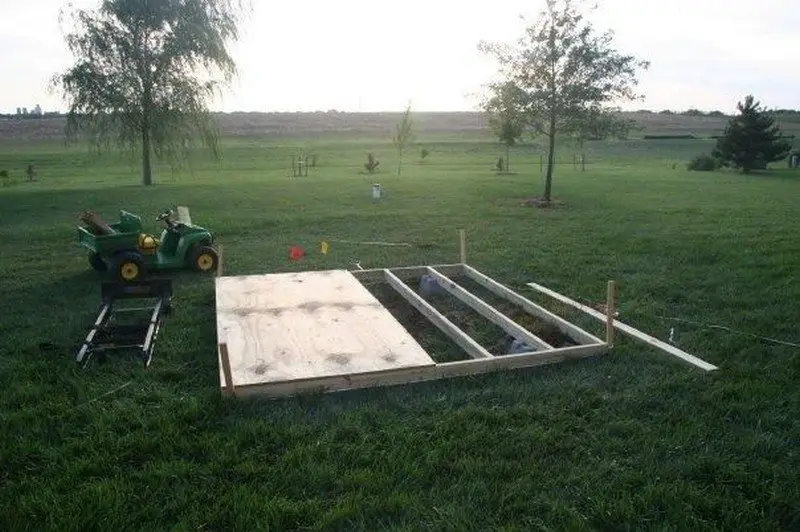
The floor is an 8’x8′ frame made from pressure-treated pine that is covered with two sheets of 3/4″ plywood. Everything is screwed together. A wood fort is an all-you-can-eat termite buffet, you ain’t gonna want part of the frame to touch the ground. We raised ours and made it level by digging holes for four concrete deck blocks initially, but much later discovered with the weight of the fort, we should have used six. We used a little sand in the base of the holes to help with leveling. As shown in our plans, make sure the front wall of the fort will line up with a floor joist.
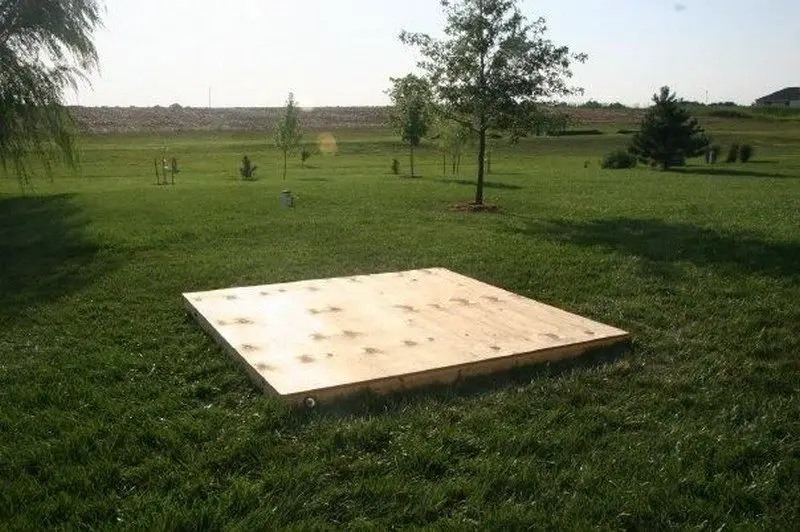
TO ANCHOR OR NOT? The fort is a solid, heavy beast, but we live in Kansas and, you guessed it, it gets windy here. To keep Dorothy from blowing away to Oz, we secured the fort floor to the ground with four corkscrew anchors.
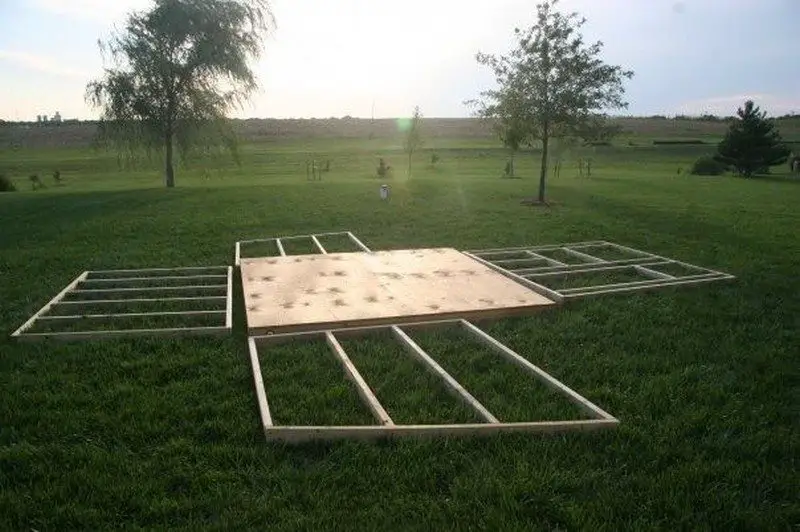
Next, we framed the walls on a hard, smooth surface in the garage according to the plans. After the frames were completed, little hands grabbed one end and we skedaddled to the backyard, laid them on the ground, snapped this photo, then stole some horses.
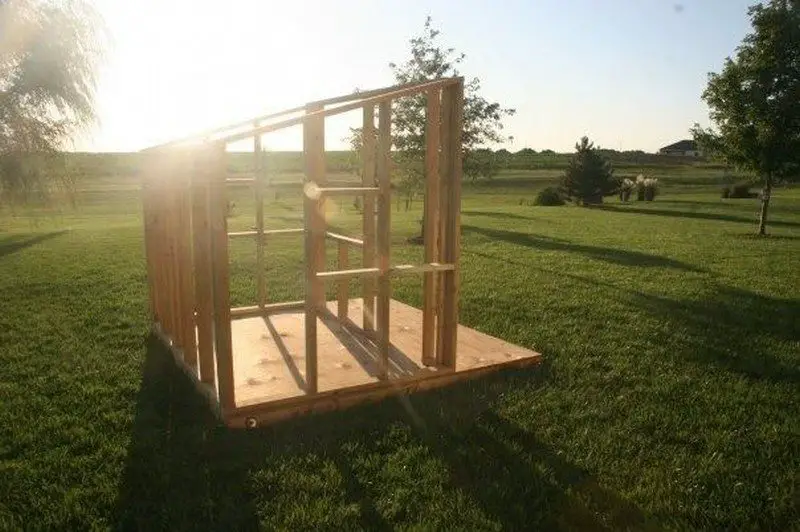
Make sure the posse is back outside for this step, because you’ll need their help holding things still and true. This is a good time to teach them how a level works, and why being “square” is a good thing. Since you can’t stand there holding the walls up forever… screw the frames together and to the floor. Supervised, my 10-year-old was getting pretty good with the cordless drill by now.
ROUTE TIL YOU DROP: The good news is that pine fence boards are not that expensive. The bad news is that fence boards laid in a row right next to each other look like… well, a fence! To give it a log cabin look, we used a router (mounted to a table) and a brand new round-over bit. We ran the boards through so the outside edges would be rounded off – the profile of the fence board will look like a letter “D” as in “Dodge City”. When running fence boards across the router, you can count on generating enough nasty dust and wood shavings to make your garage floor look like a stable. This stuff, if inhaled, can make you sick. Be sure to wear a dust mask and safety goggles.
And be patient. This monotonous step took several sunsets to complete.
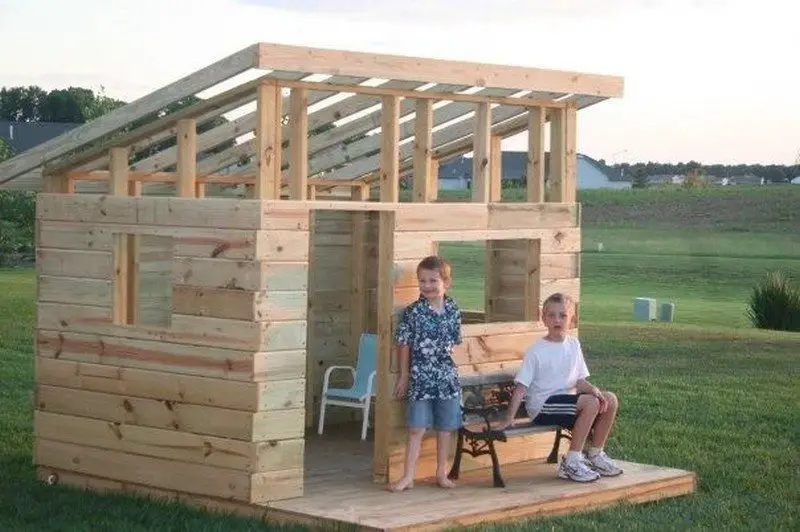
We, bandits, attached the routed fence boards, cut to length, with screws. Don’t use nails, when fence boards get wet, then dry, they’ll pop loose quicker than a buttoned shirt on Thanksgiving.
Continued Page 2…


