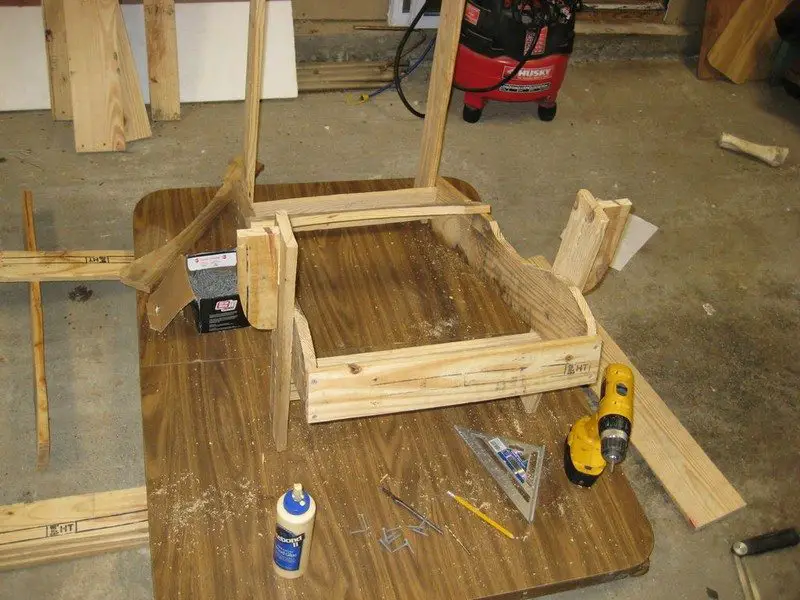
Measure and mark the center line of the top of the front leg. Drill pilot holes, countersink, and attack the armrest brackets. Make sure the top edge of the bracket is level with the top edge of the front leg. Repeat on the other side.

Glue and screw on the front seat slat. Drill pilot holes and countersink.
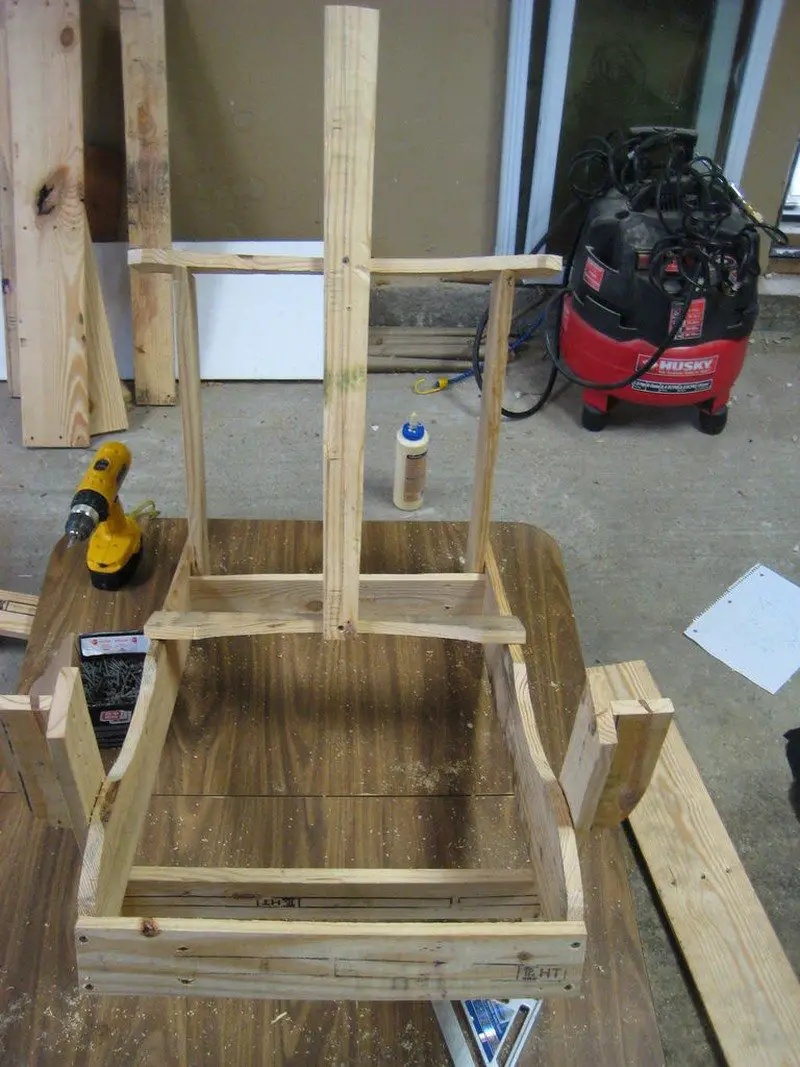
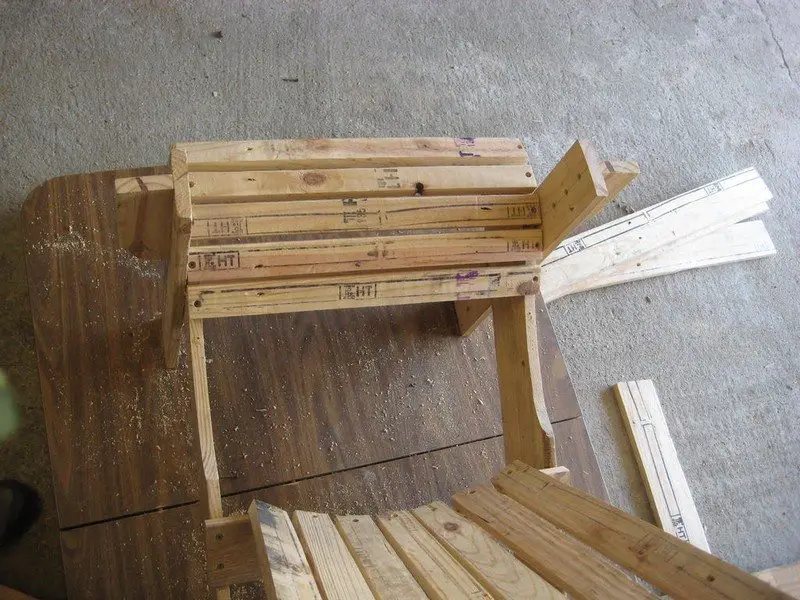
Find and mark the center of the top and bottom back rail. Drill and countersink a hole on the bottom of the slat, then attach to the bottom back rail. Line up the top slat/rail, drill, countersink, and attach.
I would not use glue on the backslats– you may want to move/adjust them later.
Attach the first and seventh back slats to the bottom back rail. You’ll want to dry-fit the two armrests before you attach the back slats so you know you’re leaving enough room to attach them. After you connect the bottom of each slat, attach the top.
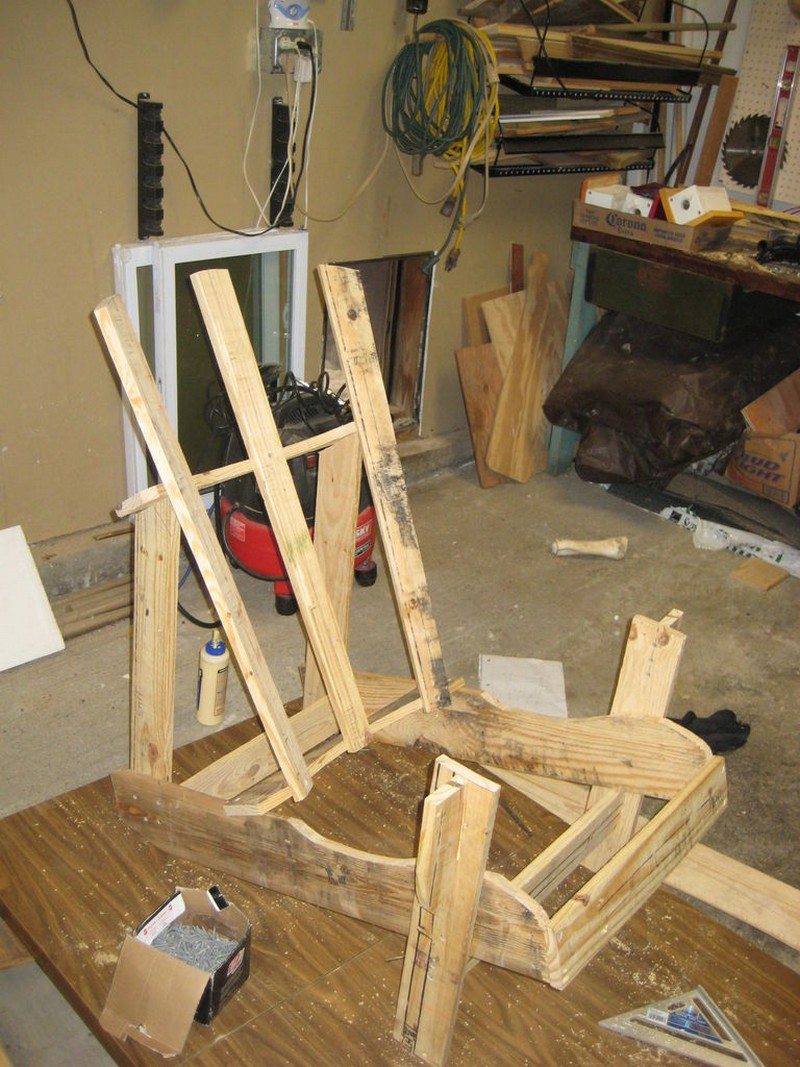
Attach the remaining slats in the same manner, spacing as evenly as possible.
You’ll want to dry fit all the slats first so you have an idea of how to space them.
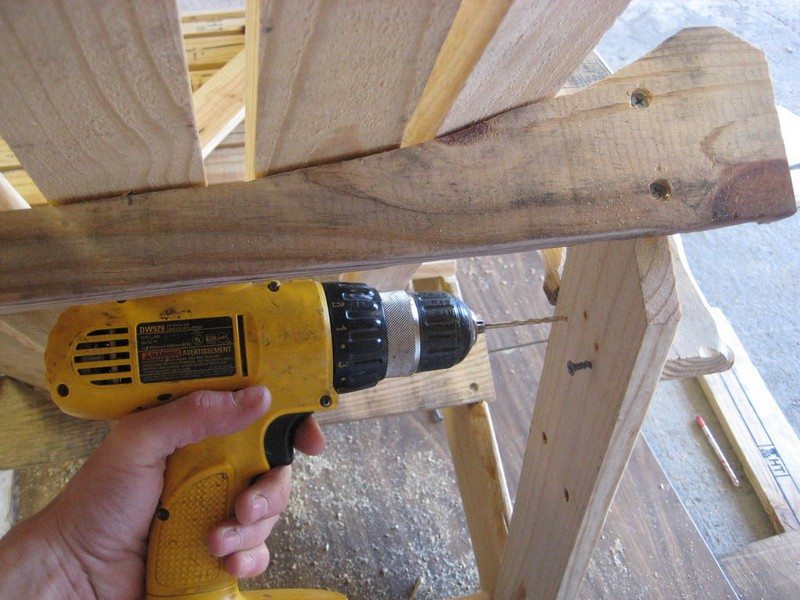
This is a time consuming part. You’ll want to be really careful drilling the pilot holes into the seat stringer. Be patient! You don’t want to blow it now.
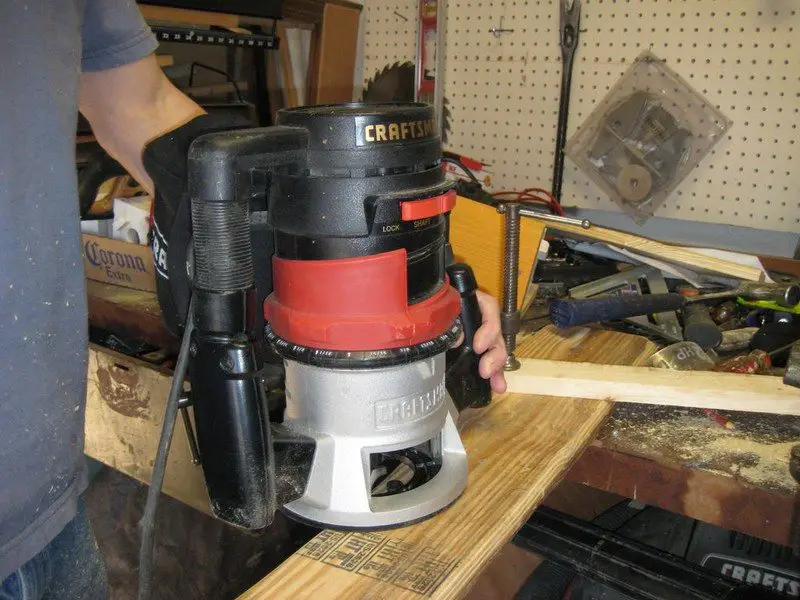
If you’ve got the means, I definitely recommend routing the edges of the armrests. If not, you can skip to the next step.
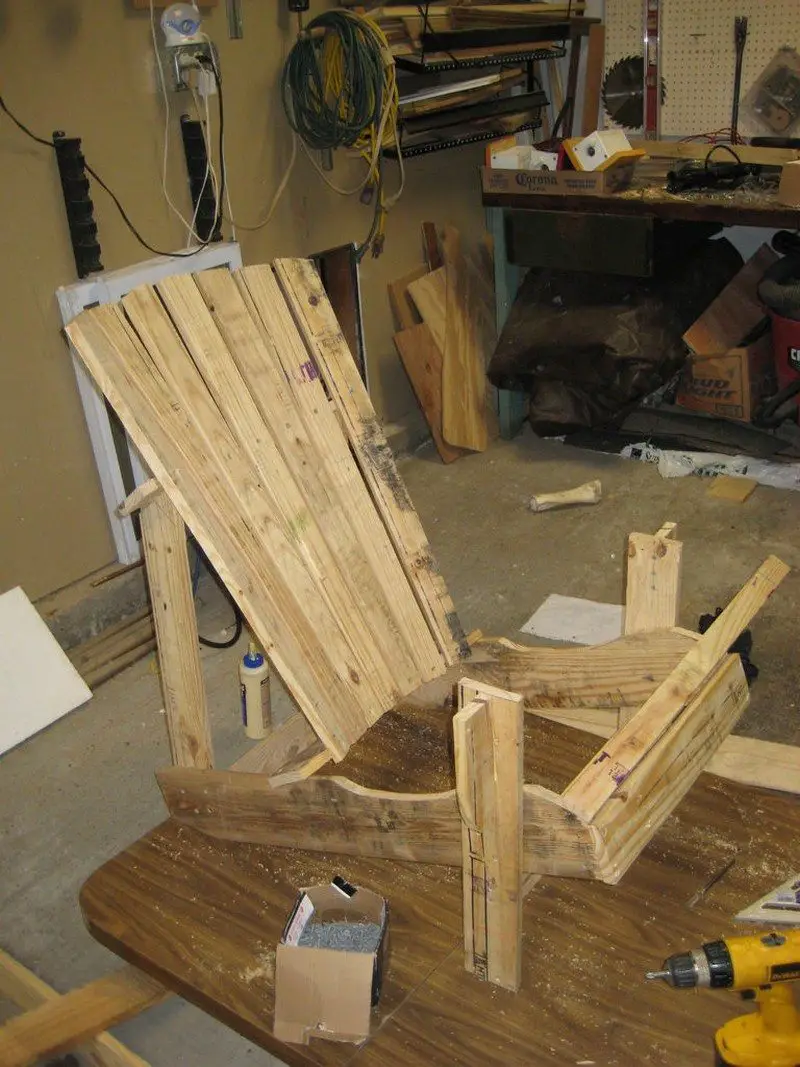
Measure and mark 20″ from the bottom of the rear back support.
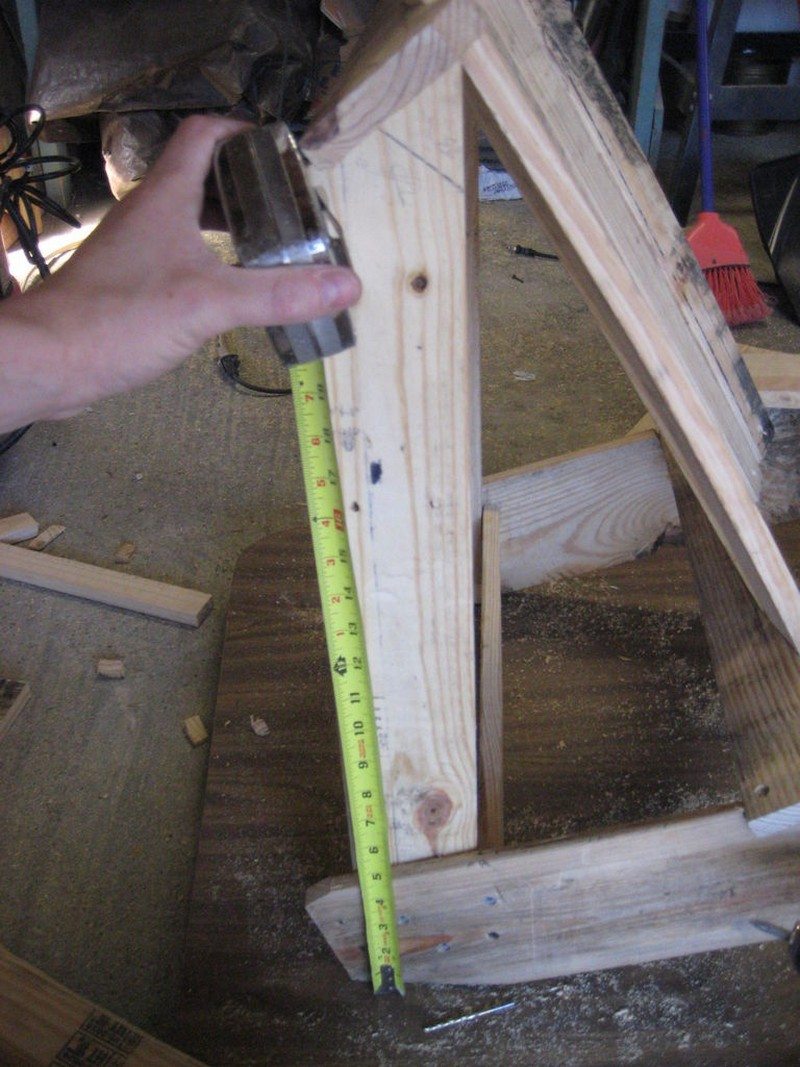
Move the armrest into position. The 20″ mark should line up with the bottom edge of the armrest. Use a screw to tack the armrest in place, or prop it up, or clamp it, whatever. Just keep it in place.
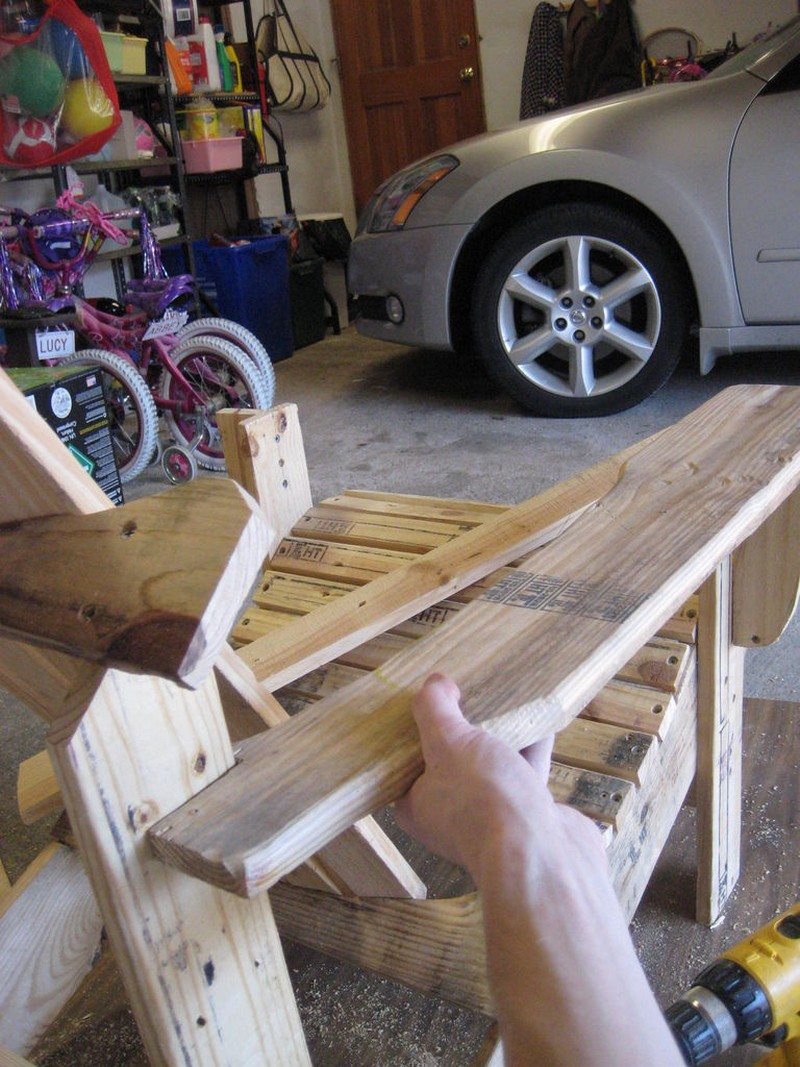
Drill three pilot holes through the armrest and into the front leg and armrest bracket. Countersink the pilot holes and fasten with screws.

To attach the rear part of the armrest, drill two pilot holes and countersink. Attach with two 1.25″ screws. I’ve seen similar designs that incorporate a carriage bolt, washer, and nut here, instead of two screws. Definitely a stronger way to go!
Grab your wood putty and get to work. Fill all the holes you can.
I like to wipe off the residual putty with a wet cloth while it’s fresh. Sanding it off can be a real pain and also ruin the way your stain or paint looks.
Then get to work sanding it down. At the minimum, you’ll need to lightly sand off the shiny glaze to allow stain penetration or paint adhesion.
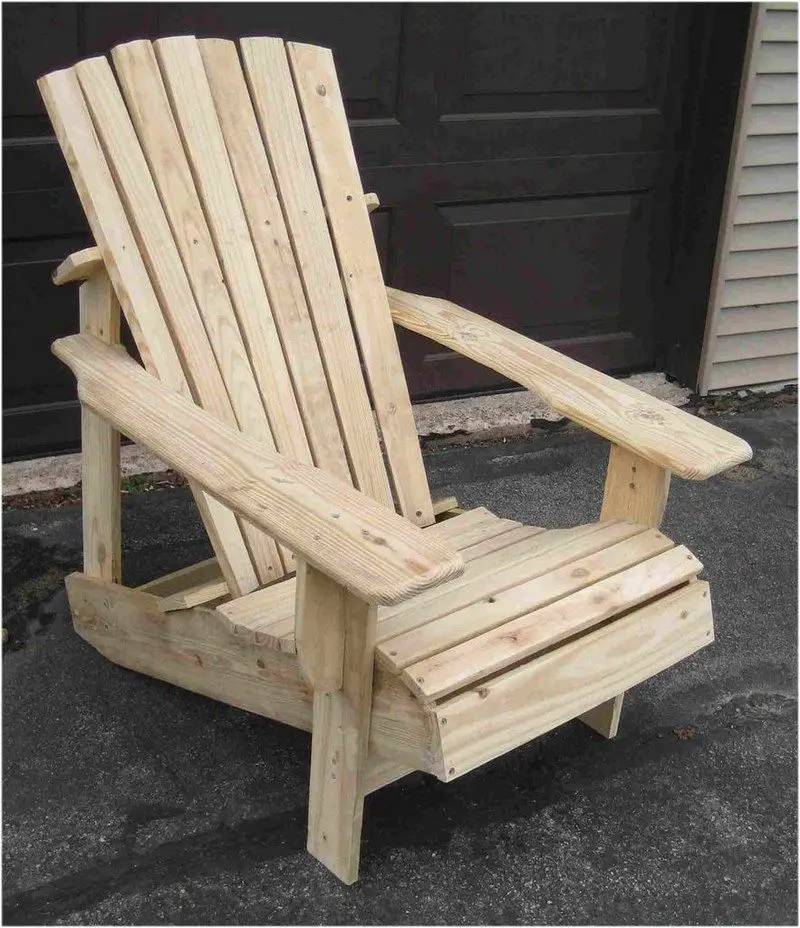
An inexpensive project, and a beautiful piece of furniture – wouldn’t that make you feel good already? Now how about finally grabbing your favorite drink and relaxing on your chair? :)
Thanks to jkratman for this great project.


