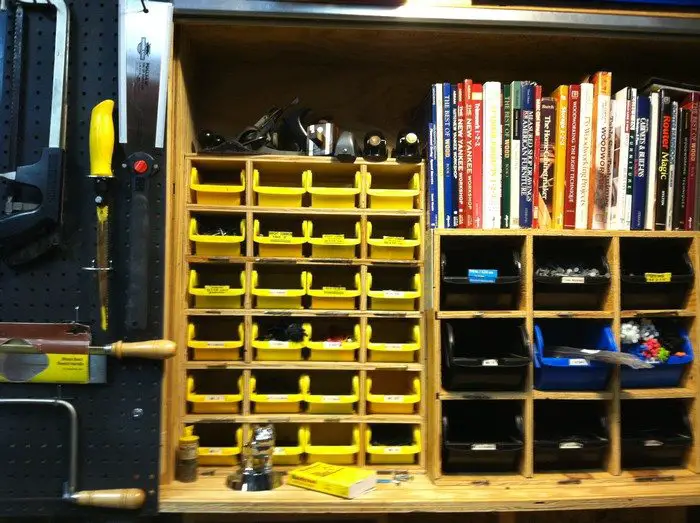
Are you a persistent DIYer? One who’s always working on one project or another… or perhaps a few at the same time? In order to achieve your best, you really need a dedicated space where you can work freely, with all the materials and tools you need within arm’s reach.
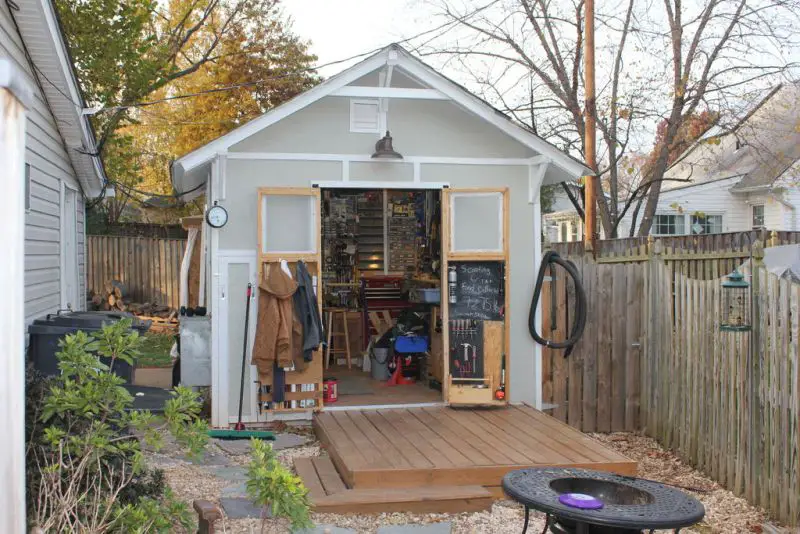
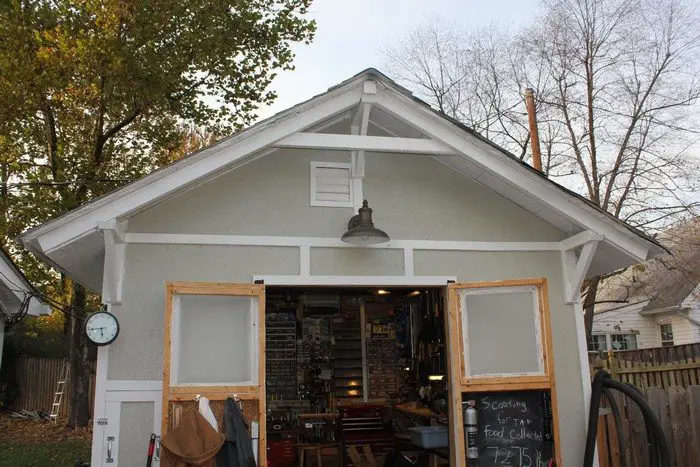
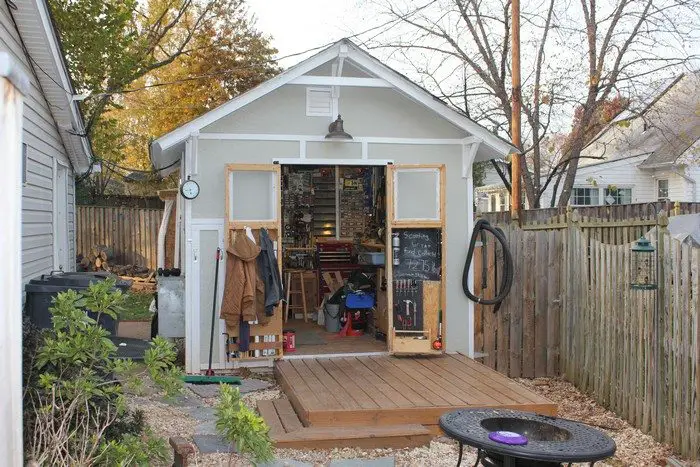
What you need is a workshop. But you don’t need to go all out and spend a fortune in building one. This project is a great example. The owner needed a workshop to work undisturbed on his projects, to store his materials and tools, and all other hardware. He was able to build this workshop for less than $2000 including a deck that cost him just $65!
Before beginning a project like this, it’s essential that you consider how you’ll be using your workshop and what materials and method of building you’ll be using. Make use of repurposed materials from your previous projects to lower the cost.
Another important aspect you need to consider is the use of space. Utilize every bit of space to make your workshop efficient. And before you start building do a quick check of your local building codes.
Click on any image to start the lightbox display. Use your Esc key to close the lightbox. ?

Materials:
- Lumber
– 100 pieces 2x4x8′
– 4 pieces 2x4x12′
– 8 pieces 2x6x10′
– 2 pieces 2x6x12′
- 35 sheets of 4×8 Oriented Strand Board
- 20 pieces 1×4 trim
- 10 pieces 1×6 trim
- 1 roll of Roof Felt
- Shingles
- 3 sheets of Plexiglass – for windows
- Clear Plastic Roll – vapor barrier
- Metal Hurricane Straps
- Primer
- Exterior Paint
- Exhaust Fan
- Window and Door Hinges
- Bolt Locks
- Weather-proof Outdoor Switch
- Lighting
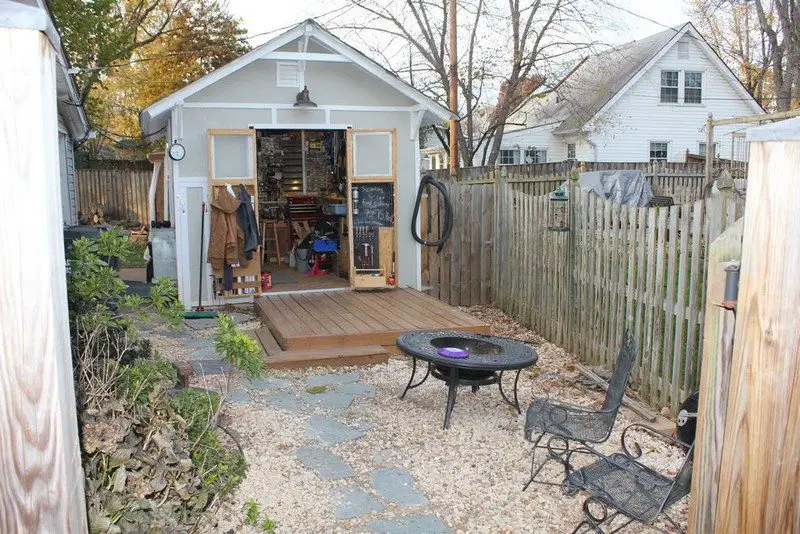
For the Deck
- 4 Old Pallets
- Blocks
- 20 Contractors Grade Deck Boards
Tools:
- Framing Nailer
- Clamps
- Cordless Drill
- Table Saw
Steps:
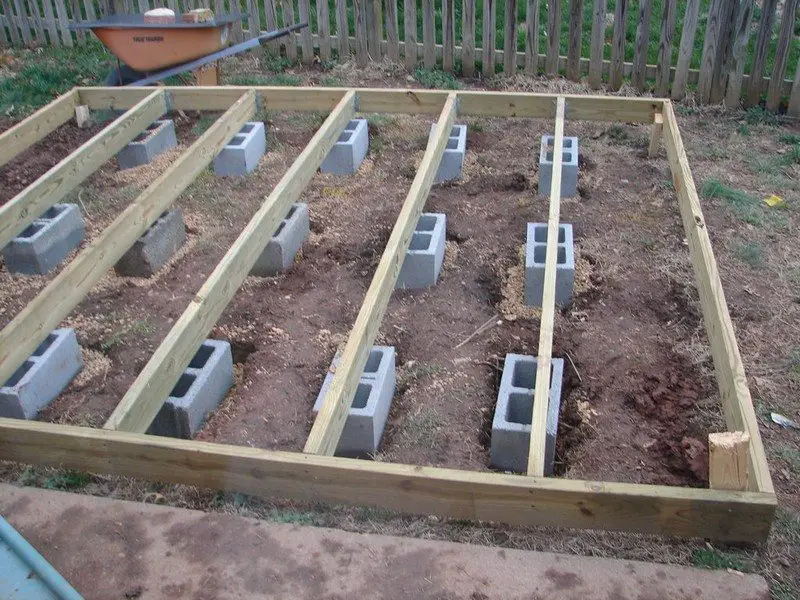
I spent a full week grading, compacting the soil, and leveling each block before laying the floor joist. The last thing you want is to finish your new workshop and have a corner start sinking into the ground.
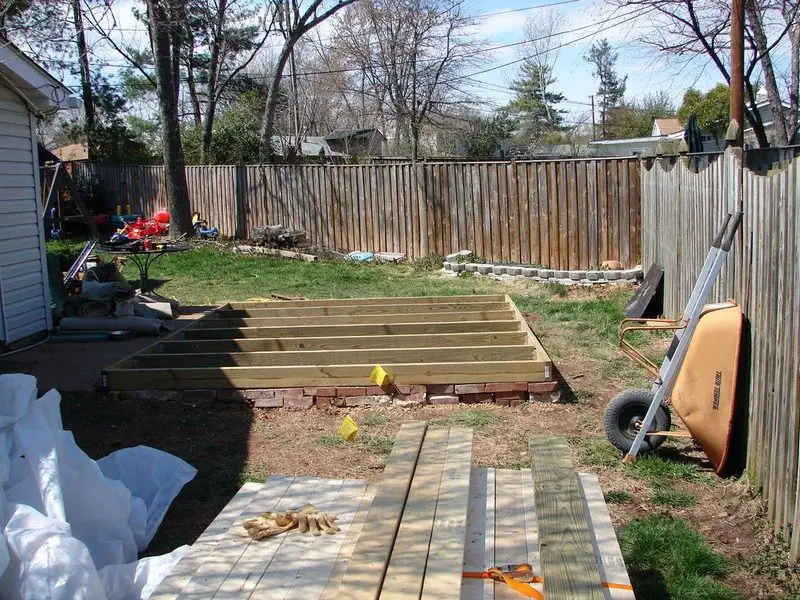
You can see that I had a drop of about 12 inches on the low side. During heavy rainstorms, water can flow like a stream next to the fence. I wanted to make sure my workshop was high enough off the ground to avoid any flooding issues.
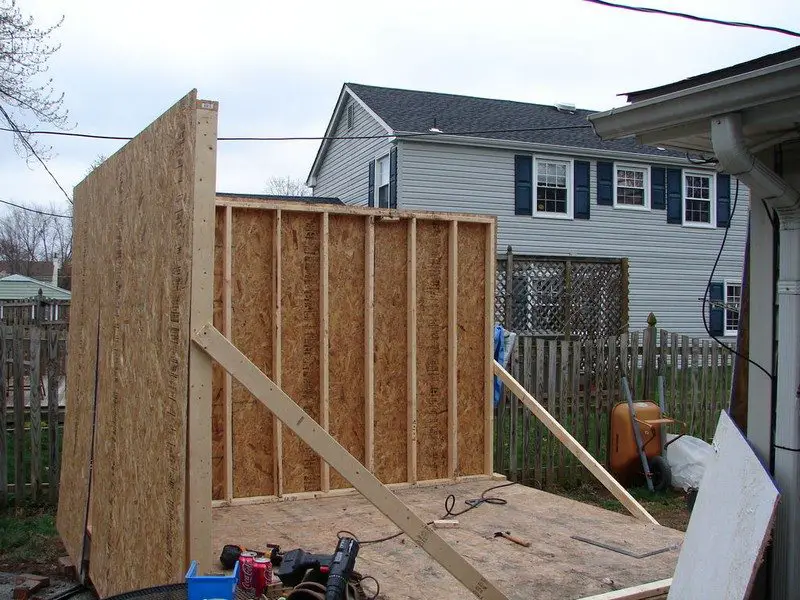
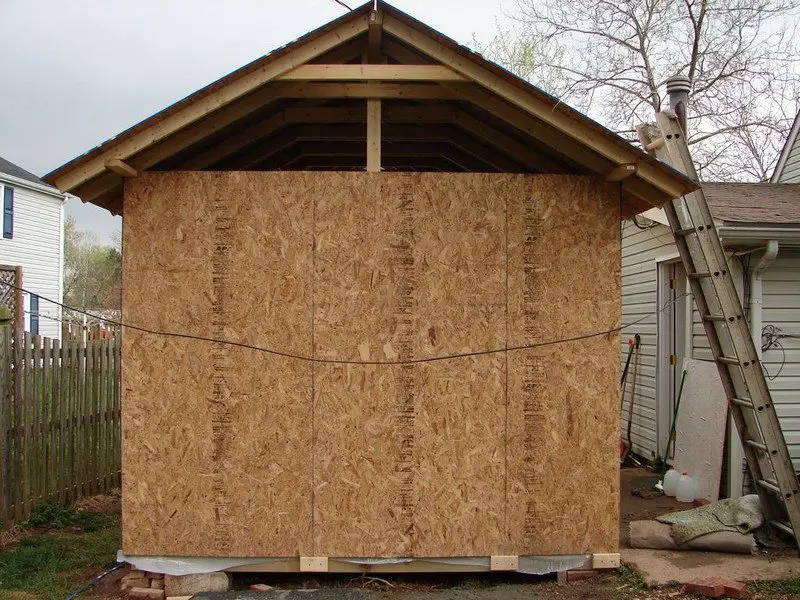
I framed and sheathed each wall individually and then stood them up with the help of long 2×4 braces.
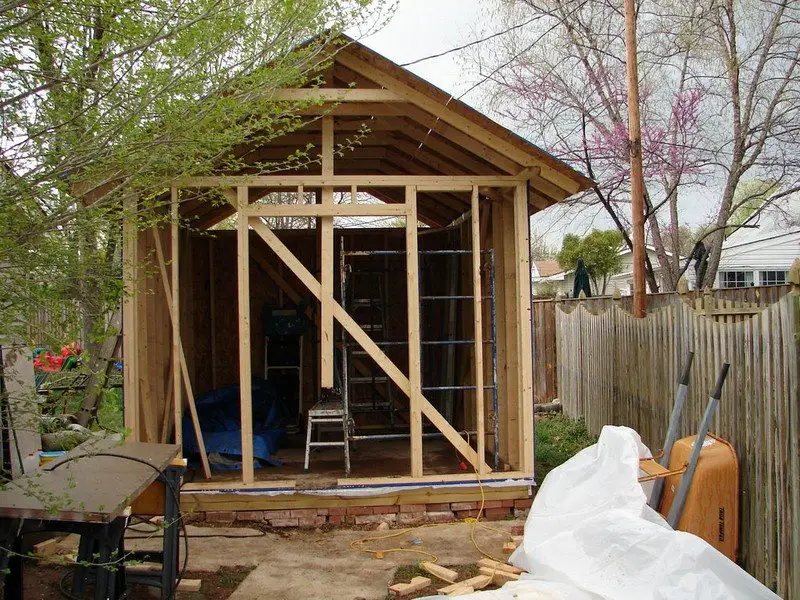
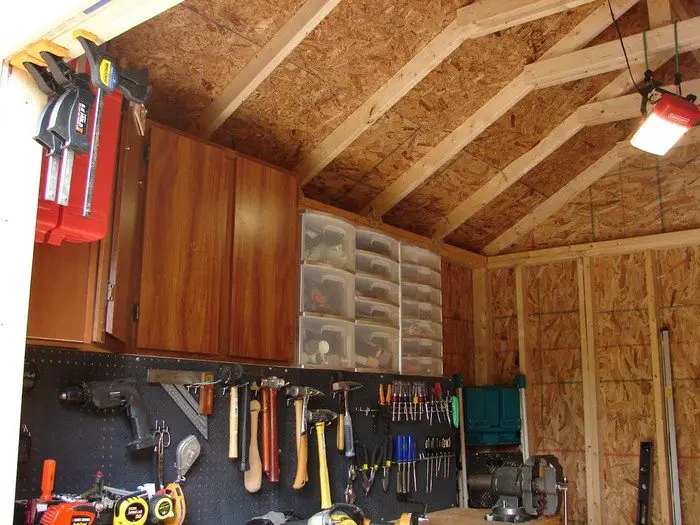
I added a second cap of 2×4 on the top to make the walls a little more rigid. I then laminated 4 2×4’s to construct a ridge board. I nailed in some temporary 2×4 supports and had a friend help lift it into the final position. Once all of the rafters are cut and nailed into place, the supports were removed.
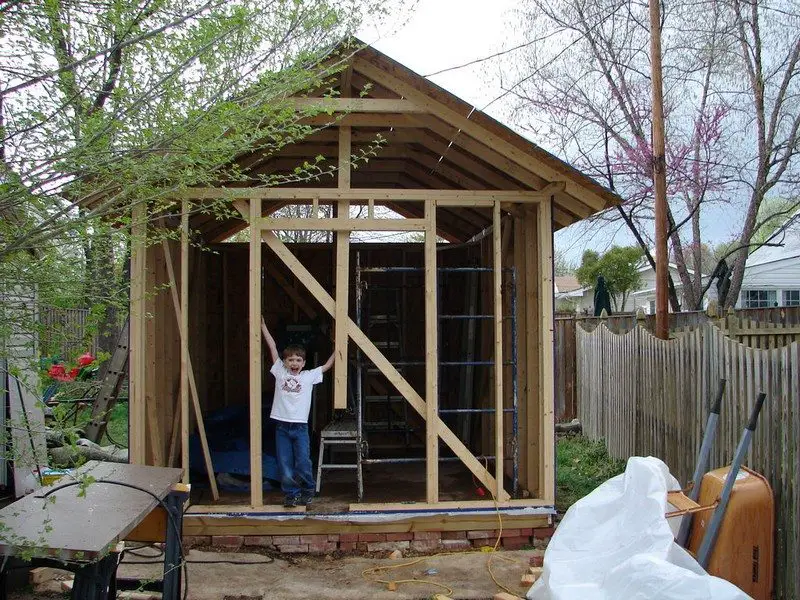
You can see in this step how I notched each rafter to fit more securely to the walls. I also used a metal hurricane strap to secure each rafter to the wall. Even though this was not required by code, I felt my tools were far too valuable to be left to chance over such an inexpensive solution.

The walls are a simple board and batten system. The 1×3 trim covers the joints of the 4×8 OSB. They make much more high-quality sheets good to use as siding.
I sealed the OSB and painted it with exterior paint. If I run into problems in the future, I can just add a second layer of more durable material or simply have siding installed. It has held up very well over the past couple of years and I see no need to spend more money on it now.
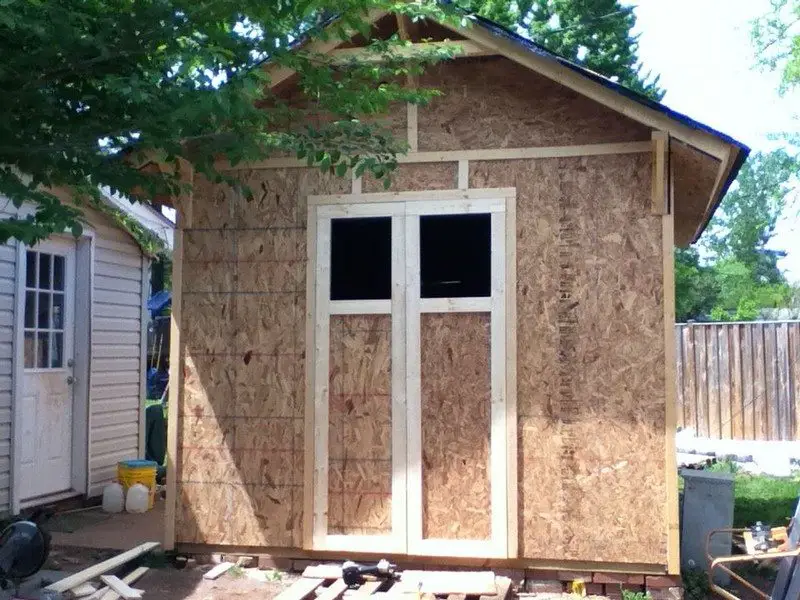
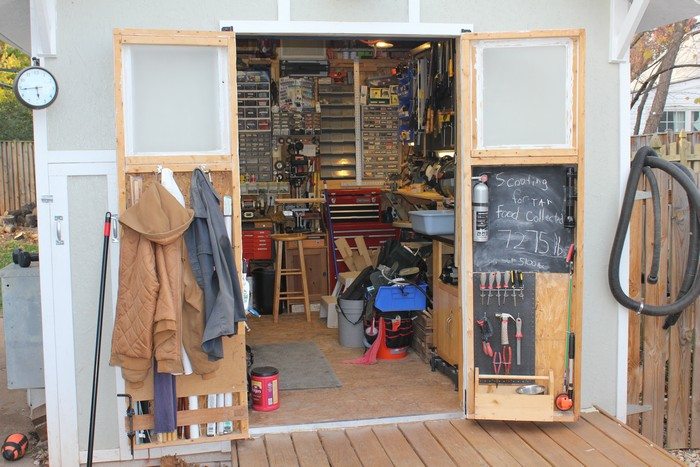
Once I had the walls completely filled in and trimmed out, I built my doors. I clamped them in place each day until after I painted. Then I installed the hinges and hardware.
Continued Page 2…


