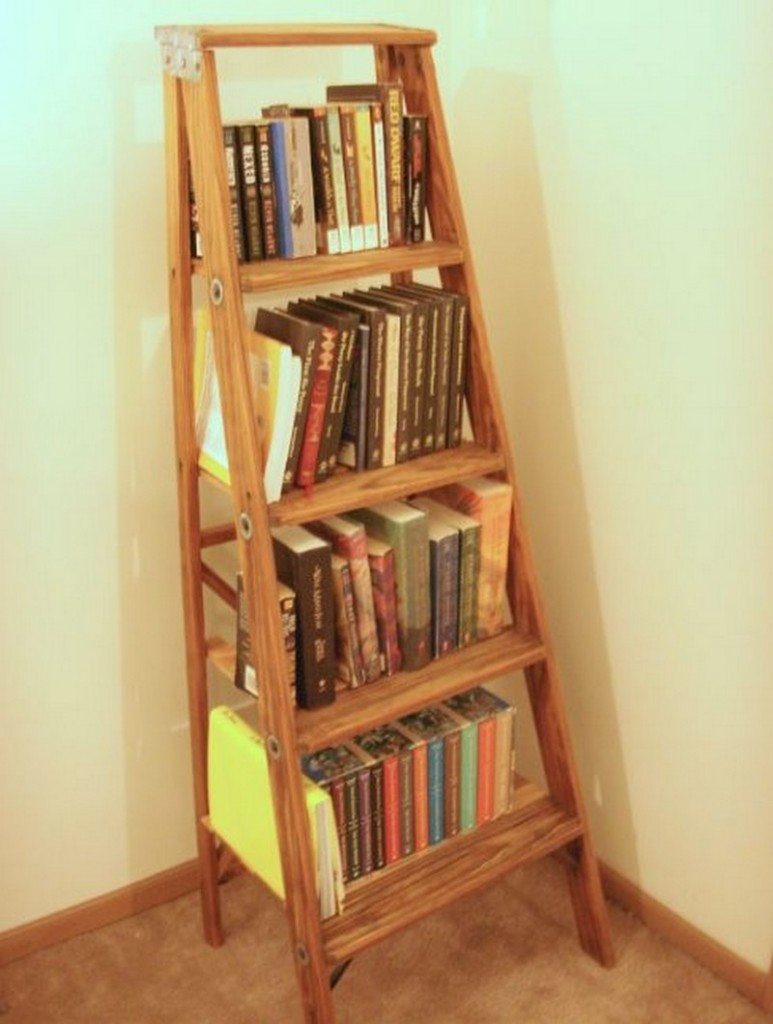
Got plenty of books but have a small room? maybe you’d just like to add a unique conversation piece to your study? This DIYer found the perfect solution in the most unexpected place – the trash!

This dingy old ladder was ready for the dump, but was given a new life. With a book collection that needed shelving, and an unwillingness to buy a new bookshelf, this DIYer realized that transforming this ladder into a stylish bookshelf offered the perfect solution.
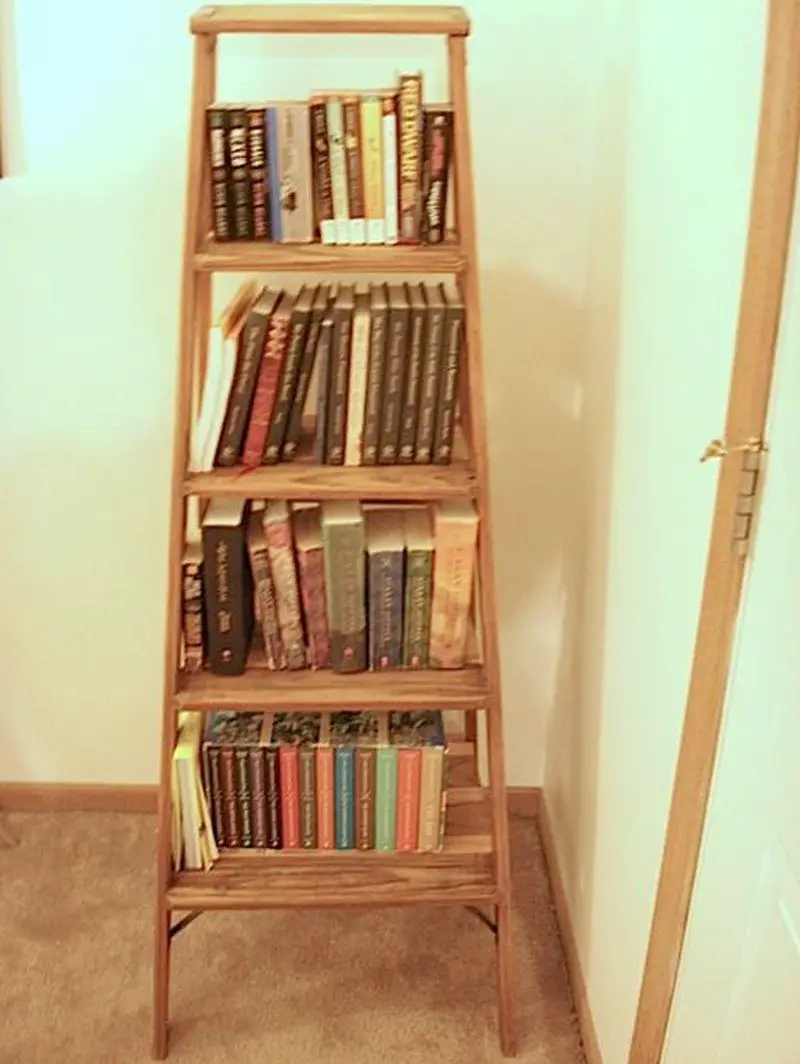
What’s great about this bookshelf is that it’s light-weight and built in such a way that you could easily disassemble it to relocate. It doesn’t consume a lot of floor space, and provides a surprising amount of storage.
Not only do you save space, but money as well. Most of the materials are free and salvaged from previous projects. All that is needed to be bought are some brackets and the finishing materials. Perfect, isn’t it?
Materials:
- Ladder
- ¼” Red Oak Planks
- ¼ – ½” Red Oak Support
- ½ x 1 ½” Red Oak
- 1 ½” Shelf Brackets – cross bars support
- Shelf Braces – mending plates, cross bars support
- Wood Glue
- Sandpaper
- Wood Finish
- ½” – 5/8” Wood Screws
Tools:
- Jig Saw
- Sander
- Drill
- Level
- T-Square
- Tape Measure
[embedit snippet=”adsense-728×15-inline-text-only-ad”]
Steps:
The first step is the longest process: sanding the entire ladder to remove its current paint.

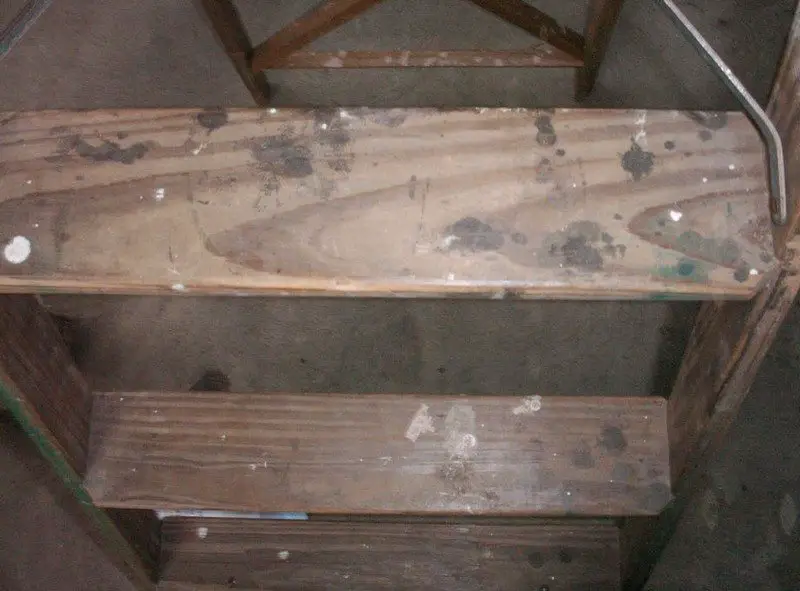
The time and effort is worth it because of the nice-looking wood you will see underneath.
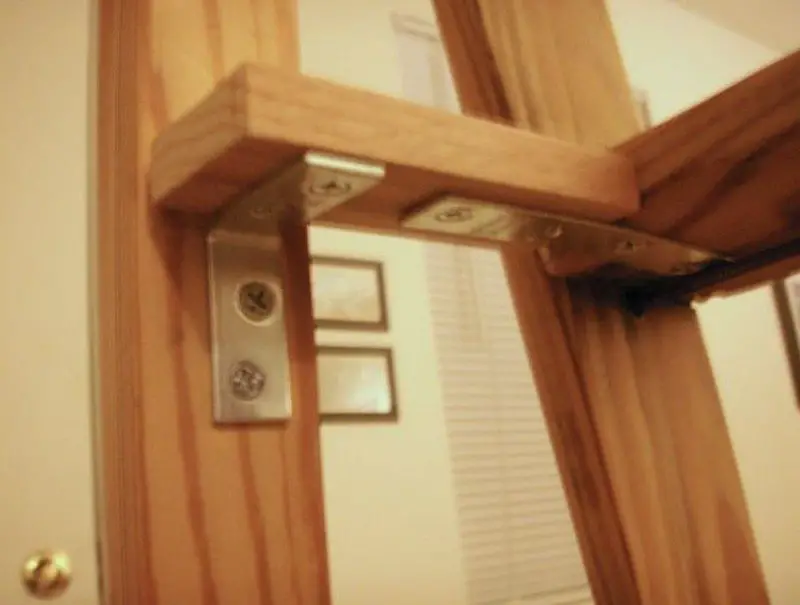
Next, attach the metal braces under the ladder steps. Make sure both of these metal braces are aligned so that your shelf would be level.
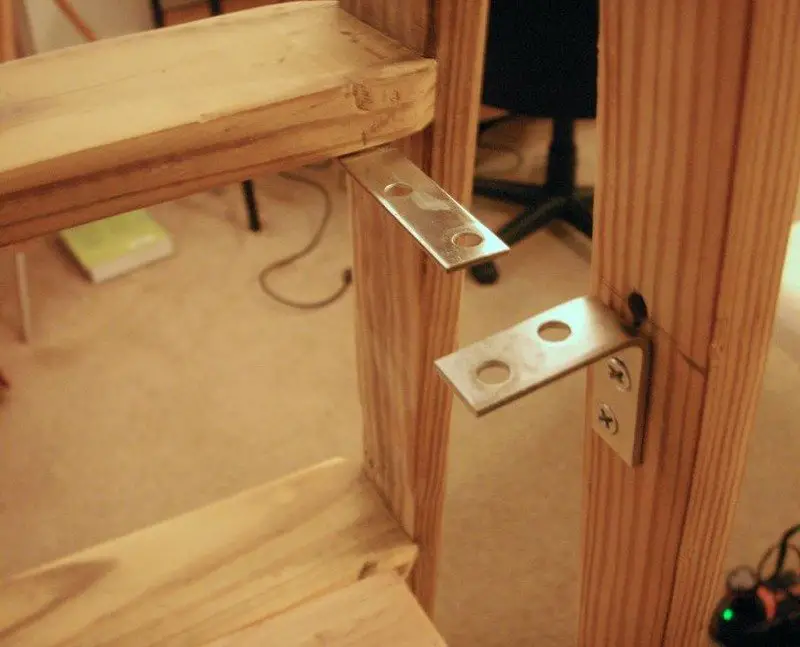
This is how it should look like together with the cross bar.
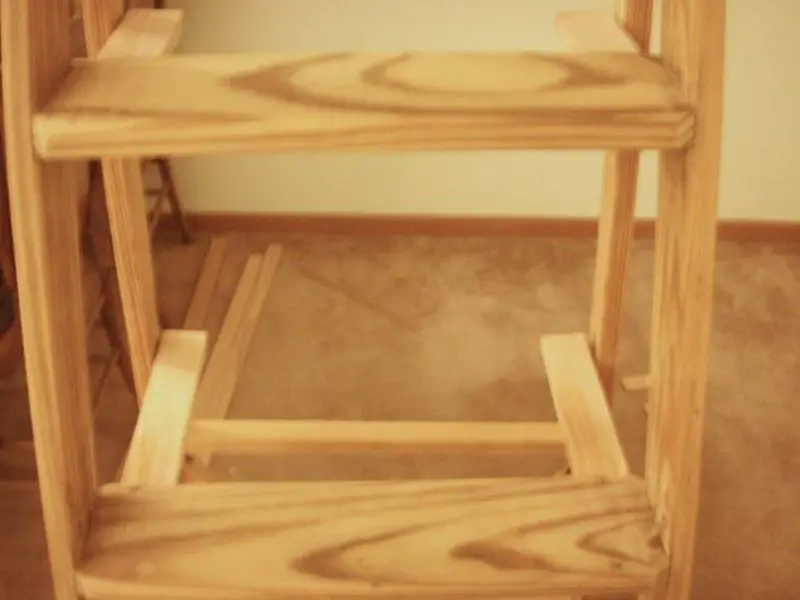
Do the same with the other ladder steps, the next pair of cross bars being longer than the ones above them. They should be flush against the back of the step and aligned to the back rail as well. This is where you can use the T-Square. Your cut would depend on the angle of the rail the cross bar will be next to.
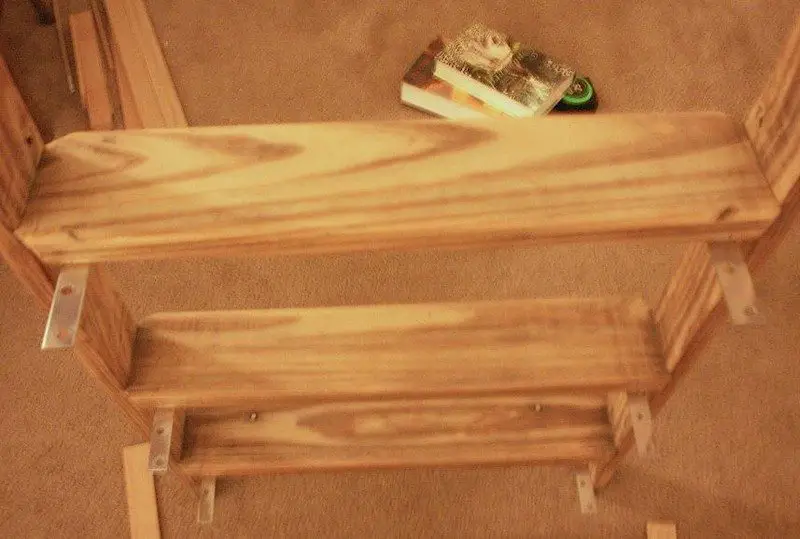
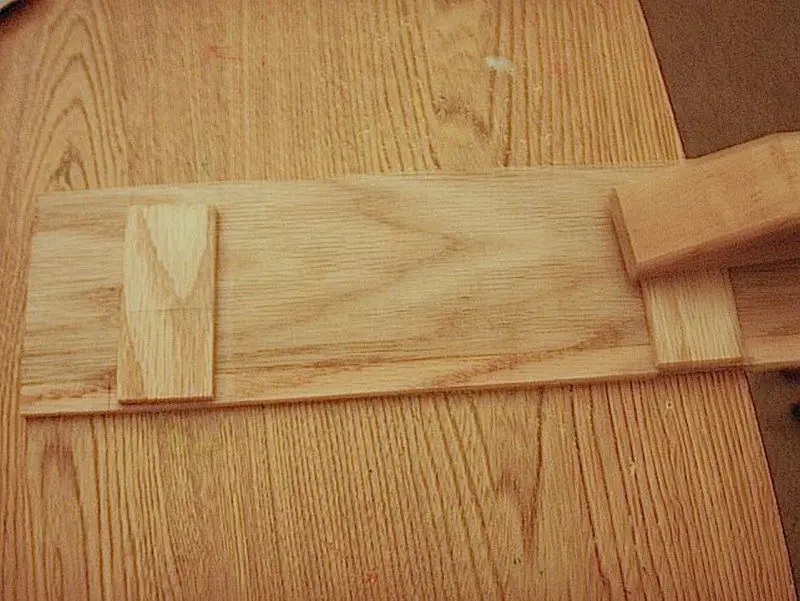
Then measure and cut the 1/4″ boards you have accordingly for the shelves. Attach some wood support underneath them so that the shelves would not slide off the steps. These would also serve to support the weight of the books you will be putting. The shelves would not be glued nor screwed to the steps so it would be easy to disassemble and move.
Coat the ladder bookshelf with your desired finish…
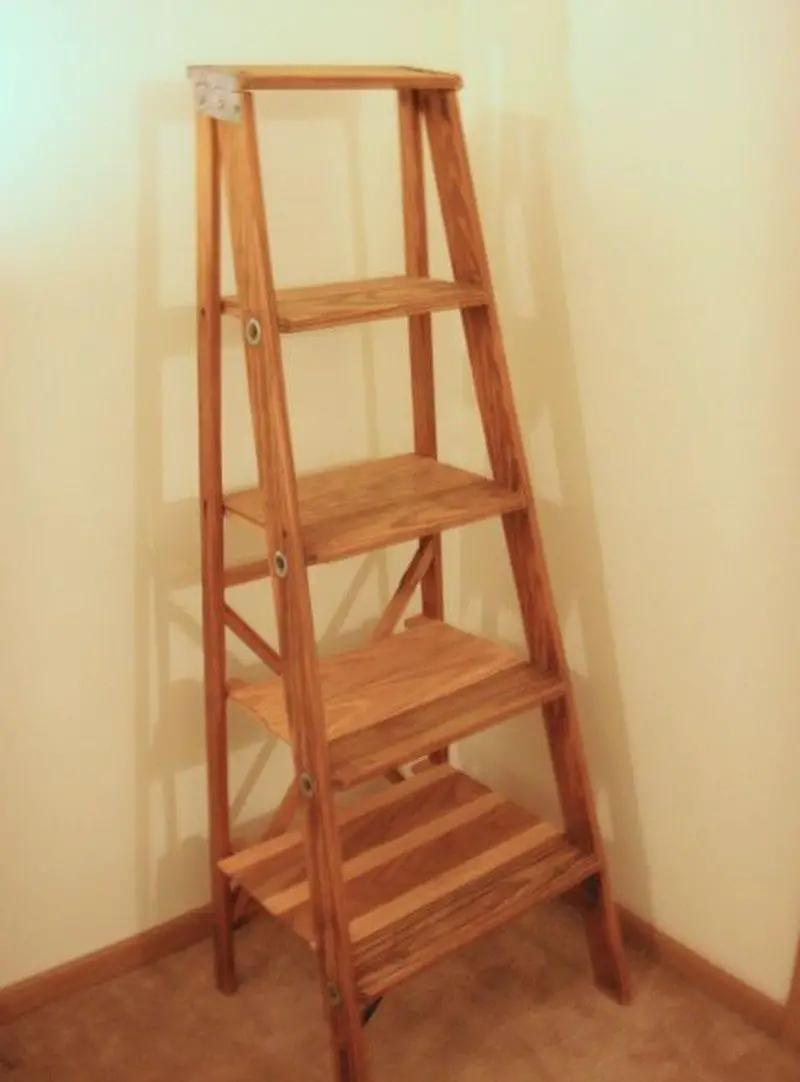
and once dry you are ready to load them with your books!
Thank you action pig for the great idea!
[embedit snippet=”media-net-inline-ad-728×90″]


