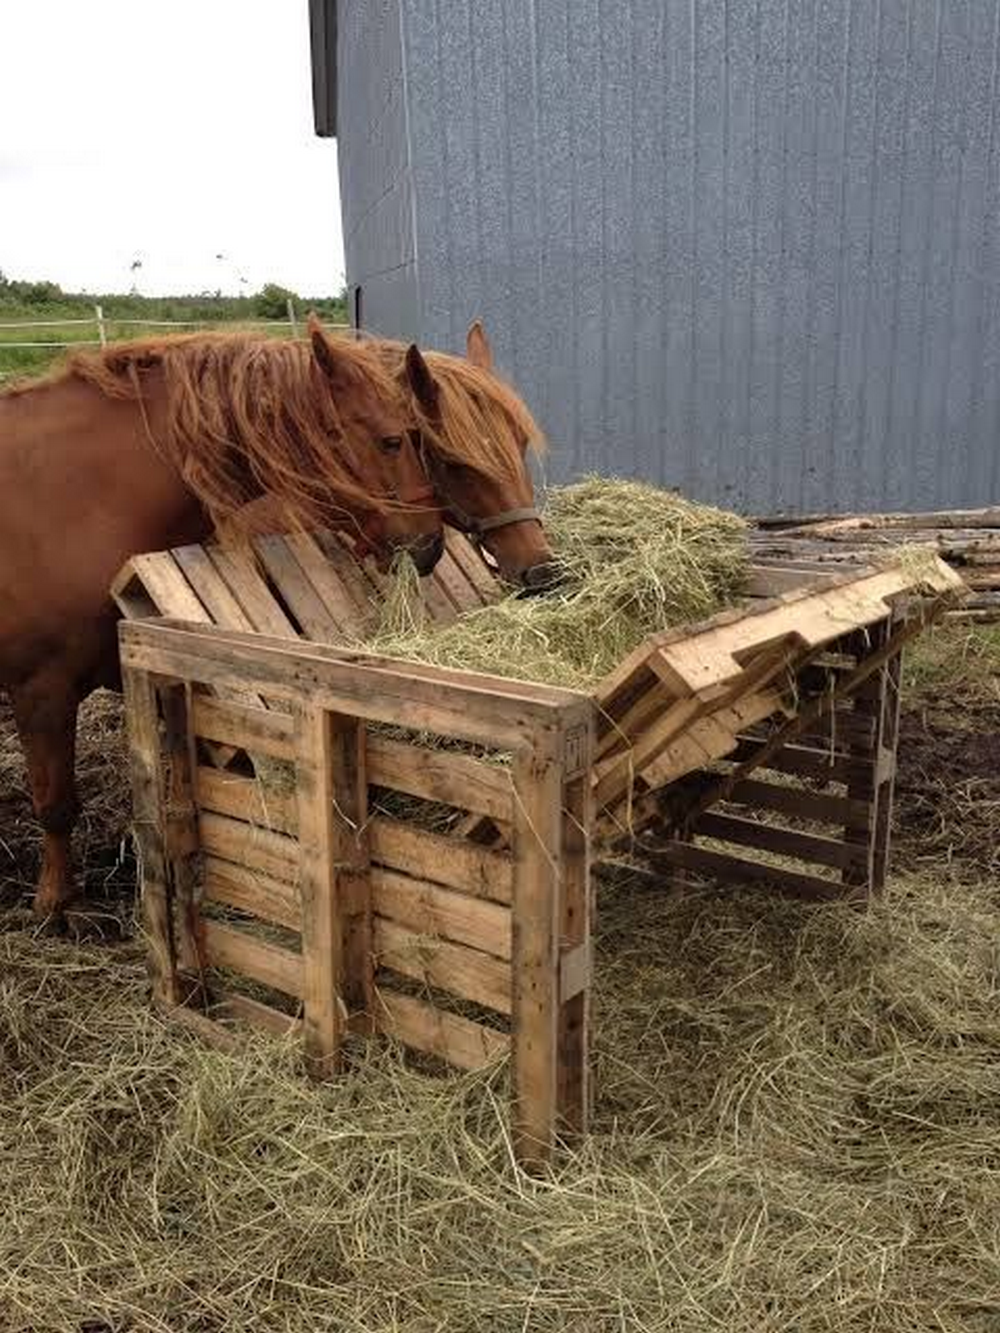
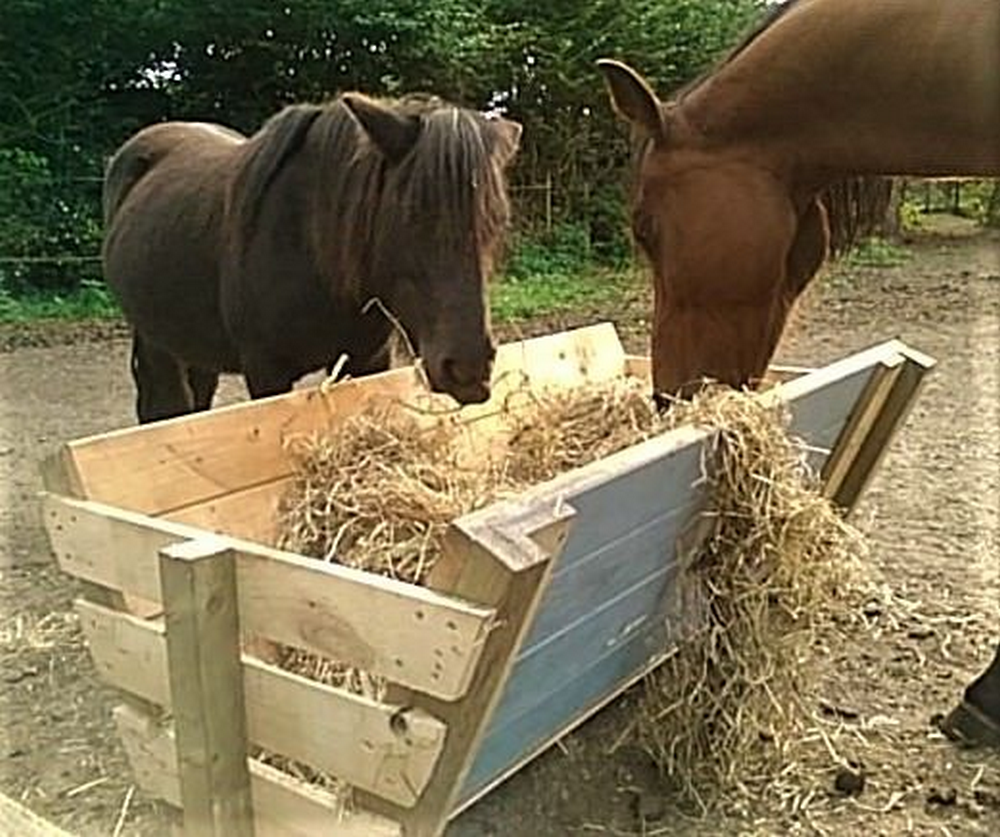
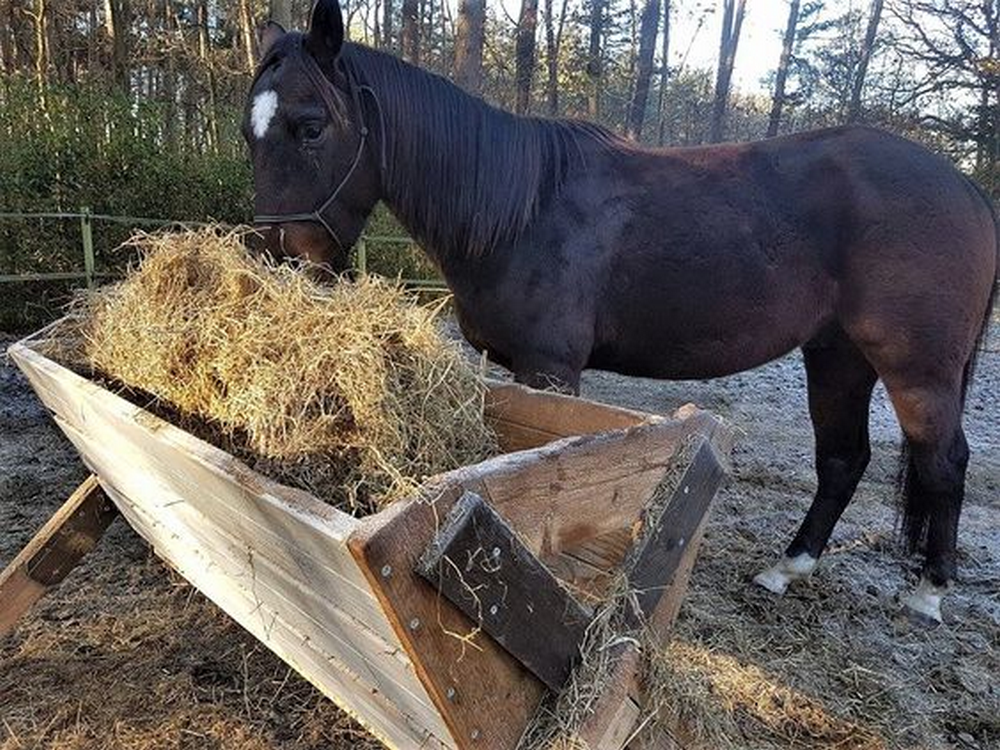
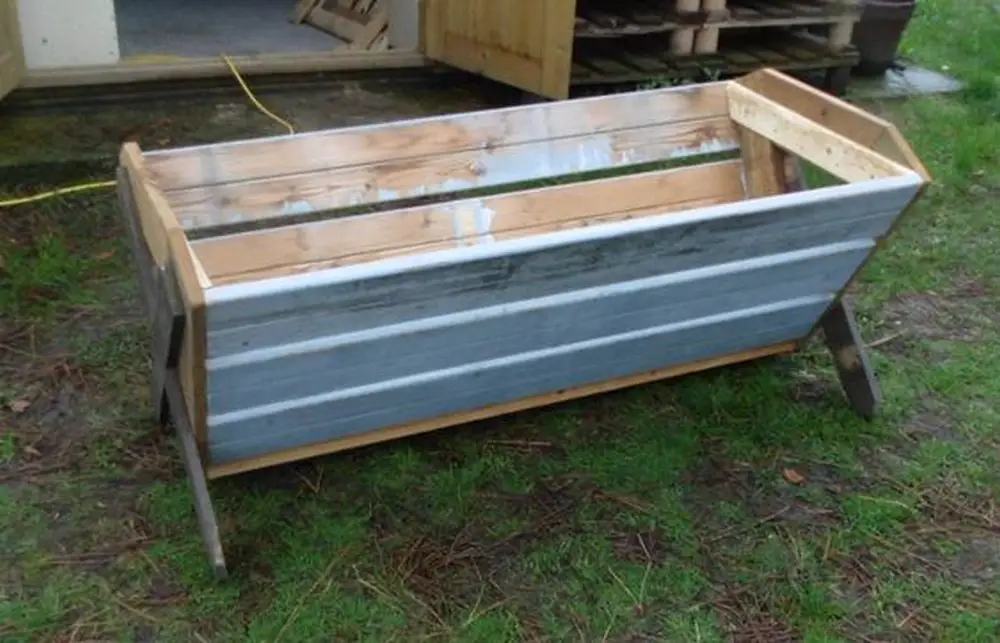
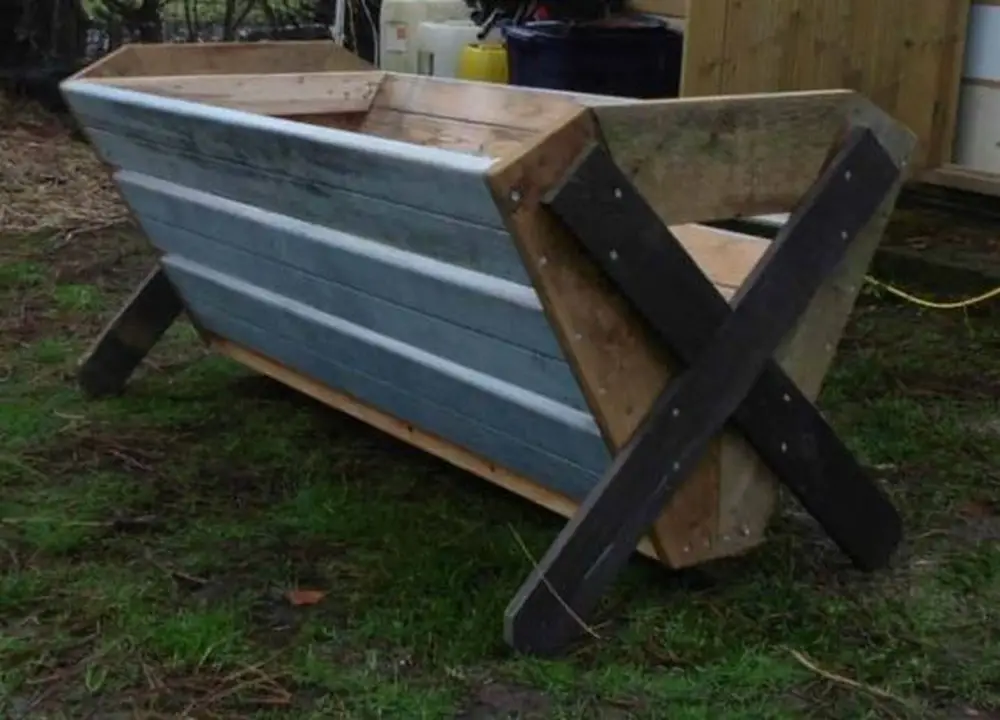
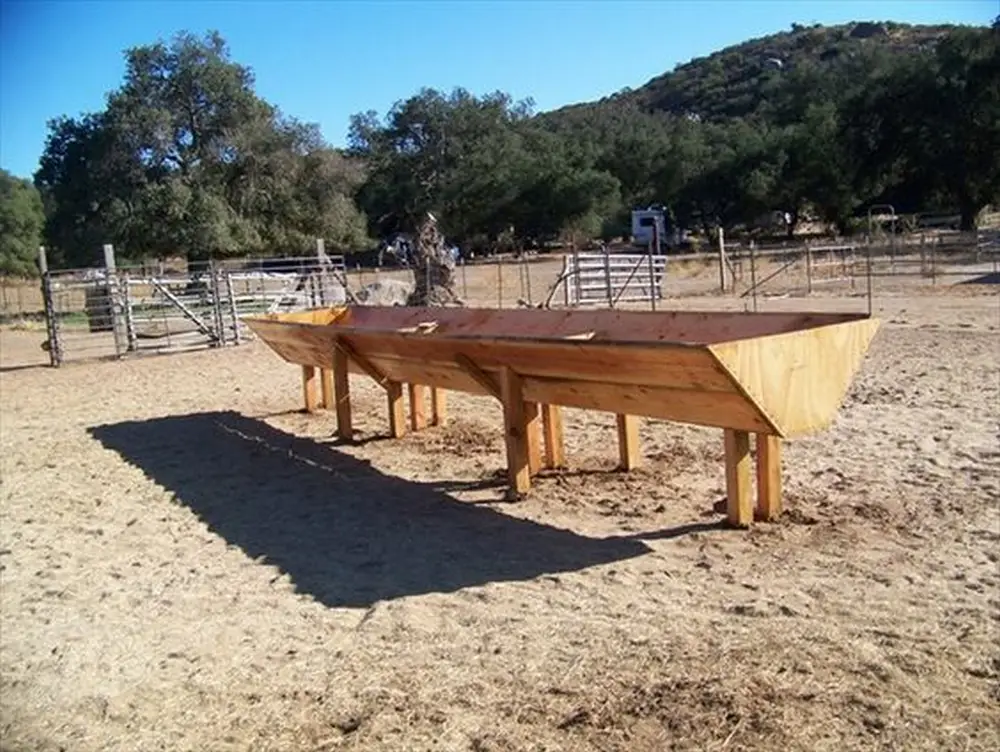
If you have livestock, or if you’re considering adding them to your homestead build a homemade hay feeder from pallets. This will be very helpful in controlling feed wastage. Ready-to-use units are being sold commercially but those are really expensive. Some will set you back $600.
Contents
- 1 Homemade Hay Feeder from Pallets: An Accessible Solution
- 2 Conclusion
Homemade Hay Feeder from Pallets: An Accessible Solution
You can make a homemade hay feeder using wood pallets at low cost. DIY it in a few hours with easy-to-follow plans. Get free pallets if you don’t have any.
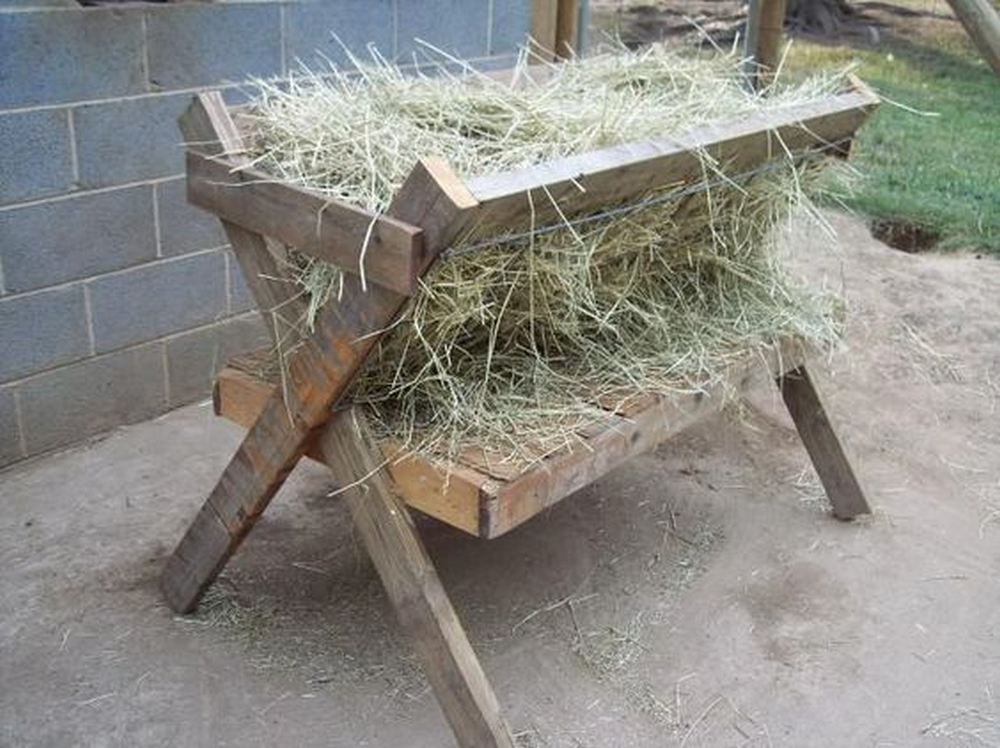
Building a Hay Feeder from Pallets
Here’s a special tip though: choose your pallets carefully. Make sure you have those HT-stamped ones as they were heat treated. Stay away from pallets that have undergone Methyl Bromide fumigation because they pose health risks.
Materials:
- Pallets
- Screws
Tools:
- Circular saw
- Hammer
- Electric drill
- Screw Bits
Instructions
- Step 1: Prepare Your Pallets
- First, inspect your pallets to ensure they’re in good condition and free from chemical treatments. Look for the HT (Heat Treated) stamp, which means they’re safe for use around animals. You might need two or more pallets depending on the feeder size you want to build.
- Step 2: Design Your Feeder
- Decide on the dimensions of your homemade hay feeder. A standard size could be about 4 feet long, 2 feet wide, and 3 feet high, but you can adjust this based on your needs and the number of livestock.
- Step 3: Disassemble Pallets
- Using the circular saw and hammer, carefully disassemble your pallets. You’ll need to remove the nails or screws that hold the pallets together to get the individual boards. Be cautious to avoid damaging the wood.
- Step 4: Cut the Wood to Size
- Once you have your boards, use the circular saw to cut them to the desired lengths according to your design. You’ll need pieces for the sides, bottom, and if desired, a roof for the feeder.
- Step 5: Assemble the Base
- Start by laying out the pieces for the base of the feeder. Use the electric drill to securely screw the boards together, ensuring the base is solid and even.
- Step 6: Attach the Sides
- With the base assembled, start attaching the side panels. Position them vertically around the base and secure them with screws. Ensure the sides are tightly fixed to withstand the pressure of the hay and the animals feeding from it.
- Step 7: Create the Feeding Slots
- For the front panel, you might want to create slots or a barrier allowing the livestock to access the hay without pulling it all out. Cut additional boards to size and space them out evenly along the front, securing them with screws.
- Step 8: Secure the Back Panel
- Attach the back panel in the same manner as the sides, ensuring it’s securely fastened to the base and the side panels for added stability.
- Step 9: Add a Roof (Optional)
- If you’re placing the feeder outdoors, consider adding a roof to protect the hay from rain. Cut additional pallet boards to size and attach them to the top of the feeder, ensuring adequate overhang on all sides.
- Step 10: Finishing Touches
- Inspect your homemade hay feeder for any sharp edges or loose screws. You may want to sand down rough areas to protect your livestock from injuries. If desired, you can also paint or stain the feeder to extend its life and improve its appearance.
- Step 11: Position the Feeder
- Place your completed hay feeder in a convenient and accessible location for your livestock. Fill it with hay, and observe how your animals interact with it, making any necessary adjustments.
Benefits of Homemade Hay Feeder from Pallets
Using a homemade hay feeder from pallets offers a range of benefits for livestock owners looking for an efficient, cost-effective feeding solution. This approach minimizes waste and promotes a more sustainable and eco-friendly farming practice. Here are the key advantages of opting for a DIY hay feeder from pallets.
Cost Savings
Constructing a homemade hay feeder from pallets is a cost-effective alternative to buying commercial ones. Livestock owners can save hundreds or thousands of dollars on high-quality feeders. Pallets, easily obtained for free, can be repurposed into homemade feeders, reducing waste and saving money.
Additional expenses for screws, nails, or protective finishes are minimal compared to buying a new feeder.
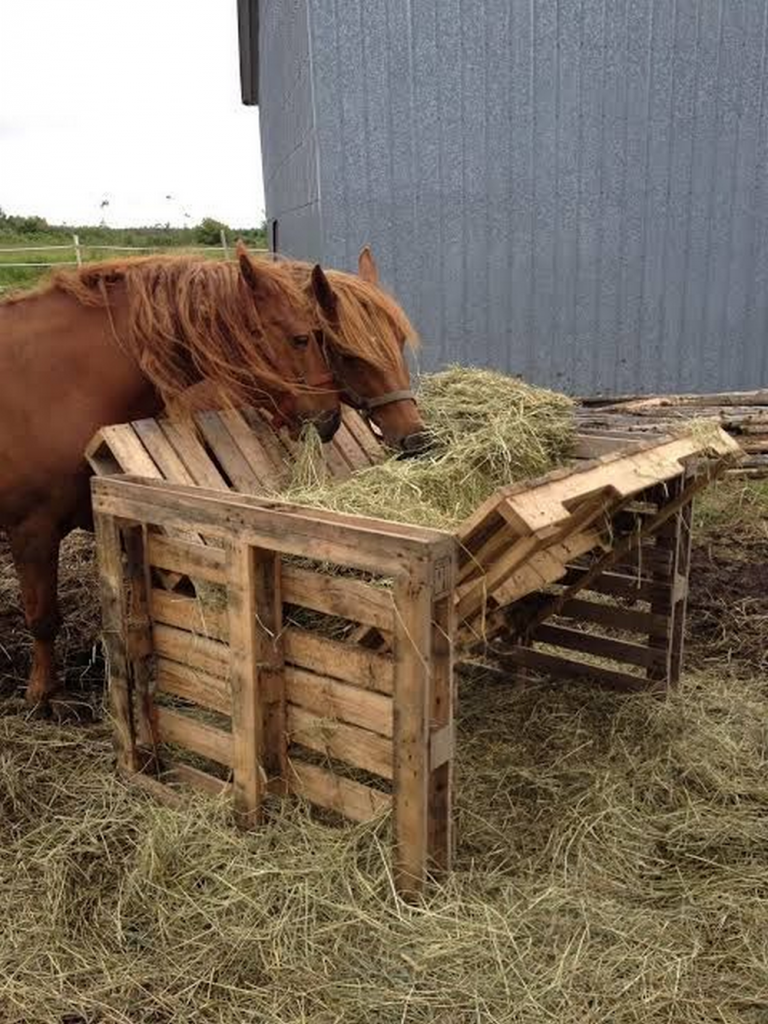
Explore your surroundings before spending money on new materials. Find treasures in your garage, shed, or barn to create innovative solutions. Saves money and sparks creativity by using items you already have.
Here’s how you can get started:
- Inventory Check
- Begin by assessing what materials you already own. Wooden pallets, old furniture, or even scrap metal can become valuable resources.
- Creative Repurposing
- Think creatively about how these materials can serve your needs. Can an old ladder become part of a support structure? Could unused fencing provide stability?
- Minimal Purchases
- Only buy what’s absolutely necessary, like screws or protective finishes, to complete the project.
By embracing this mindset, not only do you cut costs, but you also contribute positively to the environment by reducing waste. This approach results in a win-win scenario, where resourcefulness leads to both economic and environmental benefits.
Minimized Hay Waste
Minimizing hay waste is a crucial concern for livestock owners, and a homemade hay feeder from pallets addresses this issue effectively. Hay is a primary component of livestock nutrition, and its wastage can lead to increased feeding costs and potentially impact the health and well-being of the animals.
A homemade hay feeder made from pallets helps prevent waste by keeping the hay off the ground and clean. Without containment, hay can be soiled by animals and trampled, leading to significant waste. A feeder ensures that more hay is consumed, and protects it from being scattered by the wind or spoiled by rain.
This protection helps to ensure that the feed remains fresh, clean, and appealing to the livestock, regardless of weather conditions.
Environmental Benefits
Constructing a homemade hay feeder from pallets is environmentally beneficial and supports sustainable farming. Repurposing pallets decreases the need for new raw materials, reducing deforestation and carbon emissions.
Repurposing pallets helps reduce waste in landfills and methane emissions. It conserves land, reduces pollution, and promotes sustainable resource use. This practice inspires others to adopt similar methods, conserves energy, and lowers the carbon footprint of livestock maintenance.
Additionally, it helps save forests by decreasing the need for new wood and protects ecosystems and biodiversity by minimizing unnecessary logging.
Durability and Customization
Using pallets to construct a homemade hay feeder offers durability and customization potential. Pallets are sturdy and capable of withstanding weight and weather conditions. A homemade hay feeder made from pallets can last for years and be tailored to fit the needs of different livestock sizes.
This DIY approach allows for efficient feeding and optimal use of available space, with the flexibility to customize the design to match the farm’s layout and aesthetics.
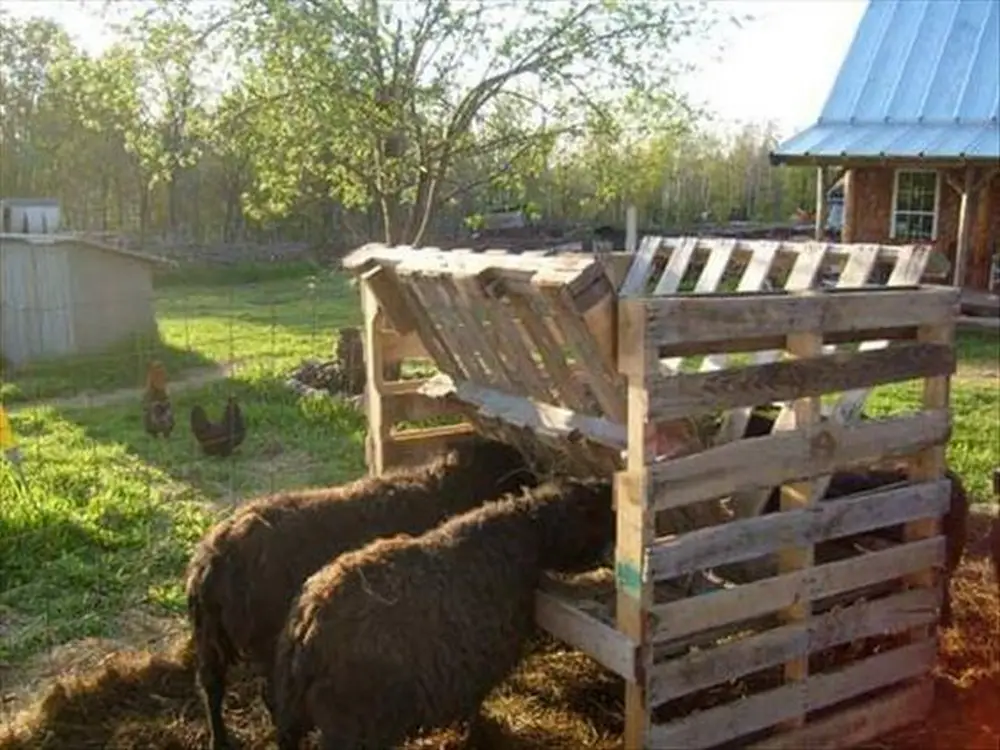
Easy to Build and Maintain
Creating a homemade hay feeder from pallets is a simple and accessible project suitable for various skill levels. With minimal materials and common tools, such as a circular saw and electric drill, pallets can be transformed into a functional feeder for livestock.
The design can be adjusted easily for different needs, and maintenance is straightforward, with the feeder lasting for years with basic repairs. This environmentally friendly option reduces waste and aligns with sustainable farming practices, making it an attractive choice for livestock owners.
A homemade hay feeder from pallets offers livestock owners a practical and sustainable solution. It embodies cost-effectiveness, environmental responsibility, and functionality, making it an ideal choice for improving livestock feeding practices.
Save Space with Style: Build a DIY Wall Mounted Hay Feeder
A wall-mounted homemade hay feeder is a fantastic solution for keeping feeding areas organized while saving space. By attaching it to the wall, you create an efficient setup that’s easy to access, refill, and maintain—perfect for barns or smaller livestock areas.
Materials Needed
Lumber
- Project Lumber
- Use 1×18 project lumber for the sides of the feeder. This larger board will create the base structure, providing a strong, supportive frame for holding hay without warping.
- Studs
- 2×4 studs are essential for constructing a stable bottom and reinforcing the back. These create a strong foundation that can support the weight of the hay and maintain the feeder’s shape over time, even with constant use.
Fasteners and Framing
- Garden Fence Wire
- Select a sturdy garden fencing material with closely spaced wiring to keep hay contained while allowing easy access for animals. This fencing forms the front section, where animals can pull hay out without spilling or scattering it.
- U Clips
- Essential for securely attaching the garden fencing to the wooden frame. Use U clips around the frame’s edges to keep the wire taut and prevent sagging, ensuring that the structure remains sturdy and aligned.
- Additional Lumber (1×2)
- Use these smaller pieces to frame the garden wire. Not only does this add extra stability, but it also creates a clean, finished appearance that minimizes sharp edges or protrusions.
Tools
For this project, ensure you have the right tools to achieve a safe, sturdy construction:
- Saw
- For cutting lumber to precise dimensions, ensuring each piece fits securely within the frame.
- Dril
- A drill is essential for assembling the components, particularly when attaching the studs and frame sections. Consider using wood screws for added durability.
- Hammer
- For securing the U clips in place. This will allow the garden fencing to remain tightly fastened to the frame.
With these materials and tools, you’ll have a functional, durable hay feeder that’s ideal for organizing livestock feeding areas efficiently and stylishly.
Here’s a step-by-step guide for building a wall-mounted hay feeder:
Prepare the Lumber
- Cut Lumber for Sides: Use 1×18 project lumber for the sides. Cut these pieces to match the desired height of your feeder.
- Cut Lumber for Bottom and Back Support: Use 2x4s to form the bottom and reinforce the back. This will support the weight of the hay.
Assemble the Frame
- Attach Bottom to Sides: Using wood screws, attach the 2×4 bottom piece between the two side boards.
- Reinforce the Back: Screw another 2×4 across the top back, connecting the two sides.
Attach Garden Fence Wire
- Cut Fence Wire: Cut a piece of sturdy garden fence wire to cover the open front of the feeder.
- Secure with U Clips: Use U clips to attach the fence wire to the wooden frame, ensuring it’s tightly secured.
Frame the Wire
- Cut 1×2 Pieces: Cut 1×2 strips of wood to outline the edges of the wire.
- Attach Framing Pieces: Attach these around the perimeter of the wire using screws, creating a clean and stable frame.
Mount the Feeder
- Mark Wall Studs: Locate and mark the wall studs for secure mounting.
- Drill Mounting Holes: Drill holes in the back of the feeder and secure it to the wall studs using long screws.
Your wall-mounted homemade hay feeder is now ready! This design will help you save floor space while keeping hay organized and accessible.
Recommended Fencing for the Front of a Hay Feeder
When selecting fencing for the front of a homemade hay feeder, it’s essential to choose a design that balances durability and functionality. A popular choice is garden fencing with 1×3 inch openings. This type of fencing provides several benefits:
- Sturdy Construction
- The 1×3 inch holes offer a robust structure that can The 1×3 inch openings in the fencing are designed for durability, providing a solid structure that withstands daily use and the natural wear that feeding areas face.
- The material should be built to resist bending and breaking, even under consistent pressure from animals, ensuring a long-lasting solution that remains effective over time. This strength reduces the need for frequent replacements or repairs, making it a cost-effective choice for animal enclosures and feeding stations.the frequent use and wear associated with feeding areas.
- Safety for Animals
- The 1×3 inch openings are purposefully sized to provide easy access for animals to reach through and feed without causing harm. The openings are small enough to prevent animals from sticking their heads through, reducing the risk of entanglement or injury.
- This design prioritizes animal welfare, offering a balance of accessibility and safety by catering to the natural movements and feeding behaviors of various species.
- Wide Availability
- This type of fencing is widely available, often offered in durable materials such as galvanized steel for rust resistance or PVC-coated variants for enhanced weatherproofing. These materials provide added longevity, particularly in outdoor settings, by protecting against corrosion and other environmental impacts.
- The variety in materials allows owners to choose options that best suit their specific needs, ensuring that the fencing can withstand different climates and conditions without compromising durability.
When choosing the right fence, ensure it is easily maintainable and capable of withstanding environmental elements to provide a long-lasting solution for your hay feeder.
Click on any image to start the lightbox display. Use your Esc key to close the lightbox.



Here’s an expanded version with additional detail:
Tips for Preparing Livestock for Winter
As winter approaches, it’s crucial to make preparations that ensure your livestock stays warm, healthy, and well-protected from the harsh conditions. Here are some essential tips to keep in mind:
- Keep Their Water from Freezing
- Water is vital for livestock year-round, and in winter, unfrozen water is essential to avoid dehydration. Invest in water trough heaters to prevent ice from forming in water sources.
- Ensure heaters are appropriate for livestock use, regularly checking them for proper function and safety. For areas without electricity, consider insulated waterers that retain heat longer or use thermal containers to minimize freezing risk.
- Provide Adequate Shelter
- Animals need a warm, dry place to shield themselves from snow, wind, and cold temperatures. Inspect roofs, walls, and doors for any weaknesses, drafts, or leaks, and make necessary repairs.
- Proper insulation, a dry floor (consider using straw or wood shavings), and wind-blocks help retain warmth. Ensure there’s enough space in the shelter so all animals can comfortably rest without crowding, which helps reduce stress and illness during winter months.
- Optimize Feeding Arrangements
- Consider building wall-mounted hay feeders sized to the number and needs of your animals. Proper feeders prevent hay from being wasted by keeping it off the ground, where it might get wet, dirty, or trampled.
- Elevated feeders can also reduce exposure to mud and ice, maintaining a cleaner environment for feeding. Stockpile sufficient hay or forage to last through the winter, as forage requirements increase with colder temperatures.
- Adjust Nutritional Needs
- Colder weather raises livestock’s caloric needs, as they burn more energy to stay warm. It’s essential to consult a veterinarian or animal nutritionist to determine the ideal adjustments in protein, fat, and fiber for your animals’ diets.
- Additional feed may be required for energy, while balanced nutrients support their immune systems, keeping them healthier throughout winter. Some animals may benefit from supplements or increased quantities of specific feeds that generate more body heat.
- Conduct a Health Check
- A thorough health check before winter ensures your livestock enters the season in optimal condition. Vaccinations, deworming treatments, and addressing existing health issues are essential to help animals build immunity to seasonal ailments.
- Pay close attention to hooves, coat conditions, and weight, addressing any concerns promptly. Health checks also provide a baseline to monitor any health changes over winter, allowing for early intervention if issues arise.
By preparing adequately for winter, you’ll help your livestock maintain health, comfort, and productivity even through the colder months.
Conclusion
Constructing a homemade hay feeder from pallets is an economical and environmentally friendly project and a practical solution for any livestock owner looking to reduce feed wastage and ensure their animals have constant access to clean hay. This DIY project is accessible to anyone with basic tools and materials, and it offers the flexibility to customize the feeder to your specific needs and preferences.
Still looking for green ways to feed your livestock? Check out our livestock fodder growing system project!


