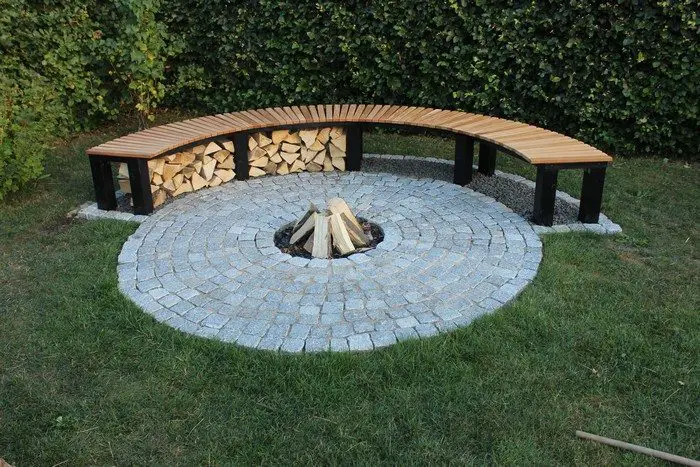
Does your backyard look too bare or lack an entertainment area? Here’s a nice idea that you can do to add some life to that space – a bench area with a fireplace!
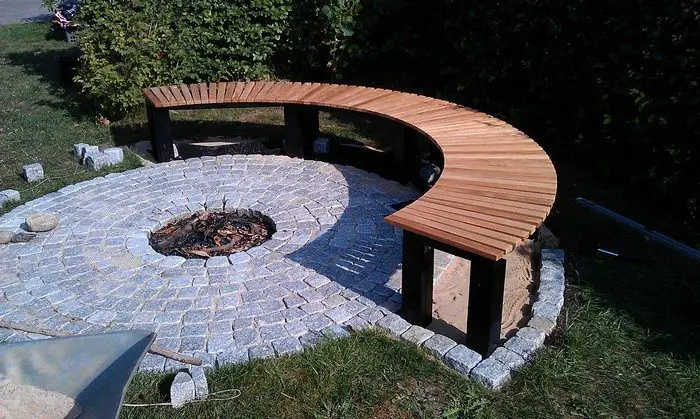
Enjoy the outdoors with friends and family during cooler days of the year with this bench area with a fireplace.
Outdoor fireplaces don’t just provide warmth, they also add a cozy ambiance to an outdoor space. They make the backyard a perfect venue for spring and summer gatherings, inspiring lingering conversations and camaraderie.

The project is easier than it looks! You don’t have to be a masonry expert to successfully make one. All you need is this step-by-step tutorial as your guide and about two days to build your own fireplace with a bench.
You can build this exact design if you really like it, but it’s always nice to add some personal touch to your DIY projects. ;)

What would you modify to make it unique and perfect for your backyard?
TIP: You can use limestone gravel instead of sand if you want a stronger base as limestone forms a harder crust when exposed to moisture. Use the finer limestone material to fill in cracks and you’ll have yourself a really solid build!
Click on any image to start the lightbox display. Use your Esc key to close the lightbox.![]()
Materials:
- Pressure Treated 4×4 Timber
- Hardwood Timber Slats for the Seat
- Long Pole
- Long String
- Spraypaint
- Gravel
- Sand
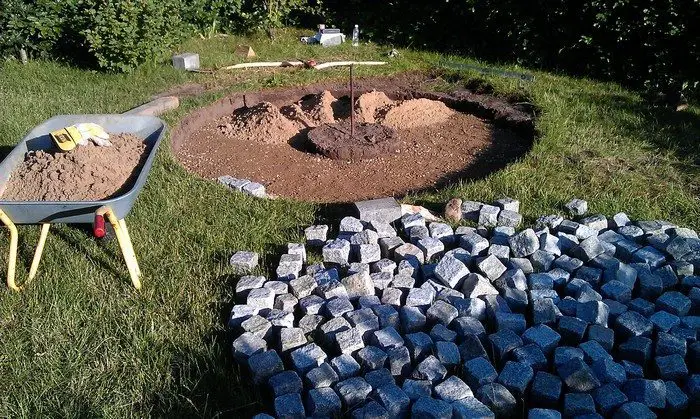
- Cobble Stones
- Stainless Steel Screws
- Paint and Sealer for Timber
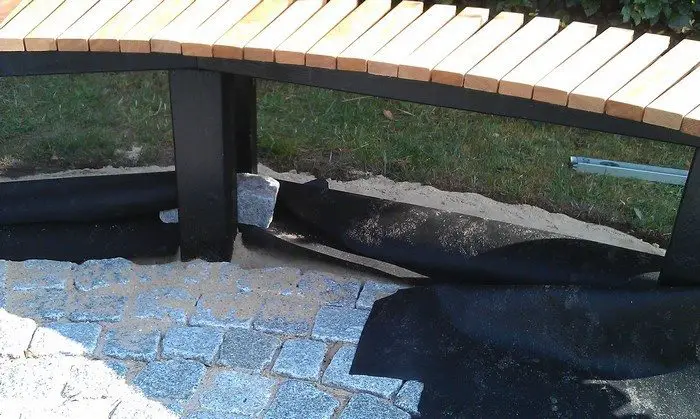
- Landscape Fabric
Tools:
- Measuring Tape
- Spirit Level
- Shovel
- Rubber Mallet
- Router
- Cordless Drill
- Paintbrush
Steps:
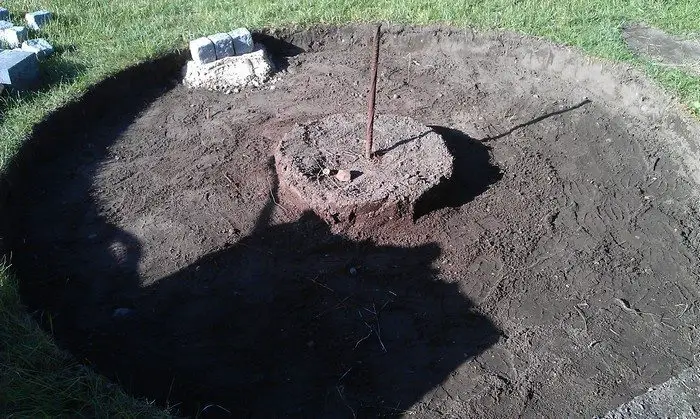
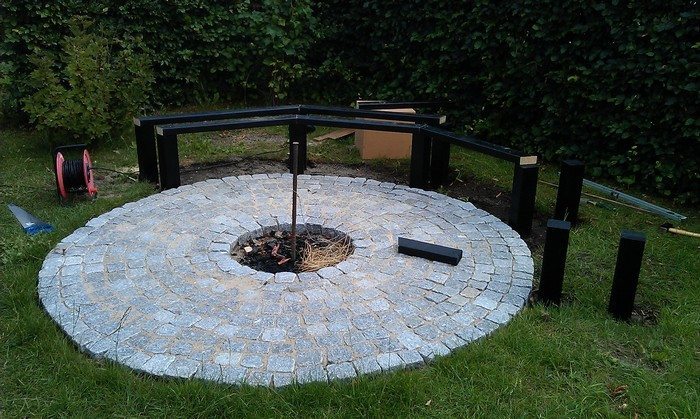
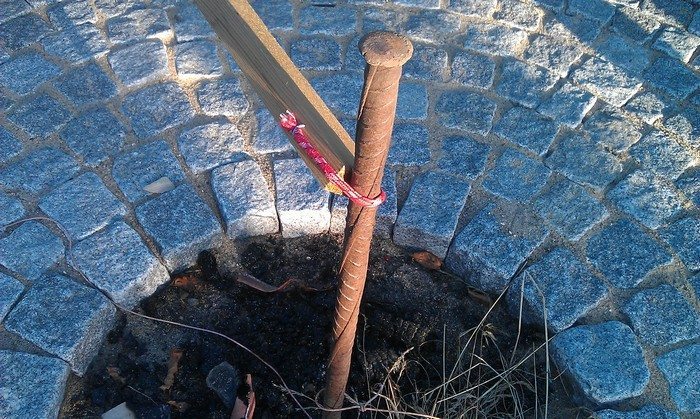
Digging in: Use a pole to establish the center of the fireplace. This will be a reference point so make sure to use a long pole. Use a string and some spray paint to mark the edge of the fireplace.
Then you can start digging… To find the right height you can add sand and some cobbles. Make sure the height is approved by the appropriate authorities (wife, girlfriend, whoever) and then make sure it stays where it is as it will be another reference point for you.
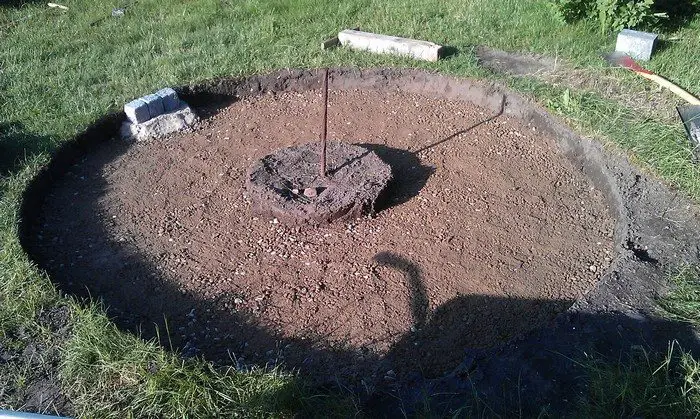
Adding gravel: Use at least 5-7 cm of gravel and stamp it firmly.
Adding sand: Then you can add some sand. Use your ‘cobble reference’ to determine the amount of sand. I suggest at least 10 cm of sand. Do not stamp it but make sure it is evenly allocated according to your spirit level.
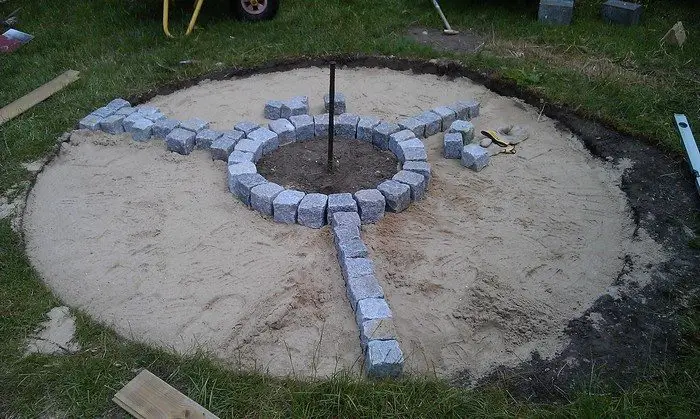
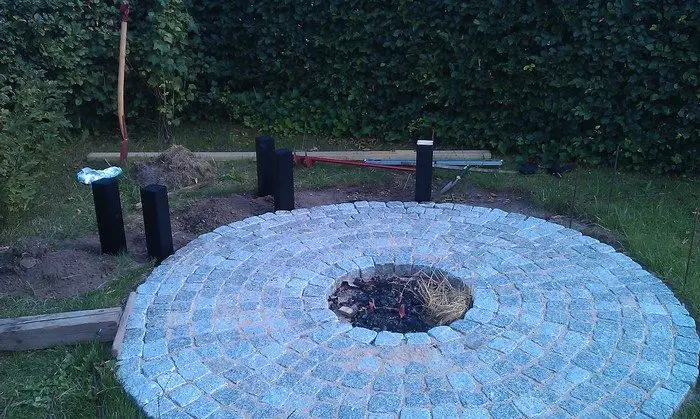
Laying cobbles: Use your spirit level and your ‘cobble reference point’ to make another two or three reference points on the outer perimeter of the fireplace.
Then make the inner perimeter. Again you should use a string on the reference pole with your chosen radius.
To keep the right level at all times, you should lay down a few ‘spokes’ of cobbles which will be helpful when laying the rest of the cobbles.
You should use a rubber mallet when laying the cobbles.
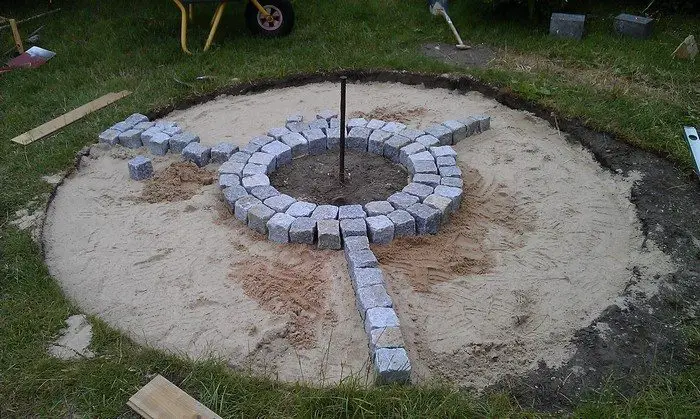
And more cobbles: Use your reference points and take it away as you go along!
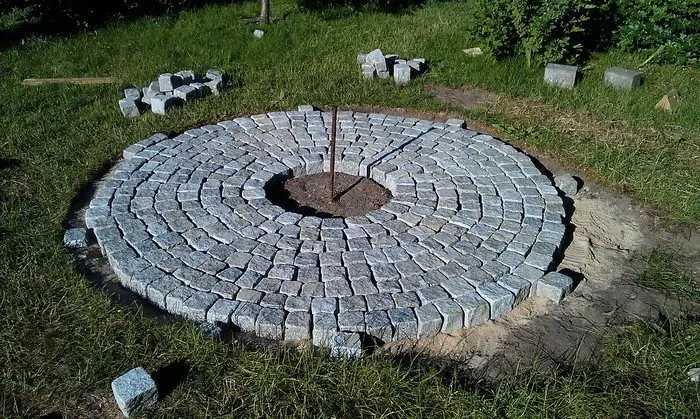
I suggest you start from inside and out. Make sure not to add sand between the cobbles yet.
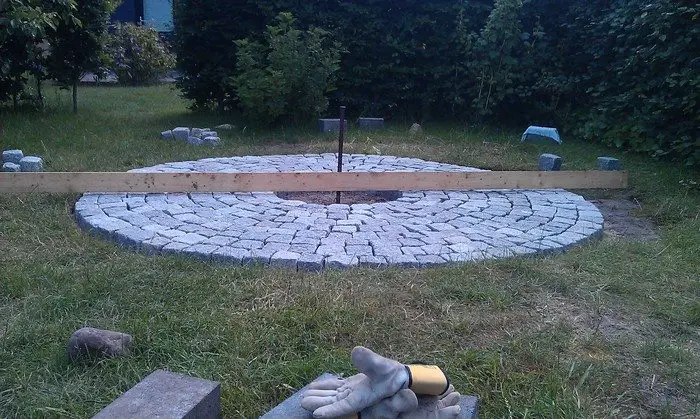
Checking your own work: Use something long and straight to check if you have done your work properly. As long as you did not add the sand you can easily adjust; move, lower, or raise each cobble.
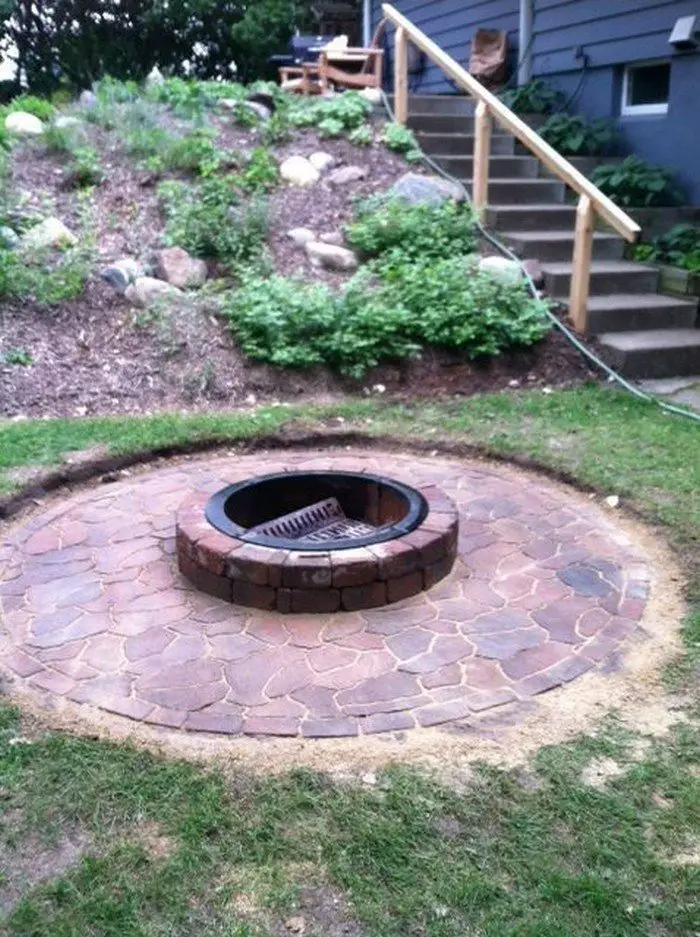
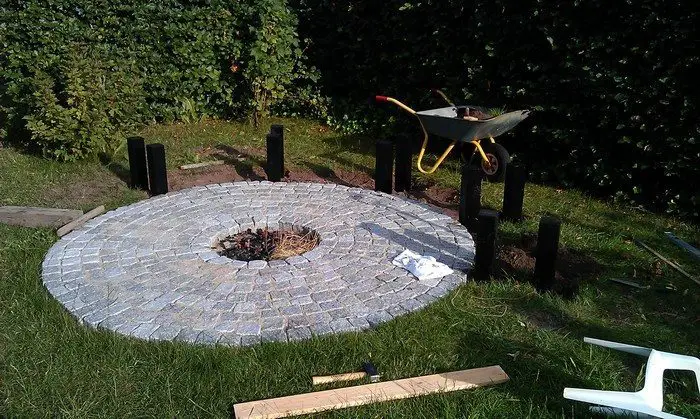
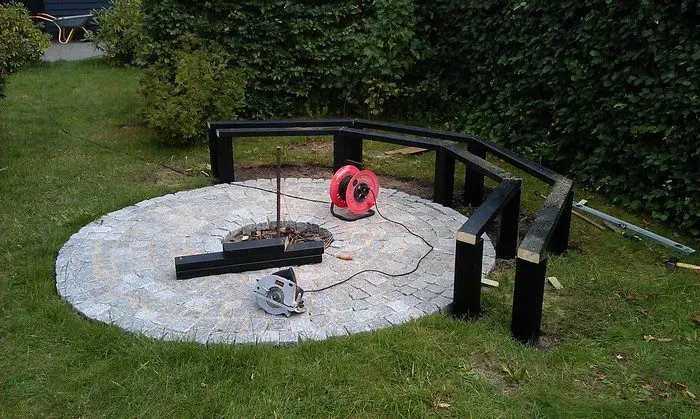
Fireplace: Add sand on top of the cobbles, water it down, and repeat. Hope for some rain and then you can walk on your new fireplace.
And now on to the bench…
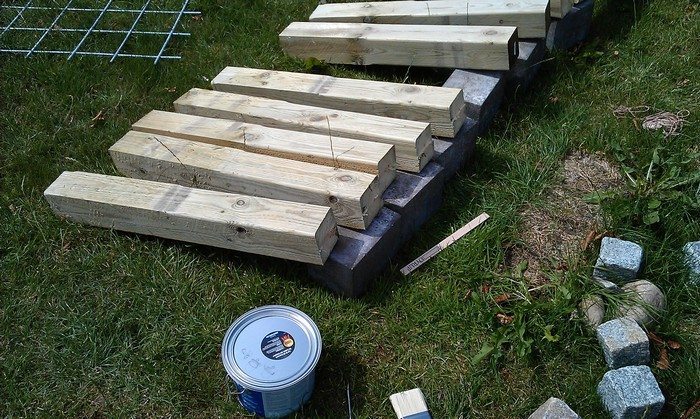
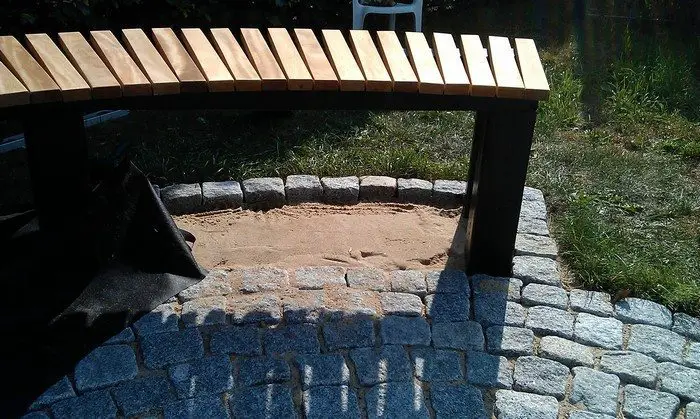
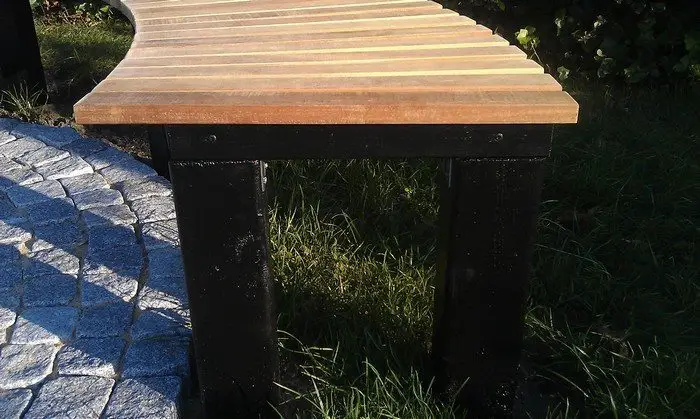
Preparing the posts: As you can see the bench has 4 parts therefore I need 10 posts. These are approximately 100 by 100 mm impregnated.
I wanted the height to be 40 cm above the cobbles so I have made each post 1 meter.
I used my router to round off the edges before painting them.
It is not necessary to use cement or something similar when digging them in as the battens will stiffen the entire construction.
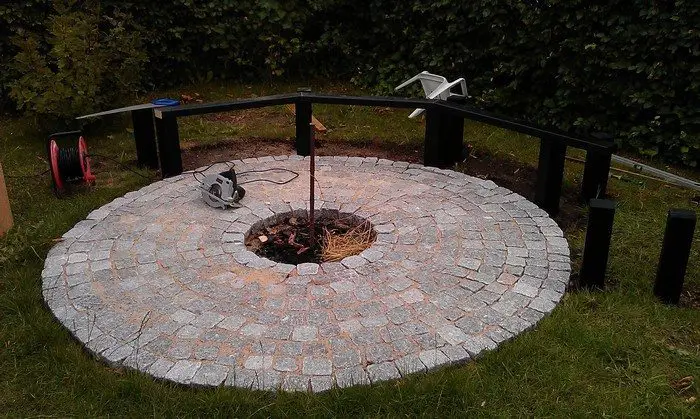
Mounting the battens…
I used two screws on each end of each batten.
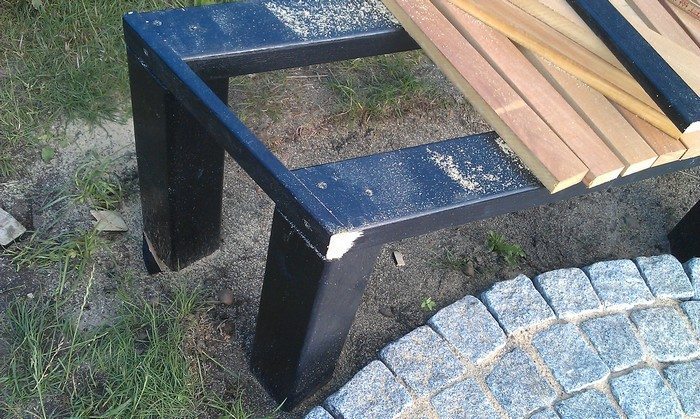
Gables: From the looks of it I made a small gable on each end. And whenever I look at it, I am happy that I did.
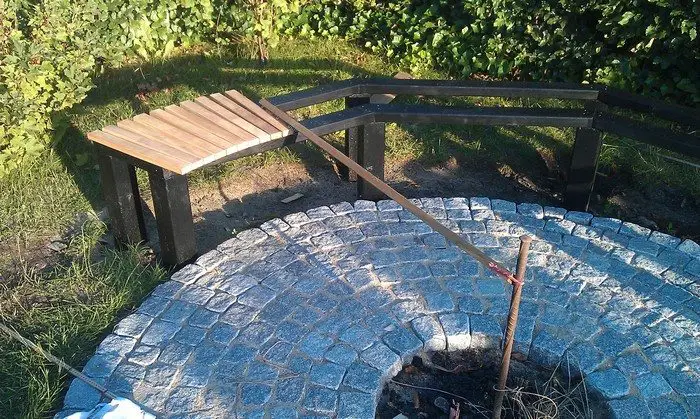
Placing the hardwood rods: Use your reference pole again.
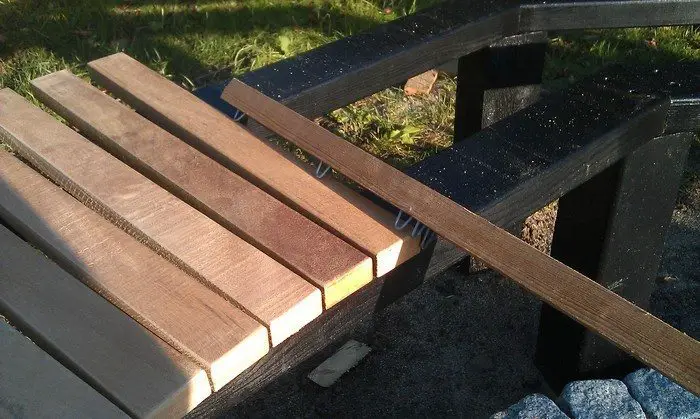
I made this batten my own tool for placing the rods right. Take a good look at the photos to see how it works.
Mounting the rods: I used stainless steel screws to mount the hardwood rods from below. Make sure you pre-drill!
Done! That’s it! Invite your friends over and enjoy the fire as well as their admiration. :)
Thanks to AllanS1 for this great project!


