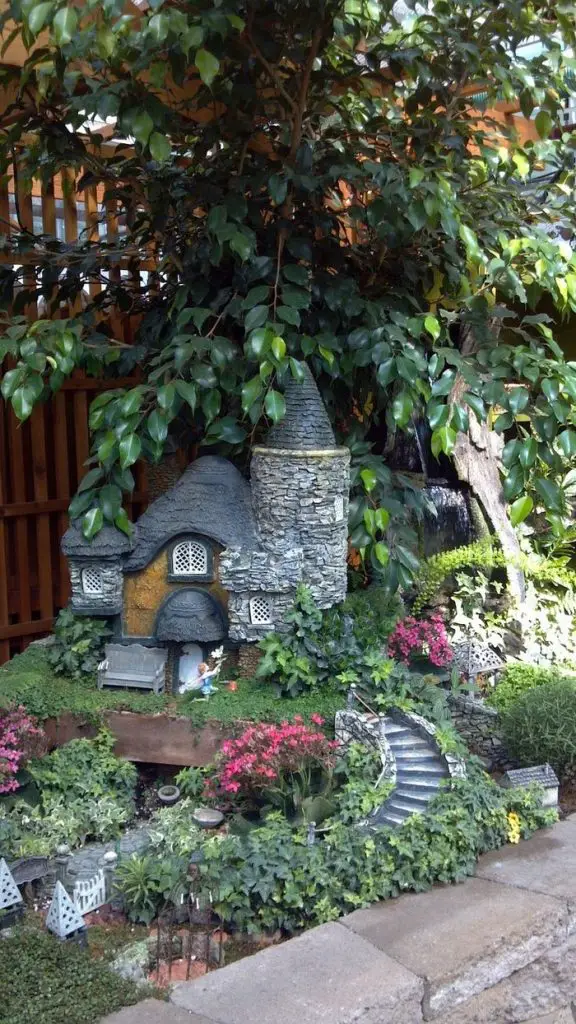
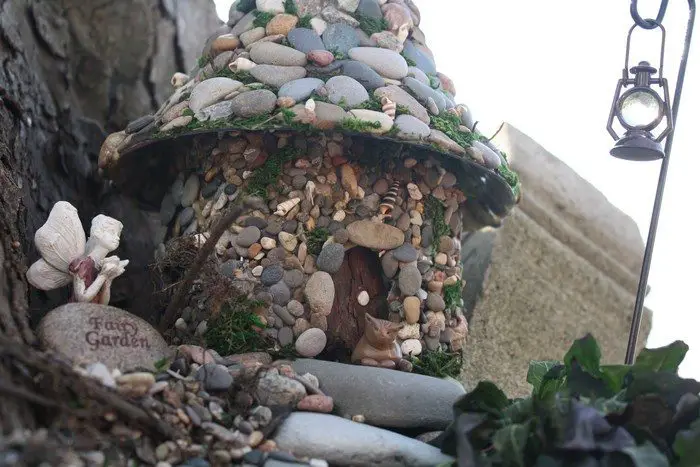
Did you like the fairy gardens collection we’ve shown you in the past? Then you’re going to love this idea too!
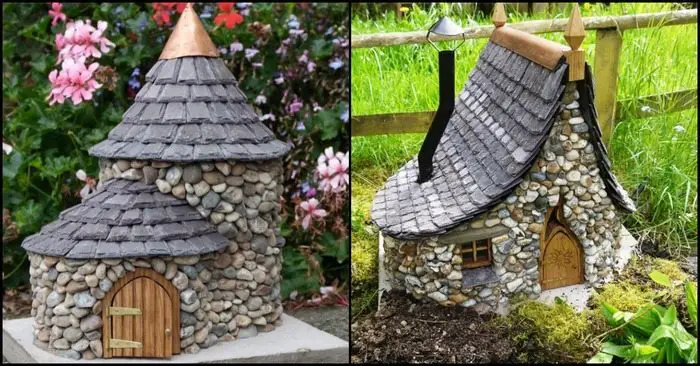
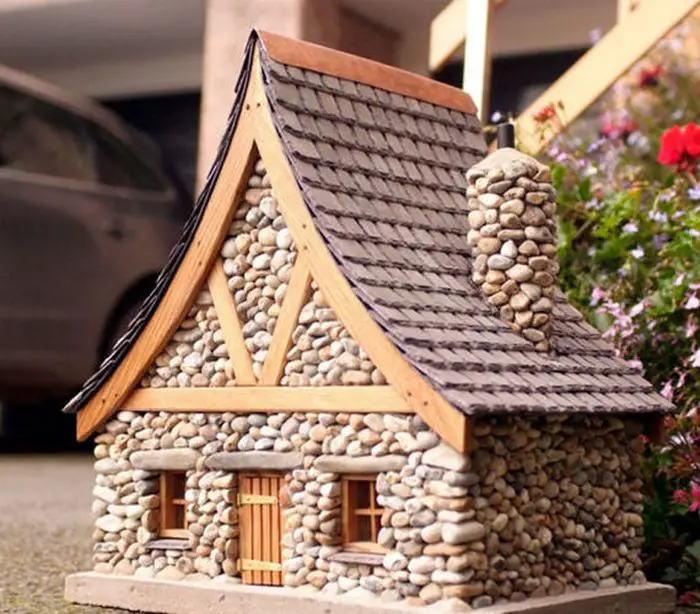
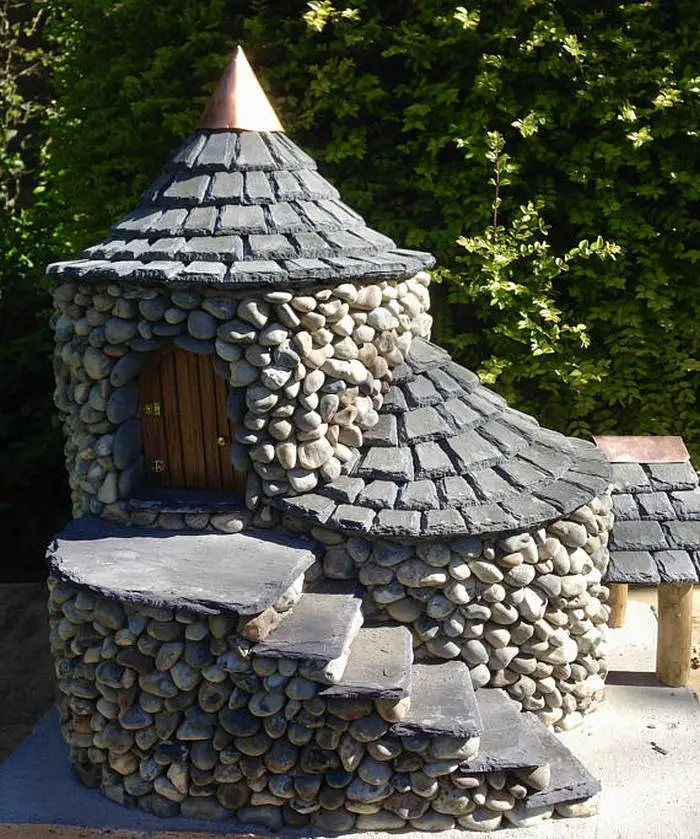
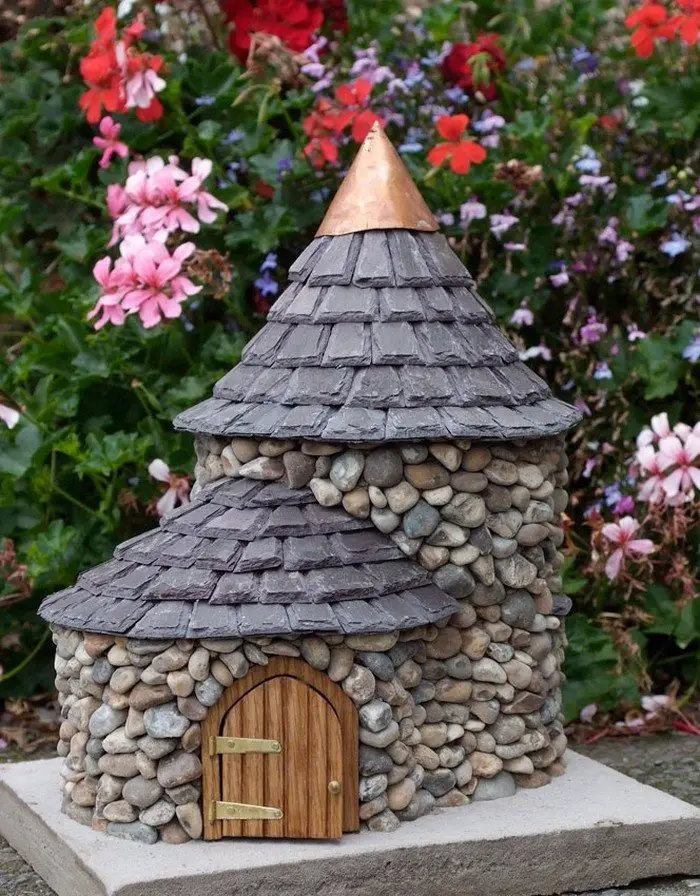
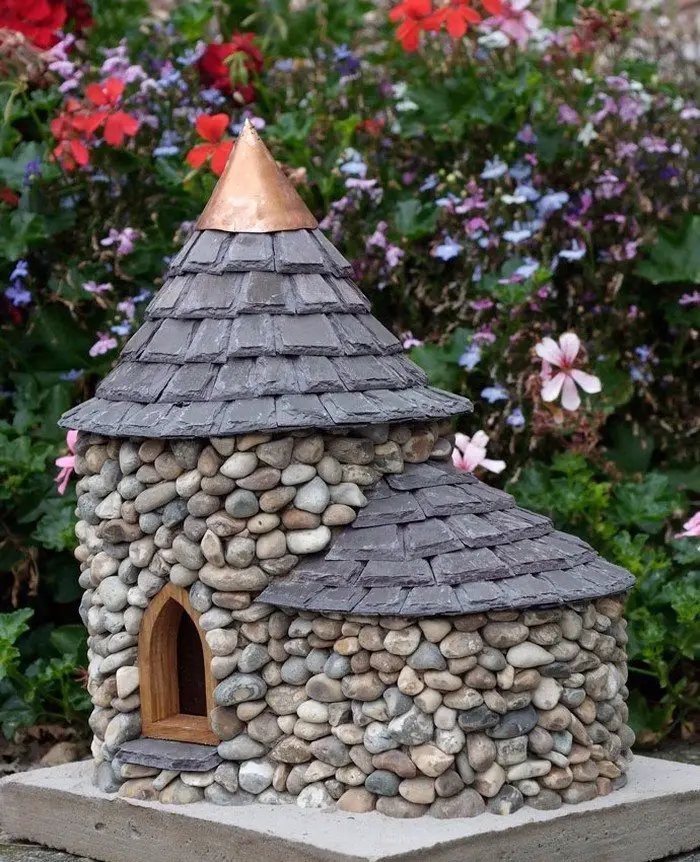
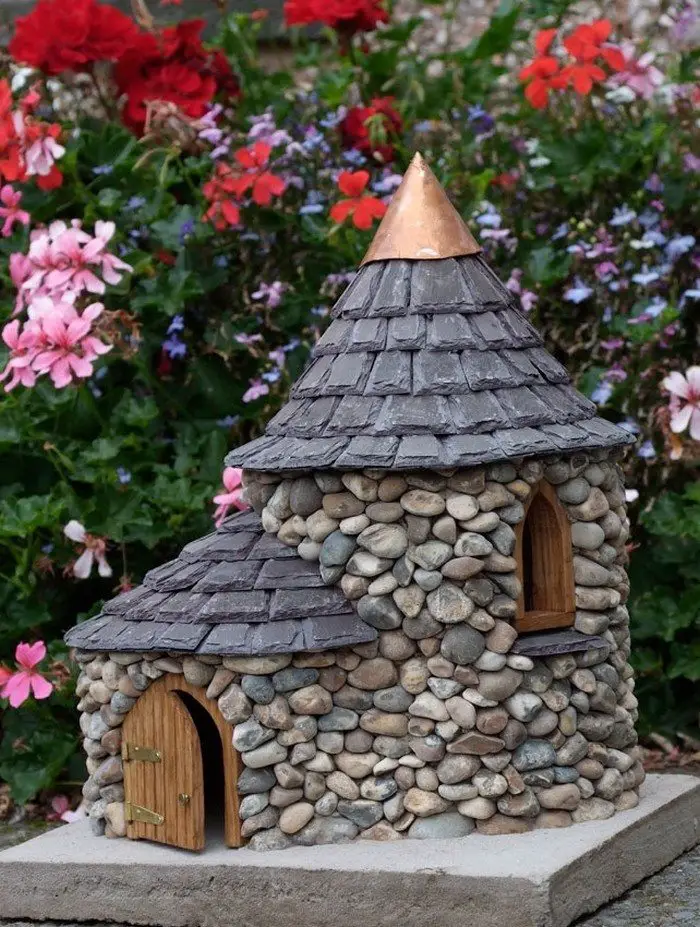
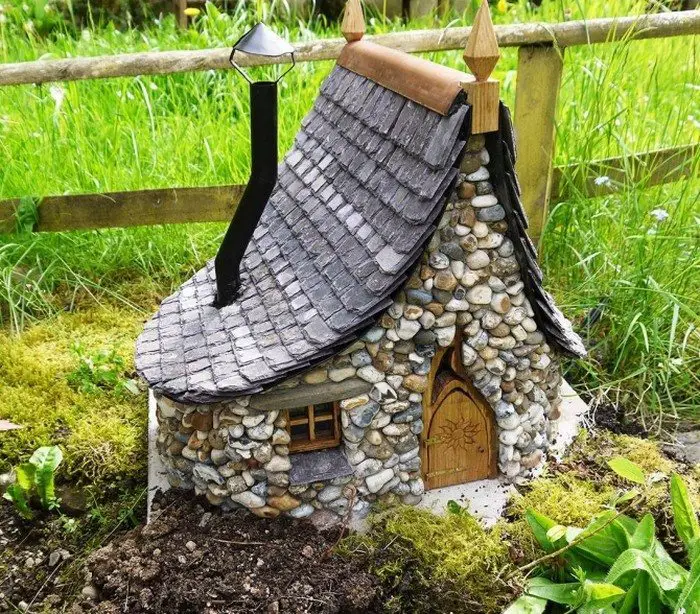
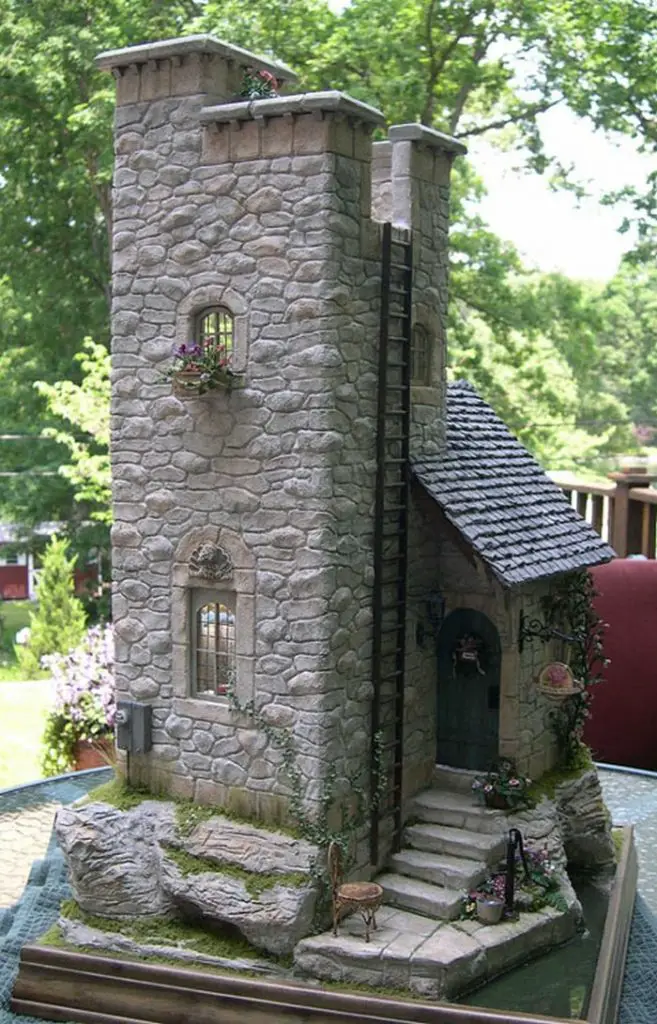
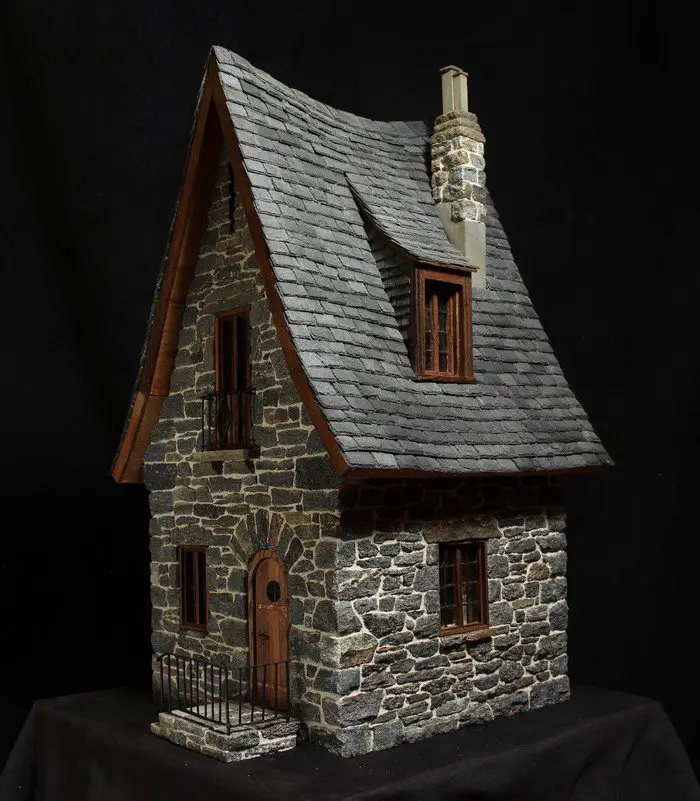
Stone houses possess that enchanting and magical beauty that makes miniature versions of them perfect for fairy gardens! Making miniature stone fairy houses is a hobby suitable for all age groups and fitness levels. Most of the materials can be sourced for free and every finished piece is an original!
While these are a delight for children to spot in the garden, they are also lovely ‘eye candy’ for any gardener. Try placing one among ferns near a pond and watch the magic come to life :)
You will find a step-by-step guide on how to build a miniature stone fairy house the quick and easy way with DIY veneer. It’s a project you will enjoy and love, especially when you see the final product.
Do you want to have an enchanting fairy garden in your yard? Then start building your miniature stone fairy house now!
Contents
- 1 The Magic of Crafting a Miniature Stone Fairy House
- 2 Photography Tips for Your Miniature Stone Fairy House
- 3 FAQ on Miniature Stone Fairy Houses
- 3.1 What are miniature stone fairy houses?
- 3.2 How do I start building a miniature stone fairy house?
- 3.3 What materials do I need for a miniature stone fairy house?
- 3.4 Can I build a miniature stone fairy house with kids?
- 3.5 How long does it take to make a miniature stone fairy house?
- 3.6 Where should I place my miniature stone fairy house?
- 3.7 How do I maintain my miniature stone fairy house?
- 3.8 Can I use real plants with my miniature stone fairy house?
- 4 Fairy Tale Fantasies
The Magic of Crafting a Miniature Stone Fairy House
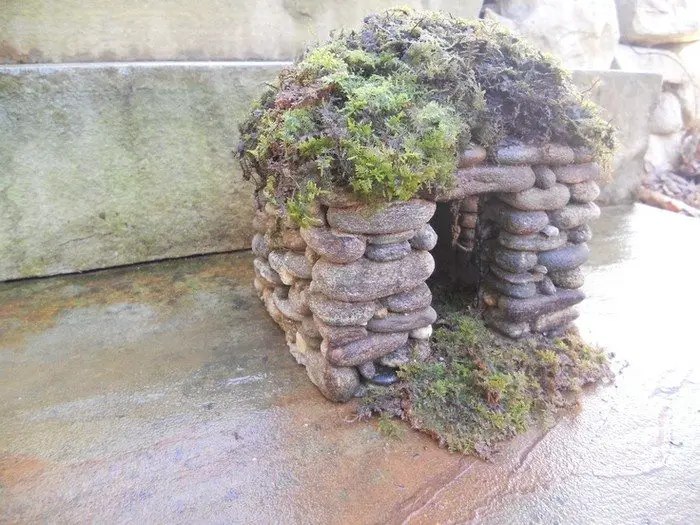
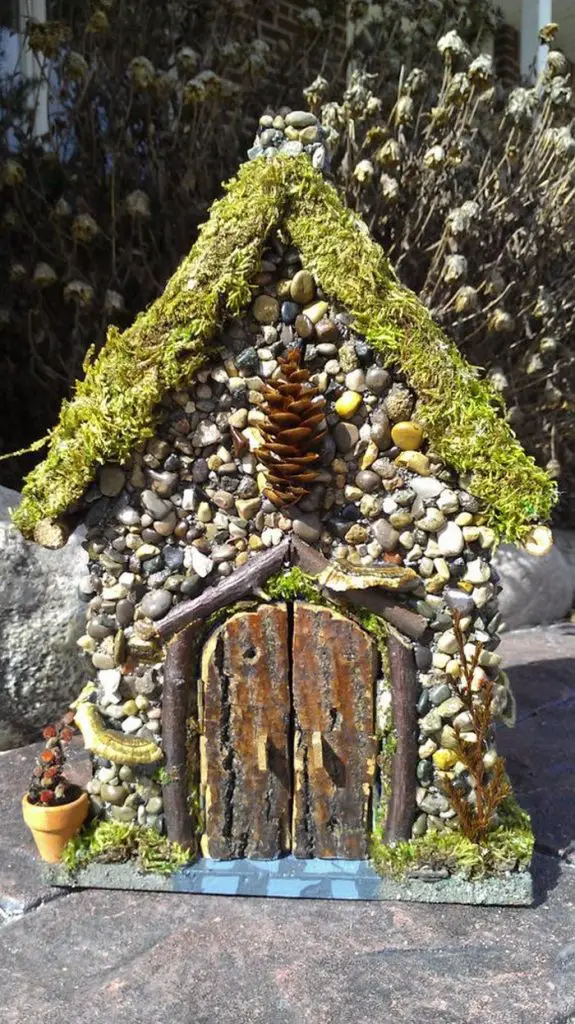
Discover the magic of working with stones, transforming them into miniature abodes fit for fairies and other mythical creatures. From the humble beginnings of a simple stone, you will witness its incredible transformation into a charming and captivating fairy house.
Immerse yourself in the meticulous process of selecting the perfect stones, ensuring each one carries its unique energy and charm. Arrange and stack the stones creatively, and craft a sturdy foundation for your miniature stone fairy house.
Witness how your masterpiece takes shape, with each stone thoughtfully arranged to create a captivating and enchanting structure that will leave you spellbound.
Materials
- Small Stones
- Forming Material
- Glue (white and wood)
- Shellac or Urethane
- Artificial Moss
- Ziplock Bag (optional)
- Laundry Bag (optional)
- Plastic Berry Box (optional)
Tools
- Tweezers
Click on any image to start lightbox display. Use your Esc key to close the lightbox. 8-)


Steps
The following are the steps for making a miniature stone fairy house:
1. Prepare the forming material
Decide on the shape and size of your fairy house and cut or shape the forming material accordingly. This will serve as the base or framework for your fairy house.
Optional steps:
- Use a ziplock bag to collect and store small stones while searching for suitable ones outdoors.
- Or if desired, use a laundry bag to contain and transport the small stones, making it easier to carry them back to your crafting area.
- Use a plastic berry box if preferred, as a convenient container to hold and organize your small stones during the crafting process.
2. Arrange the small stones
Sort through your collection of small stones and select the ones that are suitable for building the walls, roof and other features of the fairy house. Arrange them in the desired pattern and design.
3. Secure the stones
Use white or wood glue to attach the stones to the forming material. Apply the glue to the back of each stone and press it firmly onto the forming material. Use tweezers for precise handling and placement of the stones.
4. Let it dry
Allow the glue to dry completely according to the instructions provided. This will ensure that the stones are securely bonded to the forming material.
5. Apply shellac or urethane
Once the glue is dry, apply a coat of shellac or urethane to the entire surface of the fairy house. This will provide a protective seal and enhance its durability. Follow the product instructions for application and drying times.
6. Add artificial moss
To create a more natural and whimsical look, glue small pieces of artificial moss to the exterior of the fairy house. This will give it a charming and enchanting appearance.
Once all the steps are complete, your miniature stone fairy house will be ready to bring a touch of magic and wonder to any space. Display it in your garden, on a shelf, or as part of a fairy-themed display. Enjoy the enchantment of your handmade creation!
If you’re short on time but captivated by what you’ve seen, why not explore the Enchanted Cottages Shop on Etsy?
And while living in a fairy house may not be possible, perhaps this charming hobbit home could be a perfect alternative…
Extra Tips
If you’re looking to make a miniature stone fairy house, there are some extra tips that can help make it even better.
1. Collecting Stones
When gathering stones for your fairy house, explore different locations like riverbanks, forests, or your own garden. Look for stones with unique shapes, colours, and textures to add character to your creation.
2. Creating a Magical Pathway
Enhance the enchanting vibe of your miniature stone fairy house by adding a miniature pathway. Use small pebbles, crushed gravel, or tiny shells to create a whimsical trail leading to the entrance.
3. Adding Delicate Details
Pay attention to the little details that make your fairy house truly magical. Incorporate natural elements like twigs and small flowers to create a charming and organic look. You can also add tiny accessories such as miniature furniture, lanterns, or even a tiny welcome sign to complete the fairy’s cozy abode.
4. Enhancing With Fairy Lights
Create a captivating ambience by adding fairy lights to your miniature stone fairy house. These tiny lights will bring a warm and magical glow, making your creation even more enchanting, especially during nighttime.
Remember, the key to creating a truly enchanting miniature stone fairy house is to let your imagination soar and infuse your personal touch into every detail. Enjoy the process and embrace the magic!
Photography Tips for Your Miniature Stone Fairy House
Photographing your miniature stone fairy house can be as magical as creating it. With the right techniques, you can capture the enchantment and detail of your fairy house, making it come alive in photos. Whether you’re sharing your creation with friends or documenting your crafting journey, these tips will help you take stunning pictures of your fairy house.
Find the Perfect Light
Lighting plays a pivotal role in capturing the essence of your miniature stone fairy house. The right light can transform your photo, highlighting the intricate details and vibrant colors of your creation.
For outdoor fairy houses, the golden hour is your ally. This is the time just after sunrise or before sunset. During these hours, the sun casts a warm, diffused light that can bring out the rich textures and subtle hues of the stones in your fairy house. The low angle of the sun creates a soft, ethereal glow, adding a magical quality to your photos. Experiment with different positions of the sun to see how the shadows and highlights interact with the details of the fairy house.
When photographing indoors, natural light is your best source. Position your fairy house near a window where soft, indirect sunlight streams in. This can mimic the gentle illumination of outdoor lighting. Be mindful of the time of day, as the quality of light changes. Morning light tends to be cooler and softer, while afternoon light is warmer. Avoid direct sunlight as it can be too harsh, creating deep shadows and overexposed spots on your fairy house.
Choose the Right Background
The background is not just a backdrop; it’s a canvas that complements your fairy house. The right background will not distract but rather enhance the beauty of your miniature creation.
In a garden setting, look for natural elements that resonate with the theme of your fairy house. A backdrop of flowers, moss, or even a rock garden can add depth and context to your photo. These elements can create a sense of place, suggesting that your fairy house is part of a larger, magical world. Be aware of the colors and textures in the background. They should complement, not clash with your fairy house.
For indoor photography, simplicity is key. Choose a background that is plain and unobtrusive. A piece of solid-colored fabric or a blank wall can work well. If you prefer a more natural look, set up elements like potted plants or a collection of stones behind your fairy house. The goal is to create a setting that suggests a natural habitat without overwhelming the main subject of your photo.
Get Down to Fairy Level
Capturing your miniature stone fairy house from its own level is essential for creating a captivating and immersive photo. This perspective invites viewers into the fairy world, making the house appear grand and majestic.
When you shoot from the ground level, you’re adopting the perspective of a fairy. This angle can make your fairy house look larger and more imposing, highlighting its architectural beauty and the craftsmanship that went into its creation. It’s like seeing the house through the eyes of its imaginary inhabitants, which adds a layer of storytelling to your photos.
Try different angles while shooting at fairy level. Move around your fairy house, capturing it from various sides. Each angle tells a different story and highlights different aspects of the house. A front view can show off the entrance and the path leading up to it, while a side angle might highlight the layers of stone and roof details. Even slight changes in your position can dramatically change the composition and mood of the photo.
Use Macro Mode for Details
Macro mode is a powerful tool for showcasing the unique features of your miniature stone fairy house. This mode allows you to focus closely on small details, bringing them into sharp relief against a softly blurred background.
With macro mode, every tiny detail becomes significant. Focus on the textures of the stones, the patterns they create, and the way they fit together. Capture the small windows, doors, and other architectural details. If your fairy house includes miniature decorations like moss, twigs, or tiny furniture, macro mode can showcase these elements, emphasizing the care and creativity that went into each choice.
Using macro mode effectively can give your photos a sense of depth and dimensionality. By focusing on a specific detail of your fairy house and allowing the rest to blur softly, you create a focal point that draws the viewer’s eye. This technique can create a sense of wonder and highlights the artistry involved in constructing your fairy house.
Experiment with Composition
Creating a visually appealing composition is key to capturing stunning photos of your miniature stone fairy house. Composition refers to how various elements are arranged within your photo frame.
One of the most basic yet effective compositional techniques is the rule of thirds. Imagine dividing your image into nine equal segments with two horizontal and two vertical lines. Placing your fairy house along these lines or at their intersections creates a more balanced and naturally appealing photo. This technique draws the viewer’s eye into the composition, rather than just focusing on the center.
Apart from the rule of thirds, experiment with other compositional strategies. For instance, you can try a symmetrical composition for a more formal, balanced feel. Or, play with asymmetry to create a dynamic, interesting picture. Don’t be afraid to fill the frame with your fairy house or to leave some negative space for a minimalist effect.
Keep the Camera Steady
To capture the intricate details of your miniature stone fairy house, it’s essential to keep your camera steady.
A tripod is the best tool to avoid camera shake, especially in low light conditions where longer exposures are needed. It ensures your camera is perfectly stable, resulting in sharper images. If you don’t have a tripod, placing your camera on a steady surface like a table or a wall can also help.
Consider using a remote shutter release or your camera’s timer function. This prevents any movement that might occur when pressing the camera’s shutter button.
Edit with Care
Editing is the final step in presenting your miniature stone fairy house in the best possible light. While editing can significantly enhance your photos, it’s important to do it with a light touch.
Start with basic adjustments like brightness, contrast, and saturation. These tweaks can help your photo more accurately represent the real colors and details of your fairy house. Enhancing the contrast can make the textures of the stones more prominent, and adjusting the saturation can bring out the colors without making them look unnatural.
The goal of editing should be to enhance the photo while keeping it realistic. Over-editing can make your fairy house look artificial. Remember, the charm of your miniature stone fairy house lies in its natural, magical appearance, which should be the focus of your photography.
By following these tips, you can take stunning photos of your miniature stone fairy house that capture its magic and beauty. Share your creations with the world and inspire others to embark on their fairy house journey.
FAQ on Miniature Stone Fairy Houses
What are miniature stone fairy houses?
Miniature stone fairy houses are small, whimsical structures made primarily from stones. They are often used as decorative elements in gardens, serving both as charming focal points and imaginative additions to create a fairy-tale ambiance.
How do I start building a miniature stone fairy house?
To start building a miniature stone fairy house, gather small stones, decide on a design, and use a strong adhesive to assemble the stones. You can find step-by-step guides online to help with the construction process.
What materials do I need for a miniature stone fairy house?
The basic materials for a miniature stone fairy house include small stones, glue (such as white or wood glue), and forming material for the base structure. Optional materials include shellac or urethane for sealing, and decorative elements like artificial moss.
Can I build a miniature stone fairy house with kids?
Yes, building a miniature stone fairy house is a great activity for kids. It encourages creativity and can be a fun family project. Ensure that an adult supervises the use of glue and other materials.
How long does it take to make a miniature stone fairy house?
The time it takes to build a miniature stone fairy house varies based on the size and complexity of the design. Simple designs can take a few hours, while more intricate ones may require several days.
Where should I place my miniature stone fairy house?
Place your miniature stone fairy house in a garden setting, among plants, or in any natural outdoor area. If you’re displaying it indoors, choose a spot where it can be a delightful decorative piece, like on a windowsill or shelf.
How do I maintain my miniature stone fairy house?
To maintain your miniature stone fairy house, keep it clean from debris and occasionally check for wear. If it’s placed outdoors, ensure it’s sealed properly to protect it from weather elements.
Can I use real plants with my miniature stone fairy house?
Incorporating real plants around your miniature stone fairy house can add to its enchantment. Small plants like succulents, mosses, or miniature ferns work well.
Fairy Tale Fantasies
You have uncovered the secrets to crafting your very own miniature stone fairy house and unlocked the enchantment within your garden.
Embrace the art of selecting the perfect stones, arranging them with precision, and adding whimsical details that breathe life into your creation. As you delve into this delightful craft, unleash the magic and create an enchanting haven that will transport you to a realm of wonder and imagination.
Ready to embark on your fairy house creation that will captivate both your heart and garden?
If you want more DIY projects for your outdoor space, check out our DIY garden paths next!


