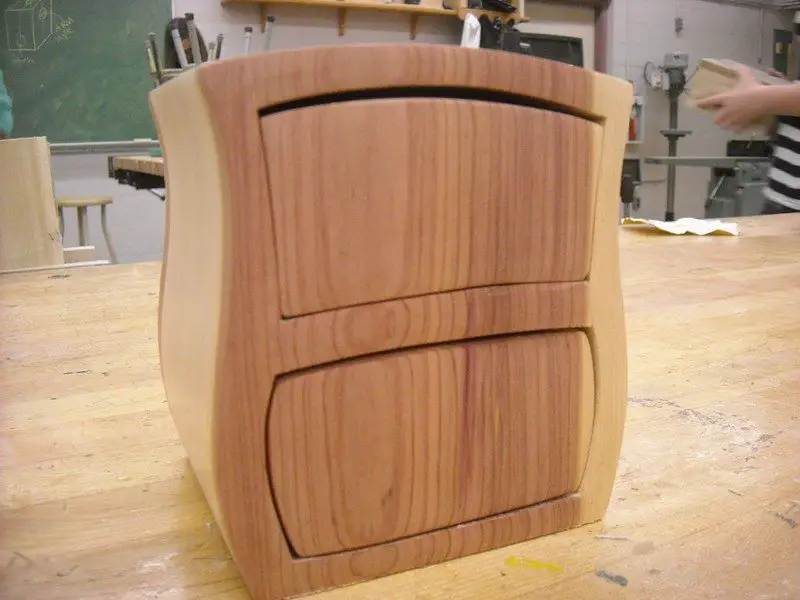
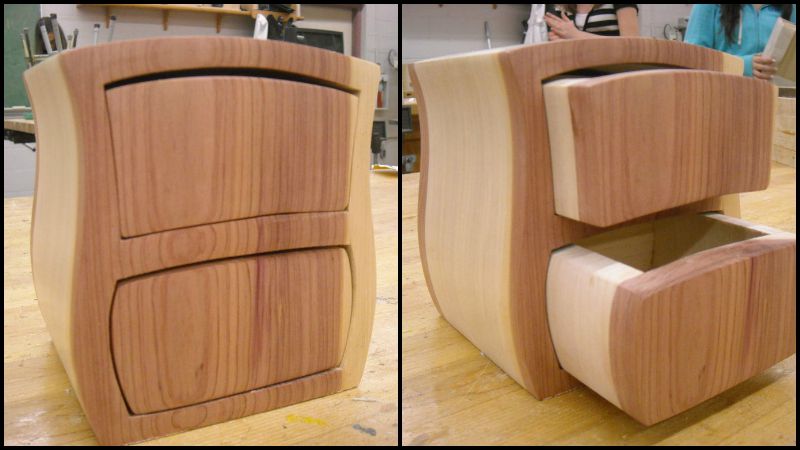
Isn’t this a unique box drawer? Looking at the picture, you’ll think that this little storage is a challenge to make. Quite, but not quite!
This is a fun project anyone can easily learn. In fact, even teenagers can make it! And you can definitely make your own design, however crazy your idea might be. ;)
Now if you’re experienced with woodworking and you have a teenager you want to introduce this craft too, this project is a great starter!
Take a look at this very informative tutorial you and the kids will learn so much from…
Materials:
- Light Softwood (pine, poplar) approx 1″ thick, 6″ wide and 30″ long
- Dark Contrasting Wood (aromatic cedar, black walnut) approx 3/8″ thick, 6″ wide and 15″
- long
- Wood Glue
- Paper, Carbon Paper (for layout)
- Sandpaper (from 80 to 220 grits)
Tools:
- Bandsaw
- Wood Clamps
- Tape Measure
- Ruler
- Marker
Steps:
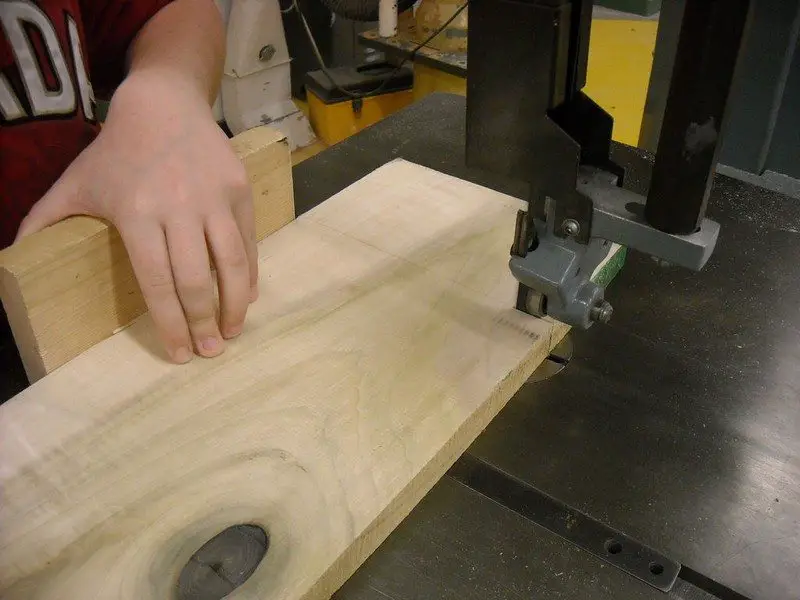
I rough-cut the lighter-colored softwood into pieces about 5-8″ wide, 1″ thick, and of all sorts of different lengths. This project is good for all the dumpster diver shop teachers out there because you can use any scraps available.
Show the kids how to layout 4 pieces of wood from 1 long piece using the bandsaw to cut them out. Really, you can use any saw you want… the end goal is to have 4 pieces of wood all about the same size.
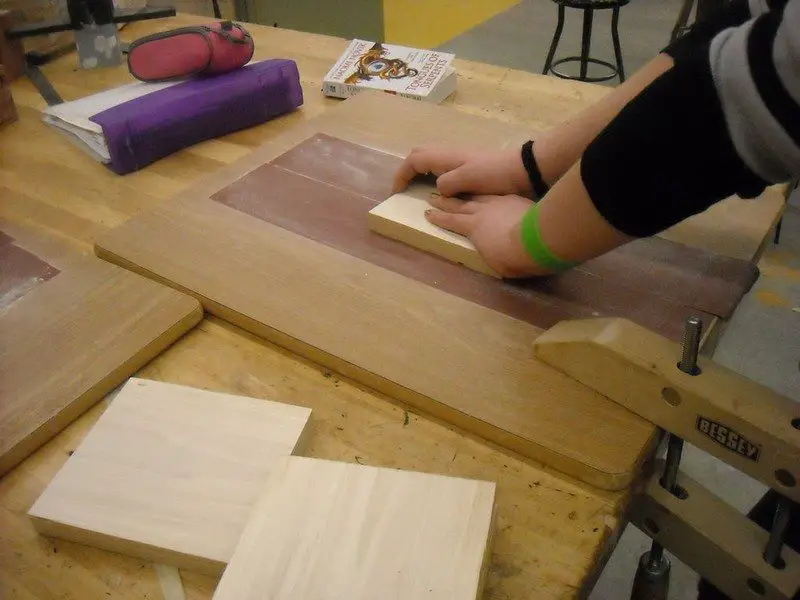
Use a piece of sandpaper board to get the pieces of wood flat before gluing. I use strips of paper from a big belt sander i have. I used contact cement to glue them to a flat piece of board. Old desktops work well.
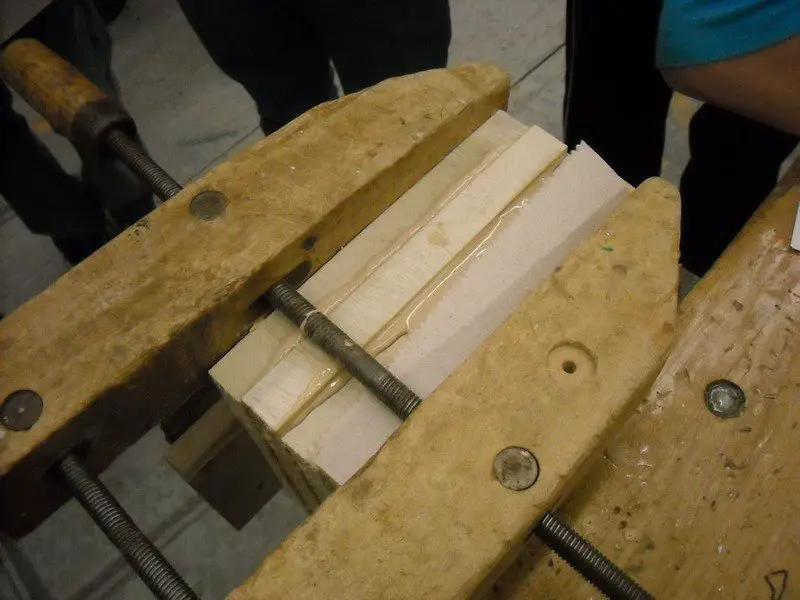
Glue up the wood, clamp well and let it sit. Make sure the kids clamp all the way around the perimeter… I’ve noticed that kids will often just clamp in the middle and leave it to dry without ensuring a tight joint all the way around the block. I’ve even had kids cut and glue carefully then leave it to dry in the middle of the table… unclamped… :)

Talk with your kids about what makes a box look cool. Take ideas and draw them on the board…. explain that no ideas are “wrong” and that even really crazy ideas can be worked with to make an interesting design. Have the kids all come up with at least 6 ideas each. Don’t let them get stuck in a rut with only one idea. Just do small sketches at this point. Some teachers use brainstorming on the board or get kids to swap designs and add to each others work or offer “1 good, 1 critical” idea. Do what works for you.
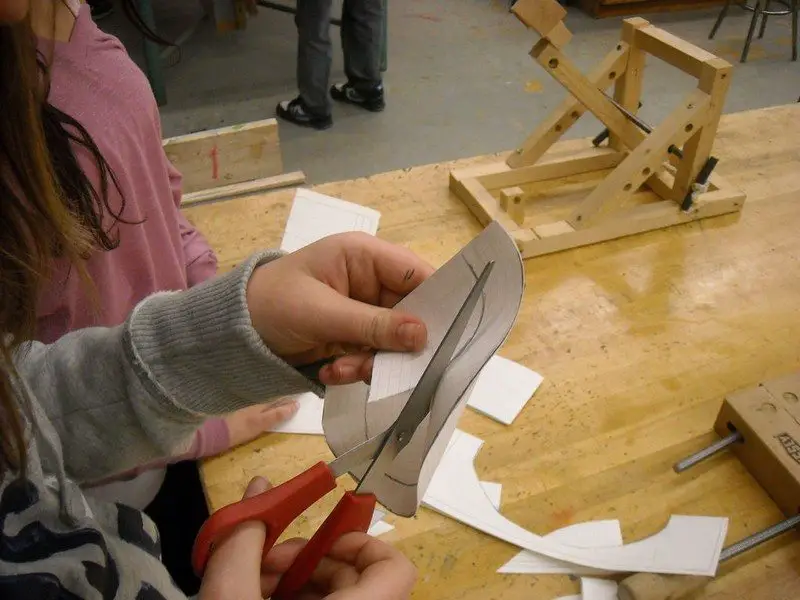
I take the time at this point to explain symmetry. Its amazing how many kids don’t know what this means. I explain that if they are going for an asymmetrical design that they should over-emphasize that it is not symmetrical or it just looks like they made a mistake. Kids really understand it if you take a piece of paper, draw a basic design, fold it than cut it out. I cut out the drawer designs at the same time so the students understand symmetry.
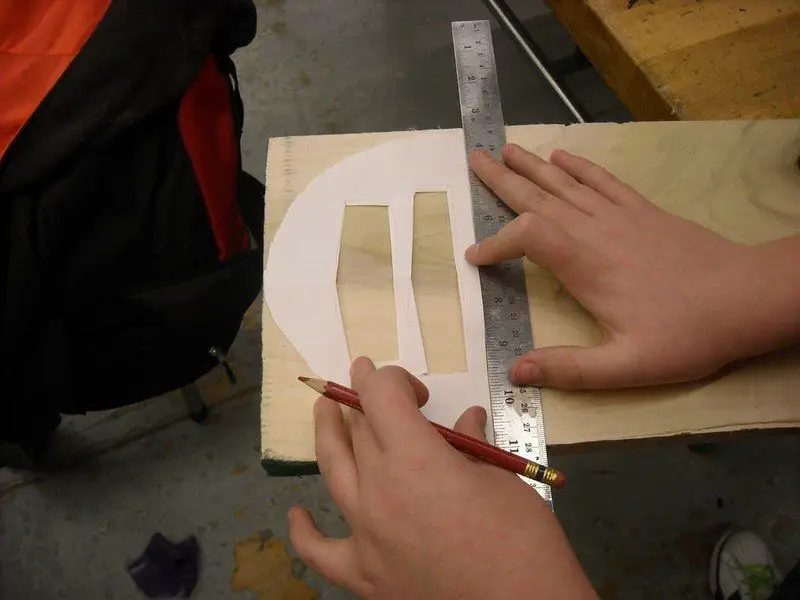
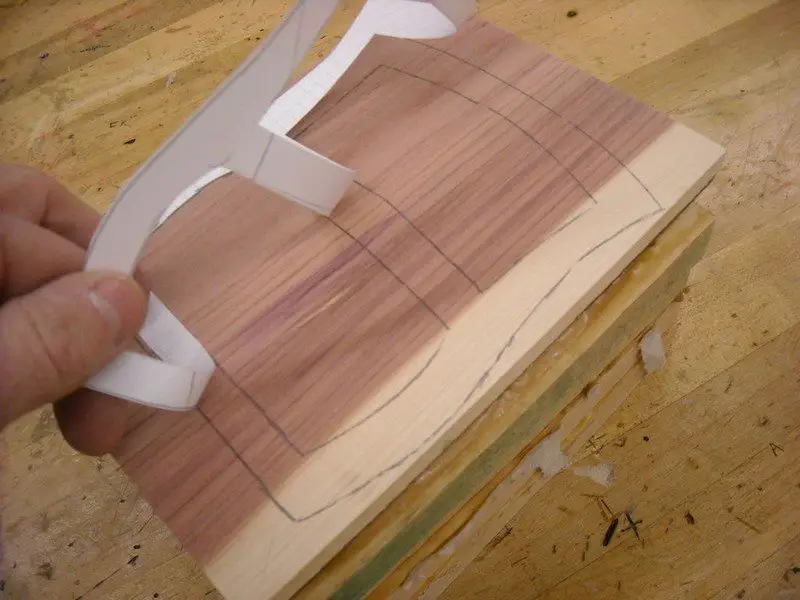
Once they have a design you are both satisfied with demonstrate using carbon paper to transfer the design or just trace out the design using a pencil. Keep things simple… you don’t want to discourage creativity but you want the kids to have success.
Trace the design front onto a piece of thin contrasting wood. Glue it onto the block that’s been made already. Don’t glue on the back at this point.
Continued Page 2…


