
This is a perfect project for DIYers who don’t have the luxury of a spacious workshop. having used his kitchen table for various projects, this DIYer decided he needed a dedicated work area. He decided to use the wall space in his garage as a workbench. The problem is that the garage doesn’t have extra space when the vehicles are inside.
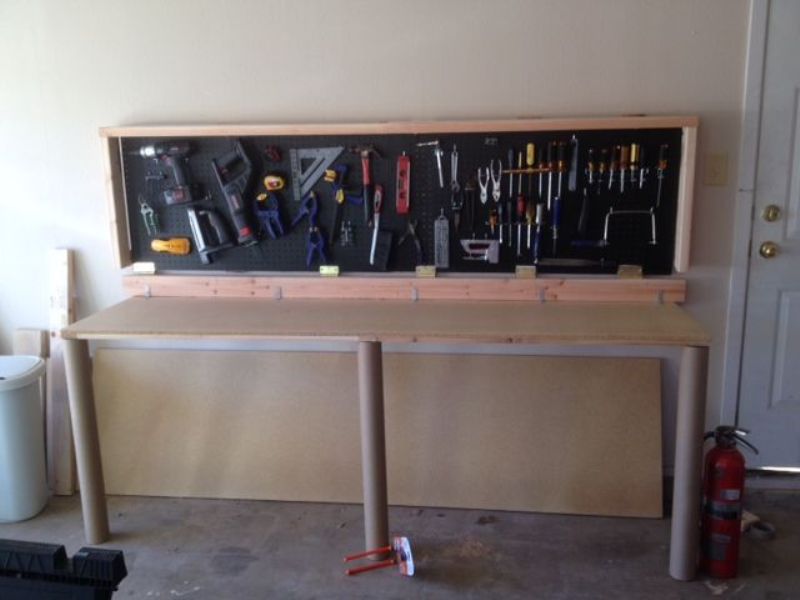
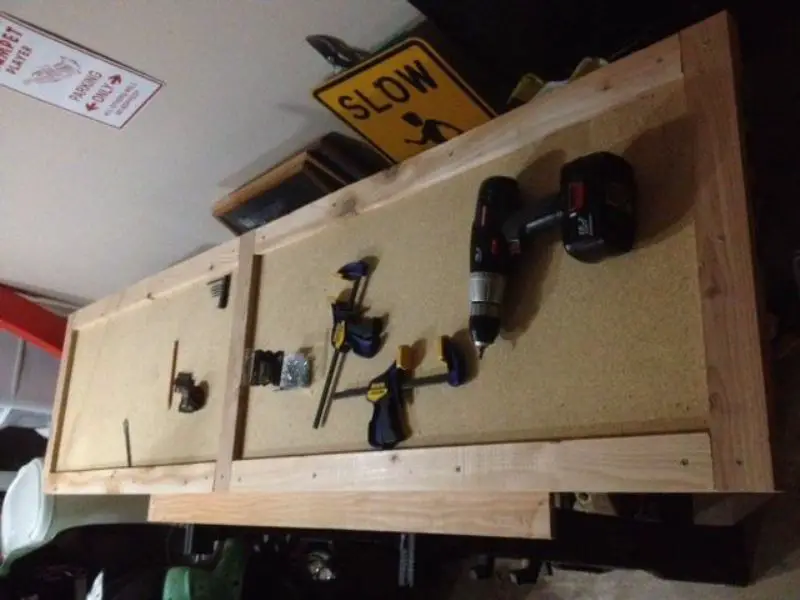
The solution is a folding mechanism. This gives you a workbench that can be fold away when not in use. It also serves as a space-saving storage for tools which you can conveniently access while working on your projects.
As you can see from the material list, building a bench like this won’t cost you a fortune. All of the needed materials are easily found in your local hardware store. The project only requires basic woodworking tools and skills to accomplish the project.
Materials:
- 2’x4′ 2 EA Pegboard
- 1x3x8′ 3 EA Cedar
- 1x4x12′ 1 EA Pine
- 2x4x8′ 3 EA Pine Stud
- 1 piece 4’x8′ sheet Particle Board (or any other surface desired for the workbench)
- 3″ 3 EA Core Butcher Paper Roll (or 2×4’s or metal fence posts)
- 7 pieces 3” Door Hinges
- 2 pieces 2″ Hooks
- 4-6″ Small Chain
- 50ct 3″ Wood Screws
- 100ct 1-1/2″ Wood Screws
- 100ct 1″ Wood Screws
- 50ct 1/2″ Wood Screws
Tools:
- Drill (with phillips head & various size drill bits for pre-drilling holes)
- Circular Saw
- Tape measure
- Sander
- Stud Finder
- Clamps
- Level
- Saw Horse (or any temporary work surface)
Cuts:
- Particle Board – ripped @ 23″1x3x8′
- Cedar: 4 pieces 44-1/4″; 3 pieces 23″
- 1x4x12′ Pine: 6 equal pieces
- 2x4x8′ Pine Studs: 2 pieces 20″; leave the other 2 studs full length
Steps:
Layout the 1×3 Cedar trim on the side of the particle board that exposed when the workbench is closed. As shown in photo below, there are 3 vertical slats, and 2 bottom and 2 top horizontal pieces. Pre-drill your Cedar pieces before screwing them down the particle board – prevents wood from splitting, and easier to drill down the screws.
Flip the work desk over and attach one 2×4 to the edge that will attach to the wall. Secure the stud with 3″ screws from the trim side into the stud. Then attach 6 pieces of 2×2 corner braces on the other side with 1/2″ screws.
Continued page 2…


